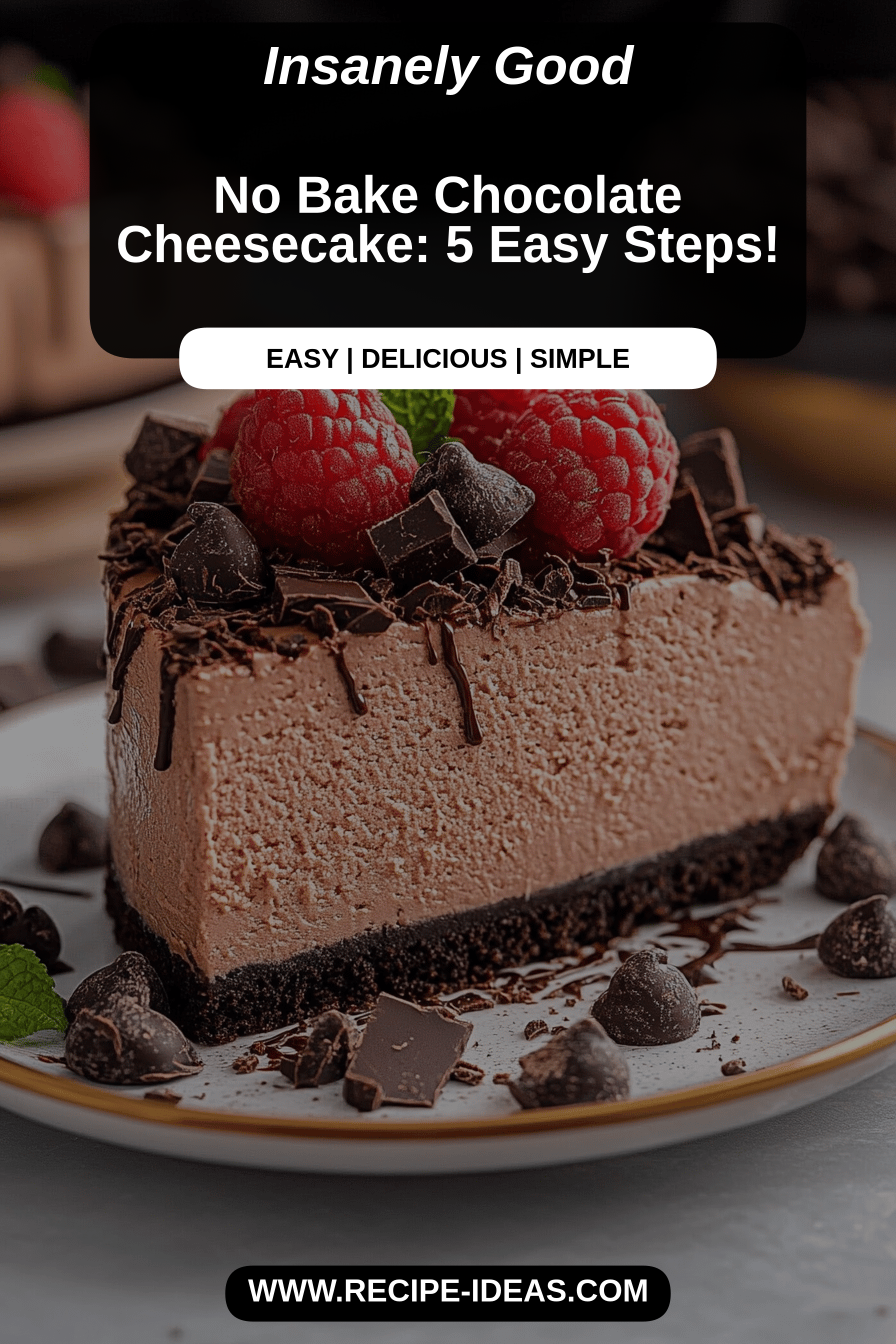
Easy Chocolate Cheesecake Cookie Delight
There’s this moment in my kitchen that never gets old—the smell of rich chocolate swirling together with the tangy sweetness of cheesecake filling, wafting up as these Chocolate Cheesecake Cookies bake to perfection. These little gems always remind me of cozy afternoons spent with my kids, sneaking just one (or two) before dinner. It’s funny, because they almost taste like a love child of a decadent cheesecake and a soft, fudgy cookie. Trust me, if you’re the kind of person who sometimes craves cheesecake but doesn’t want to mess with a whole big cake, these cookies are your new favorite vice. I first came across this idea years ago when I was looking for a dessert that felt special but was easier than the usual fussy layers. Now, these are the go-to treat that disappears in minutes every time I bake them.
What is chocolate cheesecake cookies?
Think of Chocolate Cheesecake Cookies as a cozy mashup of two beloved desserts rolled into one—a soft, chocolatey cookie base layered with luscious, tangy cheesecake filling. It’s essentially a cookie with a surprise center: that creamy, melt-in-your-mouth cheesecake swirl that you usually only get in big cakes or bars. The name comes from the way these cookies marry the intense, slightly bittersweet chocolate flavor with that unmistakably rich and smooth cheesecake. Unlike your average cookie, these have a little something extra special inside, making each bite feel like a mini celebration. The best part? They’re approachable for any home baker; I always tell friends, “If you can make chocolate chip cookies, you can make these.”
Why you’ll love this recipe?
What I love most about these Chocolate Cheesecake Cookies is how they hit all the right notes without demanding hours of work or fancy ingredients. First of all, the flavor is something else—the chocolate is deep and rich, not too sweet, perfectly balanced by that cool, tangy cheesecake filling that cuts through the cocoa like a dream. It’s a combo that *never* gets old in my house. Plus, they’re ridiculously simple to whip up, which means you can throw them together even when you promise yourself you won’t bake anything that day (but well, you do anyway). Cooking-wise, it’s all about layering and swirling; because the filling is so smooth, you get those gorgeous, marbled cookies that look as good as they taste.
Budget-wise, these cookies won’t empty your pantry either. Most ingredients are pantry staples: cream cheese, cocoa powder, sugar, and a touch of vanilla. No bizarre ingredients, no hard-to-find stuff. You can swap a few things out without losing the magic, which makes it a great recipe for beginners. I’ve also experimented with almond milk and even a hint of espresso powder to give it a little twist when I’m feeling adventurous. Best of all, they’re super versatile—great for breakfast with coffee, a midday snack to sneak at your desk, or as a decadent dessert when you need to impress without the fuss. If you’ve loved my classic chocolate chip cookies or cheesecake bars, these are an easy, crowd-pleasing next step.
How do I make chocolate cheesecake cookies?
Quick Overview
The process is pretty straightforward, honestly. You start by prepping the cookie dough—rich, chocolatey, and perfectly balanced between soft and chewy. Then, whip up a simple cheesecake filling that’s creamy and just sweet enough. The fun part comes when you dollop the filling onto the dough and create those gorgeous swirls (no piping bag needed!). After a short bake, the cookies come out soft, with those gorgeous swirls of cheesecake that have baked into pure bliss. I always love this method because it’s pretty foolproof, no crazy equipment needed, and it nails that homemade, rustic look that’s hard to resist.
Ingredients
For the Main Batter:
- 1 cup unsalted butter, softened – use good-quality butter for that deep, creamy cookie base
- 1 cup granulated sugar – the right sweetness, not too overpowering
- 1/2 cup brown sugar – for a touch of chewiness and caramel notes
- 2 large eggs, room temperature – they add structure and moisture
- 1 tsp vanilla extract – pure vanilla if you can, it makes all the difference
- 1 3/4 cups all-purpose flour – for that perfect cookie crumb
- 3/4 cup unsweetened cocoa powder – I love Dutch processed for its smoothness and color
- 1 tsp baking soda – to help them rise just right
- 1/2 tsp salt – balances the sweetness and chocolate
For the Filling:
- 8 oz cream cheese, softened – be patient with this, it really needs to be room temp
- 1/3 cup granulated sugar – sweet but not cloying
- 1 large egg yolk – adds richness and silkiness
- 1 tsp vanilla extract – connects the flavors beautifully
For the Glaze:
(optional but highly recommended)
- 1/2 cup powdered sugar – sifted for a smooth texture
- 1-2 tbsp milk or cream – adjust for consistency
- 1 tsp vanilla or almond extract – to taste
- Pinch of salt – just to cut sweetness slightly
Step-by-Step Instructions
Step 1: Preheat & Prep Pan
Get your oven to 350°F (175°C). I usually line a baking sheet with parchment paper or a silicone mat to make sure nothing sticks and cleanup is a breeze. It also helps keep the cookies from spreading too much. While the oven warms up, you can prepare everything else so there’s no waiting around later.
Step 2: Mix Dry Ingredients
Whisk together the flour, cocoa powder, baking soda, and salt in a big bowl. Make sure they’re well blended —I always sift the cocoa and flour together to avoid lumps. It might seem like a small step, but it really improves that even chocolate flavor and prevents any dry pockets in the cookies.
Step 3: Mix Wet Ingredients
In a separate large bowl, beat the softened butter and sugars until creamy and fluffy—this usually takes about 3-4 minutes with a hand mixer. It’s the texture here that gives the cookie its soft, chewy nature. Next, add your eggs and vanilla, mixing on medium speed until the batter is smooth and shiny. You’ll see it turn slightly lighter in color—that’s how you know it’s ready.
Step 4: Combine
Pour the dry ingredient mix into the wet ingredients incrementally, folding gently with a spatula. I always try not to overmix here—just enough to pull the dough together. Overworked dough means tough cookies, and nobody wants that. You’re looking for a thick, glossy dough that holds its shape but isn’t overly stiff.
Step 5: Prepare Filling
In a medium bowl, beat the cream cheese on its own until ultra smooth and creamy. Add sugar, egg yolk, and vanilla extract, whipping them together until the mixture is silky with no lumps. If your cream cheese isn’t fully softened, this step can be a bit frustrating, so I recommend leaving it out for an hour before starting.
Step 6: Layer & Swirl
Drop spoonfuls of chocolate dough onto the prepared pan—you don’t have to be perfect, just about 2 tablespoons each, spaced apart. Then dollop a smaller spoonful of the cheesecake filling right on top of each cookie dough mound. Here’s the secret to those beautiful swirls: take a toothpick or skewer and gently swirl the filling into the dough with a few loops. Don’t overdo it—just enough to create a marbled pattern that looks handmade and rustic.
Step 7: Bake
Bake the cookies for 12-15 minutes. You want them to still be ever so slightly soft in the center; they’ll firm up as they cool. The edges should look set but not hard or crisp. If your oven tends to run hot, check around 10 minutes and adjust accordingly. This part is where watching the cookies closely pays off. The smell alone will tell you when they’re done—deep chocolate mingling with a sweet, tangy promise.
Step 8: Cool & Glaze
Allow the cookies to cool on the pan for at least 5 minutes before transferring them to a wire rack. This resting period lets the cookies firm up just enough so they don’t fall apart when you move them. Once they’re completely cool, mix up your glaze until smooth and drizzle it lightly over the cookies. If it’s too thick, add a little more milk; too thin, add powdered sugar in tiny increments. The glaze isn’t required, but it dresses them up beautifully and adds that extra touch of sweetness.
Step 9: Slice & Serve
If you’re serving them straight from the cookie state, just grab one and enjoy! They’re best eaten at room temperature when the filling is creamy but slightly set. If you’re plating them for guests, arrange on a pretty dish, maybe with a few fresh raspberries or a dusting of cocoa powder for a little extra flair. Personally, I love pairing them with a cup of black coffee or cold milk—just perfect.
What to Serve It With
For Breakfast: These cookies add a cheeky twist to your morning routine. Serve them with a strong cup of coffee or a frothy cappuccino. On weekends, I love pairing them with fresh orange slices to balance the rich chocolate and cream cheese. The kids love dunking theirs into milk, making breakfast feel like a fun treat.
For Brunch: Chocolate Cheesecake Cookies work beautifully alongside eggs and fruit platters. Serve on a decorative tray with sparkling water infused with lemon or cucumber for a refreshing combo that’s both casual and sophisticated enough to impress brunch guests. You can even add a dollop of whipped cream or mascarpone for extra indulgence.
As Dessert: After dinner, these cookies shine when paired with homemade vanilla ice cream or a drizzle of warm caramel sauce. A small glass of port or dessert wine elevates the experience if you’re entertaining. The perfect balance of rich, creamy, and sweet texture means they often steal the show after any meal.
For Cozy Snacks: My personal favorite way to enjoy these is as a late-night snack while curled up with a good book or movie. I’ve learned to keep a batch in the fridge for these spontaneous cravings. Fresh strawberries or cherries work wonders as sidekicks, and I honestly can’t resist sneaking a second one when no one is looking.
Top Tips for Perfecting Your Chocolate Cheesecake Cookies
Chocolate Quality: Use a good unsweetened cocoa powder—Dutch process if you can find it—for that rich taste and deep color. It really turns the cookie from blah to wow.
Cream Cheese Prep: Softened cream cheese is non-negotiable. If it’s too cold or stiff, you’ll end up with lumps in your filling—and no one likes that surprise. I learned this the hard way quite a few times!
Mixing Dough: Be gentle once the dry ingredients hit the wet. Overmixing activates gluten and can make your cookies tough. Fold just until no floury streaks remain; a few flour spots leftover is better than overworked dough.
Swirling Magic: When you swirl in the filling, don’t overdo it! Those playful swirls should look natural and rustic, not perfectly blended. Using a thin skewer or toothpick, gently twist and loop rather than stir aggressively.
Ingredient Swaps: For dairy-free or lighter versions, I’ve had success swapping cream cheese with vegan cream cheese alternatives or mascarpone. Almond or oat milk works fine in the glaze, sometimes making it even silkier. Using coconut sugar instead of white sugar creates a lovely caramel undertone.
Baking Tricks: Place your cookie sheet in the middle rack for even heat. If you want thicker cookies, chill the dough for 30 minutes before baking. Test for doneness by gently pressing the edge of a cookie—it should feel set, not jiggly.
Glaze Variations: Feel free to jazz up the glaze by adding a teaspoon of espresso powder for mocha vibes, or a tablespoon of orange zest for a citrus kick. If you want a more rustic look, skip the glaze and dust with powdered sugar instead.
Storing and Reheating Tips
Room Temperature: Store these cookies in an airtight container at room temperature for up to 2 days. I like to layer them between parchment paper so the glaze or filling doesn’t stick. They stay soft and just as delicious if eaten within this window.
Refrigerator Storage: Because of the cream cheese filling, refrigeration is best if you plan to keep them longer. A sealed Tupperware box or cookie tin works great. Cookies maintain their texture and flavor for up to 5 days in the fridge. Just let them come to room temp before serving.
Freezer Instructions: These cookies freeze wonderfully. Wrap each cookie individually with plastic wrap or foil, then place them in a freezer-safe bag or container for up to 3 months. Thaw overnight in the fridge or for a couple of hours at room temp. The filling remains creamy, and the cookie softens right back up.
Glaze Timing Advice: If you’re freezing, I recommend glazing after thawing for the best texture and appearance. Glazing before freezing can lead to cracks or uneven texture once thawed.
Frequently Asked Questions
Final Thoughts
Sharing these Chocolate Cheesecake Cookies with you feels like giving a little piece of my kitchen heart. Every batch I make brings back warm memories of family moments, little fingers reaching for “just one more,” and that unbeatable smell of chocolate and cream cheese mingling in the oven. If you’re looking for something with a homemade feel but a surprisingly fun twist on your usual cookie, this recipe is it. Dive in, swirl that filling, and savor every bite—you’re in for a treat that’s as comforting as it is decadent. And hey, once you’ve fallen for these, check out some of my other recipes where chocolate and cream cheese team up in all sorts of delicious ways. Can’t wait to hear how yours turns out—drop me a comment and let me know what tweaks you try. Happy baking!