Disneyland Halloween Treats
Every fall, there’s this unmistakable buzz in the air when autumn rolls around—not just the crispness of the leaves, but this wave of excitement for all things pumpkin, candy, and spook-tacular sweets. Growing up, my most cherished memories were those trips to Disneyland during Halloween season, wandering Main Street with a caramel apple in hand while the park was decked out in all its haunting glory. Those Disneyland Halloween Treats aren’t just desserts—they’re little bites of joy that somehow capture the whimsy of that whole spooky season. I found myself craving these treats so much that I started recreating them in my own kitchen, turning my family gatherings into mini Halloween celebrations filled with magic and sweetness. If you love the cozy nostalgia of Disney’s autumn vibes or you’re just after something fun and festive to whip up, stick around—I’ve got the scoop on how to bring those iconic flavors right into your home.
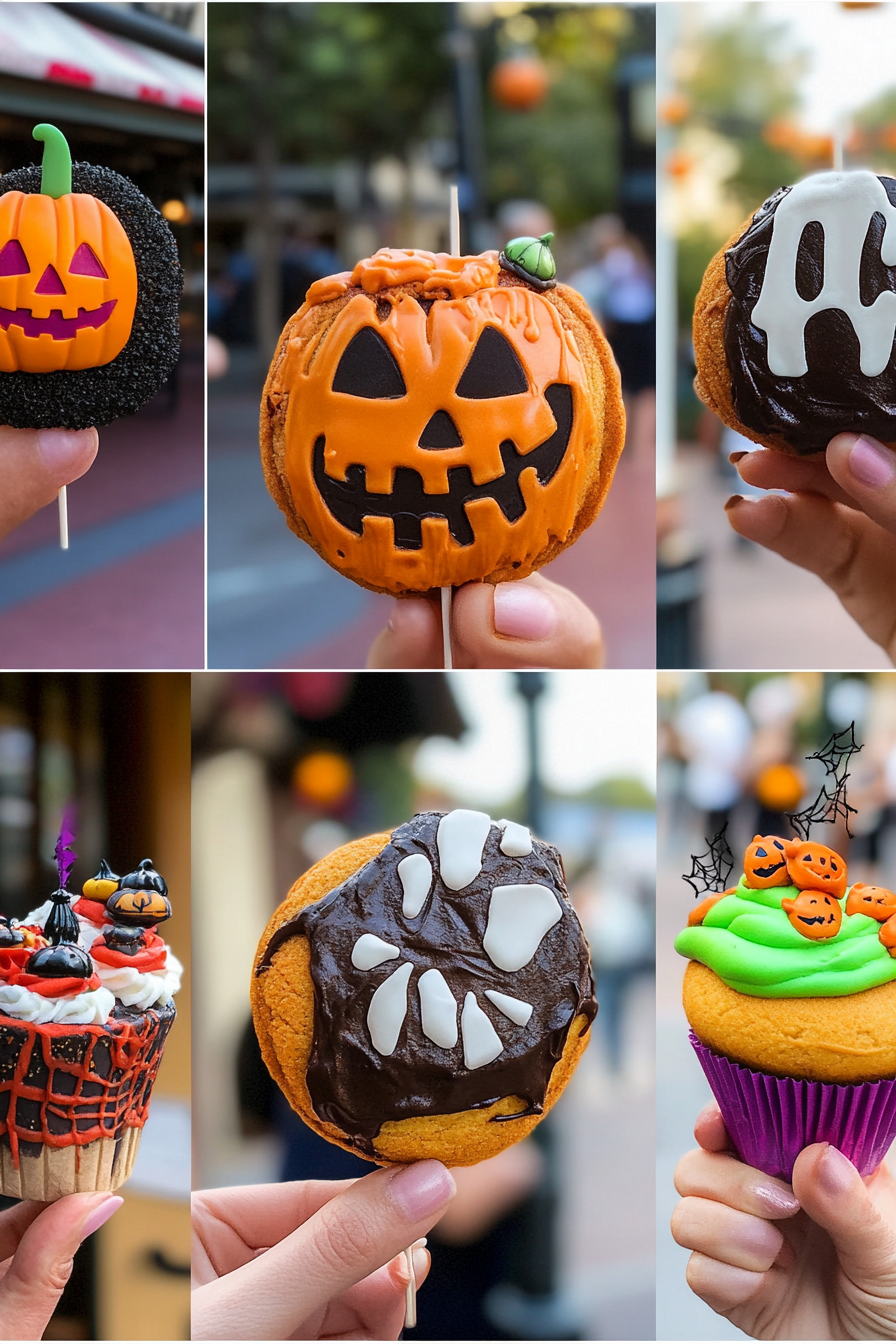
What are some Disneyland Halloween treats?
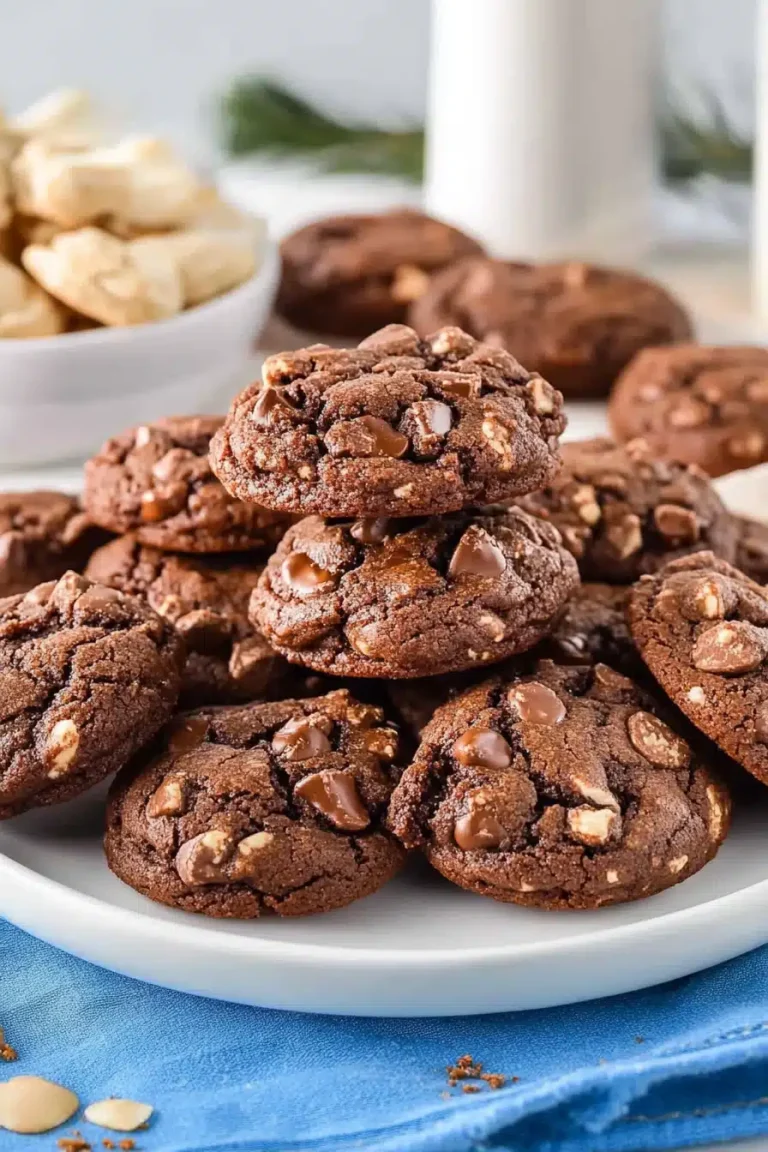
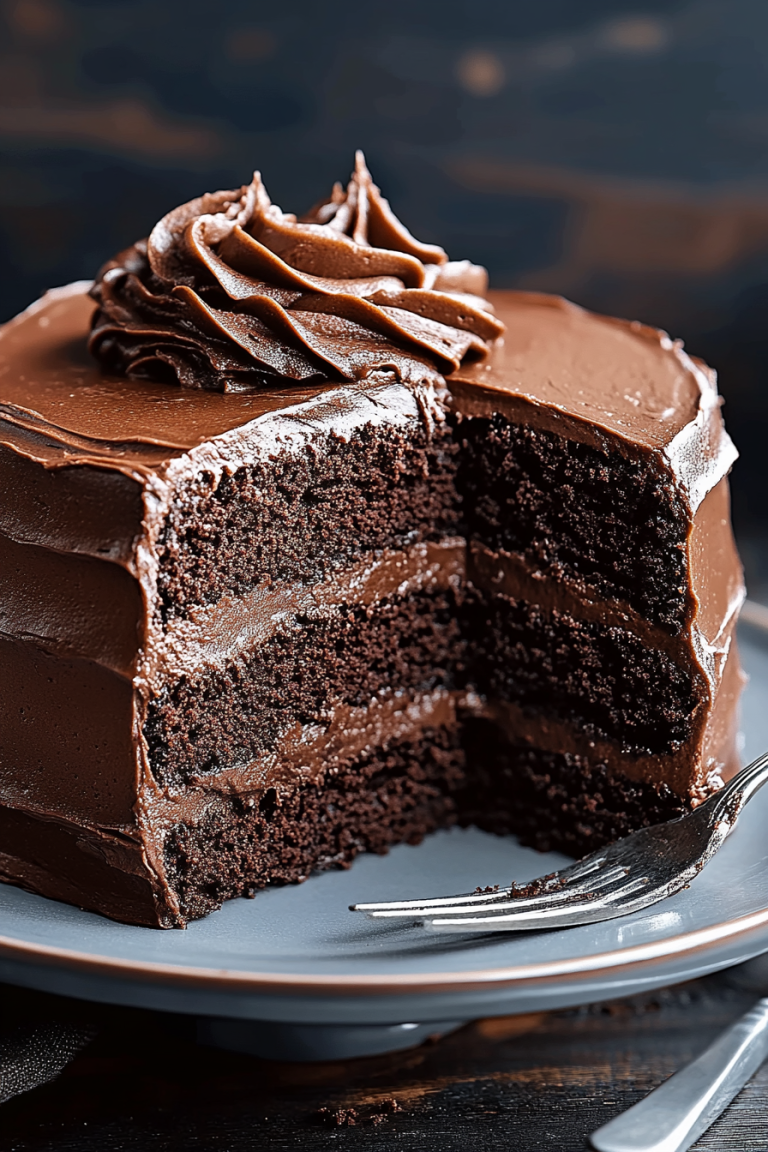
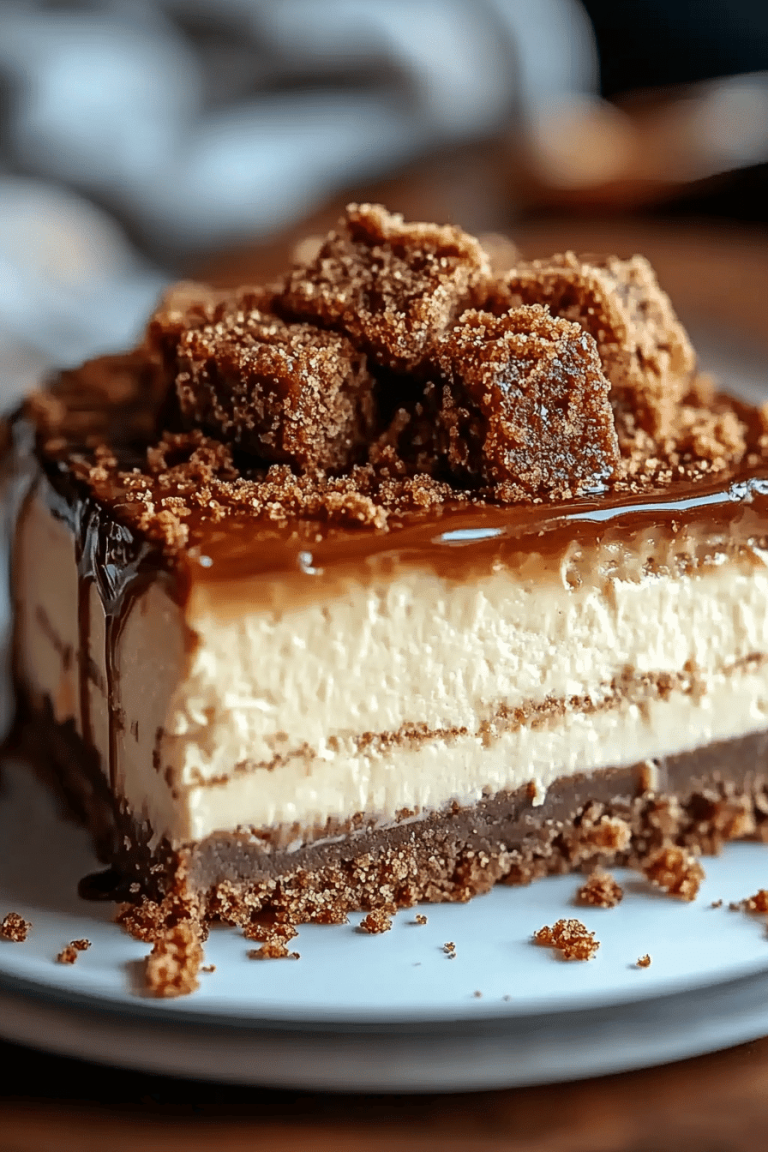
Think of Disneyland Halloween Treats as the delightful, candy-coated, pumpkin-spiced charm of the park captured in a handful of goodies and desserts. It’s essentially a mix of playful, indulgent snacks and desserts inspired by the Halloween decorations and festive spirit that dons the entire park. From gooey caramel apples sprinkled with candy to whimsical cupcakes decorated with ghosts and pumpkins, these treats blend sweet, nostalgic flavors with a dash of whimsy. Sometimes, they’re dripping in chocolate or covered in colorful sprinkles, but the real magic is in the fun and festive vibe they bring—sort of like a little party for your taste buds. The best part? You don’t need to visit the Happiest Place on Earth to enjoy them; with a sprinkle of imagination and some simple ingredients, you can get the exact same smiles and warmth right at your own kitchen counter.
Why you’ll love this recipe?
What I love most about recreating Disneyland Halloween Treats at home is how they transport me back to those carefree childhood days without the long lines or crowds. The flavor combo usually hits that perfect sweet spot — think cinnamon, pumpkin spice, and rich chocolate balanced with the crunch of nuts or toffee. Honestly, the tastes are nostalgic and cozy, like getting a big hug from the inside out. Simplicity is another huge plus: many of these treats come together quickly and with ingredients you probably already have stashed away, which means no frantic last-minute grocery runs. Plus, they’re perfect to share with kids or bring to a party where everyone from picky toddlers to adults can enjoy them. And since the recipes are pretty versatile, you can swap out ingredients based on what’s in your kitchen, dietary needs, or flavor preferences. Trust me, I’ve made these countless times and it never fails—they’re crowd-pleasers that also warm your heart. If you’ve ever been a fan of cozy pumpkin loaves, or easy-to-make chocolate delights, you’ll find these treats a wonderful addition to your seasonal repertoire.
How do you make Disneyland Halloween treats?
Quick Overview
Alright, so making these treats is all about bringing together a few classic autumn flavors with simple techniques. You’ll start with a base that’s often spiced with pumpkin or cinnamon, add a fun filling or topping—like gooey caramel or melted chocolate—and finish with an eye-catching drizzle or decoration. What I really like about them is how forgiving they are: there’s room to get creative with your favorite fall spices or candy mix-ins, and they come together fast enough that you can whip them up after work or even late-night cravings. Plus, you don’t have to be a pro — it’s all about fun, flavor, and good company.
Ingredients
For the Main Batter (Pumpkin-Spiced Cake or Cookie Base):
- 1 ½ cups all-purpose flour – I prefer unbleached for a slightly nuttier flavor.
- 1 tsp baking soda – essential for that light, fluffy texture.
- ½ tsp baking powder – for the gentle rise.
- 1 tsp ground cinnamon – the star of the fall show.
- ½ tsp ground nutmeg – just a pinch for warmth.
- ¼ tsp ground cloves or pumpkin pie spice – optional but adds depth.
- ½ tsp fine salt – balances the sweetness perfectly.
- 1 cup pumpkin puree – I always use canned for convenience but fresh works too.
- ½ cup granulated sugar – feel free to swap for brown sugar for extra moisture.
- ½ cup vegetable oil or melted coconut oil – keeps the texture moist and tender.
- 2 large eggs – to bind everything together.
- 1 tsp vanilla extract – trust me, vanilla is a must!
For the Filling:
- ½ cup caramel sauce – homemade or store-bought works; homemade always gets compliments though!
- ½ cup chopped nuts (pecans or walnuts) – adds delightful crunch.
- Optional: mini chocolate chips or candy pieces – for that classic trick-or-treat feel.
For the Glaze:
- 1 cup powdered sugar – sifted to avoid lumps.
- 2-3 tbsp milk or cream – adjust for desired thickness; I sometimes try almond milk for a subtle nuttiness.
- ½ tsp vanilla extract or pumpkin spice – to enhance flavor.
- Optional: orange or black food coloring – for that festive Halloween pop.
Step-by-Step Instructions
Step 1: Preheat & Prep Pan
Start by heating your oven to 350°F (175°C). I always line my baking pan with parchment paper—makes cleanup a breeze and keeps the treats from sticking. If you’re using a loaf pan for a pumpkin spice cake version, grease it lightly with butter or oil. Pro tip: Let the pan warm for 5 minutes in the oven before pouring the batter—it helps cook the edges evenly and avoid soggy spots.
Step 2: Mix Dry Ingredients
In a large mixing bowl, whisk together the flour, baking soda, baking powder, salt, cinnamon, nutmeg, and cloves. Doing this helps all those beautiful spices evenly distribute so every bite tastes just right. Make sure to whisk well until you see a nice uniform color—no spice clumps sneaking afar!
Step 3: Mix Wet Ingredients
In a separate bowl, combine the pumpkin puree, sugar, oil, eggs, and vanilla extract. Here’s a little secret: I like to beat this until it’s smooth and glossy—that extra effort keeps the batter silky and ensures your treats have that melt-in-your-mouth texture everyone raves about. Avoid overmixing, but get rid of lumps in the wet so it blends beautifully with the dry later.
Step 4: Combine
Pour the wet into the dry mixture. Now, gently fold them together using a spatula. The key here is to smile and take your time—overmixing can make your treats tough, but a few lumps are totally fine. The batter should be thick but spreadable—think luxurious pumpkin silk! If it feels too dense, a tablespoon of milk can loosen things up.
Step 5: Prepare Filling
If you’re going with the caramel and nuts filling, mix them lightly in a bowl ahead of time. The caramel can sometimes thicken in cool weather, so gently warm it until pourable but not runny. You can customize this step with your favorite candy chunks for some surprise bites—my kids love finding chocolate chips hidden inside.
Step 6: Layer & Swirl
Pour half the batter into your pan, then dollop spoonfuls of the caramel-nut filling all over. Add the remaining batter on top, and then take a butter knife or skewer to swirl the layers gently together. I like creating loose spirals rather than big messy swirls—that way, you still get pockets of gooey caramel magic without losing the pumpkin base. It looks just as good as it tastes!
Step 7: Bake
Bake for about 35-45 minutes, depending on your pan size—start checking around 30 minutes with a toothpick inserted in the center. When it comes out clean or with a few moist crumbs, that’s your sign. My oven runs hot, so I lower the temp to 325°F after 20 minutes sometimes to prevent overbrowning. If you see caramel bubbling over, just lay a foil shield on top loosely.
Step 8: Cool & Glaze
Let the treat cool in the pan for 10-15 minutes before transferring to a rack. You want it warm enough for the glaze to set nicely but not so hot it melts the surface. Whisk your glaze ingredients until smooth, then drizzle generously or get creative and make a spooky spider-web pattern. Adding a dash of orange food coloring instantly brightens it for Halloween flair.
Step 9: Slice & Serve
Slice once fully cooled so the glaze firms up and slices cleanly. I find cooling in the fridge for 20 minutes helps if you’re in a hurry. Serve these treats with a hot cup of coffee or spiced cider; the smell alone brings everyone to the kitchen. You’ll see smiles and maybe even requests for seconds as the gooey caramel and warm spices work their magic.
What to Serve It With
For Breakfast: Pair these Halloween treats with a rich dark roast coffee or a creamy latte. The spices in the treat harmonize beautifully with the coffee’s boldness, making it a cozy wake-up call. Add a side of fresh fruit for balance.
For Brunch: Plate these with whipped cream or mascarpone and a sprinkle of cinnamon and crushed nuts. Serve alongside sparkling apple cider or a pumpkin spice latte for an elegant morning feast that still feels festive and fun.
As Dessert: Serve warm with a scoop of vanilla ice cream or drizzle extra caramel sauce on top. A dusting of nutmeg or cocoa powder adds a finishing touch, making this your go-to after-dinner indulgence come October.
For Cozy Snacks: Grab a mug of hot chocolate or chai tea and enjoy these treats in front of the fireplace or while watching your favorite Halloween movie. My family does this every October, and it’s become a ritual we all look forward to.
Honestly, these Disneyland Halloween Treats sit perfectly anywhere you want a touch of comfort with a dash of celebration. They’ll bring your family and friends closer, sparking memories while making new ones.
Top Tips for Perfecting Your Disneyland Halloween Treats
Pumpkin Purée Prep: Make sure your pumpkin puree isn’t too watery—if using fresh, strain or cook it down a bit. Too much moisture can make the batter runny, so I always drain any excess liquid before measuring.
Mixing Advice: Resist the urge to whisk the batter too aggressively once wet and dry mix—it’s tempting but that can lead to a dense, tough texture. Folding gently keeps it tender and fluffy.
Swirl Customization: For a bolder swirl, try adding a little cocoa powder to part of your batter or drizzle melted chocolate instead of caramel. Use a skewer in slow, deliberate loops—it’s like painting a Halloween masterpiece.
Ingredient Swaps: I’ve tried swapping out the oil for applesauce for a lighter, less greasy version. It works well but the texture is a little different—more cake-like and less moist. Gluten-free flour blends also work fine, just expect a slightly denser bite.
Baking Tips: Keep your oven door closed until the last 10 minutes to prevent temperature drops. If your treats brown too fast, tent with foil to avoid overcooking the edges while keeping the center soft.
Glaze Variations: Switch up your glaze flavor by adding a dash of pumpkin spice or a pinch of espresso powder for depth. For a thinner glaze, add more milk one teaspoon at a time. A thick glaze works best if you want that drippy look, so plan your pour accordingly.
I’ve learned over the years that a little patience goes a long way—letting your treats cool properly and not rushing the glaze makes all the difference between great and unforgettable. The smell that fills the house? Absolute magic every time.
Storing and Reheating Tips
Room Temperature: Store these treats in an airtight container for up to 2 days on the countertop. Cover them loosely with foil to keep the glaze intact without sweating.
Refrigerator Storage: They’re best kept in the fridge if you want to extend freshness to about 5 days. Keep them in a tight-sealing container to avoid absorbing other odors, and bring to room temperature before serving for best flavor.
Freezer Instructions: Wrap slices tightly in plastic wrap, then place in a freezer bag or container. They freeze well for up to 3 months. To thaw, leave in the fridge overnight or at room temperature for a couple of hours. I recommend glazing after they thaw so it stays fresh and glossy.
Glaze Timing Advice: If freezing, wait to add the glaze until after thawing. Glazing ahead can cause it to crack or become sticky in the freezer. For short-term storage at room temp or fridge, glaze before storing for that festive look.
From personal experience, I’ve found these methods keep the treats tasting as heavenly as the first day I made them, so no waste or leftover disappointment here!
Frequently Asked Questions
Final Thoughts
There’s something truly special about bringing those Disneyland Halloween Treats from a theme park fantasy into your very own home kitchen. These recipes spark joy not just because of their flavors but because they invite us to slow down, share smiles, and create little moments of magic with family and friends. Whether you’re making them for a festive party, a cozy night in, or just because the autumn itch strikes, they’re reliable crowd-winners that bring everyone a little closer. Give this recipe a try—you might find a new tradition unfolding right on your countertop. And hey, if you get creative with your own variations, don’t be shy! I love hearing how others make these treats their own, so leave a comment, share your tweaks, and let’s keep the magic going. Happy baking and here’s to tasty memories that last!

Spooky Disneyland Sweets You'll Adore
Ingredients
Main Ingredients
- 2 cups all-purpose flour
- 1 cup granulated sugar
- 0.5 cup unsweetened cocoa powder
- 1 teaspoon baking powder
- 0.5 teaspoon salt
- 1 cup unsalted butter melted
- 2 large eggs
- 1 teaspoon vanilla extract
- 0.75 cup orange-colored candy melts
- 0.5 cup black sprinkles
- 1 cup mini marshmallows
Instructions
Preparation Steps
- Preheat your oven to 350°F (177°C) and grease a 9x9 inch baking pan.
- In a large bowl, whisk together flour, sugar, cocoa powder, baking powder, and salt until combined.
- Stir melted butter, eggs, and vanilla extract into the dry ingredients until just combined; do not overmix.
- Pour the batter into the prepared pan and smooth the top evenly.
- Bake for 15 minutes or until a toothpick inserted in the center comes out clean.
- Let the brownies cool completely in the pan on a wire rack.
- Melt the orange candy melts according to package instructions and drizzle evenly over the cooled brownies.
- Sprinkle black sprinkles and mini marshmallows on top while the candy melts are still warm.
- Allow the decoration to set before cutting into squares and serving.