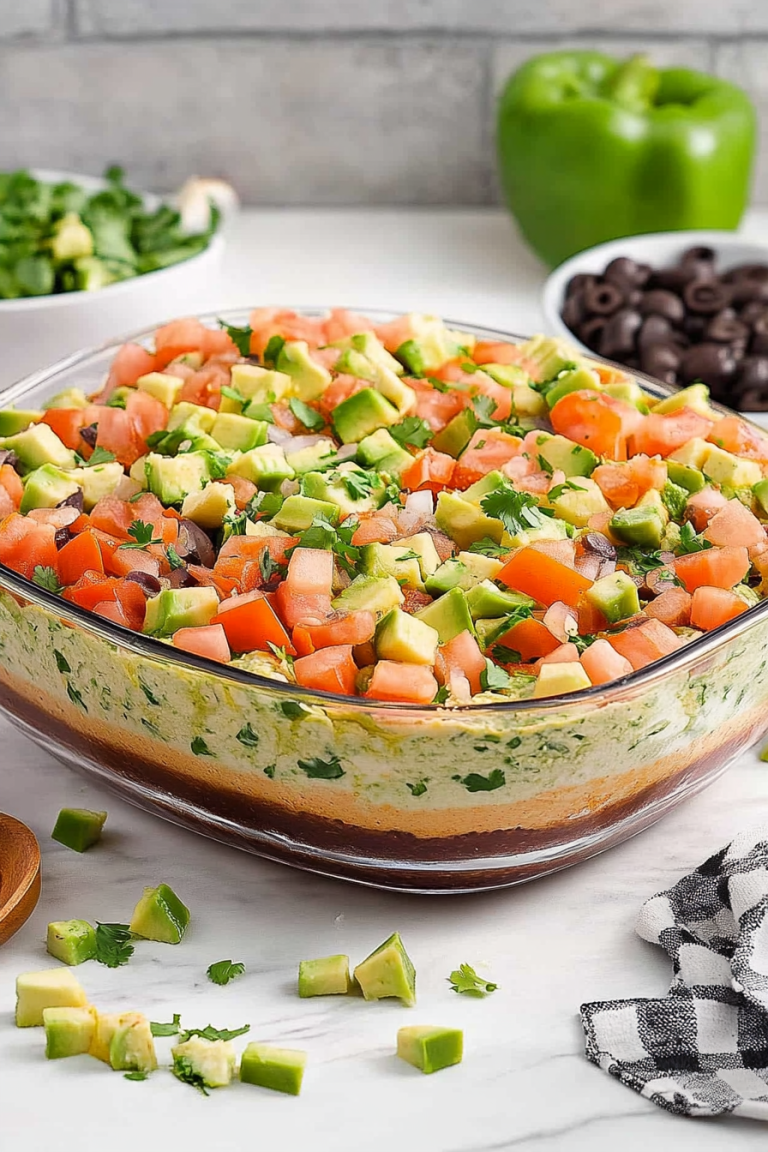
Cream Cheese Taco Dip
Oh, friends, gather ’round because I’m about to share something truly special with you. This isn’t just any recipe; it’s a ticket to guaranteed crowd-pleasing success, a lifesaver on chaotic weeknights, and honestly, a little bit of pure, unadulterated joy in dip form. We’re talking about my absolute go-to Cream Cheese Taco Dip. You know those gatherings where everyone’s hovering around the snack table, and this one particular dish is just *gone* in minutes? Yeah, that’s the one. It’s like a warm hug on a plate, with just enough kick to keep things interesting. If you’ve ever made a layered taco dip before, think of this as its smoother, creamier, more sophisticated cousin. It’s the kind of dip that makes people ask for the recipe immediately, and then act a little bit smug when they realize how ridiculously easy it is to make. It’s truly a game-changer, and I can’t wait for you to try it!
What is a cream cheese taco dip?
So, what exactly *is* this magical Cream Cheese Taco Dip we’re talking about? Well, the name pretty much tells the story, doesn’t it? At its heart, it’s a luscious, creamy, layered dip that’s inspired by all the incredible flavors of tacos, but elevated. Think of it as the ultimate party dip, perfect for game days, potlucks, or honestly, just a Tuesday night when you need a serious comfort food fix. The “cream cheese” part is key here – it’s what gives it that unbelievably smooth, rich texture that’s just a step above your average layered dip. It’s essentially a party in a pan, with layers of seasoned meat, beans, vibrant salsa, cheese, and that signature creamy base. It’s not complicated, but the combination of textures and flavors is just *chef’s kiss*.
Why you’ll love this recipe?
There are so many reasons why this Cream Cheese Taco Dip has become an absolute staple in my kitchen, and I just know you’re going to fall in love with it too. First and foremost, the flavor! Oh my goodness, the flavor. It’s this perfectly balanced blend of savory, a little bit spicy, and incredibly rich. The cream cheese base smooths everything out so beautifully, making each bite pure bliss. And then there’s the simplicity of it all. Seriously, you can whip this up in hardly any time at all, and it feels like you’ve put in so much more effort than you actually have. This is a lifesaver when you get a last-minute invite or when you’re just exhausted after a long day but still want something delicious. Plus, it’s surprisingly budget-friendly! You can grab most of the ingredients without breaking the bank, which is always a win in my book. What I love most, though, is its versatility. You can totally customize it to your liking. Don’t like black beans? Swap them for pinto! Want it spicier? Add some jalapeños! It’s also perfect for entertaining because it’s a dish that everyone, and I mean *everyone*, seems to enjoy. It’s way better than that dry, crumbly dip I used to make years ago before I discovered the magic of cream cheese. Trust me on this one.
How do you make a creamy taco dip?
Quick Overview
Making this Cream Cheese Taco Dip is so straightforward, it almost feels like cheating. You’ll brown some seasoned ground beef, mix up a simple, glorious cream cheese base, layer everything up in a pretty dish, and then bake it until it’s bubbly and irresistible. The beauty is in its simplicity; no fancy techniques required, just good old-fashioned layering and baking. This recipe is designed to be as fuss-free as possible, so you can spend less time in the kitchen and more time enjoying your guests (or just enjoying it yourself!).
Ingredients
For the Savory Taco Base:
1 pound GROUND BEEF (I prefer 80/20 for the best flavor, but use what you like!)
1 packet (about 1 ounce) taco seasoning mix (or make your own blend if you’re feeling adventurous!)
1/2 cup water (for the taco seasoning, as directed on the packet)
For the Dreamy Cream Cheese Layer:
8 ounces cream cheese, softened to room temperature (this is super important for smoothness!)
1/4 cup sour cream (for extra tang and creaminess)
1/4 cup milk (any kind works, but I sometimes use almond milk and it makes it even creamier!)
1/2 teaspoon garlic powder
1/4 teaspoon onion powder
Salt and black pepper to taste
For the Glorious Toppings:
1 can (15 ounces) refried beans, warmed (I like to warm them gently on the stovetop or in the microwave)
1 can (15 ounces) black beans, rinsed and drained
1 jar (16 ounces) salsa (your favorite kind! Mild, medium, or hot – your choice!)
2 cups shredded Mexican blend cheese (or cheddar and Monterey Jack mix)
Step-by-Step Instructions
Step 1: Preheat & Prep Pan
First things first, let’s get that oven preheated to 375 degrees Fahrenheit (190 degrees Celsius). While it’s heating up, grab an 8×8 inch baking dish. You don’t need to grease it or anything, since the layers will provide plenty of moisture and richness. Just have it ready to go.
Step 2: Mix Dry Ingredients
In a large skillet over medium-high heat, add your ground beef. Break it up with a spoon and cook until it’s nicely browned. Drain off any excess grease – this is an important step for texture and to avoid a greasy dip! Once drained, stir in the taco seasoning and the 1/2 cup of water. Let it simmer for about 5-7 minutes, stirring occasionally, until the sauce has thickened and coated the beef beautifully. This is where all that amazing taco flavor really comes to life!
Step 3: Mix Wet Ingredients
Now for the magic! In a medium bowl, add your softened cream cheese, sour cream, milk, garlic powder, and onion powder. Using an electric mixer (or a good old-fashioned whisk and some arm power!), beat everything together until it’s incredibly smooth and creamy. You want it to be lump-free and luscious. Taste it and add a pinch of salt and pepper if you think it needs it. This layer is the foundation of our creamy dream!
Step 4: Combine
This is where we bring our base together. Spoon the cooked taco meat mixture into your prepared baking dish and spread it out evenly. Then, dollop spoonfuls of the warm refried beans over the meat and gently spread them out. Don’t worry if it’s not perfectly smooth; a little texture is nice! Next, spoon the creamy cream cheese mixture over the refried beans and spread it as evenly as you can. It’s going to feel thick, and that’s exactly what we want. This layer is what makes our dip so wonderfully rich and decadent.
Step 5: Prepare Filling
Now for the colorful toppings! Sprinkle the rinsed and drained black beans evenly over the cream cheese layer. Then, spoon the salsa over the beans. Again, try to get an even distribution. Finally, top it all off with the shredded Mexican blend cheese. Make sure to get it all the way to the edges so that every bite has that glorious cheesy pull.
Step 6: Layer & Swirl
We’ve already done the layering in Step 4 and 5, so this step is more about making it look pretty before baking! You can gently swirl a bit of the salsa into the cream cheese layer if you like, but I usually just keep the layers distinct for visual appeal. The cheese on top will melt into a beautiful, golden blanket, and the colors peeking through from the salsa and beans are just lovely.
Step 7: Bake
Pop that beautiful dish into your preheated oven and bake for 20-25 minutes, or until the cheese is melted and bubbly around the edges, and the dip is heated through. The aroma that will fill your kitchen during this time is just incredible – it’s like a party in your nose!
Step 8: Cool & Glaze
Once it’s out of the oven, let it sit for about 5-10 minutes. This is crucial! It allows the layers to set slightly so it doesn’t all just fall apart when you scoop it. There’s no glaze needed for this recipe; the melted cheese and creamy layers are all the “glaze” you need!
Step 9: Slice & Serve
Now for the best part! Serve your glorious Cream Cheese Taco Dip warm with tortilla chips, crackers, or even veggie sticks. I like to scoop it out with a spatula or a large spoon, getting a bit of every layer in each scoop. It’s truly a showstopper!
What to Serve It With
This Cream Cheese Taco Dip is incredibly versatile, which is one of the many reasons I adore it. For breakfast? Okay, maybe not the most traditional, but I’ve definitely found myself scooping some onto a warm tortilla for a hearty morning meal, especially after a late night. For brunch, it’s a star! Serve it alongside some fresh fruit, maybe some scrambled eggs, and a nice mimosa. It adds that savory, satisfying element that balances out the sweeter brunch items. As a dessert? Hear me out – after a lighter meal, a small scoop of this, maybe with a drizzle of sriracha if you’re feeling bold, can be surprisingly satisfying. It’s a savory indulgence! But where it truly shines is for cozy snacks and parties. I always have a big bowl of tortilla chips, some Fritos for a different crunch, and even some celery and bell pepper sticks for those who want something a little lighter. My family also loves it with sturdy crackers or even little toasted baguette slices. It’s the perfect addition to any game day spread, holiday party, or just a casual get-together with friends. It’s the dip that always brings people together!
Top Tips for Perfecting Your Cream Cheese Taco Dip
Over the years, I’ve learned a few little tricks that really help make this Cream Cheese Taco Dip absolutely perfect every single time. First off, the cream cheese needs to be truly softened. I can’t stress this enough! If it’s still cold, you’ll end up with lumps, and nobody wants lumpy cream cheese. Let it sit on the counter for at least an hour, or pop it in the microwave for 15-20 seconds on low power, checking frequently. For the taco meat, make sure you drain that grease really well. A greasy base will make the whole dip feel heavy and unappetizing. When you’re mixing the cream cheese layer, beat it until it’s *really* smooth – you want that velvety texture. If you like a little extra heat, don’t be afraid to add a pinch of cayenne pepper or some finely chopped jalapeños to the cream cheese mixture. For the refried beans, warming them up before layering makes them much easier to spread without tearing the layers beneath. And for the salsa, I tend to use a thicker salsa rather than a watery one; it prevents the dip from getting too soupy. If you’re not a fan of black beans, pinto beans are a great substitute, or even a mix of both! When it comes to cheese, I usually go for a Mexican blend, but a sharp cheddar or Monterey Jack alone works beautifully too. Don’t skimp on the cheese! The baking time is a guideline; ovens can be finicky. You’re looking for that bubbly, golden-brown perfection on top. And please, please let it rest for a few minutes after it comes out of the oven. It makes a world of difference in how well it holds together when you scoop it. I once skipped this step and it was a delicious mess, but a mess nonetheless!
Storing and Reheating Tips
One of the best things about this Cream Cheese Taco Dip is how well it stores, meaning you can make it ahead or enjoy leftovers! If you have any, that is! At room temperature, it’s best to consume it within 2 hours, especially if it’s warm out or in a warm room. For refrigerator storage, let the dip cool completely, then cover it tightly with plastic wrap or transfer it to an airtight container. It will stay delicious in the fridge for about 3-4 days. The creaminess might slightly reduce as it cools, but it’s still fantastic. When it comes to reheating, you have a couple of options. For best results, I like to gently reheat individual servings in the microwave for about 30-60 seconds, or until warmed through. If you have a larger amount, you can pop the whole dish back into a preheated oven at around 300 degrees Fahrenheit (150 degrees Celsius) for about 10-15 minutes, or until heated through and the cheese is melty again. Sometimes, when reheating, the layers can separate slightly; just give it a gentle stir. I find that if I’m storing it for longer, I might add some of the cheese topping fresh after reheating for an extra gooey finish. I haven’t personally tried freezing this dip, as it’s usually gone too fast! However, if you wanted to try, I’d recommend freezing it *before* baking, without the top layer of cheese, and then thawing it in the fridge overnight and baking as usual, adding fresh cheese before baking. The cream cheese might change texture slightly, but it should still be tasty.
Frequently Asked Questions
Final Thoughts
So there you have it, my dear friends! My absolute favorite Cream Cheese Taco Dip. It’s honestly one of those recipes that just brings people together and always gets rave reviews. The creamy texture from the cream cheese base, combined with the savory taco meat and all those delicious toppings, creates a flavor sensation that’s hard to beat. It’s so easy to make, incredibly satisfying, and perfect for any occasion. If you’re looking for a reliable, crowd-pleasing dip that will make everyone ask for the recipe, this is it. I really hope you give it a try, and I can’t wait to hear how yours turns out! Don’t forget to let me know in the comments below if you make it, or if you have any fun variations you’ve tried. Happy dipping!
Cream Cheese Taco Dip
Ingredients
Main Ingredients
- 1 package cream cheese softened
- 1 cup sour cream
- 1 packet taco seasoning
- 0.5 cup salsa
- 0.5 cup shredded cheddar cheese
- 0.25 cup chopped black olives
- 0.25 cup chopped green onions
Instructions
Preparation Steps
- In a medium bowl, beat together the softened cream cheese and sour cream until smooth.
- Stir in the taco seasoning and salsa until well combined.
- Spread the mixture into a serving dish.
- Top with shredded cheddar cheese, chopped black olives, and chopped green onions.
- Chill for at least 30 minutes before serving to allow flavors to meld.

