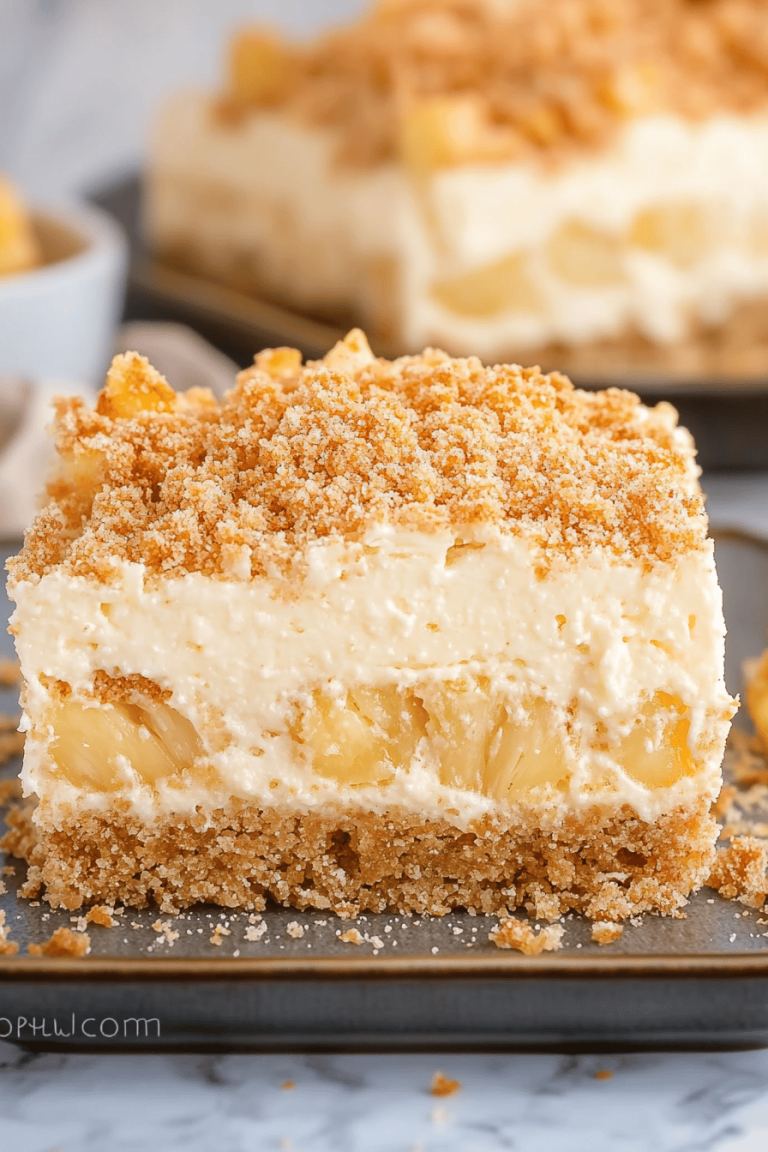
cookie dough football
There are certain recipes that just feel like sunshine and hugs. You know the ones – they’re the keepers, the ones you whip up when you need a little comfort or when you want to impress without breaking a sweat. For me, one of those recipes, especially when football season rolls around or when the kids are begging for something special, is this cookie dough football. Honestly, the name itself just sounds fun, doesn’t it? It’s not just any no-bake cookie; it’s a little disc of pure joy that tastes exactly like that irresistible, creamy, sweet cookie dough you’ve always loved, but without any of the baking drama. If you’re a fan of classic no-bake cookies or those delightful Cookie Dough Bites you can buy at the store, imagine that, but elevated. This cookie dough football is like the champion of all no-bake treats, and I’m so thrilled to share it with you today. It’s truly a lifesaver on busy weeknights and an absolute crowd-pleaser for parties!
What is cookie dough football?
So, what exactly is this “cookie dough football” I keep raving about? Think of it as a no-bake cookie reinvented with a little personality and a whole lot of flavor. It’s essentially a delicious, Edible Cookie Dough that’s shaped into cute little footballs and often topped with a simple, sweet glaze. The magic happens because it mimics the taste and texture of raw cookie dough without any of the raw egg concerns. We’re talking about that perfect balance of sweet, buttery, and vanilla-y goodness, often with little pops of chocolate chips. It’s dense, rich, and utterly satisfying. The “football” shape is just a fun little nod to game days, but honestly, these taste so good that they disappear just as quickly during any occasion, or even just a Tuesday afternoon. It’s essentially a bite-sized piece of happiness that feels both nostalgic and brand new.
Why you’ll love this recipe?
Oh, where do I even begin with why you’ll adore this cookie dough football recipe? Let’s break it down, shall we? First and foremost, the FLAVOR. It’s like a direct ticket to your happy place. Each bite is packed with that classic sweet, buttery cookie dough taste, and if you add chocolate chips (which I *always* do), you get those delightful little bursts of melted goodness. It’s pure comfort food in cookie form. Then there’s the SIMPLICITY. This is where this recipe truly shines for me. No oven required! We’re talking about minimal effort for maximum reward, which is my kind of cooking. I can whip these up in under 20 minutes, and that includes the time it takes to clean up a few bowls. It’s a lifesaver when I’m craving something sweet but don’t have the energy or time for traditional baking. Plus, it’s incredibly COST-EFFECTIVE. The ingredients are all pantry staples that you likely already have on hand, making it a super budget-friendly way to satisfy a sweet tooth. And let’s talk VERSATILITY. While I love shaping them into footballs, you can easily roll them into balls, press them into a pan for bars, or even skip the shaping altogether and just eat them with a spoon straight from the bowl (I won’t tell!). What I love most about this cookie dough football is that it’s something everyone, from my youngest niece to my grandpa, can enjoy. It’s a taste of childhood joy, perfected.
How do I make cookie dough football?
Quick Overview
This recipe is all about getting that delicious Cookie Dough flavor into a fun, no-bake treat with minimal fuss. You’ll basically combine your wet ingredients, then mix in your dry ingredients to form a thick dough. Next, you’ll stir in your chocolate chips, shape the dough into little footballs, and finish with a simple glaze. It’s incredibly straightforward and perfect for little helpers in the kitchen too!
Ingredients
For the Cookie Dough Base: For the Cookie Dough Base: For the Cookie Dough Base: For the Cookie Dough Base
1 cup (2 sticks) unsalted butter, softened: Make sure it’s truly softened, not melted! This is key for that creamy texture. I usually leave mine on the counter for about an hour. If you’re in a rush, you can gently microwave it in 10-second intervals, but be careful not to overdo it.
1 cup granulated sugar: This gives us that classic sweet cookie flavor.
1/2 cup packed light Brown Sugar: The brown sugar adds a wonderful depth of flavor and a slightly chewier texture. Don’t skip it!
2-3 tablespoons milk (any kind works!): This helps bind everything together and achieve the perfect dough consistency. I’ve tested this with almond milk and it actually made it even creamier!
1 teaspoon vanilla extract: This is non-negotiable for that authentic cookie dough taste. Use the good stuff if you have it!
2 cups all-purpose flour: I always sift my flour for recipes like this, it just ensures no lumps sneak into the dough.
1/2 teaspoon salt: Balances out the sweetness and brings out the flavors.
3/4 cup chocolate chips (mini or regular): You can use milk, dark, or even white chocolate chips. Mini chocolate chips distribute really well throughout the dough. Some people love adding nuts too, but I stick to chocolate chips for that classic cookie dough vibe.
For the Simple Glaze:
1 cup powdered sugar: Sifted, if possible, to avoid any lumps.
2-3 tablespoons milk or cream: Start with 2 tablespoons and add more, a teaspoon at a time, until you reach your desired drizzling consistency. Cream will make it richer.
1/4 teaspoon vanilla extract (optional): Just a little something extra to boost the flavor.
Step-by-Step Instructions
Step 1: Preheat & Prep Pan
You don’t actually need to preheat an oven for this recipe, which is part of its charm! Instead, grab a large baking sheet and line it with parchment paper or wax paper. This will prevent your cookie dough footballs from sticking and make cleanup a breeze. I always have my baking sheet ready to go before I even start mixing, so there’s no frantic searching when the dough is ready to be shaped.
Step 2: Mix Dry Ingredients
In a medium bowl, whisk together the all-purpose flour and salt. Make sure they are well combined. This ensures the salt is evenly distributed throughout the dough, which is important for flavor. I usually give it a good whisk for about 30 seconds. It’s a simple step, but it makes a difference!
Step 3: Mix Wet Ingredients
In a large bowl, cream together the softened butter, granulated sugar, and light brown sugar until light and fluffy. This can be done with an electric mixer or by hand if you’re feeling ambitious (and have strong arms!). Once it’s nice and creamy, beat in the vanilla extract and 2 tablespoons of milk. If the mixture seems a little stiff, add the remaining tablespoon of milk. You’re looking for a smooth, cohesive mixture.
Step 4: Combine
Gradually add the dry ingredients (from Step 2) to the wet ingredients. Mix on low speed or stir with a sturdy spoon until just combined. Be careful not to overmix! Overmixing can lead to a tough texture, and we want that tender, fudgy cookie dough consistency. You should have a thick, pliable dough that’s easy to handle.
Step 5: Prepare Filling
Stir in the chocolate chips. Gently fold them in with a spatula or spoon until they are evenly distributed throughout the cookie dough. If you’re using larger chocolate chips, you might want to break them up slightly so they don’t make shaping too difficult.
Step 6: Layer & Swirl
Now for the fun part – shaping! Take about 1 to 2 tablespoons of the cookie dough and roll it between your palms to form an oval shape, like a mini football. If the dough is too sticky, lightly dampen your hands with a little water or a tiny bit of butter. Place the shaped cookie dough footballs onto the prepared baking sheet. I like to make them roughly the same size so they bake (or rather, set) evenly. Aim for about 1 to 1.5 inches long for a good bite-sized football.
Step 7: Bake
Actually, no baking is required! Once your cookie dough footballs are shaped and on the baking sheet, place the entire sheet into the refrigerator for at least 30 minutes. This is crucial for the dough to firm up and hold its shape. You can also freeze them for about 15-20 minutes if you’re in a hurry. While they’re chilling, prepare the glaze.
Step 8: Cool & Glaze
While the cookie dough footballs are chilling, make your glaze. In a small bowl, whisk together the powdered sugar, 2 tablespoons of milk, and vanilla extract (if using) until smooth. If the glaze is too thick, add more milk, a teaspoon at a time, until it reaches a drizzling consistency. Once the cookie dough footballs are firm, carefully remove them from the refrigerator. Using a spoon or a piping bag, drizzle the glaze over the tops of the footballs, creating those classic football laces. Let the glaze set for about 10-15 minutes.
Step 9: Slice & Serve
Once the glaze has set, your cookie dough footballs are ready to be devoured! Serve them chilled or at room temperature. They’re perfect for grabbing and popping into your mouth. They look adorable on a platter, especially for game day parties. Enjoy the pure, unadulterated taste of cookie dough, no oven required!
What to Serve It With
These cookie dough footballs are so versatile, they really fit into any occasion. Here are a few of my favorite ways to serve them:
For Breakfast: Don’t knock it till you try it! A cookie dough football alongside a strong cup of coffee can be the ultimate treat to kickstart your day. It feels indulgent but because there’s no baking, it’s surprisingly quick. I sometimes serve them with a side of fresh berries to add a little freshness.
For Brunch: These add a fun, playful element to any brunch spread. Arrange them on a tiered stand with other pastries, or place one or two on each guest’s plate as a sweet finish. They pair wonderfully with mimosas or a fresh fruit salad.
As Dessert: This is their most obvious home, right? Serve them after dinner with a glass of milk (a classic pairing for anything cookie-related!) or a cup of hot chocolate. They’re also fantastic alongside a scoop of vanilla ice cream for an extra decadent treat.
For Cozy Snacks: My kids absolutely love these as an after-school snack, and honestly, so do I! They’re the perfect little pick-me-up when you need a sweet bite. I often just put a few on a small plate and enjoy them with a cozy blanket and a good book. My family also loves them during movie nights; they’re easy to share and nobody has to get up to serve anything once the movie starts!
Top Tips for Perfecting Your Cookie Dough Football
I’ve made these cookie dough footballs more times than I can count, and over the years, I’ve picked up a few tricks that really make them shine. Here are my top tips:
Zucchini Prep: Wait, zucchini? I know, this is the key to making these taste like *actual* cookie dough and not just sweet butter balls! You’ll want to grate your zucchini finely. The trick is to squeeze out as much moisture as possible. I usually wrap the grated zucchini in a clean kitchen towel or paper towels and wring it out over the sink until barely any liquid comes out. This step is super important for the texture; otherwise, your cookie dough footballs can end up a bit too wet and won’t hold their shape as well. Fresh zucchini is always best, but if you have some frozen, just make sure it’s thoroughly thawed and squeezed dry.
Mixing Advice: I’ve already mentioned it, but it bears repeating: DO NOT OVERMIX the dough once you add the flour. Mix until just combined. You’ll see some streaks of flour, and that’s okay. Overmixing develops the gluten in the flour, which can make your cookie dough footballs tough or crumbly instead of wonderfully soft and chewy. My go-to method is to finish mixing by hand with a spatula once the flour is mostly incorporated; it gives you better control.
Swirl Customization: For the “laces” on the footballs, I usually just use a simple drizzle. But if you want to get fancy, you can use a toothpick to draw on more intricate lacing patterns before the glaze sets. You can also play with colors! A little bit of brown food coloring in the glaze can give it a more authentic “leather” look. Or, try adding a tiny bit of cinnamon to the dough itself for a subtle warmth.
Ingredient Swaps: If you don’t have brown sugar, you can use more granulated sugar, but you’ll lose a bit of that caramel depth. For the milk, any kind works, even non-dairy alternatives like oat or soy milk. If you’re out of chocolate chips, chopped nuts (like walnuts or pecans) are a fantastic substitute. Some people even add a touch of almond extract along with the vanilla for a different flavor profile. Just remember, when substituting, start with the recipe’s ratios and adjust to your taste.
Baking Tips: I know I said no baking, but the chilling step is your “baking” equivalent! Don’t skimp on the chilling time. It’s essential for the cookie dough footballs to firm up. If you try to shape or glaze them when they’re too soft, they’ll just fall apart. If you find your dough is still a bit too sticky after mixing, pop it in the fridge for about 15 minutes before shaping. This extra chill can make all the difference.
Glaze Variations: The simple powdered sugar glaze is my favorite because it’s sweet and sets up nicely. But if you want to go a different route, you could try a thin chocolate ganache drizzle, a cream cheese glaze for a tangier kick, or even just dust them with a little extra powdered sugar for a more rustic look. Remember to get the consistency just right – too thin and it will run everywhere, too thick and it will be clumpy. It should be pourable but not watery.
Storing and Reheating Tips
One of the best things about these cookie dough footballs is how well they store, meaning you can have that delicious cookie dough fix whenever the craving strikes. Here’s how I usually keep them:
Room Temperature: If they have already been glazed and the glaze is set, you can keep them in an airtight container at room temperature for about 2-3 days. They’ll maintain their texture fairly well, though they might soften a little. Just make sure they’re completely cooled and the glaze is dry before sealing the container. I usually place a piece of parchment paper between layers if I’m stacking them.
Refrigerator Storage: For longer storage, or if you prefer them chilled, they’ll keep beautifully in the refrigerator for up to a week. Store them in an airtight container. They tend to firm up even more in the fridge, which some people actually prefer! They are especially refreshing on a warm day when served directly from the fridge.
Freezer Instructions: These are fantastic candidates for the freezer! If you’re planning ahead for a party or just want to stock up, you can freeze the un-glazed cookie dough footballs. Place them in a single layer on a baking sheet and freeze until firm, then transfer them to a freezer-safe bag or airtight container. They’ll keep well for about 2-3 months. When you’re ready to use them, take them out and let them thaw at room temperature for about an hour before glazing. If you’ve already glazed them, they still freeze well, but be aware that the glaze might crack slightly upon thawing, so you might want to do a touch-up drizzle.
Glaze Timing Advice: For the best results, I always recommend glazing *after* the cookie dough footballs have had their initial chilling and are firm. If you’re planning to freeze them, it’s generally best to glaze them *after* thawing. However, if you’re just storing them in the fridge or at room temp for a few days, you can glaze them beforehand. Just make sure the glaze is completely dry before sealing the container to prevent sogginess.
Frequently Asked Questions
Final Thoughts
So there you have it – my absolute favorite cookie dough football recipe! It’s one of those gems that I’ve made countless times, and it never fails to bring smiles. It’s the perfect blend of nostalgic flavor, surprising ease, and undeniable deliciousness. Whether you’re gearing up for a big game, planning a party, or just need a little something sweet to brighten your day, this recipe is your answer. It truly embodies what I love about sharing recipes: the joy of creating something wonderful with your own hands that brings happiness to others. I really hope you give this cookie dough football a try. I can’t wait to hear how yours turns out and what your favorite part is! Let me know in the comments below if you try it, and feel free to share any fun variations you come up with. Happy baking (or, in this case, happy no-baking)!