Chocolate Chip Cookies Recipe
Oh, where do I even begin with these chocolate chip cookies? It feels like just yesterday I was a little kid, watching my grandma whip these up in her tiny kitchen, the air thick with the most amazing, comforting aroma. Every time I bake a batch now, it takes me right back to those moments – the warmth, the anticipation, the sheer joy of biting into a cookie that’s somehow perfectly chewy, slightly crisp around the edges, and loaded with melty chocolate. Seriously, if you’ve ever felt that desperate need for a perfect chocolate chip cookie, the kind that silences all your worries and makes everything right in the world, then you’ve found your salvation. This isn’t just any Chocolate Chip Cookies Recipe; this is *the* chocolate chip cookies recipe. It’s the one I’ve tweaked and tested countless times, the one that never fails to impress, and the one my family begs for on repeat. Forget those store-bought ones or complicated recipes with a million steps. This is your new go-to, your secret weapon for instant happiness.
What is chocolate chip cookie?
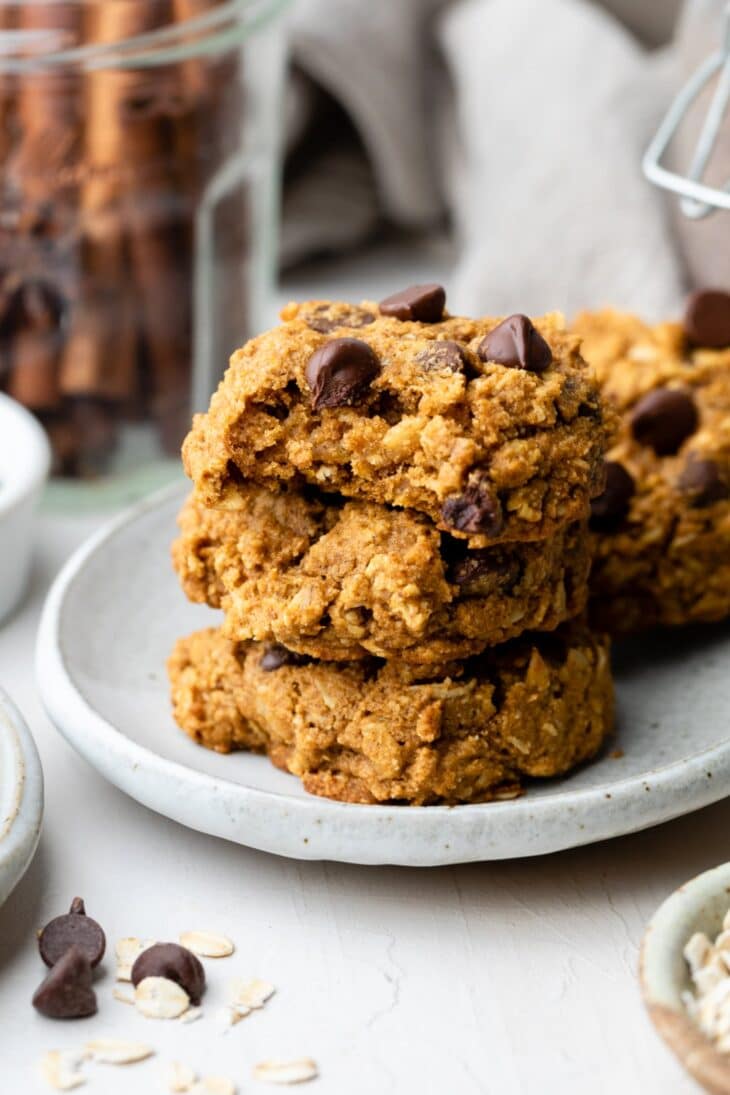
At its heart, a chocolate chip cookie is pure, unadulterated comfort in edible form. It’s a simple dough, typically based on butter, sugar, eggs, and flour, studded generously with chunks of chocolate. The magic, though, is in the balance. It’s that delicate dance between sweet, rich, and a hint of salt that makes them utterly irresistible. Think of it as a golden cookie canvas painted with rivers of molten chocolate. The name itself is pretty straightforward, right? “Chocolate Chip Cookies.” But what it represents goes so much deeper than just the ingredients. It’s about nostalgia, shared moments, and that universal craving for something sweet and utterly satisfying. It’s the kind of cookie that transcends trends and ages, a timeless classic that brings a smile to everyone’s face. It’s essentially the edible embodiment of a good day.
Why you’ll love this recipe?
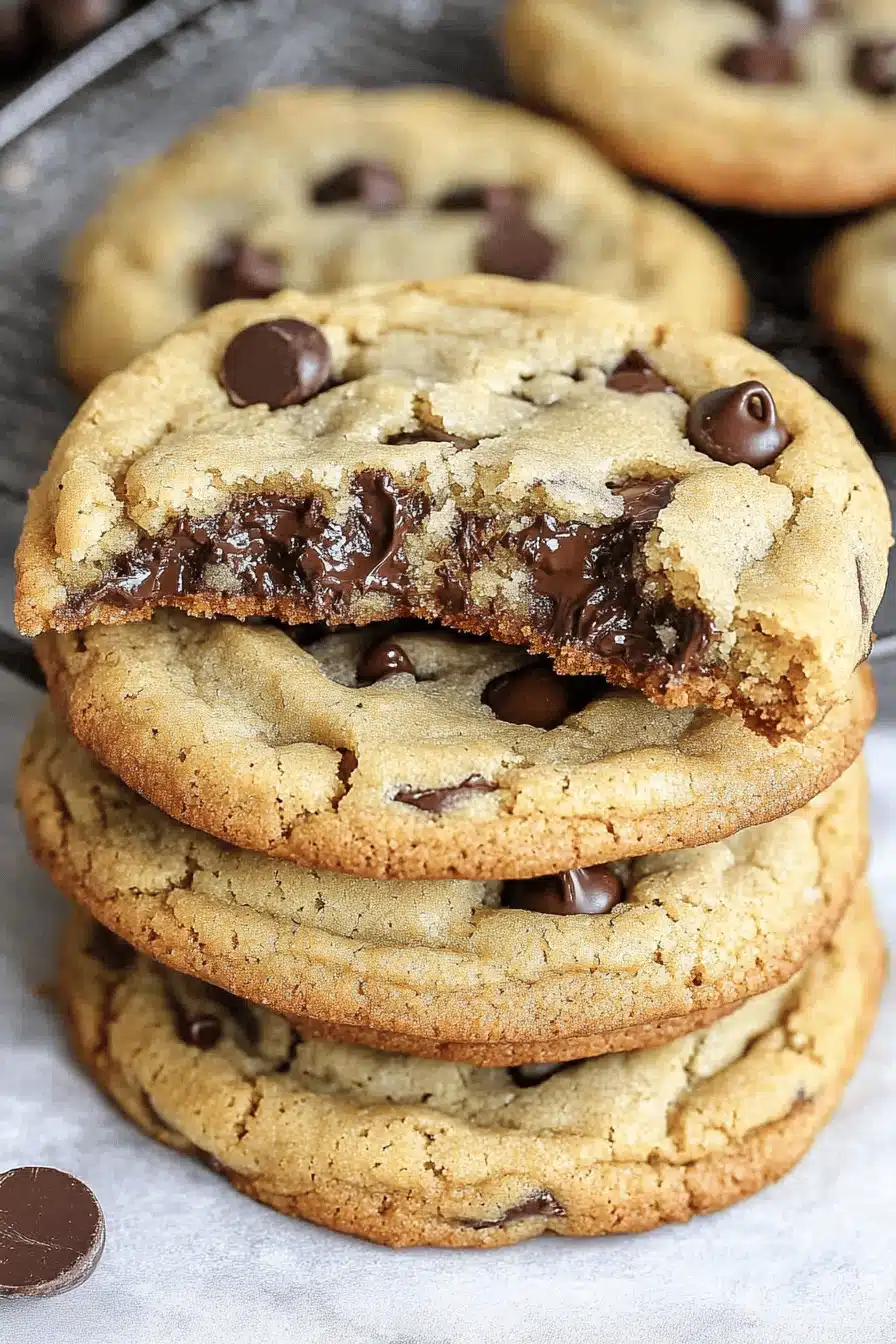
There are so many reasons why I’m absolutely obsessed with this particular Chocolate Chip Cookies recipe, and I just know you’re going to feel the same way. First off, the flavor profile is just out of this world. We’re talking about a deep, buttery richness from the browned butter (more on that in a bit!), a perfect balance of sweet and slightly salty, and of course, those glorious pockets of melty chocolate that ooze with every bite. The texture is also spot on: a delightfully soft and chewy center with just enough crispness around the edges to give it that satisfying bite. It’s the kind of cookie that makes you close your eyes and savor each mouthful. And the simplicity? Oh my goodness, it’s a lifesaver! You don’t need any fancy equipment or a culinary degree. I’ve whipped these up on busy weeknights when the sweet craving hits hard, and they’re on the table in no time. Plus, the ingredients are super budget-friendly, and you probably already have most of them in your pantry. What I love most is its versatility. These cookies are fantastic on their own, but they’re also a dream served with a glass of cold milk, crumbled over ice cream, or even sandwiched with a bit of frosting if you’re feeling extra decadent. Honestly, compared to some other recipes I’ve tried that require chilling the dough for hours or using odd ingredients, this one is a true winner for its ease and consistent amazing results. It’s the kind of recipe that makes you feel like a baking pro, even if you’re just starting out.
How do I make chocolate chip cookies?
Quick Overview
The beauty of this Chocolate Chip Cookies recipe lies in its straightforward approach. We’ll start by creaming butter and sugars, then incorporate eggs and vanilla, followed by the dry ingredients. The star of the show, the chocolate chips, get folded in last. The key to perfection here is not overmixing and using good quality ingredients. It’s a simple, no-fuss process that yields incredibly delicious results. You’ll be amazed at how quickly you can go from raw ingredients to warm, gooey cookies straight from the oven.
Ingredients
For the Cookie Dough: For the Cookie Dough: For the Cookie Dough: For the Cookie Dough: For the Cookie Dough: For
Butter: 1 cup (2 sticks) unsalted butter, softened. I always use good quality butter; it really makes a difference in the flavor. Letting it soften to room temperature is key – not melted, but soft enough that your finger leaves an indentation.
Sugars: 3/4 cup granulated sugar and 3/4 cup packed light brown sugar. The combination gives us that perfect balance of sweetness and chewiness. Don’t skimp on the brown sugar; it’s where a lot of that lovely moisture and caramel flavor comes from!
Eggs: 2 large eggs. Make sure they’re at room temperature too! Cold eggs can sometimes make the dough a little tricky to mix smoothly.
Vanilla Extract: 2 teaspoons pure vanilla extract. Again, go for the good stuff. It’s a flavor booster!
Flour: 2 1/4 cups all-purpose flour. Spooned and leveled, not scooped! This is super important to avoid dry, crumbly cookies.
Baking Soda: 1 teaspoon. This is what gives our cookies their lift and tender texture.
Salt: 1/2 teaspoon. It sounds small, but salt is crucial for enhancing all the other flavors and cutting through the sweetness.
Chocolate Chips: 2 cups semi-sweet chocolate chips (or a mix of your favorites!). I love using a combination of semi-sweet and dark chocolate chips for more depth. You can also use chocolate chunks if you prefer bigger pockets of chocolate.
Step-by-Step Instructions
Step 1: Preheat & Prep Pan
First things first, let’s get our oven preheated to 375°F (190°C). This ensures the oven is nice and hot when our cookies are ready to bake, giving them that perfect crisp exterior. While the oven heats up, line two baking sheets with parchment paper. This is my little secret to easy cleanup and ensures the cookies don’t stick. I’ve tried baking them directly on the sheet before, and trust me, parchment paper is a game-changer!
Step 2: Mix Dry Ingredients
In a medium bowl, whisk together the flour, baking soda, and salt. Give it a good whisk to make sure everything is evenly distributed. This step might seem small, but it helps prevent pockets of baking soda or salt in your cookies, leading to a more consistent flavor and texture. Set this bowl aside for now.
Step 3: Mix Wet Ingredients
In a large bowl (or the bowl of your stand mixer if you’re using one), cream together the softened butter and both sugars until light and fluffy. This usually takes about 2-3 minutes. You want to beat them until the mixture is pale in color and has a creamy texture. Next, beat in the eggs, one at a time, making sure to scrape down the sides of the bowl after each addition. Then, stir in the vanilla extract. Your mixture should look smooth and well combined.
Step 4: Combine
Gradually add the dry ingredients to the wet ingredients. Mix on low speed (or stir with a spatula) until just combined. Be careful not to overmix here! Overmixing can develop the gluten too much, resulting in tougher cookies. Stop mixing as soon as you no longer see streaks of flour. It’s okay if there are a few little lumps.
Step 5: Prepare Filling
This step is actually part of the previous one! The “filling” for these cookies is simply the delicious chocolate chips themselves, which we’ll add in the next step. If you were making a more complex filled cookie, this is where you’d prepare that. But for these classic chocolate chip cookies, the stars are ready to join the party!
Step 6: Layer & Swirl
Now for the best part – folding in those glorious chocolate chips! Add the chocolate chips to the dough and stir them in gently with a spatula or wooden spoon until they are evenly distributed throughout the dough. I like to make sure there are plenty of chips in every bite, so don’t be shy!
Step 7: Bake
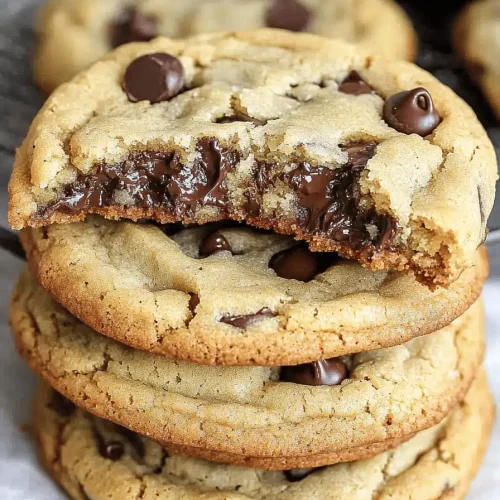
Drop rounded tablespoons of dough onto the prepared baking sheets, leaving about 2 inches between each cookie to allow for spreading. For perfectly uniform cookies, I often use a cookie scoop. Bake for 9-11 minutes, or until the edges are lightly golden brown and the centers look slightly underdone. They’ll continue to cook on the baking sheet after you take them out, which is how you get that perfect chewy center. I usually check around the 9-minute mark; ovens can vary, so keep an eye on them!
Step 8: Cool & Glaze
Once baked, let the cookies cool on the baking sheets for about 5 minutes. This is crucial for them to set up properly. After 5 minutes, carefully transfer the cookies to a wire rack to cool completely. There’s no glaze on these classic chocolate chip cookies, so this is the final step before they’re ready to be devoured!
Step 9: Slice & Serve
Once completely cooled, these chocolate chip cookies are ready to be sliced and served! Or, let’s be honest, most of them will be eaten whole. They are absolutely divine when still slightly warm, but they’re also fantastic at room temperature. I like to arrange them on a pretty platter – it makes them look even more inviting, though they rarely last long enough to make it to a formal presentation!
What to Serve It With
These chocolate chip cookies are so versatile, they fit in perfectly with pretty much any occasion. Here are a few of my favorite ways to enjoy them:
For Breakfast: Yes, you read that right! A cookie with your morning coffee is a delightful treat. It’s like a little sweet reward to start the day. Pair them with a strong black coffee or a creamy latte. They’re also surprisingly good alongside a bowl of plain yogurt or some fresh fruit to balance out the sweetness.
For Brunch: Elevate your brunch spread by adding a plate of these beautiful cookies. They look gorgeous next to mini quiches or fruit salads. For beverages, a sparkling cider or a mimosa would be lovely. You can even arrange them artfully on a tiered stand for a touch of elegance.
As Dessert: This is the classic choice, of course! Serve them warm with a scoop of good quality vanilla bean ice cream – the contrast between the warm cookie and cold ice cream is pure bliss. They’re also wonderful after dinner with a cup of hot chocolate or a rich espresso. For a more decadent dessert, try stacking two cookies with a dollop of whipped cream or a thin layer of buttercream in between.
For Cozy Snacks: This is where they truly shine for me. Picture this: curled up on the sofa with a good book, a glass of cold milk, and a couple of these warm, gooey chocolate chip cookies. Pure comfort! They’re also a lifesaver for unexpected guests or when that 10 pm sweet craving hits and you don’t want to bake a whole cake. My kids absolutely adore them as an after-school snack, and frankly, so do I!
Top Tips for Perfecting Your Chocolate Chip Cookies
I’ve baked enough batches of these chocolate chip cookies to know a thing or two about what makes them truly spectacular. Here are my top tips, honed over years of trial and (delicious) error!
Butter’s Best Friend: Softened, Not Melted! This is probably the most common pitfall I see. You want your butter to be softened to room temperature, meaning you can easily press your finger into it, but it shouldn’t be oily or melted. If your butter is too cold, it won’t cream properly with the sugars, leading to dense cookies. If it’s melted, your cookies will spread too much and become thin and greasy. I’ve learned that patience here really pays off!
The Sugar Secret: Brown Sugar is Your Buddy! Don’t be tempted to use only granulated sugar. The brown sugar is what gives these cookies their signature chewiness, moisture, and a lovely hint of caramel flavor. Make sure it’s packed firmly into your measuring cup. If your brown sugar has hardened, a quick trick is to microwave it with a damp paper towel for about 10-15 seconds.
Don’t Fear the Vanilla: Go for Pure! I know sometimes vanilla extract can be pricey, but using pure vanilla extract makes a world of difference in flavor. It’s not just about sweetness; it’s about depth and that warm, comforting aroma that screams “home.” I’ve even dabbled with adding a tiny pinch of espresso powder to the dough, which really intensifies the chocolate flavor without making it taste like coffee – it’s a little trick I picked up from a pastry chef friend!
The Flour Finesse: Spoon and Level! Measuring flour correctly is crucial. If you just scoop directly from the bag with your measuring cup, you’ll end up with too much flour, leading to dry, tough cookies. Always spoon the flour into your measuring cup and then level off the excess with a straight edge (like the back of a knife). This ensures you have the right flour-to-butter ratio.
The “Just Combined” Mantra: Resist the Overmix! This is probably the most important tip for achieving that perfect chewy texture. Once you add the dry ingredients to the wet, mix *just* until the streaks of flour disappear. If you keep mixing, you’ll overdevelop the gluten, and your cookies will turn out tough and cakey instead of soft and chewy. It’s a lesson I learned the hard way early on!
Chocolate Choices: Mix and Match! While the recipe calls for semi-sweet chocolate chips, feel free to get creative. I love using a mix of semi-sweet, dark chocolate chunks, and even a few milk chocolate chips for a variety of textures and sweetness levels. Chocolate chunks tend to melt into bigger, gooey pockets, which I adore. For a really decadent touch, you can even stir in some chopped nuts or toffee bits!
The Bake Time Dance: Watch, Don’t Just Time! Ovens are quirky creatures, and baking times can vary significantly. I always recommend watching your cookies closely during the last few minutes of baking. You want the edges to be set and lightly golden, but the centers should still look a little soft and underbaked. They’ll continue to bake and firm up as they cool on the hot baking sheet. I’ve found that pulling them out when they look “done” often means they’ll be overbaked by the time they’re fully cooled.
Storing and Reheating Tips
I’m often asked about storing these amazing chocolate chip cookies, and thankfully, they keep pretty well, though in my house, they rarely last long enough to need serious storage! Here’s what I’ve found works best:
Room Temperature: For the freshest cookies, I store them in an airtight container at room temperature. They’ll stay wonderfully soft and chewy for about 3-4 days. I usually place a piece of parchment paper between layers if I’m stacking them to prevent them from sticking together. If they start to feel a little dry after a couple of days, you can pop a slice of bread in the container overnight – it helps reintroduce moisture!
Refrigerator Storage: If it’s really warm or humid where you live, or if you want them to last a bit longer (up to about a week), you can store them in the refrigerator. They’ll be firmer straight out of the fridge, but you can easily bring them back to perfect warmth and chewiness. Place them in an airtight container, and they should be good for about a week. The texture might change slightly, becoming a bit more cake-like, but they’re still delicious!
Freezer Instructions: These chocolate chip cookies freeze beautifully! You have two options: freeze them baked or freeze the dough. For baked cookies, wrap them tightly in plastic wrap, then place them in a freezer-safe bag or airtight container. They’ll stay good for up to 3 months. Thaw them overnight at room temperature or gently reheat them in a low oven (around 300°F or 150°C) for a few minutes. If you want to freeze the dough, scoop balls of dough onto a parchment-lined baking sheet and freeze until firm. Then, transfer them to a freezer bag. You can bake them straight from frozen – just add a minute or two to the baking time. This is my favorite trick for having fresh cookies on demand!
Glaze Timing Advice: Since these cookies don’t have a glaze, this advice doesn’t directly apply, but if you ever decide to add one, always do it once the cookies are completely cool. Applying a glaze to warm cookies will just make it melt off and become a sticky mess!
Frequently Asked Questions
Final Thoughts
So there you have it – my absolute favorite, tried-and-true chocolate chip cookies recipe. I truly believe this recipe is a keeper. It’s more than just a set of instructions; it’s a gateway to warm kitchens, happy memories, and moments of pure, unadulterated joy. The aroma that fills your house while these bake is simply intoxicating, and the taste… well, it’s everything you dream of in a perfect cookie. Whether you’re a seasoned baker or just starting out, I promise you that this recipe will make you feel like a star. If you love this recipe, you might also enjoy my gooey brownies or my classic snickerdoodles – they’re all part of my “comfort food favorites” collection. Please, please, please let me know in the comments below how your cookies turn out! I love hearing your feedback, seeing your photos, and learning about any fun variations you try. Happy baking, my friends!
Chocolate Chip Cookies Recipe
Ingredients
Main Ingredients
- 2.5 cups all-purpose flour
- 1 teaspoon baking soda
- 1 teaspoon salt
- 1 cup unsalted butter, softened
- 0.75 cup granulated sugar
- 0.75 cup packed brown sugar
- 2 large eggs
- 2 teaspoons vanilla extract
- 2 cups semi-sweet chocolate chips
Instructions
Preparation Steps
- In a medium bowl, whisk together the flour, baking soda, and salt. Set aside.
- In a large bowl, cream together the softened butter, granulated sugar, and brown sugar until light and fluffy.
- Beat in the eggs one at a time, then stir in the vanilla extract.
- Gradually add the dry ingredients to the wet ingredients, mixing until just combined. Do not overmix.
- Fold in the chocolate chips.
- Cover the dough and refrigerate for at least 30 minutes (or up to 2 days).
- Preheat your oven to 375°F (190°C). Line baking sheets with parchment paper.
- Scoop rounded tablespoons of dough onto the prepared baking sheets, leaving about 2 inches between cookies.
- Bake for 10-12 minutes, or until the edges are golden brown and the centers are still slightly soft.
- Let the cookies cool on the baking sheets for a few minutes before transferring them to a wire rack to cool completely.