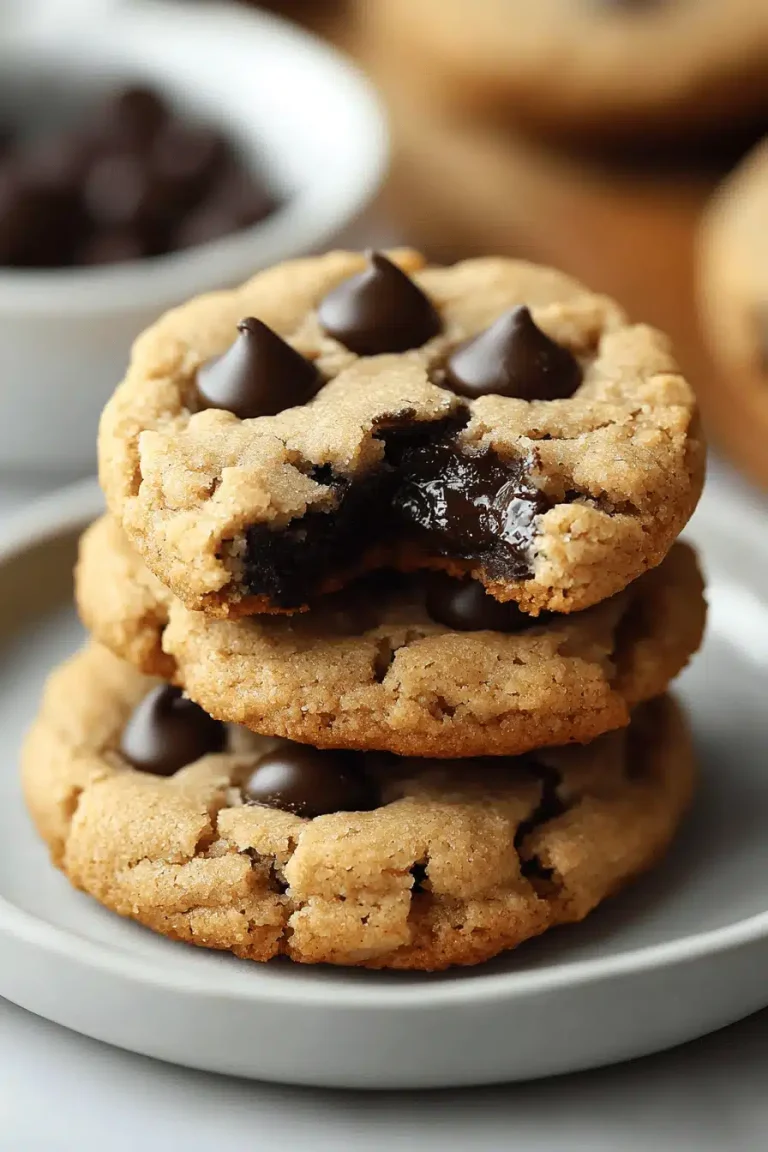
chocolate chip cookie dough
There’s something utterly nostalgic about chocolate chip cookie dough—maybe it’s the memories of sneaking a spoonful from the mixing bowl when no one was looking, or the warm comfort of biting into that perfect blend of gooey dough and chocolate chunks. I remember making this recipe on rainy afternoons with my kids clustered around the kitchen island, eyes wide as the smell of buttery sweetness filled the air. This treat blends that classic cookie dough magic with a rich, chewy bar texture that’s a little like cookie dough met brownie and decided to hang out forever. If you’ve ever wished you could enjoy cookie dough without the wait of baking dozens of cookies or the fear of raw eggs, you’re in for a real treat. This chocolate chip cookie dough bar has became my go-to comfort snack, and honestly, it disappears in minutes at our house.
What is chocolate chip cookie dough?
Think of chocolate chip cookie dough as your classic cookie batter—soft, buttery, and studded with those dreamy chocolate chips—but in this version, it’s transformed into a bar you can bake or sometimes enjoy a safe-to-eat raw variation. It’s essentially the nostalgic, slightly sweet dough that you may have stolen tastes of growing up, but made into a more approachable, shareable dessert. Instead of scooping out little cookies, this recipe invites you to dig into layers of gooey deliciousness that feel like a semi-baked dream. If you’re worried about raw dough, don’t; I’ve adapted this so it’s safe and just as tasty. It’s like the name says: cookie dough you can enjoy in bar form with that familiar chocolate chip smile baked right in.
Why you’ll love this recipe?
What I love most about this is how it hits all those sweet spots without any fuss. First off, the flavor truly captures all the buttery, caramelized warmth of those classic chocolate chip cookies—with just the right amount of saltiness and vanilla to make each bite sing. The chocolate chips melt into little pockets of joy that make you want to close your eyes and savor every bite. Second, it’s ridiculously simple—if I can pull it off in between chaos at home, anyone can. Most ingredients are pantry staples, which is a lifesaver if you forget to plan ahead but still want something indulgent.
Another bonus is how budget-friendly it is. You don’t need any fancy flours or exotic chocolate—just good old-fashioned all-purpose flour and your favorite chocolate chips. Plus, it’s versatile; you can make it as bars, slice it into bite-sized treats, or even tweak it to add nuts or dried fruits if you like that kind of mix. I’ve tried similar recipes, but this one stands out because it’s your classic chocolate chip cookie dough, reimagined without the extra steps.
My kids actually ask for seconds when they see me making these. And honestly, this recipe is perfect for those late-night sweet cravings when baking a whole batch of cookies just sounds like too much effort. I always have this one in my back pocket.
How do I make chocolate chip cookie dough?
Quick Overview
Making these bars is simple and deeply satisfying. You start by prepping your dry and wet ingredients separately to get that perfect dough texture, then combine everything carefully so it stays soft and gooey, not cakey. The magic happens when you mix in the chocolate chips and bake just long enough for a tender, chewy bar with a slightly crunchy top. The process isn’t complicated—no fancy equipment needed—and it lets you enjoy that classic cookie dough texture in a whole new, shareable way. Trust me, even if you’re not a regular baker, you’ll nail this.
Ingredients
For the Main Batter:
- 1 cup unsalted butter, softened (room temp butter always gives the best creamy texture)
- 3/4 cup brown sugar, packed (adds a deep caramel flavor, don’t substitute unless you want a totally different vibe)
- 1/4 cup granulated sugar (balances the brown sugar sweetness for that perfect chew)
- 1 teaspoon pure vanilla extract (make sure it’s real vanilla—you’ll thank me!)
- 1 large egg (for richness; if you prefer egg-free, I’ll share a swap below)
- 2 cups all-purpose flour (sifted for that tender crumb)
- 1/2 teaspoon baking soda (helps with a little lift, but don’t worry, it stays chewy!)
- 1/4 teaspoon salt (cuts the sweetness and brings out flavor)
For the Filling:
- 1 cup mini semi-sweet chocolate chips (mini chips spread more evenly and give bursts of chocolate love)
- Optional: 1/2 cup chopped walnuts or pecans (if you like a little crunch and nutty aroma)
For the Glaze:
- 1 cup powdered sugar
- 2-3 tablespoons milk or cream (use almond or oat milk if dairy-free; add slowly for that just-right thickness)
- 1/2 teaspoon vanilla extract (optional but lovely)
Step-by-Step Instructions
Step 1: Preheat & Prep Pan
Start by preheating your oven to 350°F (175°C). Line an 8×8-inch baking pan with parchment paper or grease it thoroughly—you want those bars to come out clean without a fight. If you fold the parchment paper edges over the sides, it makes lifting the bars out a breeze once they’ve cooled.
Step 2: Mix Dry Ingredients
In a medium bowl, whisk together the sifted all-purpose flour, baking soda, and salt. Whisking is key here—it ensures everything is evenly distributed and prevents pesky lumps that can mess with your batter’s texture. Set this aside for a moment while you work on the wet ingredients.
Step 3: Mix Wet Ingredients
In a large bowl, cream the softened butter with the brown sugar and granulated sugar until it’s light and fluffy—this usually takes a good 3-4 minutes with a hand mixer or stand mixer. That’s when you know you’re building a good base. Beat in the egg and vanilla extract until everything is combined. The mixture should look glossy and smooth.
Step 4: Combine
Gradually add the dry ingredients to the wet, mixing just until combined. Here’s where you have to be gentle—overmixing develops the gluten and can make your bars tough, and nobody wants that! A few streaks of flour left are better than a rubbery bar. Fold in the mini chocolate chips (and nuts, if you’re using them) with a spatula, giving it one last gentle swirl.
Step 5: Prepare Filling
This step is fun—if you want an extra gooey chocolate layer, reserve a handful of mini chips to sprinkle on top before baking. Otherwise, you can mix a few tablespoons of softened cream cheese with extra chocolate chips for a delicious surprise swirl inside the bars. Either way, adding a little texture surprise here really kicks the flavor up a notch.
Step 6: Layer & Swirl
Spoon the batter into your prepared pan and smooth the top with a spatula. If you’re doing the cream cheese swirl, dollop it in little blobs on top of the batter and use a knife or skewer to gently swirl it through. You want beautiful marbling—don’t overdo it or the batter will blend completely. Just a few winding strokes will do.
Step 7: Bake
Pop the pan into the oven and bake for 22 to 27 minutes. This timing is crucial because taking the bars out too soon means gooey edges, but leave them in too long and they lose that chewy softness. Around 25 minutes is my sweet spot. You’ll know it’s done when the edges are set but the center still jiggles very slightly. The smell alone will have you hovering around the oven door!
Step 8: Cool & Glaze
Once out of the oven, allow the bars to cool completely in the pan—resisting the urge to dig in right away is the hardest part! When cooled, whisk together the powdered sugar, milk, and vanilla glaze until smooth. Drizzle it over the top, letting it drip down the sides for a rustic, homemade look that says “eat me now.” If the glaze is too thick, add a touch more milk; too thin, add a bit more powdered sugar.
Step 9: Slice & Serve
Use a sharp knife to cut into bars or squares. My trick? Pull the parchment up gently to lift the whole thing from the pan, set it on a cutting board, and then slice. Serving them slightly chilled or at room temp brings out their full flavor, and if you’re feeling fancy, a scoop of vanilla ice cream on the side is heavenly.
What to Serve It With
For Breakfast: I love pairing these bars with my strong morning coffee or a frothy cappuccino. They’re sweet but not overwhelming, making them perfect alongside a protein-packed breakfast or a simple yogurt bowl.
For Brunch: Serving these at brunch? Place them on a beautiful wooden board with fresh berries and a pot of tea or fresh-squeezed orange juice. The sweet richness holds its own and balances well with light, fruity drinks.
As Dessert: After dinner, these bars shine when warmed slightly and topped with a drizzle of caramel or a tiny sprinkle of sea salt. A glass of cold milk or a rich port wine on the side makes a surprisingly delightful combo.
For Cozy Snacks: When the evening rolls in and you want a little extra comfort, these bars paired with a cozy mug of hot chocolate or chai are like a warm hug. My family often indulges in these while curled up watching movies—it’s become our little tradition.
No matter how you serve them, the gooey chocolate chip cookie dough bars never fail to bring a smile, and I’ve found they pair perfectly with moments of calm or celebration alike.
Top Tips for Perfecting Your Chocolate Chip Cookie Dough Bars
Butter and Sugar: Make sure your butter is really softened—not melted—before creaming. This is the secret to that melt-in-your-mouth softness. Brown sugar is your best friend here; it adds chewiness and a slight caramel flavor that granulated sugar alone just can’t replicate.
Mixing: Don’t rush folding the flour into the butter mixture. A light hand and slow folding prevent overworking the dough, which leads to a tougher texture. The dough should be a little dense and sticky, not dry or crumbly.
Chocolate Chips: Mini chips distribute better throughout the bars and provide those delightful little bursts without overwhelming each bite. If you’re feeling cheeky, try mixing half semi-sweet and half milk chocolate chips for a layered chocolate flavor.
Swirl Patterns: Less is more when swirling filling. I learned this the hard way—too much swirl creates a batter that’s too loose and ends up flattening during baking. Just gentle spirals or zig-zags are perfect.
Ingredient Swaps: Don’t have eggs? Flax eggs (1 tablespoon flaxseed meal + 3 tablespoons water) work well here. For flour, a 1:1 gluten-free blend got me close to the same texture, but the taste was slightly different—still delicious though! Just remember, some gluten-free flours absorb more moisture, so keep an eye on that batter consistency.
Baking: Oven temperatures vary, so check early to avoid overbaking. The bars should be just set with a tiny jiggle in the center. Pro tip: putting your baking pan in the middle rack helps the bars bake evenly without burning the edges.
Glaze Tips: If you want a vegan or dairy-free glaze, coconut milk works beautifully, lending a slight tropical note. For a zesty twist, add a teaspoon of lemon or orange zest to the glaze. Applying the glaze when the bars have fully cooled ensures it sets nicely without melting.
One big lesson I learned: don’t rush the cooling. If the bars are warm when you try to slice, they fall apart or get squished. Patience here really pays off in perfect slices.
Storing and Reheating Tips
Room Temperature: Store your bars in an airtight container lined with parchment paper to prevent sticking. They’ll stay fresh and chewy for up to 3 days. I sometimes keep a little piece of bread in the container to preserve moisture—it makes a noticeable difference!
Refrigerator Storage: If you want your bars to last longer, pop them in the fridge in a tight-sealing container. They keep well for about 5 days, though I bring them to room temp before serving because the cold can dull the chocolate’s flavor slightly.
Freezer Instructions: These bars freeze really well, which is perfect for those “just in case” moments. Wrap them individually in plastic wrap, then place them all in a freezer-safe bag or container. They’ll keep for up to 3 months. When ready, thaw overnight in the fridge or set them on the counter for an hour. Warm briefly for that fresh-out-of-the-oven feeling.
Glaze Timing Advice: If you’re freezing, I recommend glazing after thawing, so it stays fresh and glossy. For immediate eating, glaze right after cooling but before serving. Otherwise, the glaze can get dull or sticky in storage.
Frequently Asked Questions
Final Thoughts
This chocolate chip cookie dough bar recipe has become such a beloved favorite in my kitchen—it’s the kind of treat that brings everyone together, whether it’s a busy weekday afternoon or a casual weekend hangout. The way that buttery dough combines with melty chocolate chips just can’t be beat, and the ease of making it means you’ll have a handy dessert to rely on for years to come. If you love this, you might want to explore some of my other cookie dough-inspired treats or quick bar recipes—they pair wonderfully when you want to mix things up a bit.
Don’t forget to share how yours turns out—I’d love to hear your tweaks or family favorites! Happy baking, and may your kitchen always smell like the best memory-in-the-making.

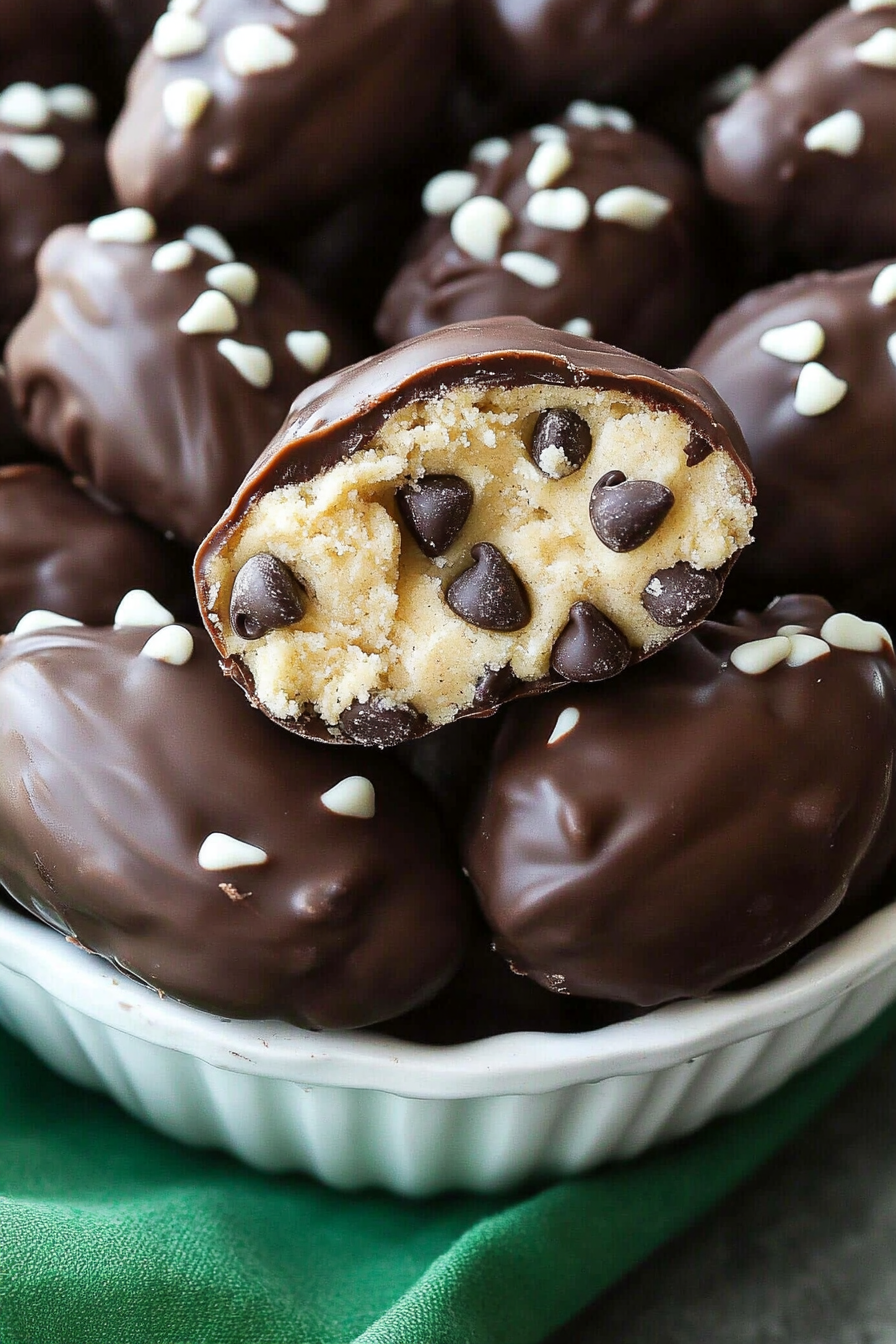
Chocolate Chip Cookie Dough Footballs
Ingredients
Main Ingredients
- 0.75 cup unsalted butter room temperature
- 0.75 cup light brown sugar
- 0.25 cup granulated sugar
- 2 tsp vanilla extract
- 2 cup all-purpose flour heat-treated
- 0.25 tsp salt
- 1.5 cup mini chocolate chips
- 16 oz melting chocolate for coating
- 3 oz white melting chocolate for laces decoration
Instructions
Preparation Steps
- Cream butter, light brown sugar, and granulated sugar together until light and fluffy, about 2-3 minutes.
- Add vanilla extract and mix until fully combined.
- Mix in heat-treated flour and salt. Add water 1 tablespoon at a time if needed, until dough holds together when pressed.
- Fold in mini chocolate chips until evenly distributed.
- Use a 1.5 tablespoon scoop to portion dough, then shape each portion into a mini football shape. Place on a plate or sheet.
- Refrigerate cookie dough footballs for 1-2 hours or until firm.
- Melt the melting chocolate according to package instructions and prepare parchment paper to lay the dipped footballs.
- Insert a toothpick into the side of the dough football, dip completely into melted chocolate, and gently tap off excess.
- Place dipped football on parchment paper, carefully remove toothpick while twisting, and create a clean line in the chocolate to help break off excess later.
- Allow the chocolate to fully set, then carefully remove excess chocolate and transfer the footballs to a clean surface or cookie sheet.
- Melt white melting chocolate and pipe lines onto each football to mimic laces.
- Allow decorations to dry completely before serving or storing in an airtight container. Best served at room temperature.