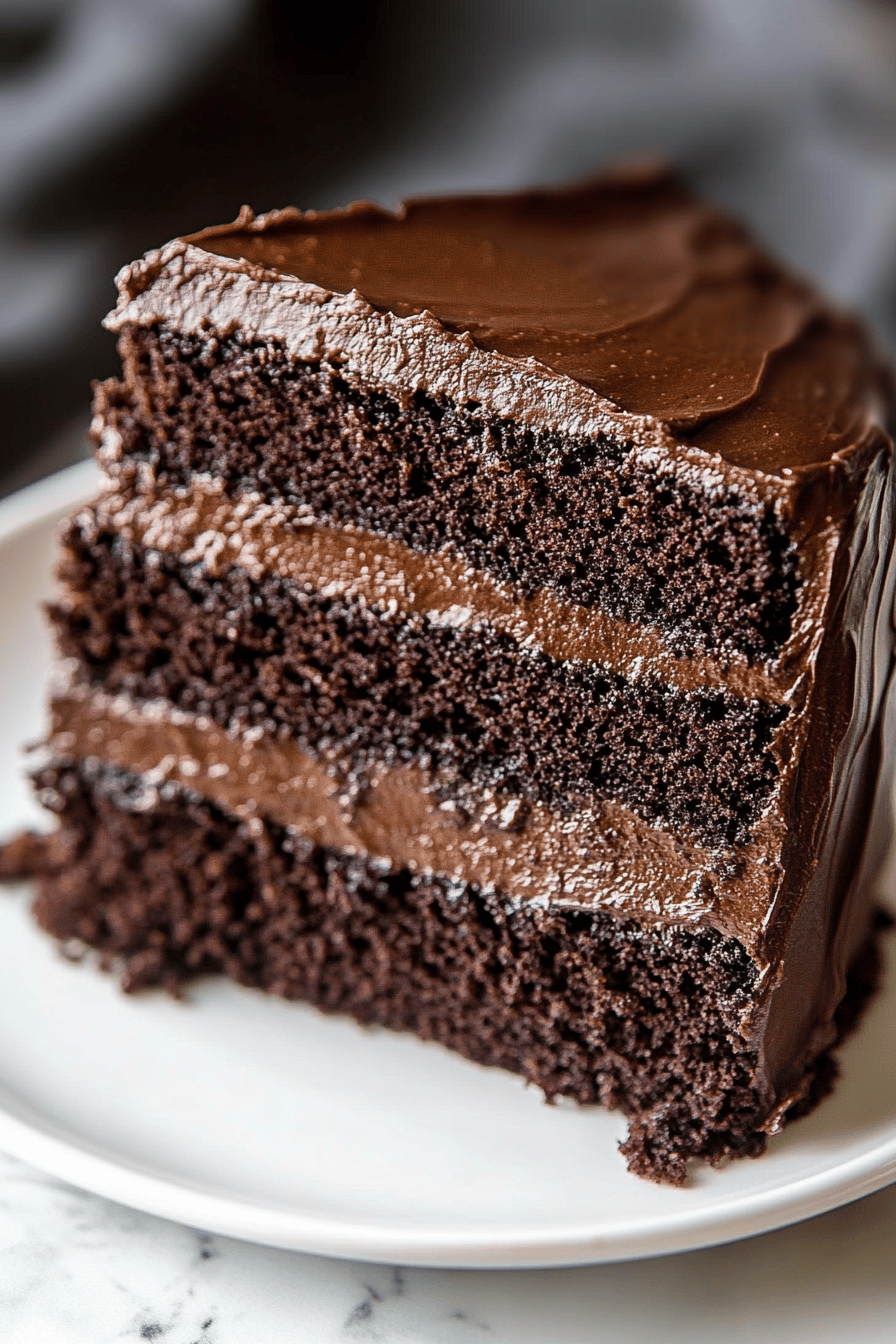
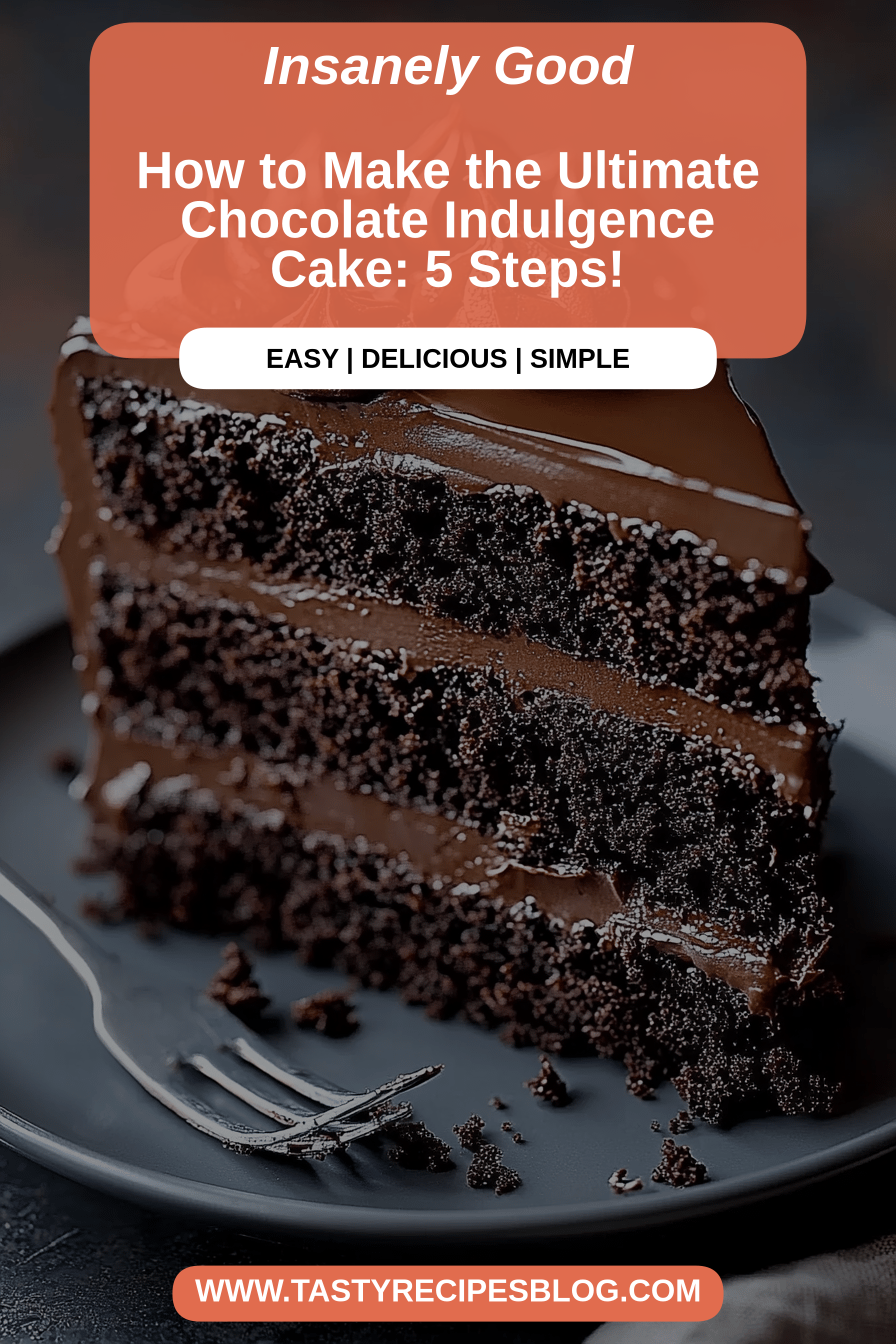
Chocolate cake recipe
You know those days when a craving hits, deep and serious, for something rich, chocolatey, and utterly comforting? Yeah, me too. And for the longest time, I felt like I had to commit to a whole afternoon of creaming butter, sifting flour, and cleaning up a mountain of dishes just for one slice of heaven. Then, my aunt Clara, bless her heart, shared this incredible chocolate Cake Recipe with me. She called it her “Emergency Chocolate Cake” because it was so quick and always saved the day. I’ve tweaked it just a smidge over the years, adding a little more oomph here and there, and now it’s my absolute go-to. Forget those fussy layer cakes that take hours; this is the chocolate cake recipe that delivers pure bliss without the fuss. It’s the kind of cake that makes you feel like a baking superstar, even if you only have 30 minutes to spare. It’s seriously that good, and trust me, it’s way better than any boxed mix you’ll ever find.
What is my “Sunshine” chocolate cake?
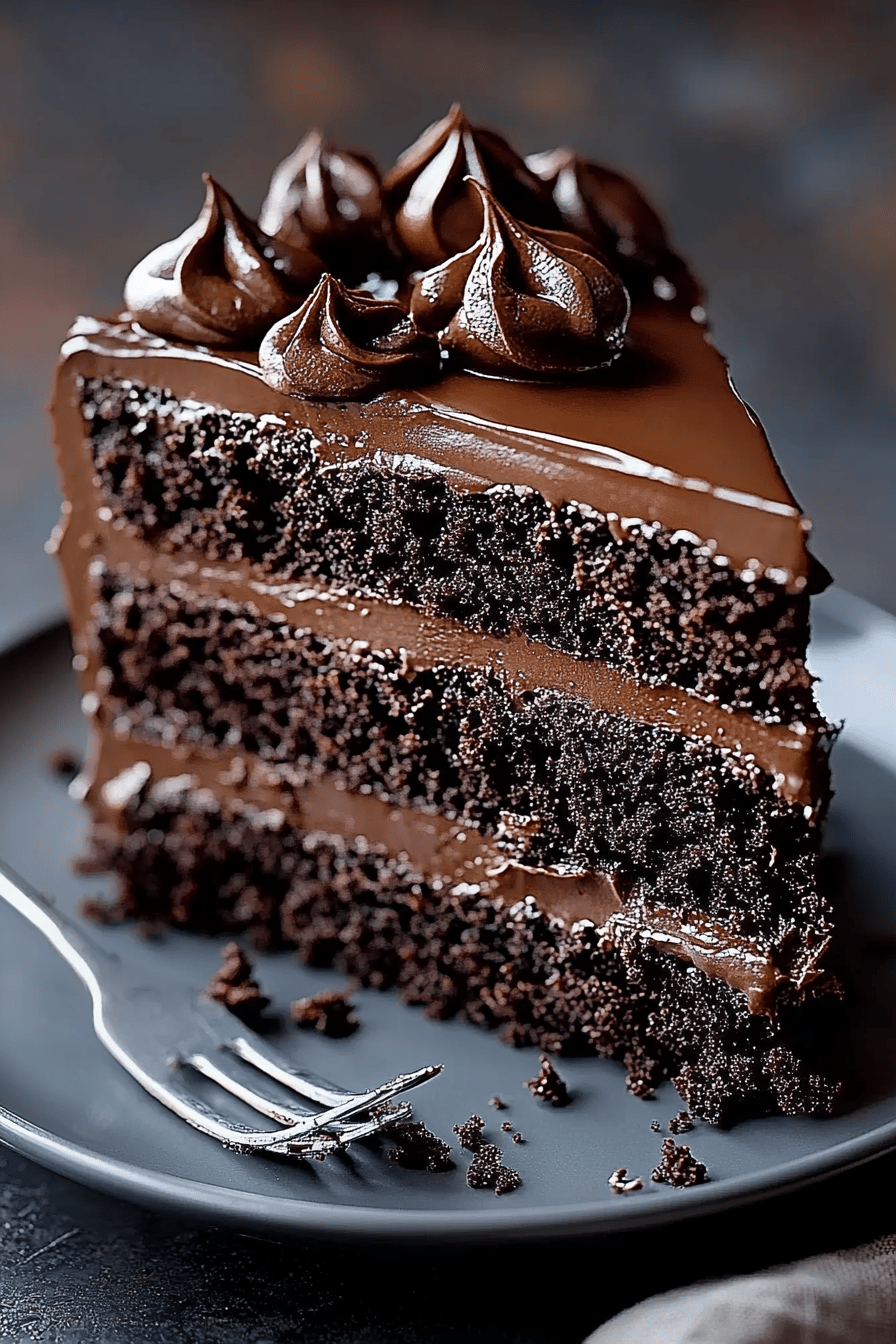
So, why do I call this my “Sunshine” Chocolate Cake? Well, it’s simple, really. Every time I pull this cake out of the oven, the aroma alone brightens up my whole house, chasing away any gloom. It’s like a little ray of sunshine on a plate! It’s not a complicated, fancy-pants cake. Think of it as your most reliable, comforting friend in cake form. It’s a one-bowl wonder for the most part, which, let’s be honest, is a massive win in my busy kitchen. It’s essentially a super moist, intensely chocolatey cake that’s so forgiving, you almost can’t mess it up. The magic is in the simplicity and the way the ingredients just come together so beautifully to create something truly special. It’s the kind of dessert that makes you want to slow down, savor each bite, and maybe even have a little happy dance.
Why you’ll love this recipe?
Honestly, where do I even begin with why you’re going to adore this chocolate Cake Recipe? It’s a total game-changer. First off, the flavor is just out of this world. We’re talking deep, dark chocolate notes that aren’t overly sweet. It’s rich, it’s decadent, and it has this incredible moistness that lingers on your tongue. It’s not dry or crumbly like some chocolate cakes can be; this one stays wonderfully tender, even days later. And the simplicity? Oh, it’s a lifesaver! I’ve made this on weeknights when the kids have been begging for something sweet, and it’s ready from start to finish in under an hour. Seriously, no lie. The ingredients are all pantry staples, too, so you don’t need to make a special trip to the store. What I love most about this recipe, besides the taste, is its versatility. You can frost it, dust it with powdered sugar, or just eat it plain, and it’s still absolutely divine. It’s like my Ultimate Double Chocolate Muffins in cake form, but even easier to whip up. This is the chocolate cake recipe that will become your go-to for birthdays, potlucks, or just because you deserve a treat.
How do I make a Sunshine Chocolate Cake?
Quick Overview
This cake is all about minimal fuss and maximum flavor. You’ll mix your dry ingredients in one bowl, your wet ingredients in another (or even just add them straight to the dry!), and then combine them until just mixed. Pour it into your prepared pan and bake. It’s that straightforward. The result is a gloriously moist, deeply chocolatey cake that’s perfect for any occasion. It’s the kind of recipe that makes you feel confident in the kitchen, even if you’re new to baking. It’s also incredibly forgiving, which is a huge plus for busy home cooks.
Ingredients
For the Main Batter:
This is where the magic starts. I always like to use good quality unsweetened cocoa powder because it really makes the chocolate flavor pop. And please, for the love of all things delicious, use room temperature eggs and milk! It really helps everything emulsify beautifully and creates a smoother batter. You don’t need anything fancy, just your everyday pantry staples.
- 2 cups all-purpose flour
- 2 cups granulated sugar
- 3/4 cup unsweetened cocoa powder (Dutch-processed is wonderful here!)
- 2 teaspoons baking soda
- 1 teaspoon baking powder
- 1 teaspoon salt
- 1 cup buttermilk (or 1 cup milk + 1 tablespoon lemon juice or vinegar, let sit for 5 mins)
- 1/2 cup vegetable oil (or other neutral oil like canola or melted coconut oil)
- 2 large eggs, room temperature
- 2 teaspoons vanilla extract
- 1 cup hot brewed coffee (or hot water)
For the Filling:
This is optional, but it adds another layer of decadence. I love a simple chocolate ganache, but a Cream Cheese Frosting or even just a dollop of whipped cream works beautifully too. For this recipe, I’m going to give you my super easy, no-fail chocolate ganache filling. It’s made with just two ingredients and tastes like pure luxury.
- 8 ounces good quality semi-sweet chocolate chips
- 1 cup heavy cream
For the Glaze:
This is the crowning glory! It’s a simple chocolate glaze that adds a beautiful sheen and extra punch of flavor. It’s crucial for that final wow factor.
- 1 cup powdered sugar
- 1/4 cup unsweetened cocoa powder
- 1/4 cup melted butter
- 2-3 tablespoons milk (or half-and-half for extra richness)
- 1 teaspoon vanilla extract
Step-by-Step Instructions
Step 1: Preheat & Prep Pan
First things first, let’s get that oven preheated to 350°F (175°C). This is super important so your cake bakes evenly. While the oven is warming up, grab a 9×13 inch baking pan. I like to grease it really well with butter or cooking spray, and then dust it with a little cocoa powder instead of flour. This prevents any white streaks on your beautiful dark cake. For an extra layer of insurance, especially if you’re a bit nervous about sticking, you can also line the bottom with parchment paper. Just trace the bottom of the pan onto the paper, cut it out, and place it inside after greasing.
Step 2: Mix Dry Ingredients
Grab a big mixing bowl. I mean, a really big one, because you don’t want to be scooping ingredients out and then back in too many times. Into this bowl, add your flour, granulated sugar, unsweetened cocoa powder, baking soda, baking powder, and salt. Give everything a good whisk together. You want to make sure all those dry ingredients are really well combined. This ensures that your leavening agents (baking soda and baking powder) are evenly distributed, which means your cake will rise beautifully and evenly. No lumps of baking soda in your cake, please!
Step 3: Mix Wet Ingredients
Now, in a separate medium bowl (or you can even do this right on top of your dry ingredients if you’re feeling adventurous and want to save on dishes!), whisk together your buttermilk, vegetable oil, room temperature eggs, and vanilla extract. Whisk until everything is smooth and well combined. The eggs should be fully incorporated, and you shouldn’t see any streaks of yolk or white. The oil helps make the cake incredibly moist, and the buttermilk adds a lovely tang and tenderness. If you don’t have buttermilk, don’t worry! Just use the milk and lemon juice/vinegar trick I mentioned in the ingredients list; it works like a charm.
Step 4: Combine
Here’s where the magic happens! Pour your wet ingredients into the bowl with your dry ingredients. Now, this is the crucial part: mix until *just* combined. Seriously, don’t overmix! Overmixing develops the gluten in the flour, which can lead to a tough cake. You want to mix until you no longer see any dry streaks of flour. A few small lumps are perfectly fine. Then, carefully pour in your hot brewed coffee (or hot water). The hot liquid blooms the cocoa powder, making the chocolate flavor even more intense and deepening the color. The batter will be quite thin at this point, almost watery, and that’s exactly what you want. It’s this thin batter that contributes to the cake’s incredible moistness.
Step 5: Prepare Filling
While your cake batter is resting for a moment, let’s get the filling ready. If you’re using the chocolate ganache, place your semi-sweet chocolate chips in a heatproof bowl. Heat the heavy cream in a small saucepan over medium heat until it just starts to simmer around the edges. Don’t let it boil! Pour the hot cream over the chocolate chips, cover the bowl with a lid or plate, and let it sit for about 5 minutes. This allows the chocolate to melt gently. After 5 minutes, whisk the mixture until it’s smooth, glossy, and completely combined. It will be quite liquidy, but don’t worry, it will thicken as it cools. Set it aside.
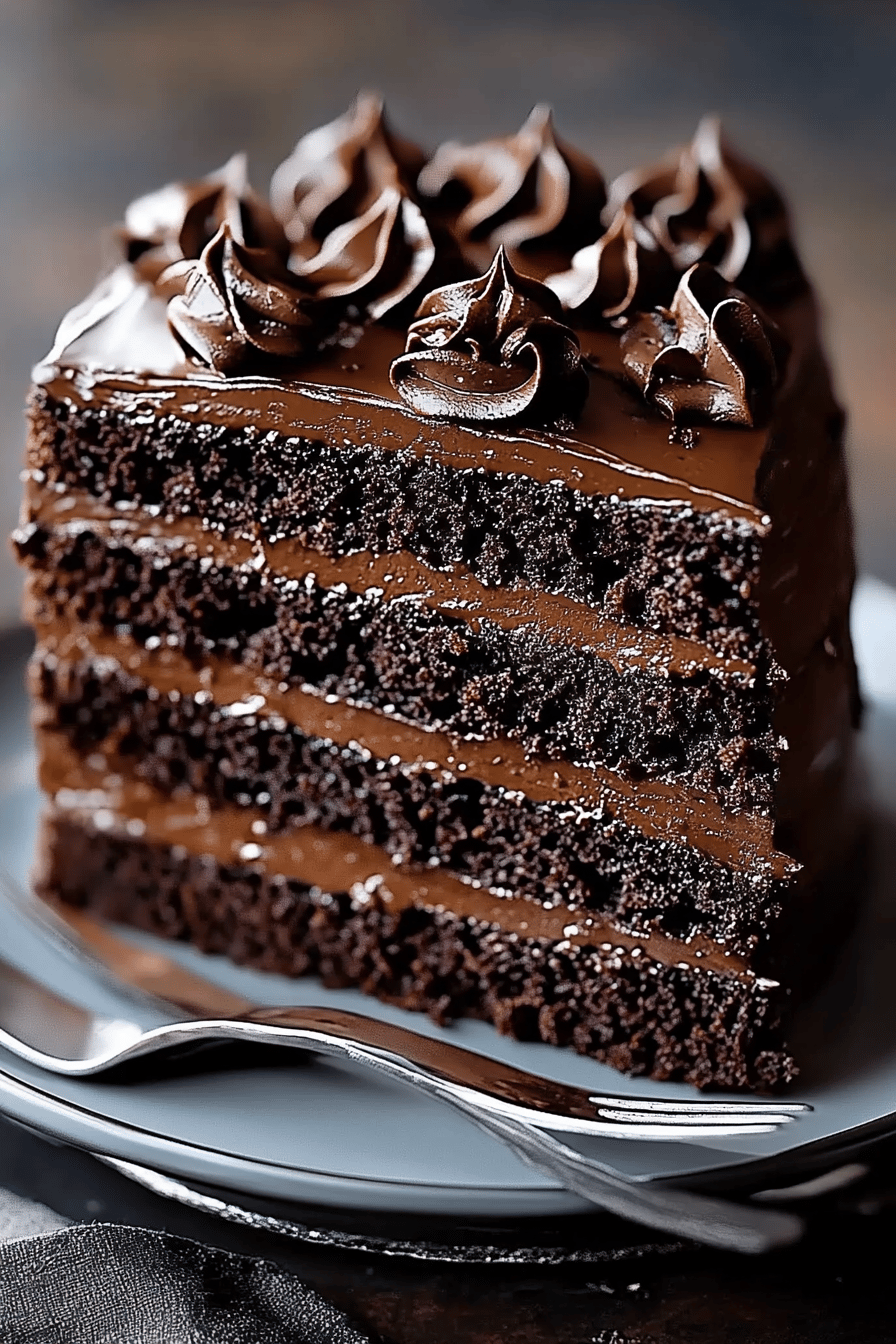
Step 6: Layer & Swirl
Pour about half of your Chocolate Cake batter into the prepared 9×13 inch pan. Now, carefully dollop spoonfuls of your chocolate ganache filling over the batter. Don’t try to spread it too much; just plop it on. Then, gently pour the remaining cake batter over the filling. You can use a skewer or a knife to gently swirl the filling into the cake batter, creating pretty marbled patterns. Don’t go overboard; just a few gentle swirls are enough to give it that beautiful visual appeal without making it muddy. The goal is to have pockets of rich ganache throughout the cake.
Step 7: Bake
Pop that pan into your preheated oven. Bake for about 30-40 minutes. The exact time will depend on your oven, so it’s important to do the toothpick test. Insert a toothpick into the center of the cake. If it comes out clean, or with just a few moist crumbs attached (not wet batter!), your cake is done. If there’s still wet batter on the toothpick, give it another 5 minutes and test again. Be careful not to overbake, as this will dry out your cake. The smell that fills your kitchen will be heavenly!
Step 8: Cool & Glaze
Once your cake is baked, take it out of the oven and let it cool in the pan on a wire rack for at least 20-30 minutes. This is important for the cake to set up properly. While the cake is cooling, prepare your glaze. In a medium bowl, whisk together the powdered sugar, cocoa powder, melted butter, vanilla extract, and 2 tablespoons of milk. Whisk until smooth and creamy. If the glaze is too thick, add more milk, a teaspoon at a time, until it reaches your desired drizzling consistency. It should be thick enough to coat the back of a spoon but still pourable. Once the cake has cooled in the pan for a bit, you can pour this luscious glaze over the top, spreading it gently to cover the surface. Let it set up a little before slicing.
Step 9: Slice & Serve
Once the glaze has set up a bit, your cake is ready to be sliced and devoured! I find it’s best to cut it while it’s still slightly warm, but cooled enough not to fall apart. Use a sharp knife, and cut it into generous squares. This cake is amazing on its own, but if you want to take it to the next level, serve it with a scoop of vanilla ice cream, a dollop of whipped cream, or even some fresh berries. The combination of warm, moist chocolate cake with cool ice cream is just pure bliss. Enjoy every single bite!
What to Serve It With
This “Sunshine” Chocolate Cake is so versatile, it’s practically a chameleon! For breakfast, though I know it sounds decadent, a small slice with a strong cup of coffee is pure morning bliss. It’s like a chocolatey hug to start your day. For a more elegant brunch spread, I love serving it as a lighter dessert option after a savory meal. A dusting of powdered sugar or a simple drizzle of the glaze looks so pretty on a plate, especially with some fresh raspberries on the side. As a dessert, oh, this is where it truly shines! Pair it with a scoop of good quality vanilla bean ice cream – the contrast of hot cake and cold ice cream is a classic for a reason. Or, try it with a spoonful of freshly whipped cream, maybe with a hint of bourbon for an adult twist. And for those cozy nights in, when you just need a little something sweet? A warm slice with a glass of milk is pure comfort. My kids also love it with a drizzle of caramel sauce, which adds another dimension of sweetness. It’s the perfect ending to any meal, or a delightful treat all on its own.
Top Tips for Perfecting Your “Sunshine” Chocolate Cake
I’ve made this chocolate cake recipe more times than I can count, and along the way, I’ve picked up a few tricks that I think will make yours absolutely perfect. First, about the cocoa powder: I really advocate for using a good quality Dutch-processed cocoa powder. It has a smoother, less acidic flavor and a deeper, richer color. If you can’t find it, your regular unsweetened cocoa will work, but the flavor profile will be a bit different. When it comes to mixing the wet and dry ingredients, I can’t stress enough: don’t overmix! Once you add the flour, your goal is to mix until *just* combined. A few small lumps are better than a tough cake. Overmixing develops the gluten, and that’s the enemy of a tender cake. The hot coffee is a game-changer for intensifying that chocolate flavor, but if you’re not a coffee drinker, hot water works just fine. Just make sure it’s hot! For the filling, if you’re not a fan of ganache, a simple swirl of cream cheese frosting is divine, or even a layer of your favorite jam. Just make sure it’s not too watery. When it comes to baking, remember that ovens vary. So, the toothpick test is your best friend. Don’t rely solely on the time; trust your eyes and the toothpick! For ingredient swaps, I’ve tested this with almond milk and it actually made it even creamier when I ran out of regular milk, so don’t be afraid to experiment a little. If you want a more intense chocolate flavor, you can add a teaspoon of espresso powder to the dry ingredients. It doesn’t make the cake taste like coffee, but it deepens the chocolate notes. For the glaze, consistency is key. You want it thick enough to coat but thin enough to drizzle. If it’s too thick, add milk a teaspoon at a time. If it’s too thin, add a little more powdered sugar. And finally, a little patience with the cooling process goes a long way. Letting it cool properly in the pan helps it set up beautifully before you glaze and slice.
Storing and Reheating Tips
One of the things I absolutely adore about this chocolate cake recipe is how well it keeps. If you have any leftovers (which is rare in my house, but it happens!), you can store it at room temperature for about 2-3 days. Just make sure it’s covered tightly with plastic wrap or stored in an airtight container. This helps keep it from drying out. If you’ve glazed it, the glaze itself offers a bit of protection. If you need to store it for longer, the refrigerator is your best bet. Wrap the cake tightly in plastic wrap, and then place it in an airtight container. It should stay good in the fridge for up to 5 days. When you’re ready to serve, you can let it come to room temperature for about 30 minutes before slicing, or enjoy it chilled. For long-term storage, this cake freezes beautifully! Wrap individual slices or the whole cake (if you can resist!) very well in plastic wrap, then in a layer of aluminum foil, and finally in a freezer-safe bag or container. It can stay frozen for up to 2-3 months. To thaw, simply transfer it to the refrigerator overnight. Reheating is usually not necessary because it’s so moist, but if you prefer it warm, you can gently warm individual slices in the microwave for about 10-15 seconds. For the glaze, I usually add it once the cake has cooled slightly but is still a bit warm from baking. This helps it set up nicely. If you’re planning to store it for a few days, the glaze helps seal in moisture.
Frequently Asked Questions
Final Thoughts
So there you have it – my absolute favorite, foolproof chocolate cake recipe. It’s the kind of cake that brings joy, comfort, and a whole lot of happy sighs. It’s proof that you don’t need hours in the kitchen or complicated techniques to create something truly delicious. This recipe has been a lifesaver for me on so many occasions, and I really hope it becomes a cherished favorite in your kitchen too. It’s perfect for those moments when you need a little sweetness in your day, or when you want to surprise your loved ones with a homemade treat that tastes like it came from a fancy bakery. If you love this chocolate cake, you might also enjoy my Decadent Fudgy Brownies or my Easy One-Bowl Vanilla Cake. Give them a try! I would absolutely love to hear how your chocolate cake turns out! Please leave a comment below with your thoughts, or share any fun variations you’ve tried. Happy baking, and I hope this cake brings as much sunshine into your home as it does into mine!