Chicken Parmesan Recipe
Oh, hello there! Come on in and grab a seat. I’ve been just itching to share this recipe with you. It’s the kind of dish that feels like a warm hug on a chilly evening, the one that makes your whole house smell absolutely divine, and the one that disappears from the table faster than you can say “seconds, please!” I’m talking about Chicken Parmesan, of course, but not just any Chicken Parmesan. This is *my* Chicken Parmesan, the one I’ve tweaked and perfected over years of kitchen adventures, and it’s genuinely the best I’ve ever tasted. If you’ve ever struggled with soggy breading or bland chicken, or if you just want to impress your family (or yourself!) with a restaurant-worthy meal that’s surprisingly easy to make at home, then you’ve come to the right place. It’s honestly a lifesaver on busy nights when everyone’s hungry and you need something comforting and spectacular.
What is chicken parmesan?
So, what exactly is this glorious dish? At its heart, Chicken Parmesan is an Italian-American classic that’s essentially breaded chicken cutlets, pan-fried to golden perfection, then topped with a rich tomato sauce and a generous blanket of melted cheese, usually mozzarella and Parmesan. Think of it as a flavor explosion waiting to happen! It’s a comforting, satisfying meal that’s become a staple in homes and restaurants alike. While the core concept is simple, there are so many little nuances that can take it from good to absolutely spectacular. This version focuses on getting that perfect crispy crust and juicy chicken inside, without any fuss. It’s a true crowd-pleaser, and honestly, it’s become a go-to for special occasions and even just a Tuesday night treat in my house. It’s a humble dish elevated to something truly special with a few key steps.
Why you’ll love this recipe?
Let me tell you why this Chicken Parmesan recipe holds such a special place in my heart (and my recipe box!). First off, the flavor is just out of this world. We’re talking about incredibly tender, juicy chicken encased in a crispy, golden-brown crust that’s seasoned just right. Then there’s the vibrant, homemade-tasting tomato sauce that simmers and melds with the chicken and cheese, creating layers of deliciousness. And that melted cheese? Pure, gooey, stretchy heaven! What I love most about this recipe, though, is how surprisingly simple it is to achieve such fantastic results. It might seem intimidating, but I promise you, it’s totally manageable, even if you’re not a seasoned chef. It’s also incredibly budget-friendly. You don’t need fancy ingredients to make this shine; just good quality staples you probably already have. Plus, it’s so versatile! You can serve it over pasta, with a side salad, stuffed into a hero roll, or even just on its own. I’ve tested this recipe countless times, trying different flours, different cheeses, even different cooking methods, and this one is the clear winner. It’s the kind of meal that makes everyone at the table smile, and that’s what cooking is all about for me.
How do I make Parmesan Chicken?
Quick Overview
This Chicken Parmesan recipe is all about building layers of flavor and texture. We start by prepping the chicken for that perfect crispy coating, then we pan-fry it until it’s golden and delicious. Next, it gets a quick dip in a rich tomato sauce before being topped with a generous amount of cheese and baked until it’s bubbling and irresistible. The key is not to overcook the chicken and to get that breading just right. It’s a straightforward process that delivers incredibly satisfying results, making it a go-to for any occasion.
Ingredients
For the Chicken Cutlets:
4 boneless, skinless chicken breasts (about 6-8 ounces each)
1 cup all-purpose flour (or gluten-free all-purpose flour blend)
2 large eggs
1/2 cup Panko breadcrumbs
1/4 cup grated Parmesan cheese
1 teaspoon dried Italian seasoning
1/2 teaspoon garlic powder
Salt and freshly ground Black Pepper, to taste
Olive oil or vegetable oil, for frying
For the Sauce:
1 (28 ounce) can crushed tomatoes
2 cloves garlic, minced
1 tablespoon olive oil
1 teaspoon dried oregano
1/2 teaspoon dried basil
Pinch of red pepper flakes (optional)
Salt and freshly ground Black Pepper, to taste
For Topping:
1 cup shredded mozzarella cheese
1/4 cup grated Parmesan cheese
Fresh basil leaves, for garnish (optional)
Step-by-Step Instructions
Step 1: Preheat & Prep Pan
First things first, let’s get our oven preheated to 400°F (200°C). This is crucial for getting that cheese perfectly melted and bubbly without drying out the chicken. While the oven is heating, grab a large, oven-safe skillet (cast iron works wonders here!) or a baking dish. If you’re using a baking dish, a light coating of cooking spray or a drizzle of Olive Oil will prevent any sticking.
Step 2: Mix Dry Ingredients
In a shallow dish or pie plate, whisk together the flour, a generous pinch of salt, and a good grind of black pepper. In a second shallow dish, whisk the eggs until they’re well combined and a little frothy. In a third shallow dish, combine the Panko breadcrumbs, the 1/4 cup of grated Parmesan cheese, Italian seasoning, and garlic powder. Give it a good stir to make sure everything is evenly distributed. This breadcrumb mixture is what’s going to give us that amazing crispy coating, so don’t skimp on the seasoning!
Step 3: Mix Wet Ingredients
Now for the wet ingredients, which in this case are our whisked eggs. They act as the glue that helps the breadcrumbs stick to the chicken. Make sure they are thoroughly beaten so they coat the chicken evenly. A little bit of whisking goes a long way here!
Step 4: Combine
Take your Chicken Breasts and if they’re particularly thick, you’ll want to pound them to an even thickness, about 1/2 inch. This ensures they cook evenly and quickly. Now, working one piece at a time, dredge each chicken cutlet first in the seasoned flour, shaking off any excess. Then, dip it into the beaten eggs, letting any excess drip off. Finally, press the chicken firmly into the Panko mixture, making sure it’s completely coated on both sides. Don’t be afraid to really press it in there; that’s how you get that nice, thick crust. Set the breaded cutlets aside on a clean plate or wire rack while you work on the sauce.
Step 5: Prepare Filling
While your chicken is waiting, let’s whip up a quick, flavorful sauce. In a medium saucepan over medium heat, warm the Olive Oil. Add the minced garlic and sauté for about 30 seconds until fragrant, being careful not to burn it. Pour in the crushed tomatoes, add the oregano, basil, and red pepper flakes (if using). Stir everything together, bring it to a gentle simmer, then reduce the heat to low and let it cook for at least 10-15 minutes, stirring occasionally. This allows the flavors to meld beautifully. Season with salt and pepper to taste. You want it to be rich and savory.
Step 6: Layer & Swirl
Now for the assembly! If you’re using an oven-safe skillet, spread a thin layer of your tomato sauce on the bottom. If you’re using a baking dish, do the same. Arrange the breaded chicken cutlets in a single layer over the sauce. Don’t overcrowd the pan; give them a little breathing room. Spoon a generous amount of the remaining tomato sauce over each chicken cutlet, making sure to cover them well. Finally, sprinkle the shredded mozzarella cheese evenly over the sauce, followed by the grated Parmesan cheese. You can create little swirls or just sprinkle it evenly – either way, it’s going to be delicious!
Step 7: Bake
Pop that skillet or baking dish into your preheated oven. Bake for 20-25 minutes, or until the chicken is cooked through (an instant-read thermometer inserted into the thickest part should read 165°F or 74°C) and the cheese is melted, bubbly, and starting to turn golden brown in spots. Keep an eye on it towards the end to make sure the cheese doesn’t burn. The smell during this stage is absolutely heavenly!
Step 8: Cool & Glaze
Once it’s out of the oven, let your Chicken Parmesan rest for about 5 minutes before slicing. This allows the juices to redistribute, making the chicken even more tender and moist. While it’s resting, if you have any fresh basil leaves, now’s the time to chiffonade them for a lovely fresh garnish.
Step 9: Slice & Serve
Carefully slice the Chicken Parmesan into portions. I like to serve it right out of the pan or dish. Garnish with fresh basil leaves if you’re using them. The contrast of the crispy chicken, the savory sauce, and the gooey cheese is just divine. It’s a complete meal in itself, but it also pairs beautifully with so many things!
What to Serve It With
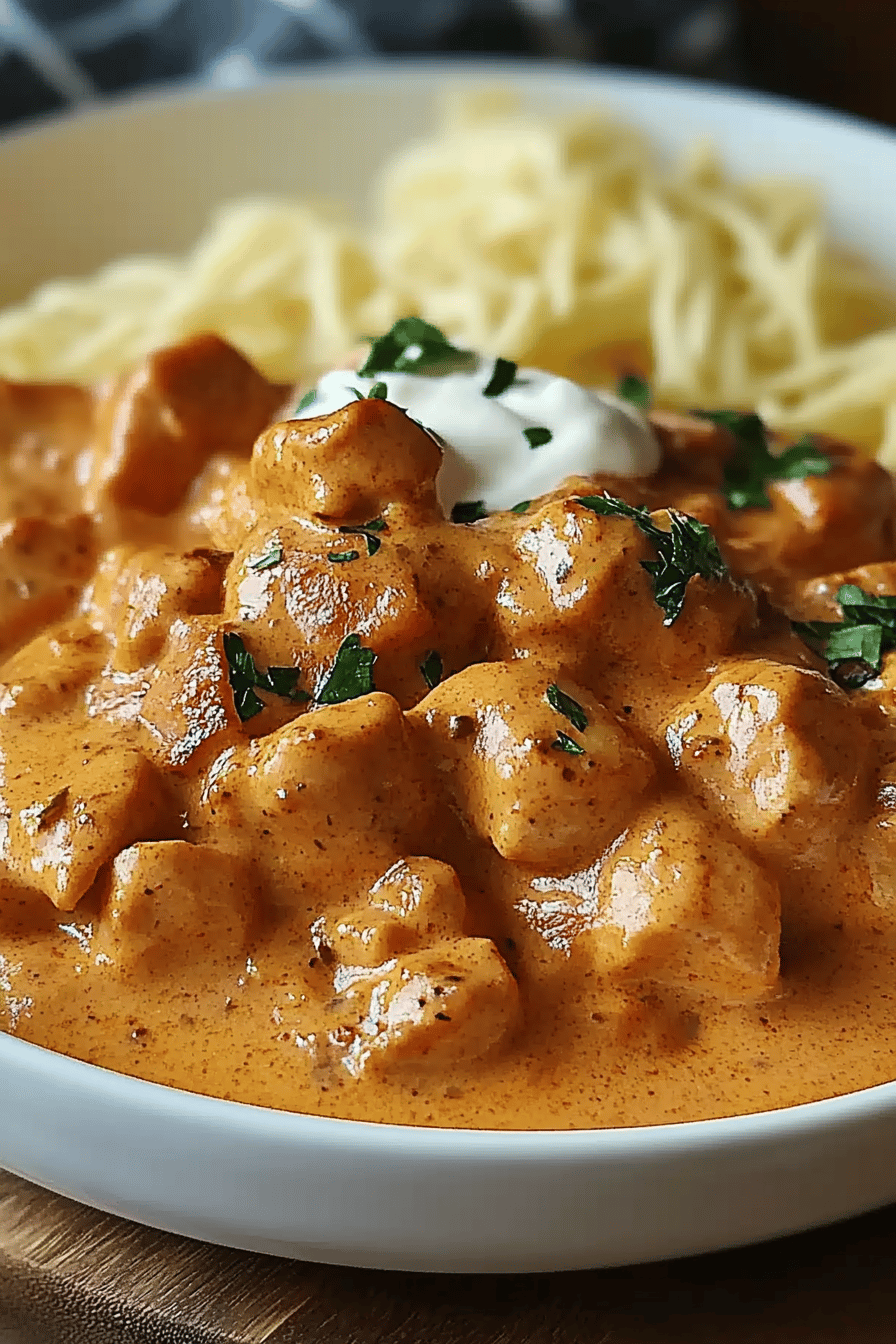
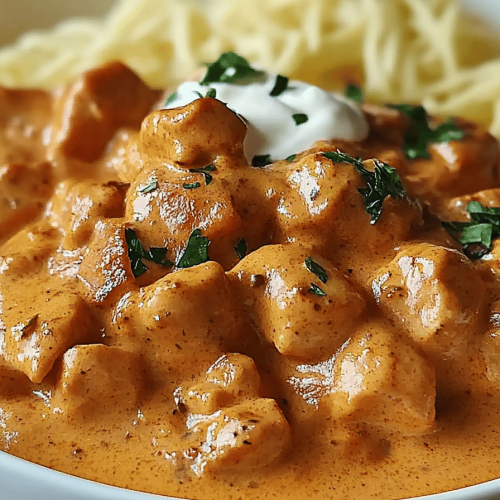
This Chicken Parmesan is so wonderfully versatile, you can truly make a meal out of it for any time of day, though it’s most famously an evening delight! For a classic dinner, it’s absolutely sublime served over a bed of perfectly cooked spaghetti or linguine, with extra sauce spooned over the pasta. A simple side salad with a bright vinaigrette is the perfect counterpoint to all that richness. If you’re feeling a bit more casual, pile it into a crusty Italian bread roll, maybe with a little extra sauce and cheese, for an epic Chicken Parm sandwich that will rival any deli offering. My kids also love it with a side of roasted broccoli or green beans for a touch of freshness. For a lighter option, just serve it with a big, fresh arugula salad dressed with lemon and olive oil. Honestly, I’ve even made mini versions and served them as appetizers at parties, and they always disappear in minutes. It’s that good!
Top Tips for Perfecting Your Chicken Parmesan
I’ve made this Chicken Parmesan more times than I can count, and I’ve learned a few tricks along the way that I just *have* to share. First, for the chicken itself, pounding it to an even 1/2-inch thickness is non-negotiable. It ensures even cooking, preventing the edges from drying out before the center is done. If your chicken breasts are super thick, don’t be afraid to slice them horizontally to make thinner cutlets. When it comes to the breading, the Panko breadcrumbs are key for that super crispy texture that holds up beautifully. Don’t skip the Parmesan cheese in the breading mixture; it adds an incredible depth of flavor. I also like to add a touch of Italian seasoning and garlic powder right into the Panko for an extra flavor boost. For the sauce, using good quality crushed tomatoes makes a huge difference. If you have the time, letting the sauce simmer for at least 20-30 minutes will really deepen the flavor. Don’t rush it! When frying the chicken, make sure your oil is hot enough but not smoking – a medium-high heat is perfect. You want that beautiful golden-brown crust. And here’s a tip I learned after a few too many soggy bottoms: don’t overcrowd your skillet when frying. Cook in batches if you have to. This allows the chicken to crisp up properly instead of steaming. Finally, when assembling, make sure you spoon plenty of sauce over the chicken before adding the cheese. This helps keep the chicken moist and creates a more cohesive dish. Trust me, these little details make all the difference!
Storing and Reheating Tips
Leftover Chicken Parmesan is almost as good as the freshly made dish, and knowing how to store and reheat it properly is key. If you have any leftovers (which is rare in my house!), let the dish cool completely before storing. For the best results, store any leftover chicken and sauce in an airtight container in the refrigerator. It will stay good for up to 3-4 days. When you’re ready to reheat, the best method is in the oven. Place the chicken pieces in a baking dish, add a splash of extra sauce or water to prevent drying, cover with foil, and bake at around 350°F (175°C) for 15-20 minutes, or until heated through. You can also reheat individual portions in the microwave, but be mindful that the breading might not be as crispy. For a quick reheat, a toaster oven works well too. If you want to freeze it, I recommend freezing the chicken and sauce separately from any pasta or sides. Wrap the cooled chicken pieces tightly in plastic wrap, then in foil, and place them in a freezer-safe bag or container. It should keep well in the freezer for up to 2-3 months. To thaw, transfer to the refrigerator overnight and then reheat as mentioned above. The key to reheating is gentle heat to avoid drying out the chicken or making the breading mushy.
Frequently Asked Questions
Final Thoughts
There you have it – my absolute favorite Chicken Parmesan recipe! I truly hope you give this a try. It’s more than just a meal; it’s an experience, a way to bring a little bit of that restaurant magic into your own kitchen. The combination of crispy chicken, savory sauce, and melted cheese is just pure comfort food bliss, and the best part is, it’s so achievable. I love seeing how it turns out for everyone, so please, if you make it, leave a comment below and let me know what you think! Share any tweaks you made or how your family enjoyed it. And if you’re looking for more comforting, easy-to-make recipes, be sure to check out my other favorites [link to another recipe category, e.g., “Hearty Family Dinners”]. Happy cooking, and I can’t wait to hear how your Chicken Parmesan turns out!
Chicken Parmesan Recipe
Ingredients
Chicken Cutlets
- 2 pounds boneless, skinless chicken breasts cut into 4 equal cutlets, pounded to 0.5-inch thickness
- 0.5 cup all-purpose flour
- 2 large eggs beaten
- 1.5 cups panko breadcrumbs
- 0.5 cup grated Parmesan cheese
- 0.5 teaspoon salt
- 0.25 teaspoon black pepper
- 0.5 cup olive oil for frying
Toppings
- 2 cups marinara sauce
- 8 ounces mozzarella cheese shredded
- 0.5 cup grated Parmesan cheese
- 2 tablespoons fresh basil leaves chopped, for garnish
Instructions
Preparation Steps
- Preheat oven to 400°F (200°C).
- Set up three shallow dishes. In the first, add flour. In the second, whisk the eggs. In the third, combine panko breadcrumbs, 0.5 cup Parmesan cheese, salt, and pepper.
- Dredge each chicken cutlet in flour, then dip in the beaten eggs, and finally coat thoroughly with the breadcrumb mixture.
- Heat olive oil in a large skillet over medium-high heat. Fry chicken cutlets for 3-4 minutes per side, until golden brown and cooked through. Work in batches if necessary.
- Transfer the fried chicken cutlets to a baking dish.
- Spoon marinara sauce over each chicken cutlet.
- Top with shredded mozzarella cheese and 0.5 cup grated Parmesan cheese.
- Bake in the preheated oven for 10-12 minutes, or until the cheese is melted and bubbly.
- Garnish with fresh basil leaves before serving.