Chicken Fried Chicken Recipe
Oh, friends, I’ve got a recipe for you today that’s going to make your kitchen smell like pure heaven and your taste buds sing! We’re talking about the ultimate comfort food, the dish that brings everyone to the table with happy sighs: my tried-and-true Chicken Fried Chicken recipe.. You know, the kind that has that perfectly crispy, golden-brown crust that gives way to the most tender, juicy chicken inside? It’s not just a meal; it’s a hug in edible form. Honestly, if you’re ever craving something that feels both incredibly indulgent and wonderfully familiar, this is it. It’s like a little piece of Southern sunshine right on your plate. I remember my grandma making this for Sunday dinners, and the aroma would fill our little house, signaling that something truly special was about to happen. It’s got that magic touch that makes even a weeknight feel like a celebration.
What is fried chicken?
So, what exactly *is* chicken fried chicken? Think of it as the most glorious marriage between fried chicken and chicken-fried steak, but entirely chicken. We take boneless, skinless chicken breasts, pound them out to be nice and even, then coat them in a seasoned flour mixture before frying them to a perfect golden crisp. But here’s the kicker, and what makes this What is a good chicken fried Chicken Recipe? truly shine: the creamy, dreamy gravy. It’s not just a side note; it’s an integral part of the experience, smothering everything in deliciousness. It’s essentially a deeply satisfying, hearty dish that doesn’t pretend to be fancy, but oh boy, does it deliver on flavor and comfort. It’s simple at its heart, but the execution is what makes it so utterly divine.
Why you’ll love this recipe?
There are so many reasons why this chicken fried Chicken Recipe has earned a permanent spot in my recipe binder, and I just know you’re going to fall head over heels for it too. First and foremost, the FLAVOR! It’s this incredible symphony of savory, crispy, and creamy. The chicken itself is seasoned beautifully, so every bite has a pop of flavor, and that crust? Oh, that crust is perfection – shatteringly crisp on the outside, never greasy. Then, you pour that luscious, peppery gravy all over it, and it just takes it to another level. It’s pure bliss. And let’s talk SIMPLICITY. While it might seem like a lot of steps, I promise you, it’s totally manageable, even on a slightly busier night. Once you get the hang of it, you can whip this up without breaking a sweat. Plus, it’s incredibly COST-EFFECTIVE! Using chicken breasts makes it an affordable way to feed a crowd or a hungry family. You get all this amazing flavor and satisfaction without breaking the bank. And VERSATILITY! This dish is a chameleon. Serve it for a hearty breakfast (yes, breakfast!), a comforting brunch, or a satisfying dinner. It pairs beautifully with so many sides, which we’ll get to in a bit. What I truly love most about this chicken fried chicken recipe is how it makes people feel. It’s nostalgic, it’s satisfying, and it’s just plain delicious. It’s the kind of meal that sparks conversations and creates happy memories around the table.
How to Make Chicken Fried Chicken
Quick Overview
This chicken fried Chicken Recipe is all about building layers of flavor and texture. We’ll start by preparing the chicken, then move to the seasoned flour dredge, followed by a quick dip in an egg wash, and finally, into that glorious seasoned flour again for maximum crispiness. While the chicken fries, we’ll whip up a quick, savory gravy right in the same pan. It’s a straightforward process, designed to give you that restaurant-quality result right in your own kitchen. Trust me, the minimal effort is so worth the incredible payoff!
Ingredients
For the Chicken:
2 large boneless, skinless chicken breasts (about 1.5 pounds total)
1 cup all-purpose flour
2 teaspoons salt
1 teaspoon Black Pepper
1/2 teaspoon paprika
1/2 teaspoon garlic powder
1/4 teaspoon cayenne pepper (optional, for a little kick!)
2 large eggs
2 tablespoons milk or buttermilk (I’ve even used unsweetened almond milk in a pinch and it worked great!)
Vegetable oil or shortening, for frying (enough for about 1/2 inch in the pan)
For the Gravy:
2 tablespoons reserved chicken drippings (after frying)
2 tablespoons all-purpose flour
2 cups milk (whole milk makes the creamiest gravy, but 2% works too!)
1/2 teaspoon salt
1/4 teaspoon black pepper
Step-by-Step Instructions
Step 1: Preheat & Prep Chicken
First things first, let’s get our chicken ready. You want to take those chicken breasts and, if they’re really thick, slice them in half horizontally to make thinner cutlets. Then, place each piece between two sheets of plastic wrap or inside a zip-top bag and gently pound them out to about 1/2-inch thickness. This makes them cook evenly and ensures they’re super tender. I usually use the flat side of a meat mallet or even a heavy rolling pin for this. It’s important they’re all roughly the same thickness so they cook at the same rate. Once pounded, set them aside on a plate.
Step 2: Mix Dry Ingredients
Now, let’s get our dredging station ready. In a shallow dish or pie plate, whisk together the 1 cup of all-purpose flour with the salt, pepper, paprika, garlic powder, and cayenne pepper (if you’re using it). Give it a really good mix so all those seasonings are evenly distributed. This blend is what gives our chicken fried chicken recipe that incredible flavor right from the first bite. You want to make sure every speck of chicken is going to get coated in this deliciousness.
Step 3: Mix Wet Ingredients
In a separate shallow dish, whisk the two eggs with the 2 tablespoons of milk or buttermilk. Again, just a good whisk until everything is combined. This egg wash is going to help that seasoned flour stick beautifully to the chicken, creating that perfect, crispy coating we’re after. The milk or buttermilk adds a little richness and helps to tenderize the chicken ever so slightly.
Step 4: Dredge the Chicken
Okay, it’s time to coat our chicken! Take one pounded chicken cutlet and first dredge it in the seasoned flour, making sure to coat both sides well. Shake off any excess flour. Then, dip it into the egg wash, letting any excess drip off. Finally, return the chicken to the seasoned flour mixture and press down gently to ensure a good, thick coating. You want that flour to really cling on. Repeat this process for all the chicken cutlets. I always like to place the coated chicken on a wire rack set over a baking sheet for a few minutes before frying; this helps the coating adhere even better and gets it ready for its close-up.
Step 5: Heat the Oil & Fry
In a large, heavy-bottomed skillet (cast iron is my absolute favorite for this!), heat about 1/2 inch of vegetable oil or shortening over medium-high heat. You want the oil to be shimmering but not smoking – around 350°F (175°C). Carefully place 2-3 chicken cutlets into the hot oil, being careful not to overcrowd the pan. Overcrowding will lower the oil temperature and result in soggy chicken, and nobody wants that! Fry for about 3-5 minutes per side, until they’re a deep golden brown and cooked through. You’ll know they’re done when the internal temperature reaches 165°F (74°C). Use tongs to carefully remove the chicken from the pan and place it on a wire rack set over a baking sheet to drain any excess oil. Keep it warm in a low oven (around 200°F/95°C) while you fry the remaining chicken.
Step 6: Make the Gravy
This is where the magic happens for the gravy! Once all the chicken is fried, carefully pour out all but about 2 tablespoons of the rendered chicken drippings from the skillet. Leave the little browned bits (fond) stuck to the bottom – that’s pure flavor! Place the skillet back over medium heat. Whisk in the 2 tablespoons of flour with the drippings and cook for about 1 minute, stirring constantly, to cook out the raw flour taste. Gradually whisk in the 2 cups of milk until the mixture is smooth. Bring it to a simmer, stirring frequently, until the gravy thickens. It should coat the back of a spoon beautifully. Season it with salt and pepper to your taste. If it gets too thick, just whisk in a little more milk. If it’s too thin, you can let it simmer a bit longer or make a quick slurry with a teaspoon of flour and a tablespoon of water to whisk in.
Step 7: Serve It Up!
To serve, place a beautiful piece of golden-brown chicken on a plate and generously ladle that warm, creamy gravy all over it. The contrast of the crispy chicken and the smooth, savory gravy is just divine. You can also sprinkle a little extra black pepper on top if you like. This is truly a sight for sore eyes and a treat for the taste buds!
What to Serve It With
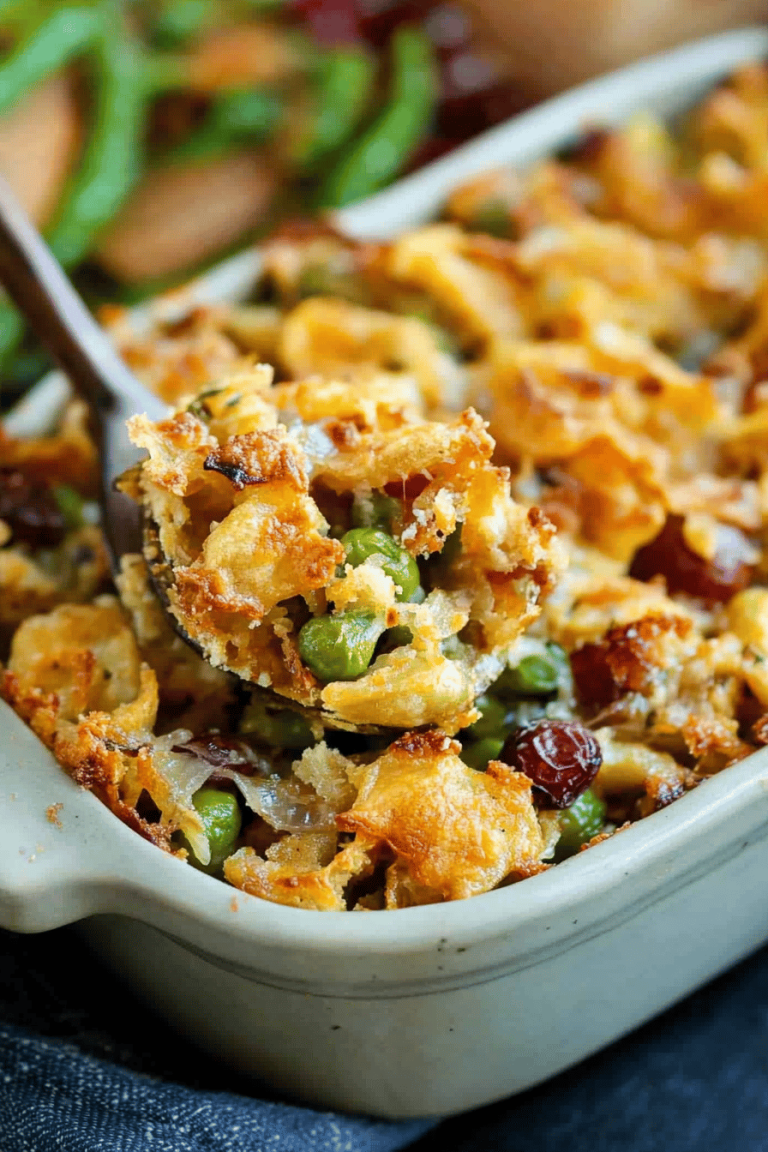
This chicken fried chicken recipe is wonderfully versatile, and the perfect sides can elevate it from just a meal to an unforgettable culinary experience. For a hearty BREAKFAST, imagine this served alongside some crispy home fries or even some scrambled eggs. A little drizzle of hot sauce on top? Don’t mind if I do! For BRUNCH, I love pairing it with some fresh fruit salad to cut through the richness, maybe some fluffy biscuits, and a mimosa or a perfectly brewed cup of coffee. It feels elegant yet incredibly comforting. As a DESSERT, well, it’s usually the star of the show! But if you’re having it for dinner, it’s divine with classic mashed potatoes, creamed corn, or green beans almondine. For COZY SNACKS, you can even cut up leftover chicken and serve it with a side of gravy for dipping – pure comfort! My family absolutely adores it with sweet potato fries or a simple side salad with a tangy vinaigrette. It’s all about balancing those rich, savory flavors.
Top Tips for Perfecting Your Chicken Fried Chicken
I’ve made this chicken fried chicken recipe more times than I can count, and over the years, I’ve picked up a few tricks that I think really make a difference. First, when it comes to prepping the chicken, pounding it to an even thickness is crucial for consistent cooking. If one part is too thick, it won’t cook through by the time the thinner parts are done. My motto is: be gentle but firm! For the flour mixture, don’t be shy with the seasonings. Taste your flour mixture before you start dredging – does it taste bland? Add more salt and pepper! A well-seasoned coating is key. When it comes to dredging, that double-dipping (flour, egg, flour again) is what creates that extra-crispy, substantial crust. Make sure you press the flour onto the chicken to really get it to stick. For frying, resist the urge to overcrowd the pan! I know it’s tempting to get it all done at once, but it really does impact the crispiness. Give each piece space to sizzle and fry properly. Use a thermometer if you have one to check your oil temperature; keeping it around 350°F (175°C) is the sweet spot. Too low and it’s greasy, too high and it burns before the chicken cooks. When making the gravy, make sure to cook out the raw flour taste by stirring it into the drippings for a minute before adding the milk. This prevents that pasty flavor. If your gravy seems lumpy, a quick whisk or even blending it with an immersion blender can work wonders. For ingredient swaps, if you don’t have buttermilk, regular milk with a teaspoon of lemon juice or vinegar left to sit for five minutes works beautifully as a substitute. And if you’re feeling adventurous, adding a pinch of smoked paprika to the flour mixture gives it a lovely subtle smokiness.
Storing and Reheating Tips
Alright, so you’ve made an epic batch of this chicken fried chicken recipe, and lucky you, you have leftovers! They’re still incredibly delicious, but a little care in storage and reheating will ensure you enjoy them at their best. For ROOM TEMPERATURE storage, it’s best to let the chicken cool completely first. Once cooled, you can store it in an airtight container for no more than two hours. Honestly, though, I’d recommend refrigerating it fairly quickly to maintain optimal freshness and food safety. If you’re storing leftovers in the REFRIGERATOR, let the chicken cool completely, then place it in an airtight container. It should stay good for about 3-4 days. The gravy can be stored separately in its own container. To reheat, I find the best method is in the oven. Place the chicken on a baking sheet (you can add a little extra oil or butter if you like, or even a splash of broth) and bake at around 350°F (175°C) for 10-15 minutes, or until heated through and the crust is re-crisped. If you’re in a real hurry, a quick blast in the microwave works, but be aware the crust won’t be as crispy. For the gravy, gently reheat it in a small saucepan over low heat, stirring frequently, or reheat it in the microwave, again stirring halfway through. If it’s too thick after reheating, just add a splash of milk to loosen it up. I usually prefer to add the gravy *after* reheating the chicken, so the crust stays nice and crisp. If you’re freezing portions, wrap the cooled chicken tightly in plastic wrap, then a layer of aluminum foil, or place in freezer-safe bags for up to 2-3 months. Thaw overnight in the refrigerator before reheating as described above.
Frequently Asked Questions
Final Thoughts
So there you have it, my friends – my absolute favorite chicken fried chicken recipe! I truly hope you give this a try. It’s more than just a meal; it’s an experience, a little bit of comfort and joy on a plate. The combination of that perfectly crispy crust and the luscious, savory gravy is something that just never gets old for me. It’s the kind of dish that makes you want to gather your favorite people around the table and savor every single bite. If you love this recipe, you might also enjoy my Classic Buttermilk Biscuits or my Creamy Mashed Potatoes – they make for the ultimate comfort food spread! I can’t wait to hear how yours turns out, so please, leave a comment below and let me know your thoughts, or share a picture if you tag me on social media! Happy cooking!
Chicken Fried Chicken Recipe
Ingredients
Chicken and Marinade
- 4 pounds bone-in, skin-on chicken pieces mixed pieces (breasts, thighs, legs)
- 2 cups buttermilk
- 1 tablespoon hot sauce
Dry Coating
- 2 cups all-purpose flour
- 1 tablespoon salt
- 1 teaspoon black pepper
- 0.5 teaspoon paprika
- 0.25 teaspoon garlic powder
- 0.25 teaspoon onion powder
Frying Oil
- 4 cups vegetable oil or other neutral high-heat oil
Instructions
Preparation Steps
- In a large bowl, combine the chicken pieces, buttermilk, and hot sauce. Ensure the chicken is fully submerged. Cover and refrigerate for at least 2 hours, or preferably overnight.
- In a shallow dish or a large resealable bag, whisk together the flour, salt, pepper, paprika, garlic powder, and onion powder. This is your dry coating.
- Remove the chicken from the buttermilk marinade, letting any excess drip off. Dredge each piece of chicken thoroughly in the dry coating, pressing to ensure it adheres well. Place the coated chicken on a wire rack set over a baking sheet.
- In a large, heavy skillet (cast iron is ideal), heat the vegetable oil over medium-high heat until it reaches about 350°F (175°C). Use a thermometer to check the temperature.
- Carefully place the coated chicken pieces into the hot oil, being careful not to overcrowd the skillet. Fry in batches if necessary. Fry for about 6-8 minutes per side, or until golden brown and cooked through. The internal temperature of the chicken should reach 165°F (74°C).
- Remove the fried chicken from the skillet and place it on a clean wire rack to drain any excess oil. Serve hot.