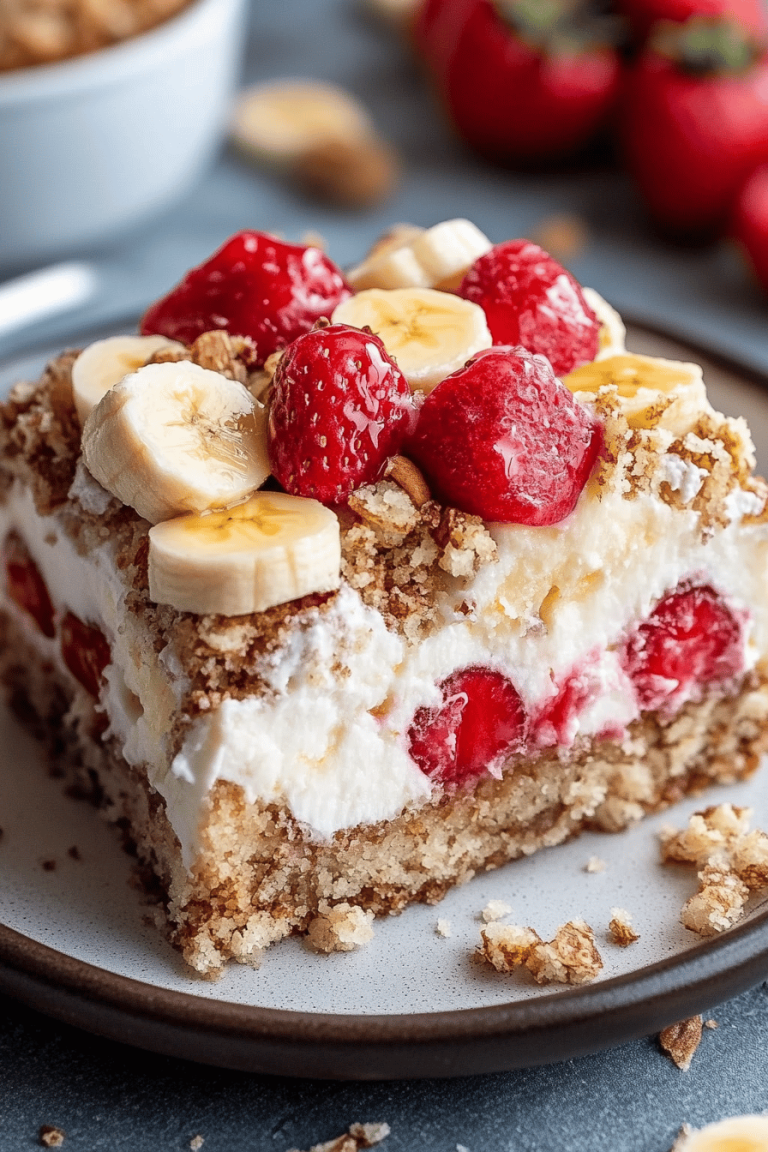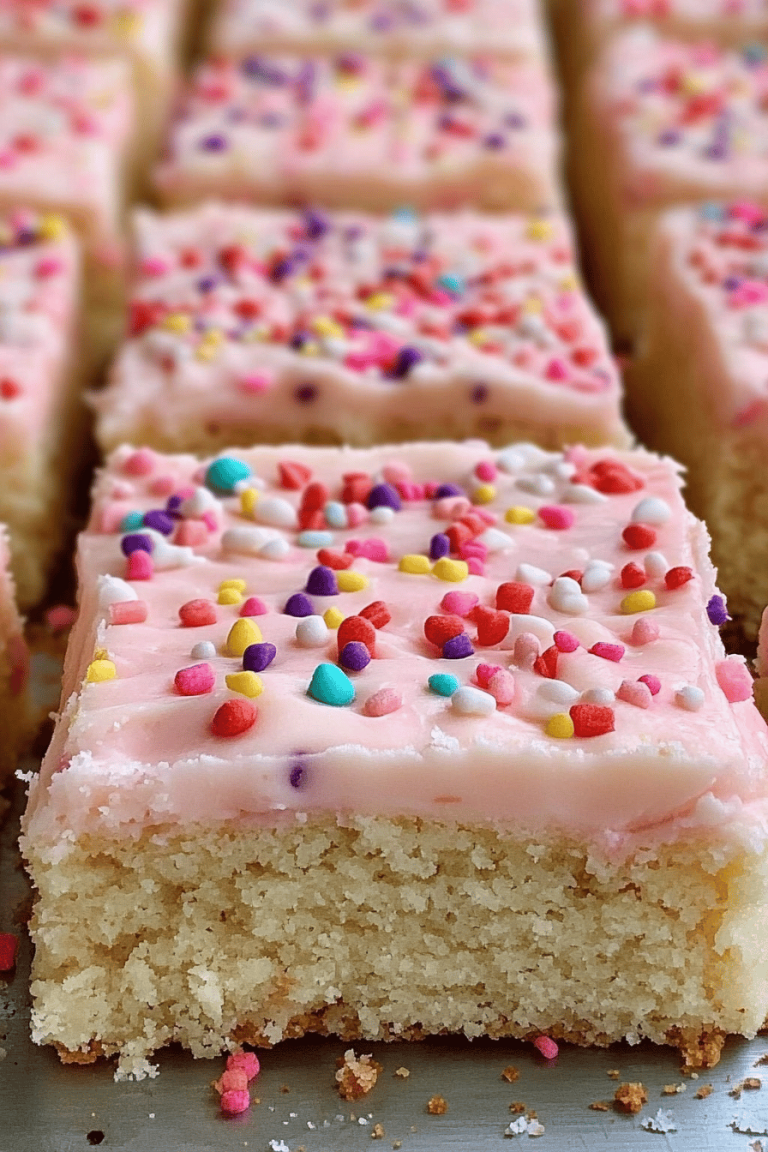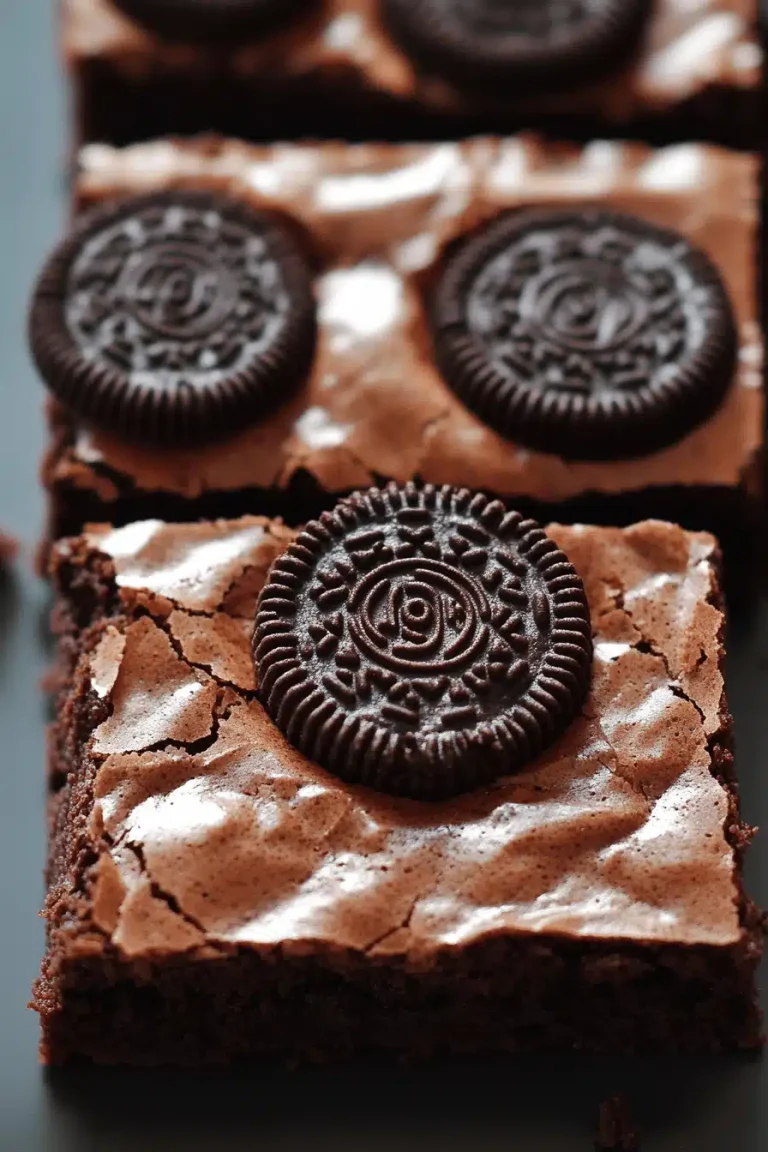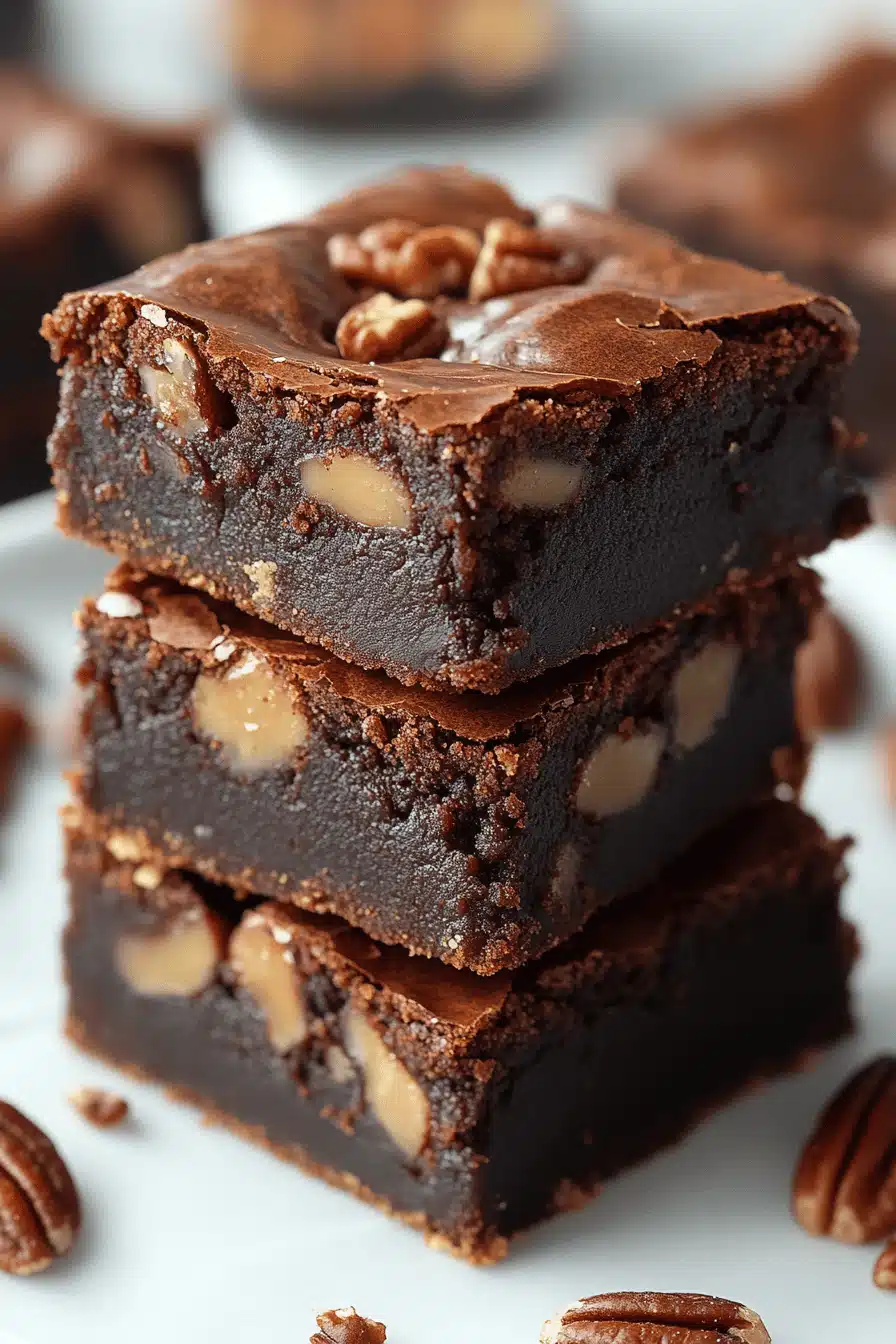
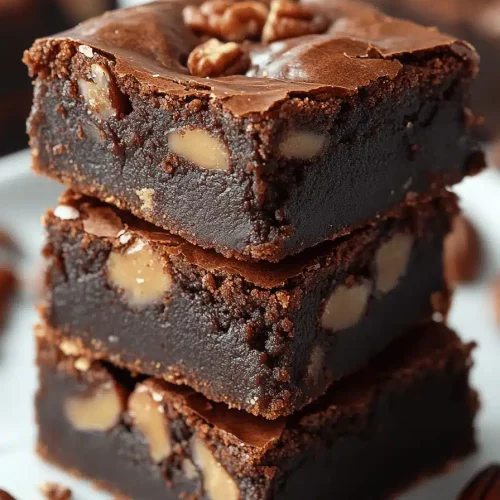
Cheesecake Brownies
There are some desserts that just make you feel *good*. You know the ones – the kind that transport you back to childhood, or the ones that are ridiculously impressive without being a total nightmare to make. Well, for me, these Cheesecake Brownies: What are some good cheesecake brownies? are absolutely in that category. My grandma used to make a version of these, and every time I bake them, I swear I can smell her kitchen. They’re this perfect harmony of fudgy, rich brownie and creamy, tangy cheesecake swirled together. Honestly, if you’re ever torn between wanting a brownie or a cheesecake, just make these. They’re a total lifesaver when you can’t decide, and trust me, they disappear faster than you can say “second helping!” This recipe is what dreams are made of, I tell you.
What is cheesecake brownie?
So, what exactly are these magical little squares? Think of it as the ultimate mashup of two iconic desserts. We’re talking a deeply chocolatey, wonderfully dense brownie base topped with a luscious, slightly tart cheesecake layer, all swirled together into one glorious baked good. It’s not quite a brownie, it’s not quite a cheesecake, it’s something even better. The magic happens in how the two textures and flavors meld together during baking. The brownie stays fudgy and rich, while the cheesecake becomes smooth and creamy. It’s like they were always meant to be together, and I’m just the lucky baker who gets to bring them into existence. It’s the kind of dessert that makes people go “Wow!” without you having to explain what it is – they just get it.
Why you’ll love this recipe?
Why do I love these books?Cheesecake Brownies? First off, the flavor is just out of this world. You get that deep, Dark Chocolate richness from the brownie, which is perfectly cut by the creamy, slightly tangy cheesecake layer. It’s a flavor combination that’s both comforting and exciting, hitting all the right notes. And don’t even get me started on the texture! The brownie is dense and fudgy, almost gooey in the center, while the cheesecake is smooth and velvety. It’s a textural dream.
What I love most about this recipe, besides the incredible taste, is how surprisingly simple it is to make. Seriously, if you can mix a couple of bowls, you can make these. It’s way less intimidating than making a full-on cheesecake, but you get all that delightful tang and creaminess. Plus, they’re surprisingly budget-friendly. You probably have most of the ingredients in your pantry already, which is always a win in my book. And versatility? You bet. These are perfect for potlucks, fancy-ish dessert nights, or honestly, just a Tuesday evening when you need a serious treat. They’re a bit of a showstopper, but they don’t demand all day in the kitchen. I’ve made these for crowds, and they always get rave reviews. If you’ve ever loved my classic Fudgy Brownies or my no-bake cheesecake, you’re going to be obsessed with this hybrid.
How to Make Cheesecake Brownies
Quick Overview
The process is really straightforward. You’ll mix up a rich Brownie Batter, whip up a simple cheesecake filling, then layer them in a pan, swirling them together artfully. A bake in the oven, a good chill, and then you’re rewarded with these magnificent squares. It’s truly that easy, and the results are spectacular. You get that amazing marbling effect from the swirl that just looks so professional, but it’s really not hard to achieve at all. Trust me, it’s a recipe you’ll come back to again and again.
Ingredients
For the Brownie Batter:
- 1 cup (2 sticks) unsalted butter, melted: Using good quality butter really makes a difference here. Melt it gently, don’t let it brown!
- 2 cups granulated sugar: This is key for that classic brownie sweetness and texture.
- 4 large eggs: Make sure they’re at room temperature – they incorporate much better.
- 1 teaspoon vanilla extract: Pure vanilla extract, please! It adds such a lovely depth.
- 1 cup all-purpose flour: Just enough to bind everything together without making the brownies cakey.
- 3/4 cup unsweetened cocoa powder: Use a good Dutch-process cocoa for the richest chocolate flavor.
- 1/2 teaspoon salt: Balances the sweetness and brings out the chocolate flavor.
- 1/2 teaspoon baking powder: Just a touch to give them a little lift, but we want them dense!
- 1 cup chocolate chips (optional, but highly recommended!): Semi-sweet or dark chocolate chips are my go-to.
For the Cheesecake Filling:
- 2 (8-ounce) packages cream cheese, softened: Crucial for a smooth, lump-free filling. Leave them out on the counter for at least an hour.
- 3/4 cup granulated sugar: Sweetens the filling and complements the tang.
- 1 large egg: Helps to set the cheesecake filling.
- 1 teaspoon vanilla extract: For that classic cheesecake aroma and flavor.
- 1 tablespoon lemon juice (optional): A tiny bit of lemon juice really brightens up the cheesecake flavor.
For the Chocolate Glaze (Optional):
- 1/2 cup semi-sweet chocolate chips
- 2 tablespoons unsalted butter
Step-by-Step Instructions
Step 1: Preheat & Prep Pan
First things first, let’s get your oven fired up to 350°F (175°C). Now, grab a 9×13 inch Baking Pan. I always like to line mine with parchment paper, leaving some overhang on the sides. This makes it SO much easier to lift the whole slab out later for cutting. Then, I give the parchment a little spritz of cooking spray. It’s a small step, but it ensures absolutely no sticking!
Step 2: Mix Dry Ingredients
In a medium bowl, whisk together the flour, cocoa powder, salt, and baking powder. Give it a good whisk to make sure everything is evenly distributed. This helps prevent any pockets of flour or cocoa in your finished brownies. We want a consistent fudgy texture all the way through!
Step 3: Mix Wet Ingredients
In a large bowl, pour in your melted butter. Add the granulated sugar and whisk until it’s well combined and looks glossy. Now, beat in the eggs one at a time, making sure each one is fully incorporated before adding the next. Finally, stir in the vanilla extract. The mixture should look smooth and rich.
Step 4: Combine
Gradually add the dry ingredients to the wet ingredients. Mix on low speed or with a spatula until just combined. Be careful not to overmix here! Overmixing can lead to tough brownies, and we want them to be wonderfully fudgy. If you’re adding chocolate chips, fold them in now. The batter should be thick and luscious.
Step 5: Prepare Filling
In a separate bowl, beat the softened Cream Cheese until it’s completely smooth and creamy. You don’t want any lumps! Gradually beat in the granulated sugar until it’s well combined. Then, beat in the egg, vanilla extract, and lemon juice (if using) until just combined. Again, don’t overmix. We’re aiming for a smooth, silky filling.
Step 6: Layer & Swirl
Pour about two-thirds of the brownie batter into your prepared baking pan and spread it out evenly. Dollop spoonfuls of the cheesecake filling over the brownie batter. Then, carefully spoon the remaining brownie batter over the cheesecake filling. Now for the fun part! Grab a knife or a skewer and gently swirl the batters together. Don’t go crazy; just a few figure-eights or gentle swirls will give you that beautiful marbled effect. You want to see ribbons of brownie and cheesecake.
Step 7: Bake
Bake in your preheated oven for about 30-35 minutes. You’ll know they’re ready when the edges are set and a toothpick inserted near the center comes out with moist crumbs attached, not wet batter. The cheesecake part should look set, not jiggly. It’s always better to underbake slightly than overbake for that perfect fudgy texture.
Step 8: Cool & Glaze
This is probably the hardest part – letting them cool! Let the brownies cool completely in the pan on a wire rack. I usually let them cool for at least a couple of hours. Once they’re cool, you can drizzle them with the optional chocolate glaze. To make the glaze, melt the chocolate chips and butter together in the microwave in 30-second intervals, stirring in between, or over a double boiler until smooth. Drizzle this over the top. Then, the most important step for the best texture: chill them in the refrigerator for at least 2 hours, or even better, overnight. This allows the cheesecake to fully set and the flavors to meld beautifully.
Step 9: Slice & Serve
Once chilled, use the parchment paper overhang to lift the entire slab out of the pan onto a cutting board. For the cleanest slices, use a sharp knife that you’ve run under hot water and wiped dry between each cut. Slice into squares and admire your handiwork! These are fantastic served cold straight from the fridge, or you can let them sit at room temperature for about 15-20 minutes for a slightly softer texture.
What to Serve It With
Honestly, these Cheesecake Brownies are so rich and satisfying on their own, they don’t really *need* anything else. But if you’re feeling fancy or want to create a little dessert spread, here are a few ideas!
For Breakfast: Okay, hear me out! A small sliver of these with a strong cup of coffee is actually a pretty decadent way to start the day. It’s like having dessert for breakfast, which, let’s be honest, is always a good idea. The richness of the brownie and the tang of the cheesecake are surprisingly good with a hot coffee.
For Brunch: If you’re hosting a brunch, these are a guaranteed crowd-pleaser. Serve them cut into smaller squares alongside fresh berries – a few raspberries or strawberries really add a lovely pop of color and freshness. A dollop of whipped cream or a light dusting of powdered sugar can also elevate them.
As Dessert: This is where they truly shine. Serve a generous square with a scoop of vanilla bean ice cream or a drizzle of raspberry coulis. A few chocolate shavings on top wouldn’t hurt either! They’re fantastic for dinner parties when you want something impressive but relatively easy to prepare ahead of time.
For Cozy Snacks: My kids love these as an after-school treat or a late-night snack. They’re perfect with a glass of cold milk. They just hit that spot when you need something sweet and comforting. I’ve also found that a little sprinkle of sea salt on top before serving can really enhance the flavors, especially if you’re not doing the glaze.
Top Tips for Perfecting Your Cheesecake Brownies
I’ve made these Cheesecake Brownies more times than I can count, and over the years, I’ve picked up a few tricks that really make a difference.
Brownie Batter Consistency: Don’t be tempted to add more flour if your brownie batter seems very thick. That’s exactly what you want for a fudgy brownie! Overmixing is the enemy here; mix until *just* combined. I learned this the hard way early on, and my brownies were always a little too cakey!
Cream Cheese Temperature: Make SURE your cream cheese is truly softened. I mean, room temperature all the way. If it’s cold, you’ll end up with lumpy cheesecake filling, no matter how much you beat it. Leaving it out for at least an hour, or even two, is ideal.
Swirling Technique: The key to a beautiful swirl is to not overdo it. You don’t need to mix the two batters together completely. Think of it as creating ribbons. Use a knife or a skewer and make a few figure-eight motions through the layers. You want distinct swirls, not a uniform gray color!
Baking Doneness: This is crucial for fudgy brownies. Overbaking is the quickest way to dry them out. I always check them a little before the suggested baking time. A toothpick inserted near the center should come out with moist crumbs clinging to it, but no wet batter. The cheesecake layer should look set around the edges.
The Chill Factor: I cannot stress this enough: chill these brownies! They need that time in the fridge for the cheesecake to set properly and for the flavors to meld. They taste good right out of the oven, but they are worlds better after a good few hours (or overnight) of chilling. It makes them slice cleaner and the texture is just sublime.
Ingredient Swaps: If you’re out of regular flour, a good quality gluten-free all-purpose blend usually works well for the brownie part, though the texture might be slightly different. For the cheesecake, if you find cream cheese too rich, you can try blending it with an equal amount of Greek yogurt for a tangier, slightly lighter filling, but it might affect the setting time. For the cocoa powder, unsweetened natural cocoa powder will work, but Dutch-process will give you that deeper, darker chocolate flavor that I love so much.
Storing and Reheating Tips
These Cheesecake Brownies are best when stored properly to maintain their amazing texture and flavor.
Room Temperature: If you plan on serving them within a day or two, you can store them covered at room temperature. However, I generally prefer to keep them in the fridge, especially because of the cream cheese filling. Make sure they’re in an airtight container so they don’t dry out.
Refrigerator Storage: This is my preferred method. Store them in an airtight container in the refrigerator. They’ll stay delicious for up to 4-5 days. The chilling actually improves the texture and flavor, in my opinion, making them even more fudgy and delicious. Make sure the container is sealed well to prevent them from absorbing any odors from other foods.
Freezer Instructions: Yes, you can absolutely freeze these! Cut them into individual portions, wrap each square tightly in plastic wrap, and then place them in a freezer-safe container or bag. They’ll keep well in the freezer for up to 2-3 months. When you’re ready to enjoy one, take it out of the freezer and let it thaw in the refrigerator overnight. You can also thaw it at room temperature, but the refrigerator method is best for maintaining texture.
Glaze Timing Advice: If you’re glazing them, it’s best to do it right before serving or at least after the brownies have completely cooled and are ready to be chilled. If you glaze them and then try to freeze them, the glaze might crack or become a bit streaky. For best results, glaze them after thawing from the freezer, or just before serving if they’ve been refrigerated.
Frequently Asked Questions
Final Thoughts
So there you have it, my friends! My absolute favorite Cheesecake Brownies. They’re the perfect marriage of two classic desserts, offering that decadent fudgy brownie experience with the delightful tang and creaminess of cheesecake. They’re impressive enough for any gathering but so simple to make that they’re perfect for a weeknight treat too. I really hope you give these a try; they’re a testament to how simple ingredients can create something truly extraordinary. If you love chocolate, you’ll love these. If you love cheesecake, you’ll love these. If you love delicious things, you’ll definitely love these.
I can’t wait to hear what you think! Please, if you make them, leave a comment below and let me know how they turned out. Did your family devour them? Did you add any fun swirls? Sharing your baking adventures always makes my day! Happy baking, and enjoy every single bite!
Cheesecake Brownies
Ingredients
Brownie Batter
- 0.5 cup unsalted butter
- 4 ounces semisweet chocolate chopped
- 1 cup granulated sugar
- 2 large eggs
- 0.5 teaspoon vanilla extract
- 0.5 cup all-purpose flour
- 0.25 teaspoon salt
- 0.25 cup unsweetened cocoa powder
Cheesecake Layer
- 8 ounces cream cheese softened
- 0.33 cup granulated sugar
- 1 large egg yolk
- 0.5 teaspoon vanilla extract
Instructions
Preparation Steps
- Preheat oven to 350°F (175°C). Line an 8x8 inch baking pan with parchment paper, leaving an overhang on the sides.
- In a double boiler or microwave-safe bowl, melt butter and chopped semisweet chocolate together until smooth. Stir in 1 cup of granulated sugar.
- Whisk in 2 large eggs one at a time, then stir in 0.5 teaspoon vanilla extract.
- In a separate bowl, whisk together 0.5 cup all-purpose flour, 0.25 teaspoon salt, and 0.25 cup unsweetened cocoa powder.
- Gradually add the dry ingredients to the wet ingredients, mixing until just combined. Do not overmix.
- In a medium bowl, beat together 8 ounces softened cream cheese and 0.33 cup granulated sugar until smooth. Stir in 1 large egg yolk and 0.5 teaspoon vanilla extract.
- Spread half of the brownie batter into the prepared baking pan. Dollop spoonfuls of the cheesecake mixture over the brownie batter.
- Gently spread the remaining brownie batter over the cheesecake mixture, then swirl the two batters together with a knife or toothpick.
- Bake for 30-35 minutes, or until a toothpick inserted into the center comes out with moist crumbs attached. Do not overbake.
- Let cool completely in the pan on a wire rack before cutting into squares.