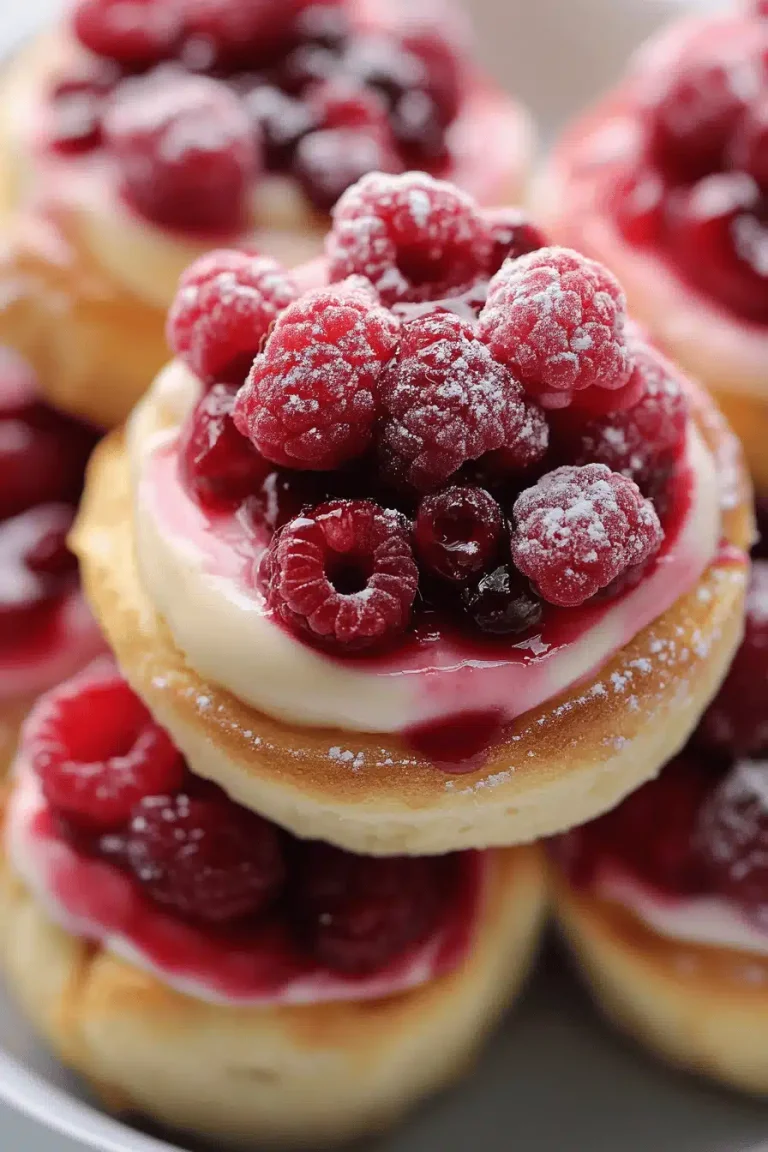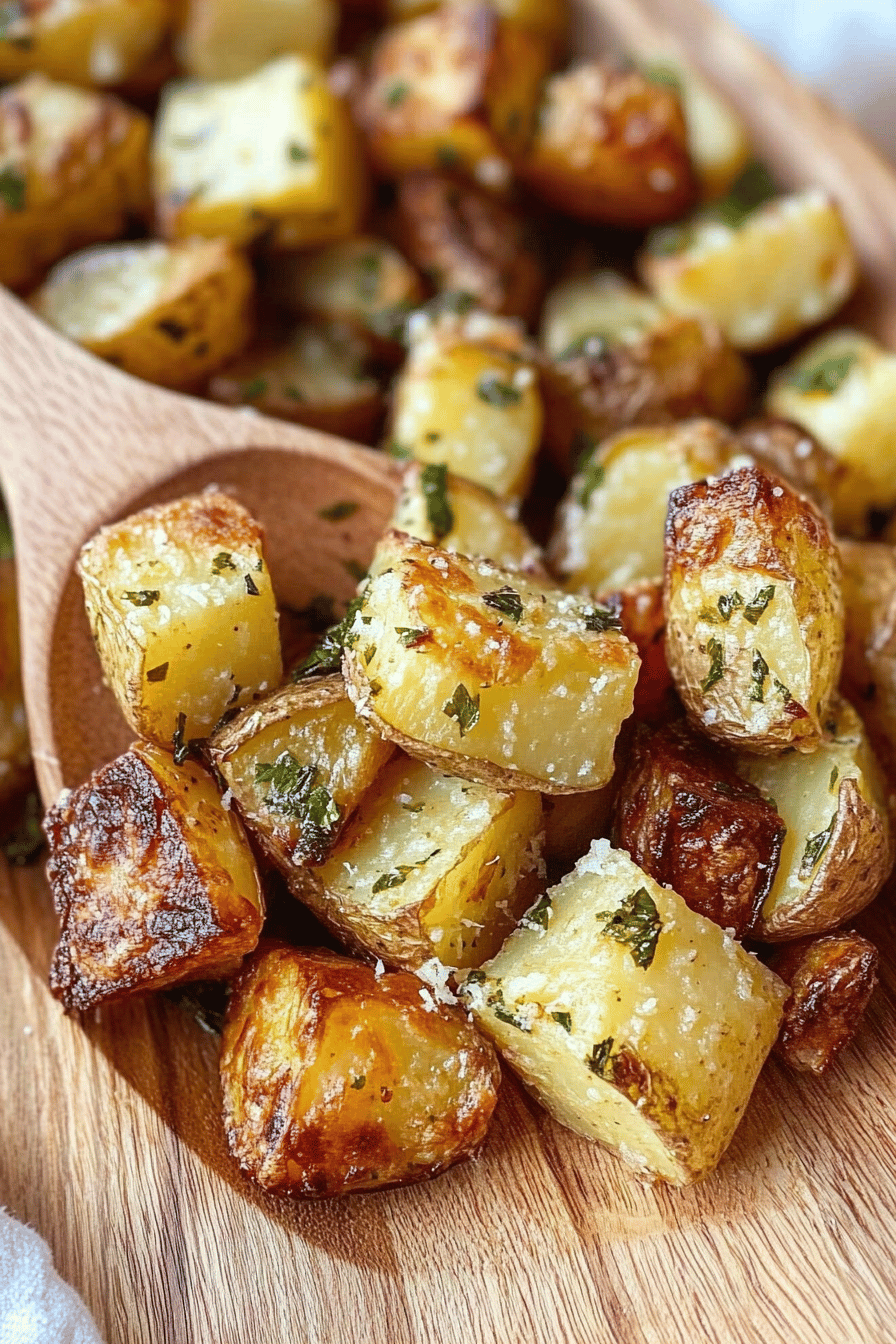
carrot dog treats
I still remember the first time I handed my old collie a homemade carrot dog treat. His tail wagged in that goofy, goofy way that only a dog’s happiness can invent, and the kitchen filled with the warm, sweet scent of carrots and Peanut Butter. This isn’t just a treat recipe; it’s a little ritual that says, “I’ve got a moment, and you’ve got a friend.” I’m not shy about saying I’ve made these countless times, and they never fail to bring a grin to both of us. Think of carrot dog treats as a wholesome, easy-to-dake snack that tastes good and feels right—like a shortcut to a tiny party in your kitchen. The best part? They’re simple enough for a busy weeknight, yet special enough to save for weekend fetch sessions. My family loves these because they’re flexible and forgiving: a quick bake, a quick cool, a quick snuggle with a tired pup—and you’re done. I always do this when I want a little bite-sized goodness that I can feel good about giving to the doggo in my life. And yes, this one’s a lifesaver on busy nights.
What are carrot dog treats?
Carrot dog treats are little baked nibbles designed to be wholesome, dog-friendly snacks. Think of them as tiny, carrot-forward biscuits bound with oats and Peanut Butter, with a soft center that’s just a touch extra for a fun texture. The name comes from their star ingredient—carrots—which lend natural sweetness, fiber, and color. It’s essentially a compact, crunchy-on-the-outside, chewy-on-the-inside bite that you can adjust for your pup’s size and dietary needs. I like to say it’s like a mini carrot cake for dogs, without the sugar spike or frosting that isn’t great for four-legged tummies. I’ve tinkered with the formula for years, and the version I’m sharing keeps ingredients clean, simple, and dog-safe. If your pup has allergies, this is easy to adapt: swap out oats for a gluten-free option or use a flax-egg binder for a plant-based approach. It’s a little project you can feel good about—no weird substitutes, just wholesome, friendly goodies.
Why you’ll love this recipe?
What I love about this carrot dog treat recipe is how approachable it is while still feeling special. Here’s the rundown:
- Flavor: The natural sweetness from carrots paired with peanut butter gives a familiar, comforting flavor that my dog does a happy flip for. The aroma alone is enough to earn a few extra curious head turns from the family.
- SimplicityIs it a simple bake-and-go setup?
- Cost-efficiency: The ingredients are pantry staples—rolled oats, carrots, peanut butter, and a little binder. It’s a budget-friendly way to treat your pup without breaking the bank.
- Versatility: You can customize size for small mouths or big droppers, adjust texture with the amount of moisture, and even swirl in a pumpkin center for a playful, tasty surprise.
- Consistency: I’ve tested this with a few different oat brands and binding options, and the dough always comes together nicely. The result is a dependable, kid-tested, dog-approved snack you’ll turn to again and again.
Plus, this recipe has a charming way of bringing people together. My kids help roll the dough, my partner comments on the “nice, homey aroma,” and the dog—well, the dog is the real fan club. If you’ve ever baked with your pet nearby, you know that tiny moment when the whole house seems to lean toward the oven. That’s this recipe in motion—a little ritual that ends with wagging tails and grateful stomachs. Trust me, you’ll find yourself reaching for this one when you want something that feels like a warm hug in snack form.
How to Make Carrot Dog Treats
Quick Overview
This recipe keeps things simple and kid-friendly in the best possible way. You’ll whisk a sturdy base from oats and mashed carrot, blend in Peanut Butter and a gentle binder, then shape, bake, and finish with a light glaze if you like. The dough comes together quickly, which is perfect for those moments when you need a quick project before the pup eyes the oven with puppy-dry enthusiasm. The method is forgiving—if your dough feels too dry, splash in a little water or unsweetened apple juice; if it’s too wet, add a tablespoon of oats at a time until it comes together. The end result is a batch of treats that hold their shape, stay chewy but not soft to the point of crumbling, and store beautifully for a busy week ahead.
Ingredients
For the Main Batter:
– 1 1/2 cups rolled oats (certified gluten-free if needed)
– 1 cup finely grated carrot or carrot puree
– 1/2 cup unsalted Peanut Butter (xylitol-free)
– 1/4 cup unsweetened applesauce or mashed banana (as binder)
– 1 large egg or 1 large flax egg (for vegan option)
– 2-4 tablespoons water or low-sodium chicken/vegetable broth (as needed for moisture)
For the Filling:
– 1/3 cup pumpkin puree or mashed carrot (optional center filling)
– 2 tablespoons Peanut Butter (xylitol-free, for inner swirl)
– Pinch of cinnamon (optional, dog-safe in tiny amounts)
For the Glaze:
– 2 tablespoons plain yogurt or coconut yogurt (unsweetened)
– 1 teaspoon peanut butter (xylitol-free)
– 1 teaspoon water (to loosen to a drizzle)
Step-by-Step Instructions
Step 1: Preheat & Prep Pan
Preheat your oven to 350°F (175°C). Line a baking sheet with parchment or a silicone mat. I like to lightly oil the mat just a touch so the edges get that subtle crisp without sticking. This step makes a big difference in how evenly the treats bake and come out of the pan later.
Step 2: Mix Dry Ingredients
In a large bowl, pulse the oats a few times if you like a finer texture, otherwise leave them whole for a heartier bite. Stir in the grated carrot or carrot puree. The carrot gives moisture and a gentle sweetness, which is what makes these treats so appealing to dogs. A few quick whirls of a fork to break up any lumps and you’re ready for the next step.
Step 3: Mix Wet Ingredients
In a separate bowl, whisk together peanut butter, applesauce (or mashed banana), and the egg (or flax egg). If your peanut butter is a touch stiff, warm it a splash in the microwave for 10 seconds so it blends smoothly. The mixture should look glossy and come together easily when you scrape the sides of the bowl.
Step 4: Combine
Pour the wet mixture into the dry ingredients. Stir gently until just combined; you don’t want to overwork the dough, or the treats can come out tougher than you’d like. If the dough seems dry, add 1 tablespoon of water or broth at a time until it comes together into a cohesive mass. If it’s too wet, sprinkle in a tablespoon more oats. You’ll know you’ve hit the right spot when the dough holds its shape nicely when you pinch it.
Step 5: Prepare Filling
If you’re including a center filling, roll a small amount of the pumpkin puree and peanut butter into a tiny log or place a small dollop into a well in the surface as you form each treat. For a more subtle swirl, take a small amount of the filling and dab it into the center of the dough ball, then gently wrap the dough around it so a tiny pocket remains visible after baking. This is optional, but my dog goes absolutely wild for the little surprise centers.
Step 6: Layer & Swirl
If you’re going for a marbled or swirled look, gently press a small amount of the carrot mixture into the dough and roll it to create a few light swirls. You can also roll the dough into a log and wrap with a second color of dough for a faint stripe effect. It’s all about presentation—and I’ve found the dogs don’t mind either way as long as the smell is inviting.
Step 7: Bake
Slice or shape the dough into small rounds, sticks, or little football shapes—whatever suits your pup’s chewing style. Place them on the prepared sheet about 1 inch apart. Bake for 14–18 minutes, then flip and bake another 6–8 minutes to ensure they’re firm on the outside with a slightly chewy center. For a crisper texture, leave them in a minute or two longer; for a softer bite, take them out a bit early. The fragrance of roasted carrot and peanut butter will have you peeking into the oven every few minutes, I promise.
Step 8: Cool & Glaze
Let the treats cool completely on a rack before applying any glaze. If you’re glazing, whisk together yogurt, peanut butter, and a splash of water until you reach a drizzle-able consistency. Lightly drizzle over cooled treats or dip the tops for a subtle gloss. The glaze adds a touch of indulgence without compromising the dog-safe nature of the snack. If you’re not glazing, these are delicious as-is—the smell alone is enough to make your pup’s tail thump with joy.
Step 9: Slice & Serve
Once fully cooled, cut into bite-sized pieces tailored to your dog’s size or leave whole if you’re shaping bones or larger chews. The goal is a bite that’s easy to chew and easy to digest. I love serving a few as a quick training reward or as part of a well-rounded treat plate during a dog-friendly gathering. Store any leftovers in an airtight container, and keep them at room temperature for up to three days, in the fridge for up to two weeks, or in the freezer for up to three months. My freezer stash is a total lifesaver on busy days—just grab a few straight from the freezer and let them thaw a bit while you get your coffee ready.
What to Serve It With
These carrot dog treats pair beautifully with a relaxed morning or afternoon with your pup. Here are some ideas for how to enjoy them with your furry friend and keep things fun and fresh:
For Breakfast: A small handful of treats alongside a bowl of kibble, with a splash of warm water to loosen the kibble into a comforting porridge-like bite. My morning coffee is incomplete without a quick “treat break” for the dog—one treat, a smile, and we’re back to it.
For Brunch: If you’re hosting a casual dog-friendly brunch, lay out a few treats with a tiny side of unsalted broth for dipping. It’s a cute, low-stress way to include your dog in the party without turning the kitchen upside down.
As Dessert: For humans, this is a moment to let your pup share in a little indulgence. If you want a post-dog-walk snack that doesn’t derail your day, pair a small piece with a dollop of plain yogurt on the side for a “shared dessert” vibe—your pup eats, you savor the moment.
For Cozy Snacks: A warm mug of tea or coffee beside a plate of carrot dog treats makes a simple, comforting afternoon ritual. The sweet, carrot-forward aroma is the kind of scent that invites everyone to slow down and enjoy the small things.
Whether you’re baking for a pup who’s become part of your daily rhythm or you’re gifting a friend with a wagging tail, these carrot dog treats feel personal. They’re a little ritual, a little tradition, and a lot of love baked in. My family’s favorite routine is to bake a batch on Sunday afternoon and have them handy all week long—the smell alone is enough to spark laughter and a chorus of tail-wagging.
Top Tips for Perfecting Your Carrot Dog Treats
Here are some practical, dog-tested tips that help you get a consistent, tasty result every time:
Carrot Prep: Grated carrot has a water content that can vary, so I always squeeze or pat dry the grated carrot a bit if you’re using fresh; this helps keep the dough from getting too loose. If you’re using carrot puree, you can blend in a touch less liquid to maintain structure. Fresh carrot color is vibrant in the baked treats, which makes them feel extra wholesome.
Mixing Advice: Don’t overmix once you add the wet to the dry. A few hearty folds are plenty; overworking can yield a tougher texture. The kids can help with this part—my little helper loves to press the dough together with a spoon and claim a “chef” title.
Swirl Customization: If you’re into pretty patterns, try a thin line of the center filling inside each dough round before sealing. A quick swirl with a toothpick after placing on the pan creates a charming marbled look that your pup will still adore even if the swirl looks a little quirky.
Ingredient Swaps: Oats can be swapped for an all-purpose gluten-free blend if needed, but keep the moisture balance in mind. If you’re avoiding peanut butter for any reason, almond butter works, but choose a brand without added sugar or salt. Banana puree can substitute for a portion of the moisture if you want a softer bite.
Baking Tips: If your oven runs hot, drop the temp to 325°F (165°C) and bake a bit longer for a gentler bake that yields a chewier center. If you prefer a crisper texture, bake a few minutes longer and let them cool fully on the sheet to set a nice exterior. Don’t be afraid to test a single treat first to calibrate timing for your oven.
Glaze Variations: For a glaze that’s safer for dogs with dairy sensitivities, use a thin drizzle of pumpkin puree thinned with a touch of water and a whisper of peanut butter. You can also skip the glaze entirely and dust just a pinch of cinnamon on top for a subtle, cozy finish (if your dog tolerates cinnamon, of course).
Lessons learned? I’ve learned to press down gently when shaping to avoid air pockets, which helps the treats bake evenly. I’ve also learned that room-temperature peanut butter blends better with other ingredients than cold peanut butter, which can seize up a bit and make the dough feel stiff. These little adjustments save you time and deliver consistent results every single batch. And yes, the dog’s reaction is always priceless—the nose-to-tongue enthusiasm is a sign you’ve nailed it.
Storing and Reheating Tips
Proper storage is the unsung hero of any great treat recipe. Here’s how I keep these carrot dog treats fresh and tasty so you can snack with your pup all week long:
Room Temperature: Store in an airtight container for up to 3 days. If your kitchen is warm, consider the fridge to maintain freshness. They’ll still soften a touch, which some dogs actually prefer for easier chewing.
Refrigerator Storage: In the fridge, they stay best for 7–14 days in an airtight container. Keep an eye on moisture, though—if they start to appear a little soft, give them a quick toast in the toaster oven for 2–3 minutes to bring back some crispness.
Freezer Instructions: Freeze flat on a parchment-lined tray, then transfer to a zip-top bag after frozen. They’ll keep for up to 3 months. Thaw at room temperature for about 15–20 minutes or warm for a few seconds in a microwave-safe dish without overheating. The scent should be as inviting as ever when they’re ready to enjoy.
Glaze Timing Advice: If you plan to store glazed treats, glaze just before serving to preserve the glaze’s texture. If you want to glaze in advance, apply a thin glaze layer and freeze; the glaze will thaw and re-hydrate nicely when the treats come to room temperature, but the texture may be a touch chewier.
Ultimately, the trick is to keep moisture balanced and to avoid anything that could be irritating to sensitive stomachs. My approach is to bake, cool completely, then store in small portions so I can grab a few at a time for a quick reward during training or a cozy afternoon with the pup. Your future self will thank you for the small bit of preplanning—these treats are worth it.
Frequently Asked Questions
Final Thoughts
These carrot dog treats aren’t just a snack—they’re a little moment of connection between you and your pup. They’re simple, affordable, and incredibly satisfying to bake, and the result is a batch of bites that your dog will eagerly wait for, tail wagging in anticipation. I love how forgiving the recipe is—whether you use oats, a flax egg, or a touch of pumpkin puree, the outcome shines with a carrot-forward, nutty aroma that fills the kitchen and invites a cuddle. If you’re new to homemade dog treats, this recipe is a gentle, friendly entry point that proves you don’t need complicated equipment or expensive ingredients to make something truly special. I hope you try it, adjust it in your own homey way, and that your pup gives you that look that screams, “Yes, yes, more please.” Happy baking, and may your kitchen be filled with wagging tails and warm hearts. Can’t wait to hear how yours turns out!
Carrot Pup Treats The Easy Way
Ingredients
Main Ingredients
- 1.75 cups whole wheat flour reserve 0.25 cup for dusting
- 2.5 teaspoons baking powder
- 1.5 cups carrots washed, dried, and finely shredded (do not peel)
- 1 cup creamy peanut butter
- 0.25 cup water
- 2 extra large eggs
- 2 tablespoons honey
Instructions
Preparation Steps
- Preheat the oven to 325°F. Line 2 baking sheets with parchment paper.
- In a medium size bowl, whisk together 1 ¾ cups of whole wheat flour and baking powder.
- Add the finely shredded carrots, creamy peanut butter, water, eggs and honey to a medium size mixing bowl and stir to completely combine.
- Gradually stir in the whole wheat flour mixture, stirring just until well incorporated. The dough should appear firm but not dry. You can add a few more tablespoons of water as needed.
- Dust your work surface and rolling pin with the reserved ¼ cup of whole wheat flour.
- Roll dough out to about ¼ inch thickness.
- Use a 3 inch dog bone shaped cookie cutter to cut out the dough and place on the prepared baking sheet.
- Bake for 20 to 25 minutes until the edges are set and golden brown. Transfer the treats to a cooling rack to cool completely.