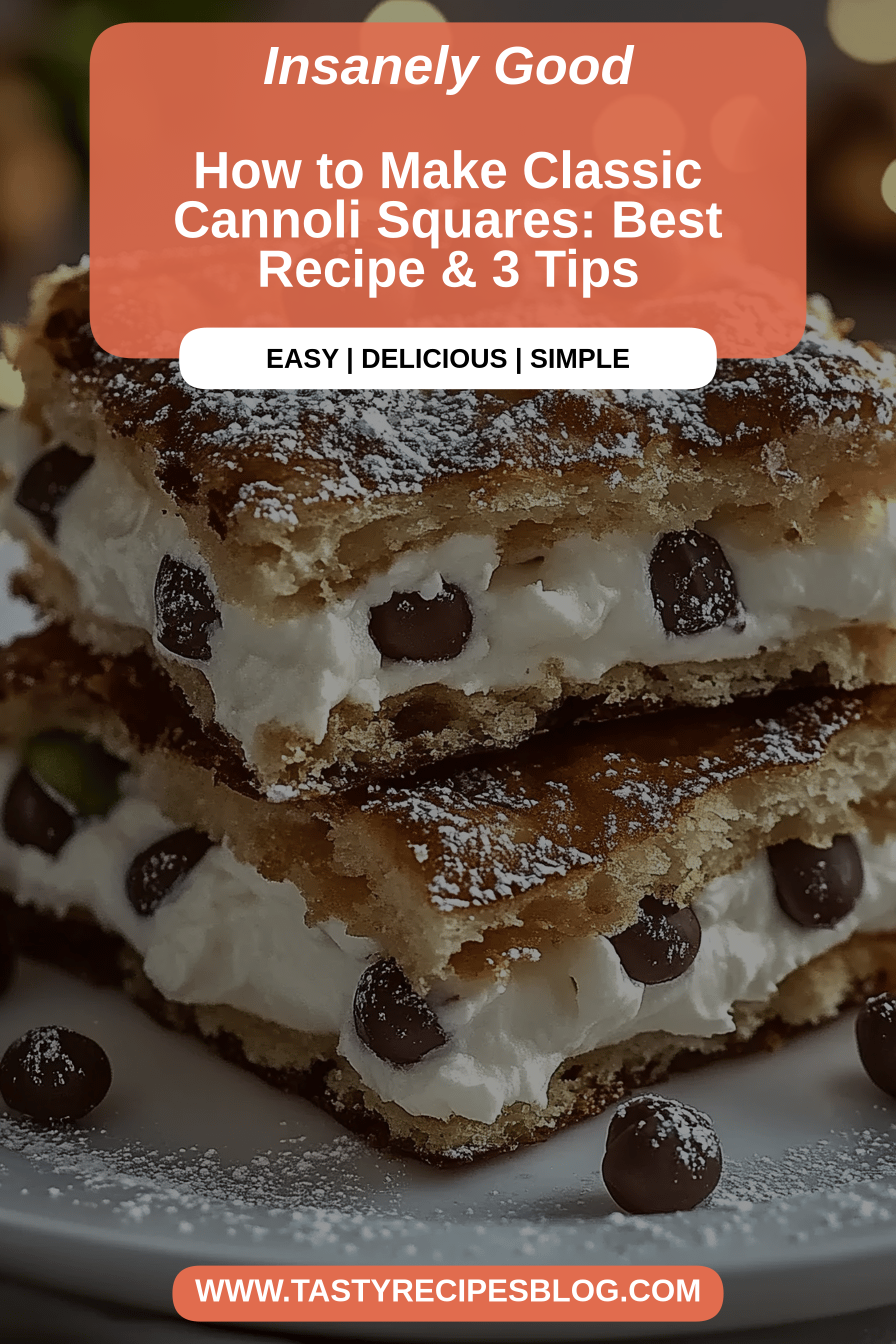
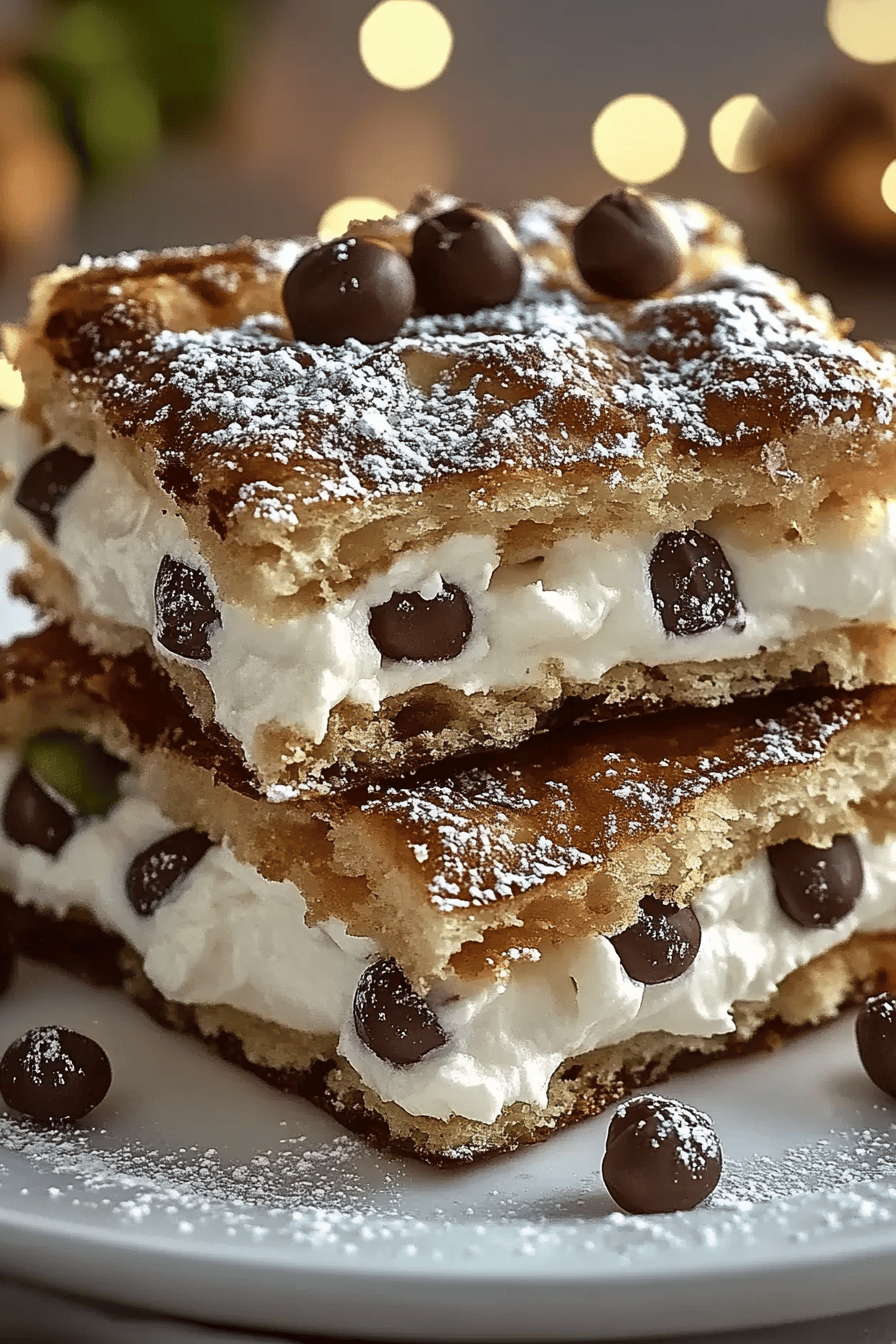
Cannoli squares
Oh, where do I even begin with these? If there’s one treat that brings back instant happy memories, it’s got to be cannoli. The creamy ricotta filling, the crisp shell… absolute heaven. But let’s be honest, sometimes rolling and piping individual cannoli feels like a marathon, especially when you’re craving that deliciousness *right now*. That’s exactly why I fell head over heels for these cannoli squares. They capture all the dreamy flavors of classic cannoli but in a ridiculously easy, bake-and-slice format. Think of it as the ultimate shortcut to pure joy. These are like my go-to when I need a dessert that looks impressive but doesn’t demand hours in the kitchen. They’re also a lifesaver for potlucks or when unexpected guests pop by. Honestly, they’re just pure magic in bar form, and my family devours them every single time!
What are cannoli squares?
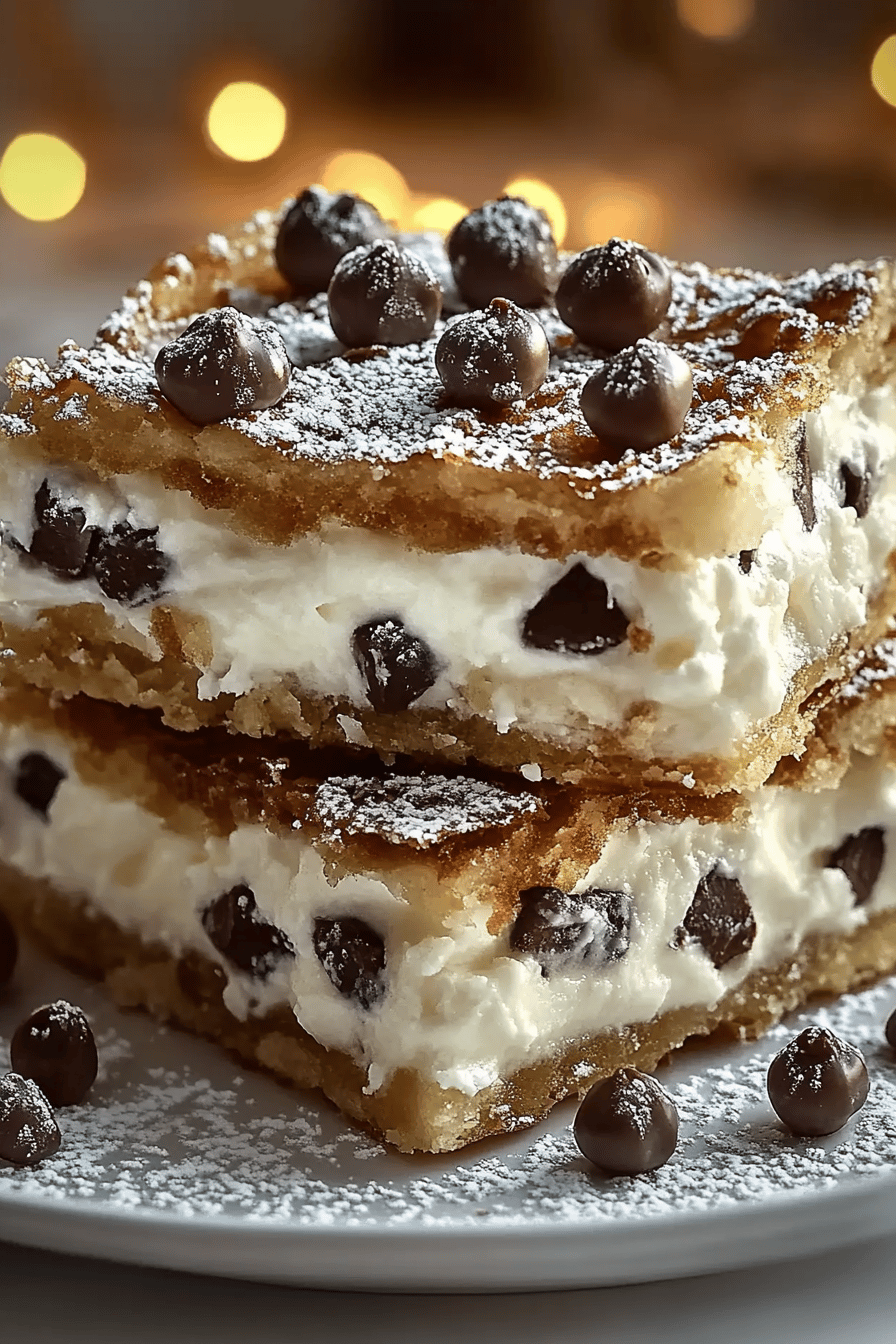
So, what exactly are these delightful little squares? At their heart, they’re a deconstructed, easier-to-make version of the beloved Italian cannoli. Instead of the traditional fried shells, we’re going to bake a tender, slightly sweet cake-like base that mimics that lovely texture. Then, the star of the show – a rich, creamy, and perfectly sweet ricotta filling, just like you’d find in a real cannolo. We’ll swirl that glorious filling right into the batter before baking, creating beautiful marbled patterns. Once cooled, you simply slice them into bars. It’s essentially all the wonderful flavors and textures of cannoli – the creamy, slightly tangy filling and hints of citrus and chocolate – but without any of the fuss of rolling dough or frying. It’s essentially comfort food in a convenient, bite-sized package, perfect for any occasion, or no occasion at all!
Why you’ll love this recipe?
There are so many reasons why these cannoli squares have become an absolute staple in my recipe collection, and I just know you’re going to adore them too! First off, the flavor is just out of this world. You get that unmistakable creamy, sweet, and slightly tangy ricotta filling, often with a hint of orange zest or vanilla that just sings. It’s perfectly balanced, never too sweet. Then there’s the base – it’s tender and moist, acting as the perfect vehicle for all that deliciousness. What I love most about this recipe is its sheer simplicity. You don’t need any fancy equipment or skills. If you can mix a few ingredients, you can make these. And the cost? Forget about it! You’re using everyday pantry staples, making it incredibly budget-friendly. These are fantastic for feeding a crowd without breaking the bank. Plus, they’re surprisingly versatile. I often add mini chocolate chips or chopped pistachios to the filling, turning them into something truly special. They remind me a bit of my grandma’s Cheesecake Bars in terms of ease, but with that distinct cannoli flair. Honestly, if you’re looking for a showstopper dessert that’s ridiculously easy and tastes like you spent hours on it, this is it. It’s my go-to for any celebration, or just when a craving strikes!
How do I make cannoli squares?
Quick Overview
This recipe is all about capturing that classic cannoli taste in an easy-to-manage bar form. We’ll whip up a simple batter, prepare a luscious ricotta filling, swirl them together in a baking pan, and bake until golden. It’s a straightforward process that yields incredibly satisfying results. You’ll be amazed at how quickly this comes together, and the payoff is huge. No rolling, no frying, just pure, unadulterated cannoli bliss in every bite.
Ingredients
For the Main Batter:
2 cups all-purpose flour: The foundation for our base. Make sure it’s fresh! I’ve tried with older flour and it just doesn’t have the same tenderness.
1 cup granulated sugar: For sweetness. You can reduce this slightly if you prefer a less sweet base, but I find this amount perfect.
1 teaspoon baking powder: Our leavening agent, to give the squares a lovely lift.
½ teaspoon salt: Balances the sweetness and enhances all the other flavors.
½ cup unsalted butter, softened: Essential for that tender crumb. Make sure it’s truly softened, not melted, for the best texture.
2 large eggs: For richness and binding.
½ cup milk: I usually use whole milk for richness, but skim or even almond milk works wonderfully. I tested this with almond milk once and it actually made it even creamier!
1 teaspoon vanilla extract: For that comforting aroma and taste.
Zest of ½ an orange (optional but highly recommended!): This is what truly brings that authentic cannoli flavor. Don’t skip it if you can help it!
For the Filling:
15 ounces whole milk ricotta cheese, drained VERY well: This is crucial. You want the ricotta as dry as possible to avoid a watery filling. I often drain it in a fine-mesh sieve for a few hours, or even overnight in the fridge.
½ cup powdered sugar: For sweetness. Sift it to avoid lumps.
½ teaspoon vanilla extract: Enhances the creamy flavor.
¼ cup mini chocolate chips (optional): My kids ask for these every time! They add little pockets of chocolatey goodness.
For the Glaze:
1 cup powdered sugar: Sifted, of course.
2-3 tablespoons milk (or water): Just enough to reach a pourable consistency. You want it thick enough to coat, but thin enough to drizzle.
Step-by-Step Instructions
Step 1: Preheat & Prep Pan
First things first, let’s get our oven fired up to 350°F (175°C). You’ll want to grab an 8×8 inch or 9×9 inch baking pan. I find that lining it with parchment paper is a lifesaver for easy removal and cleanup. Just leave some overhang on the sides so you can lift the whole thing out later. This makes cutting into perfect squares so much easier!
Step 2: Mix Dry Ingredients
In a large bowl, whisk together the all-purpose flour, granulated sugar, baking powder, and salt. Give it a good whisk to make sure everything is well combined and there are no pockets of baking powder or salt. This ensures an even rise and flavor throughout your cannoli squares.
Step 3: Mix Wet Ingredients
In a separate medium bowl, cream together the softened unsalted butter and the remaining granulated sugar until light and fluffy. Beat in the eggs one at a time, mixing well after each addition. Stir in the milk, vanilla extract, and the optional orange zest. Make sure your butter is truly softened; this makes a huge difference in the texture of the batter.
Step 4: Combine
Now, we’ll add the wet ingredients to the dry ingredients. Pour the wet mixture into the bowl with the dry ingredients. Gently fold them together until just combined. Be careful not to overmix! Overmixing can lead to tough squares, and nobody wants that. Stop as soon as you don’t see any dry streaks of flour. A few lumps are perfectly fine.
Step 5: Prepare Filling
In a clean bowl, combine the very well-drained ricotta cheese, sifted powdered sugar, and vanilla extract. Stir until smooth and creamy. If you’re using them, gently fold in the mini chocolate chips. Taste it – if you want it a little sweeter, you can add a touch more powdered sugar, but remember the glaze will add more sweetness too.
Step 6: Layer & Swirl
Spoon about half of the batter into your prepared baking pan and spread it evenly. Then, dollop spoonfuls of the ricotta filling over the batter. Now, carefully spread the remaining batter over the ricotta filling. Don’t worry about getting it perfectly smooth; a rustic look is what we’re going for. You can even use a knife or a toothpick to gently swirl the filling into the top layer of batter for a beautiful marbled effect. This is where the magic happens visually!
Step 7: Bake
Pop the pan into your preheated oven. Bake for about 25-35 minutes, or until a toothpick inserted into the center comes out mostly clean, with maybe a few moist crumbs attached (it won’t be totally dry like a regular cake due to the ricotta).
Step 8: Cool & Glaze
Let the cannoli squares cool in the pan on a wire rack for at least 15-20 minutes. This is important for them to set up properly. While they’re cooling, whisk together the powdered sugar and milk for the glaze until you have a smooth, pourable consistency. Once the squares are mostly cool, drizzle the glaze over the top. It looks so pretty when it sets!
Step 9: Slice & Serve
Allow the glaze to set, then use the parchment paper overhang to lift the entire slab out of the pan onto a cutting board. Slice into squares or bars. These are best served at room temperature, but they’re delicious slightly warm or chilled too. Enjoy the taste of cannoli without all the work!
What to Serve It With
These cannoli squares are so versatile, they truly fit into any part of your day or any kind of gathering. For breakfast, they’re a fantastic treat to pair with a steaming mug of good coffee. Imagine a lazy Sunday morning, you’ve got these squares, a strong brew, and maybe some fresh berries on the side – pure bliss! For a more elegant brunch spread, I love serving them sliced on a pretty platter. They look so inviting, and they’re always a hit. A mimosa or a sparkling rosé would be the perfect beverage companion. As a dessert, they’re an absolute winner, of course! Serve them after a hearty Italian meal, perhaps with a scoop of vanilla bean Ice Cream or a dollop of whipped cream if you’re feeling extra indulgent. They’re also perfect for that 10 pm sweet craving when you don’t want to bake a whole cake but still need something special. Just grab a square, maybe with a glass of milk or a dessert wine, and you’re golden. My family tradition is to always have some on hand for spontaneous celebrations, like acing a test or just making it through a busy week. They’re a guaranteed smile-maker!
Top Tips for Perfecting Your Cannoli Squares
I’ve made these cannoli squares more times than I can count, and over the years, I’ve picked up a few tricks that I think really elevate them. So, let’s dive into how to make them absolutely perfect every single time.
Ricotta Cheese Drainage: This is hands-down the MOST important step for the filling. If your ricotta is too wet, your filling will be runny, and your squares might turn out soggy. Seriously, drain it well! I like to put a fine-mesh sieve over a bowl, line it with cheesecloth or a coffee filter, and then dump the ricotta in. Let it sit in the fridge for at least 4 hours, or even overnight. You’ll be amazed at how much liquid comes out. This step is non-negotiable for that thick, luscious cannoli filling.
Don’t Overmix the Batter: When you combine the wet and dry ingredients, remember that gentle is key. Overmixing develops the gluten in the flour, which can lead to tough, dense bars. Mix until just combined, and don’t stress about any tiny lumps. It’s better to have a few lumps than an overworked batter.
The Swirl Technique: While you don’t *have* to swirl, it really adds to the visual appeal and makes them look extra special. Don’t go crazy with it! You just want to create a lovely marbled effect. I usually dollop the ricotta in random spots and then gently drag a knife or a skewer through the batter a couple of times. It doesn’t need to be perfect; imperfect swirls often look the most rustic and charming.
Ingredient Swaps: I’ve experimented with this recipe quite a bit! For the base, if you’re feeling adventurous, you could try swapping out a quarter cup of the flour for almond flour for a nuttier flavor. For the filling, if you’re not a Chocolate Chip fan, try adding some finely chopped pistachios, candied orange peel, or even a pinch of cinnamon. It really changes the profile and keeps things interesting.
Baking Nuances: Ovens can be finicky! Keep an eye on your squares after about 25 minutes. They should be lightly golden around the edges. A toothpick should come out with moist crumbs, not wet batter. If your oven tends to bake hot, you might want to cover the pan loosely with foil for the last 10 minutes to prevent the top from browning too quickly.
Glaze Consistency: Getting the glaze right is all about patience. Start with 2 tablespoons of milk for the powdered sugar and whisk. If it’s too thick, add milk, a tiny teaspoon at a time, until you reach a drizzly consistency. You want it thick enough to coat but thin enough to easily pour over the squares. It sets up beautifully this way!
Storing and Reheating Tips
One of the best things about these cannoli squares, besides their amazing taste and ease, is how well they store. This makes them perfect for making ahead of time, which is always a win in my book!
Room Temperature Storage: Once completely cooled and the glaze has set, you can store these at room temperature for up to 2 days. Keep them in an airtight container. I usually just use the pan they were baked in, covered tightly with plastic wrap, or transfer them to a good quality food storage container. They stay nice and moist.
Refrigerator Storage: If you want them to last a bit longer, or if your kitchen tends to be warm, refrigerating is the way to go. They’ll keep well in the fridge for up to 4-5 days. Again, an airtight container is key. When you want to serve them from the fridge, I like to let them sit out at room temperature for about 15-20 minutes before slicing and serving. This helps them soften up just a touch and brings out the best flavors.
Freezer Instructions: Yes, you can absolutely freeze these! This is my secret weapon for having dessert ready for any occasion. Once they are completely cooled and glazed, cut them into squares. Wrap each square individually in plastic wrap, then place them in a freezer-safe bag or container. They’ll keep in the freezer for up to 2 months. To thaw, simply remove them from the freezer and let them thaw at room temperature. It usually takes a few hours, depending on their size. They come out tasting almost as good as fresh!
Glaze Timing Advice: If you plan on freezing them, I actually recommend glazing them *after* they’ve thawed. This prevents the glaze from getting frosty or crackly during the freezing and thawing process. So, freeze the unglazed squares, thaw them, and then whip up a fresh batch of glaze to drizzle over the top.
Frequently Asked Questions
Final Thoughts
Honestly, these cannoli squares are a dream come true for any cannoli lover who’s short on time or just wants a simpler way to enjoy those incredible flavors. They hit all the right notes: creamy, sweet, a hint of citrus, and that perfect tender base. They’re incredibly forgiving, which means even if you’re new to baking, you can confidently whip these up and impress yourself (and everyone lucky enough to try them!). If you enjoyed this recipe and love Italian-inspired desserts, you might also want to check out my recipe for Lemon Ricotta Cookies – they have that lovely citrusy zing too! I truly hope you give these cannoli squares a try. They’ve brought so much joy to my kitchen, and I can’t wait to hear how yours turn out! Don’t forget to leave a comment below with your thoughts or any fun variations you come up with. Happy baking!