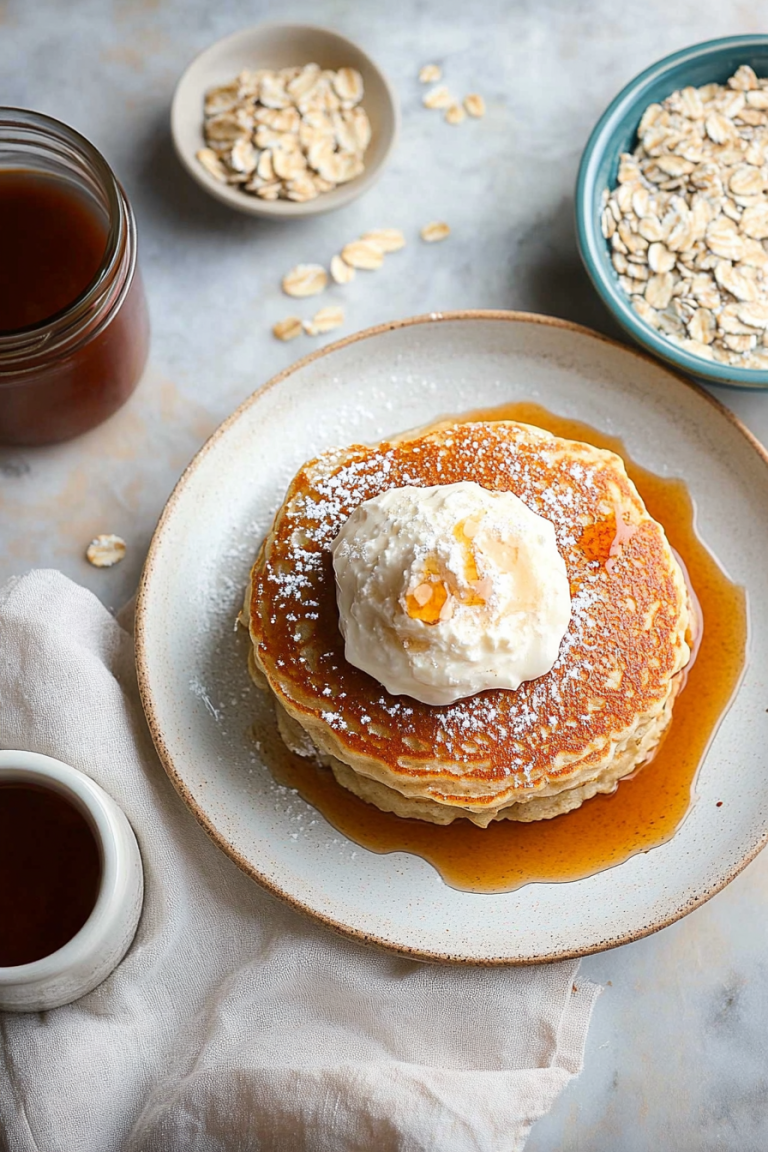
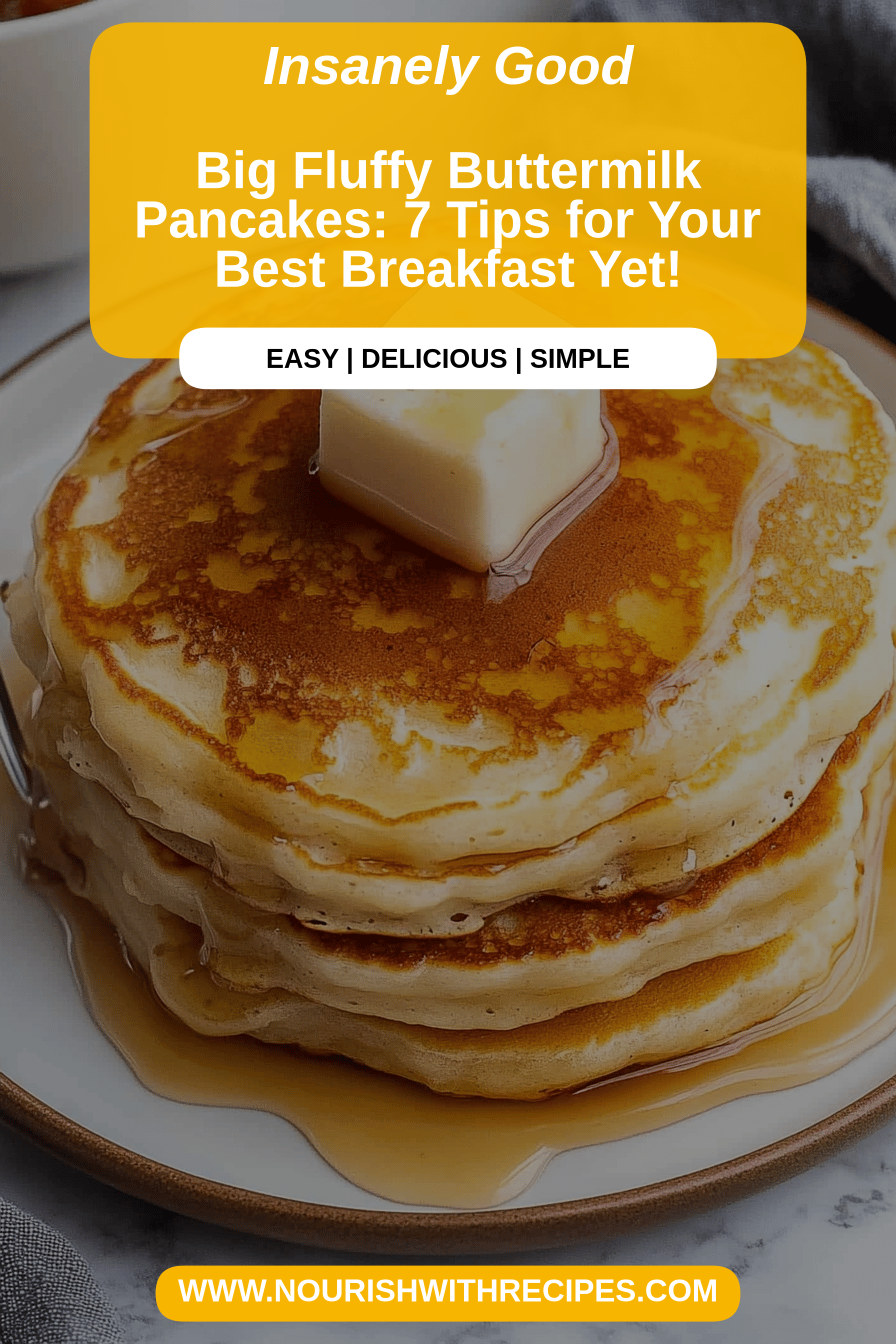
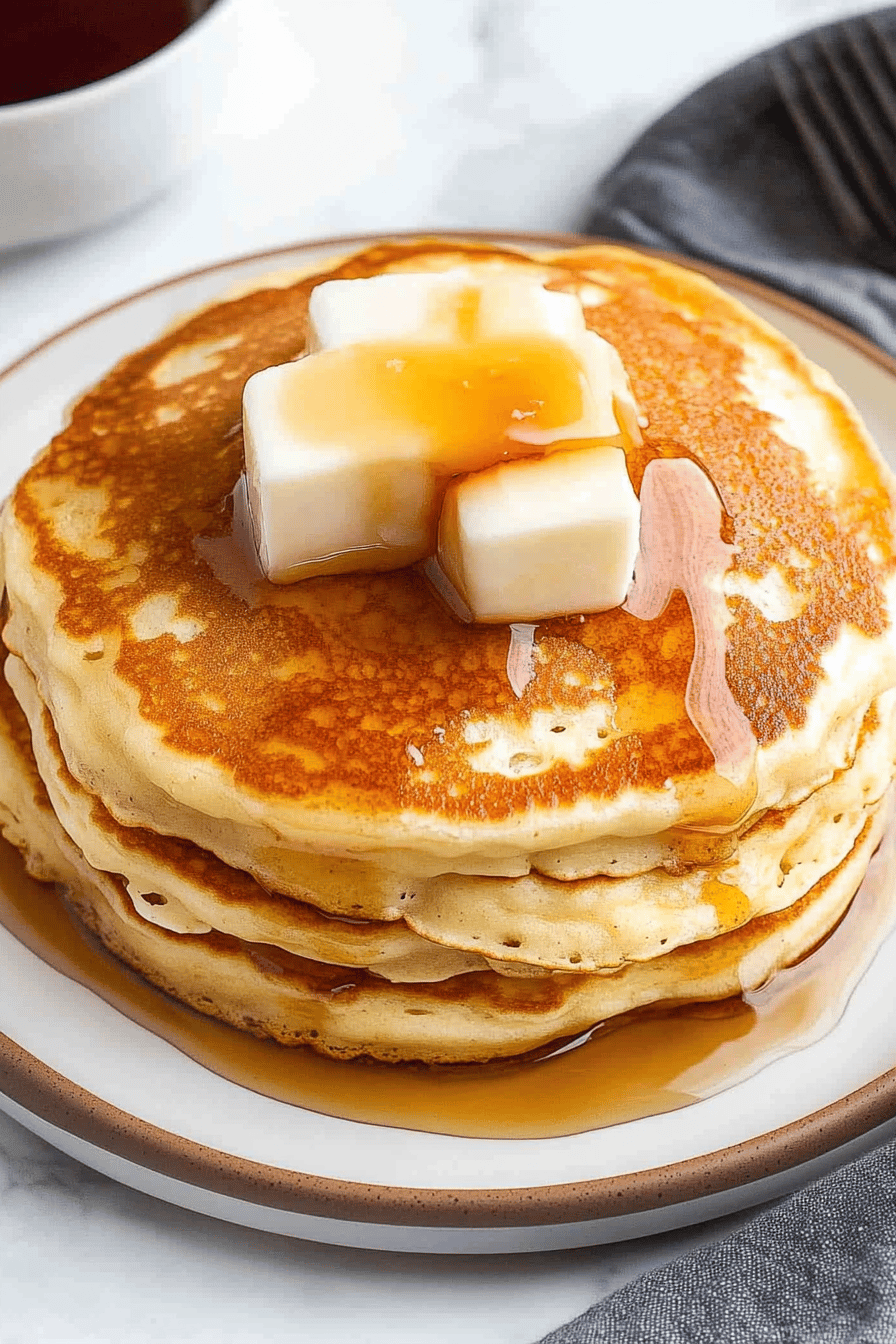
Buttermilk Pancakes
There are certain smells that just instantly transport you back to childhood, aren’t there? For me, it’s the scent of something sweet and warm baking in the oven, especially on a lazy weekend morning. And if that something happens to be a batch of golden, fluffy buttermilk pancakes, well, that’s pure magic. This isn’t just any pancake recipe; it’s *the* buttermilk pancake recipe that my family begs for, the one I whip up when I need a guaranteed smile, and frankly, the one that never, ever lets me down. Forget those sad, flat diner pancakes; these are light, airy clouds of deliciousness, just begging for a drizzle of maple syrup. It’s like sunshine on a plate, and it’s so much simpler than you might think!
What is buttermilk pancakes?
So, what exactly makes these buttermilk pancakes so special? Think of them as the ultimate comfort food breakfast, elevated. They’re a classic for a reason, but my version takes it up a notch. The “buttermilk” in the name isn’t just for show; it’s the secret weapon that gives these pancakes their incredible tenderness and a subtle, tangy flavor that complements sweet toppings perfectly. It works by reacting with the leavening agents (baking soda and baking powder) to create an extra lift, resulting in that signature fluffiness. It’s essentially a carefully balanced mix of simple pantry staples, transformed into something truly extraordinary. It’s less about fancy ingredients and more about understanding a few simple principles to get that perfect texture every time. It’s the kind of recipe that makes you feel like a kitchen pro, even if you’re just starting out.
Why you’ll love this recipe?
Why is this buttermilk pancake recipe on my binder?flavor is just out of this world. They have that perfect balance of sweet and slightly tangy, with a rich, buttery undertone that makes you want to close your eyes with every bite. They’re not overly sweet on their own, which I love because it means you can control the sweetness with your toppings. Then there’s the simplicityI’ve made this recipe when I’m half asleep on a Saturday morning, and it still turns out perfectly. The steps are straightforward, andcost-efficient. Most of the ingredients are things you probably already have in your pantry, making it an affordable treat for the whole family. What I love most is its versatility. Sure, you can drown them in syrup (and I often do!), but they’re also amazing with Fresh Berries, a dollop of whipped cream, or even a sprinkle of powdered sugar. If you’ve ever enjoyed my [Fluffy Blueberry Muffins] or my [Easy Cinnamon Swirl Bread], you’ll appreciate the kind of comforting, reliable deliciousness this recipe brings. It’s the kind of thing that makes a regular Tuesday feel like a special occasion. I’ve even experimented with adding a little vanilla extract to the wet ingredients, and it takes the aroma and taste to a whole new level of cozy. It’s just pure happiness in every fluffy bite.
How to Make Buttermilk Pancakes
Quick Overview
Making these amazing buttermilk pancakes is surprisingly quick and easy. We’ll start by whisking together our dry ingredients, then combine the wet ingredients separately. The key is to gently fold them together without overmixing – this is crucial for achieving that airy texture. Once the batter is ready, it’s just a matter of cooking them on a lightly greased griddle until golden brown and puffed up. It’s a simple, almost meditative process that yields incredibly rewarding results. This method ensures everything is perfectly incorporated without developing too much gluten, which can lead to tough pancakes. You’ll be amazed at how quickly you go from raw ingredients to a stack of perfect pancakes.
Ingredients
For the Main Batter:
2 cups all-purpose flour: I always use unbleached all-purpose flour for the best texture. Make sure it’s sifted if it looks clumpy, but usually, a good whisking is enough.
2 tablespoons granulated sugar: Just a touch to balance the tang of the buttermilk and add a hint of sweetness. You can adjust this slightly if you prefer them sweeter or less sweet.
2 teaspoons baking powder: This is one of the leavening agents that gives us that lift. Make sure yours is fresh – expired baking powder is a common culprit for flat pancakes!
1 teaspoon baking soda: Working in tandem with the baking powder and buttermilk, this is essential for that super fluffy texture.
1/2 teaspoon salt: A little salt enhances all the other flavors and prevents the pancakes from tasting flat.
1 ¾ cups buttermilk: This is non-negotiable for that signature flavor and tenderness. If you don’t have buttermilk, you can make a substitute by adding 1 tablespoon of white vinegar or lemon juice to a measuring cup, then filling it with milk to the 1 ¾ cup line and letting it sit for 5-10 minutes. It works like a charm!
2 large eggs: Room temperature eggs incorporate better. I usually just take them out of the fridge about 20 minutes before I start mixing.
4 tablespoons unsalted butter, melted and slightly cooled: Melted butter adds richness and helps prevent sticking. Let it cool for a few minutes so it doesn’t scramble the eggs!
For the Filling:
1/2 cup fresh blueberries (optional): Washed and gently patted dry. These are my favorite addition for a burst of flavor and color!
For the Glaze:
Maple syrup: Use your favorite good quality maple syrup. I love the dark, robust flavor of Grade B (now called Grade A Dark Robust) maple syrup.
Step-by-Step Instructions
Step 1: Preheat & Prep Pan
First things first, get your griddle or a large non-stick skillet heating up over medium-low heat. You want it hot enough to sizzle a drop of water, but not so hot that it burns the pancakes before they cook through. I usually give it about 5-10 minutes to reach the perfect temperature. Lightly grease it with butter or cooking spray. My secret is to use a pastry brush dipped in melted butter to get an even, thin layer. This prevents sticking and gives the pancakes those beautiful golden edges.
Step 2: Mix Dry Ingredients
In a large mixing bowl, whisk together the all-purpose flour, granulated sugar, baking powder, baking soda, and salt. Give it a good whisk for about 30 seconds. This ensures that the leavening agents are evenly distributed throughout the flour, which is key for uniform fluffiness. I like to do this step first so it’s all ready to go when we combine it with the wet ingredients.
Step 3: Mix Wet Ingredients
In a separate medium bowl, whisk together the buttermilk and the large eggs until they’re well combined. Then, slowly drizzle in the slightly cooled, melted butter while whisking constantly. You want the butter to be fully incorporated into the buttermilk and egg mixture. Make sure the butter isn’t too hot, or it might cook the eggs!
Step 4: Combine
Now for the magic moment: pour the wet ingredients into the bowl with the dry ingredients. Using a whisk or a spatula, gently mix them together until *just* combined. It’s really important not to overmix here. You should still see some small lumps of flour; that’s perfectly okay! Overmixing develops the gluten in the flour, which can lead to tough, rubbery pancakes. We’re going for tender and fluffy, so stop mixing as soon as you don’t see any dry streaks of flour. If you’re adding blueberries, gently fold them in now.
Step 5: Prepare Filling (If Using)
If you’re adding blueberries or any other fruit filling, give them a gentle rinse and pat them dry. This prevents them from making the batter too watery. You can fold them directly into the batter at the end of Step 4. For other fillings, like a quick fruit compote, prepare that while the batter rests for a few minutes.
Step 6: Layer & Swirl
This is where the artistry comes in! Ladle about 1/4 cup of batter per pancake onto your preheated, greased griddle. Don’t overcrowd the pan; give them space to spread and cook evenly. If you’re making them with a swirl (which is optional but fun!), you can carefully drizzle a little extra batter in a circular pattern on top of each pancake *before* it starts to set. This creates a lovely visual effect and a slightly different texture in each bite. I usually do this if I’m feeling fancy or want to impress the kids!
Step 7: Bake
Cook the pancakes for about 2-3 minutes per side. You’ll know they’re ready to flip when you see bubbles forming on the surface and the edges start to look set and slightly dry. Carefully slide a spatula underneath and flip them over. Cook the other side for another 1-2 minutes, or until golden brown and cooked through. If you’re unsure, you can gently press the center; it should feel slightly firm. If they’re browning too quickly, turn down the heat slightly.
Step 8: Cool & Glaze
As the pancakes are done, transfer them to a plate. You can keep them warm in a low oven (around 200°F or 95°C) while you cook the rest of the batch. For the glaze, I usually just serve them with warm maple syrup right away. If you wanted to make a more intentional glaze, you could gently warm some maple syrup with a tiny knob of butter and a pinch of cinnamon. Drizzle generously over the stack just before serving!
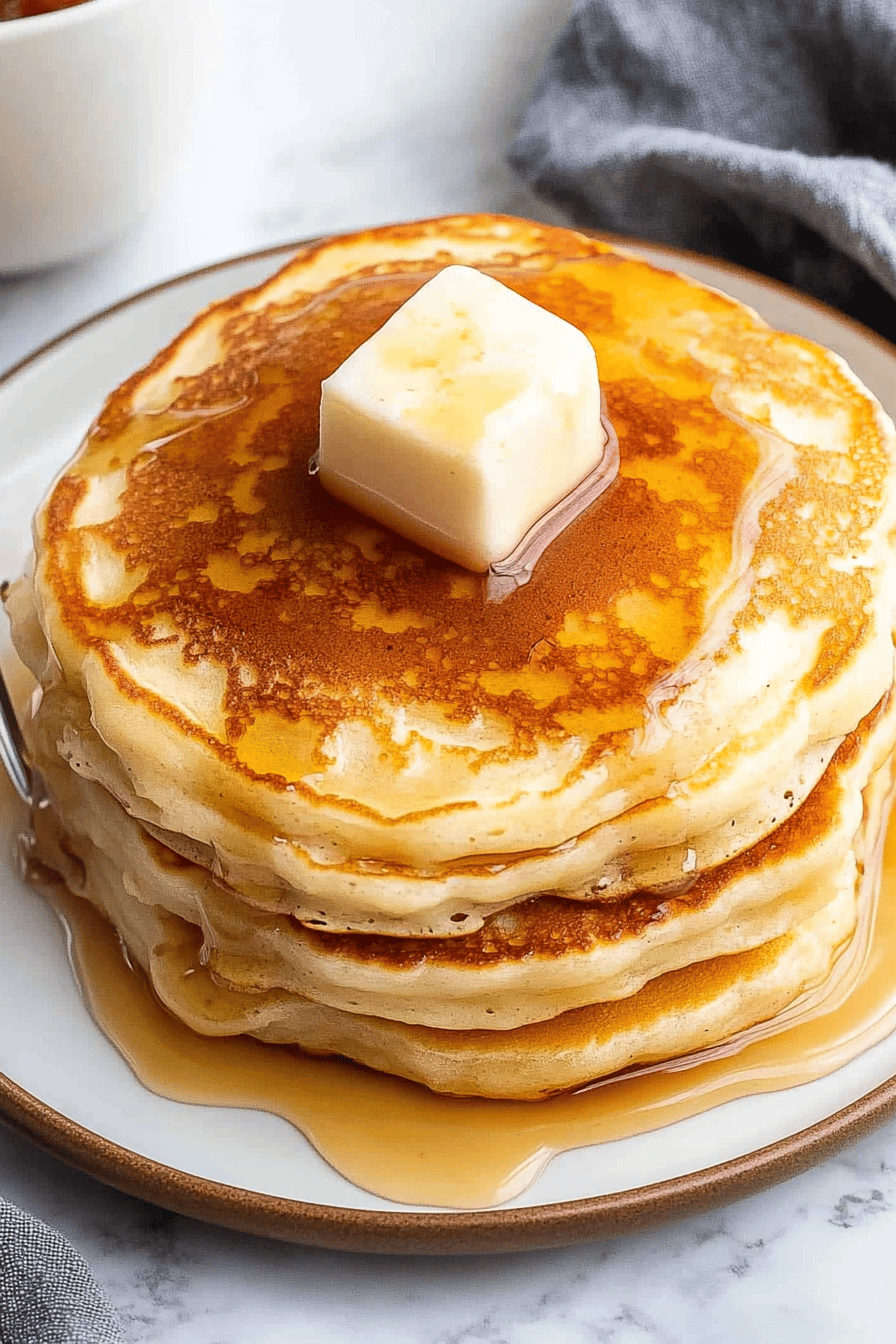
Step 9: Slice & Serve
Serve them immediately while they’re warm and fluffy! I love stacking 2-3 pancakes high, adding a generous pat of butter on top, and then letting the maple syrup cascade down the sides. A sprinkle of fresh berries or a dusting of powdered sugar is also lovely. Cut into wedges or let everyone dig in whole – it’s totally up to you!
What to Serve It With
Oh, the possibilities are endless when it comes to serving these glorious buttermilk pancakes! For a simple, satisfying Breakfast, they’re perfection with a side of crispy bacon or sausage, and of course, a steaming mug of good coffee. I often make them on school mornings when we need something quick but still special, just a simple drizzle of syrup is enough to make the kids’ eyes light up. For a more elegant Brunch affair, I love plating them with a side of fresh fruit salad and a dollop of crème fraîche or Greek yogurt. A mimosa or a fancy iced latte really elevates the whole experience. And when I’m craving something decadent, these pancakes absolutely shine as a Dessert. Imagine them topped with a warm berry compote, a scoop of vanilla bean Ice Cream, and a drizzle of chocolate sauce – pure indulgence! For those quiet, Cozy Snacks moments, a single, perfectly cooked pancake with a sprinkle of cinnamon and a tiny bit of butter is just heavenly. My family has a tradition of making a double batch on Sunday afternoons and then enjoying the leftovers cold for breakfast on Monday, which sounds strange, but they’re surprisingly good that way too, almost like a dense, breakfast cookie!
Top Tips for Perfecting Your Buttermilk Pancakes
I’ve been making these buttermilk pancakes for years, and I’ve picked up a few tricks along the way that I think really make a difference. For the Zucchini Prep (if you were to add it, which I sometimes do for a healthier twist!), the absolute key is to squeeze out as much moisture as possible. Grate the zucchini, then wrap it in a clean kitchen towel or cheesecloth and wring it out like you mean it! This prevents soggy pancakes. For Mixing Advice, I can’t stress enough how important it is to *not overmix*. Seriously, a few lumps are good! Overmixing is the number one enemy of fluffy pancakes. Aim for a batter that’s thick but pourable. When it comes to Swirl Customization, if you decide to add fruit like blueberries or even chocolate chips, gently fold them in *after* you’ve done the initial mixing of wet and dry ingredients. For a more pronounced swirl effect, you can carefully spoon a little extra batter on top of each pancake as it starts to set, then use a toothpick to gently swirl it in. For Ingredient Swaps, if you find yourself without buttermilk, the vinegar-to-milk trick I mentioned earlier is a lifesaver. You can also use plain yogurt or Sour Cream thinned with a little milk for a similar tang and richness. Experimenting with different flours can also be fun; I’ve had success using half all-purpose and half whole wheat for a nuttier flavor, though you might need to add a splash more liquid. For Baking Tips, make sure your griddle or pan is consistently heated. If one side is hotter than the other, you’ll end up with unevenly cooked pancakes. I like to cook mine on medium-low heat so they have time to puff up before the outside burns. And for the Glaze Variations, don’t be afraid to get creative! A little honey mixed with melted butter, a spiced syrup with cinnamon and nutmeg, or even a simple dusting of powdered sugar can all be delicious alternatives to plain maple syrup. Remember, the goal is to enhance, not overpower, the delicate flavor of the pancakes themselves.
Storing and Reheating Tips
One of the best things about making a big batch of these buttermilk pancakes is that they store really well, which means deliciousness can last beyond the initial cooking spree! If you have leftovers, the best way to store them is in an airtight container at Room Temperature for up to 2 days. I usually layer them with parchment paper in between to prevent them from sticking together. For longer storage, they’ll keep perfectly in the Refrigerator for up to 4-5 days. Again, an airtight container is key. I’ve found that keeping them in a single layer with parchment paper still works best, even in the fridge. If you want to freeze them for future cravings, that’s totally doable! Lay the cooled pancakes in a single layer on a baking sheet lined with parchment paper and freeze until solid (this is called flash freezing). Then, transfer the frozen pancakes to a freezer-safe bag or container. They’ll last beautifully in the Freezer for up to 2-3 months. When you’re ready to reheat, you have a few options. From the fridge or room temperature, you can quickly reheat them in a toaster or toaster oven until warm. If they’re frozen, you can pop them directly into the toaster on a low setting or heat them in a skillet over low heat for a few minutes per side. I often just microwave them for about 30 seconds if I’m in a real rush, though they can sometimes lose a tiny bit of their crispness this way. Regarding Glaze Timing Advice, if you plan on storing them, it’s generally best to add the glaze *after* reheating. Warm maple syrup poured over freshly warmed pancakes is pure bliss, and it prevents the glaze from making them soggy during storage. For frozen pancakes, I always recommend reheating them plain and then adding your desired toppings or glaze!
Frequently Asked Questions
Final Thoughts
There you have it – my tried-and-true recipe for the most incredible buttermilk pancakes. It’s a recipe that feels like a warm hug, perfect for those mornings when you want something truly special without a fuss. The balance of tender crumb, fluffy texture, and that subtle tang from the buttermilk is just unbeatable. I really hope you give this a try, and I can’t wait to hear how it turns out for you! If you loved these pancakes, you might also enjoy my recipes for [Lemon Ricotta Pancakes] or my [Chai Spiced French Toast], which offer similar levels of comfort and deliciousness. Don’t hesitate to leave a comment below with your thoughts, any variations you tried, or even your favorite pancake toppings! Sharing your creations is what makes this whole cooking journey so much fun. Happy baking, and enjoy every single fluffy bite!
Buttermilk Pancakes
Ingredients
Main Ingredients
- 1.5 cups all-purpose flour
- 3.5 teaspoons baking powder
- 1 teaspoon salt
- 1 tablespoon white sugar
- 1.25 cups buttermilk
- 1 large egg
- 3 tablespoons butter, melted
Instructions
Preparation Steps
- In a large bowl, whisk together the flour, baking powder, salt, and sugar.
- In a separate bowl, whisk together the buttermilk, egg, and melted butter.
- Pour the wet ingredients into the dry ingredients and whisk until just combined. Do not overmix.
- Heat a lightly oiled griddle or frying pan over medium-high heat. Pour or scoop the batter onto the griddle, using approximately 0.25 cup for each pancake.
- Cook until bubbles form on the surface of the pancakes, then flip and cook until golden brown on the other side.
- Serve hot with your favorite toppings like syrup, butter, or fresh fruit.