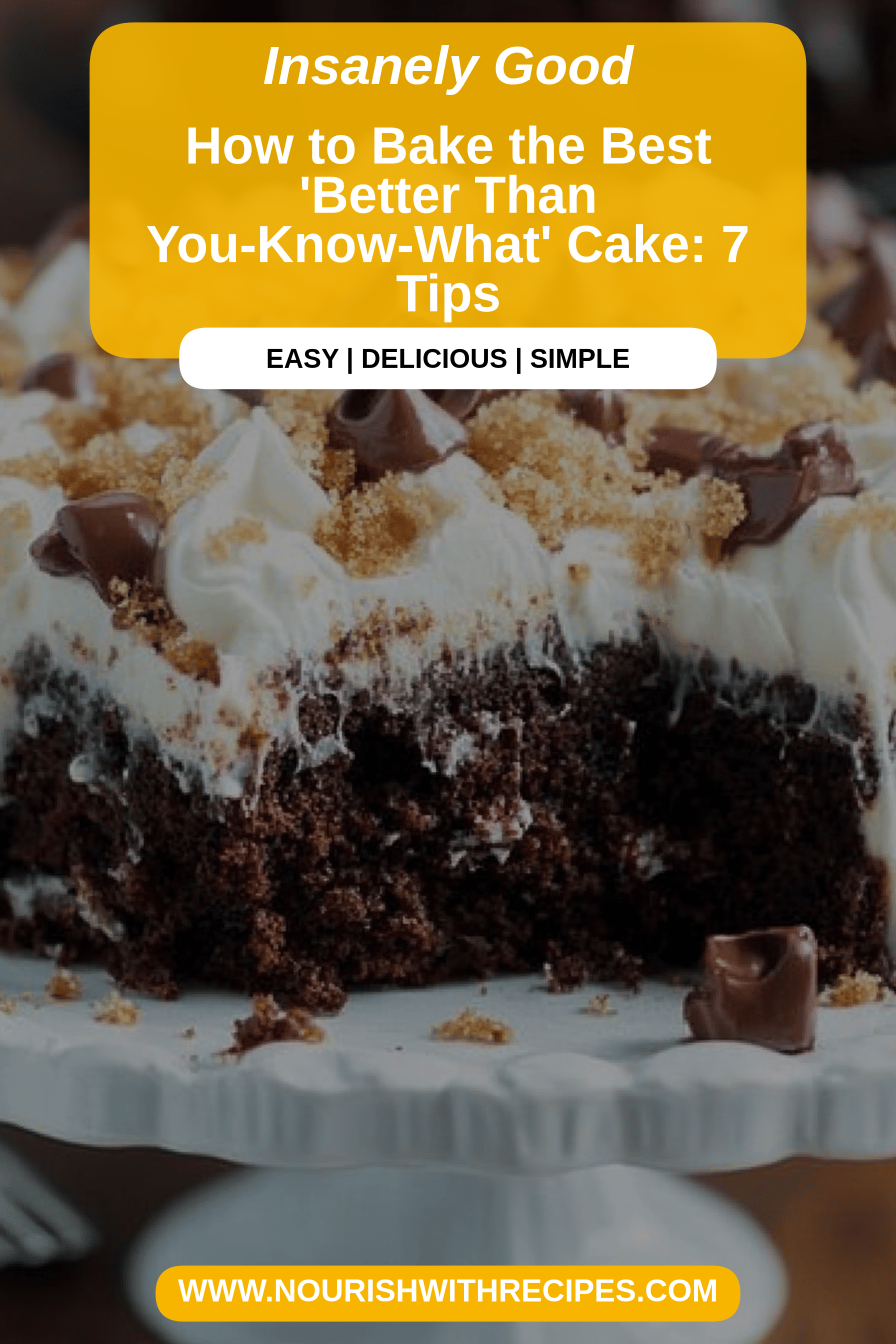
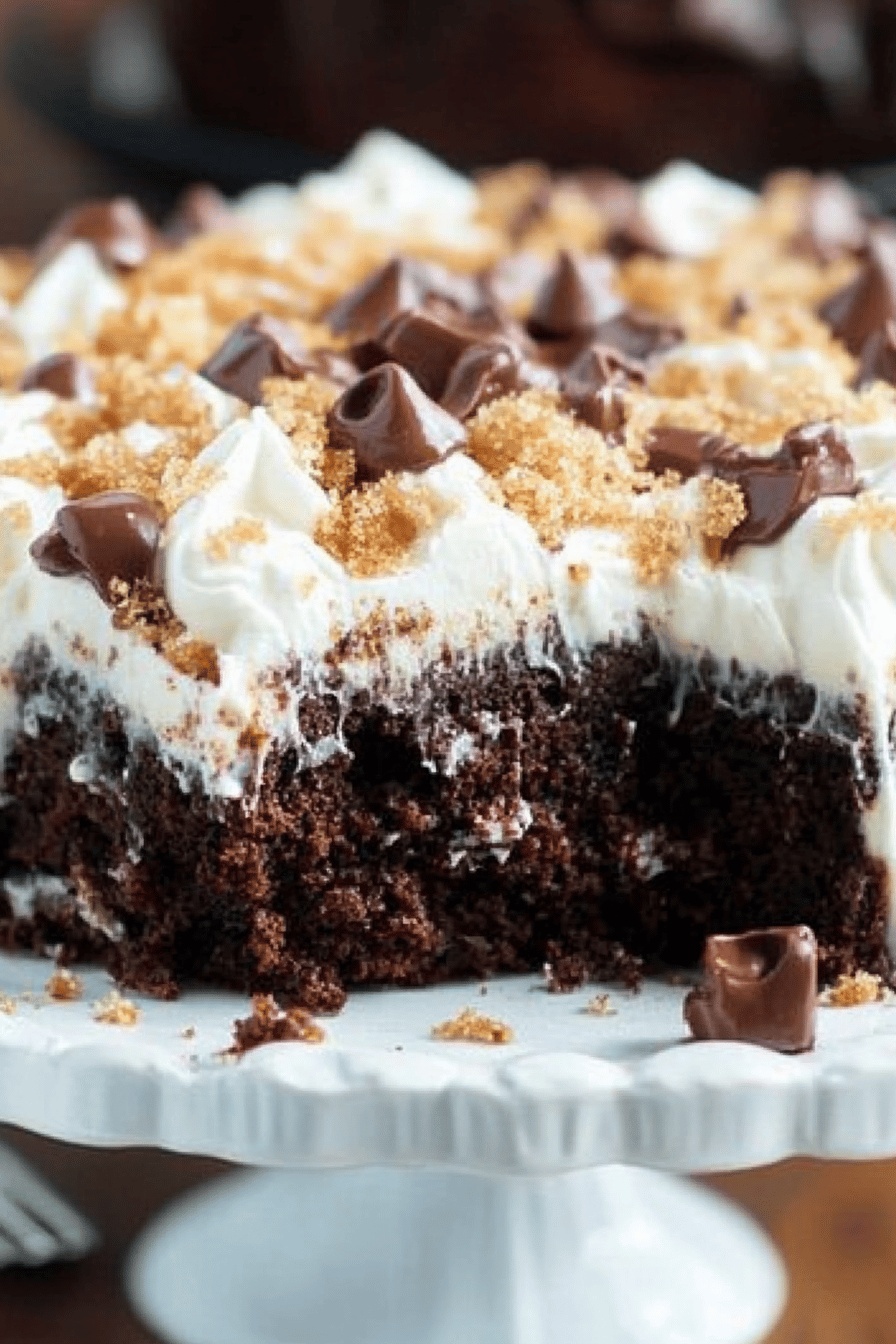
Better Than You-Know-What Cake
You know those days? The ones where life feels like a whirlwind and the last thing you have energy for is a complex baking project, but your sweet tooth is screaming for something utterly delicious? Yeah, me too. I’ve got a recipe that’s become my absolute go-to for those moments, and honestly, it’s so good, it makes people forget about *that* other ridiculously popular Zucchini Bread recipe. This is my “Better Than You-Know-What” Cake, and trust me, it’s a game-changer. It’s that perfect blend of moist, tender crumb, rich flavor, and just enough sweetness, all wrapped up in a package that looks way more impressive than the effort it actually takes. It’s the kind of thing that makes your kitchen smell heavenly and, more importantly, elicits those “Oh, you made THIS?!” reactions that make all the effort feel totally worth it. It’s become a staple in my house, and I’m so excited to share it with you!
What is better than you know what cake?
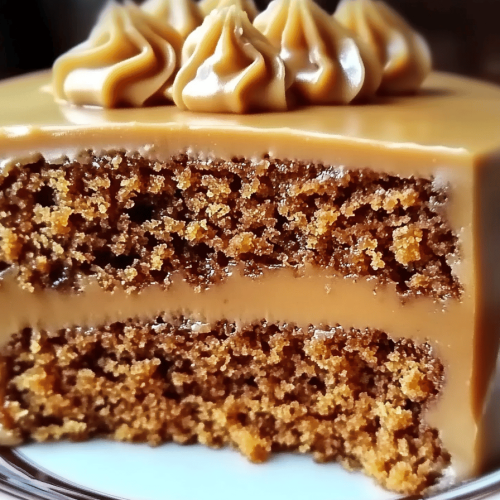
So, what exactly makes this cake so special that it earned such a bold name? Well, think of it as the ultimate comfort cake. It’s not just about the incredible flavor, although that’s a huge part of it. It’s the texture – that perfect moist crumb that’s never dense, always tender. It’s got this subtle warmth from the spices and a richness that feels decadent without being heavy. I call it “Better Than You-Know-What” Cake because, for me, it surpasses that famous spiced loaf that everyone goes crazy for. This one has a more nuanced flavor profile, a more forgiving texture, and, dare I say, it’s even more satisfying. It’s essentially a perfectly balanced cake, infused with warm spices, tender goodness, and a creamy swirl that just takes it over the top. It’s approachable, comforting, and utterly delicious.
Why you’ll love this recipe?
Honestly, there are so many reasons why this cake has become a permanent fixture in my baking rotation, and I just know you’re going to fall in love with it too. First off, the **flavor** is out of this world. We’re talking a symphony of warm spices like cinnamon and nutmeg, a subtle sweetness that doesn’t overwhelm, and a tender, moist crumb that practically melts in your mouth. It’s got this lovely depth that keeps you coming back for another slice, and another! Then there’s the **simplicity**. I’ve tried to streamline this as much as possible. It’s mostly a one-bowl situation for the batter, and the swirl is more fun than fussy. Even if you’re not a seasoned baker, you can absolutely nail this recipe. It’s that reliable friend in the kitchen. And let’s talk **cost-efficiency**. Most of the ingredients are pantry staples, making this a budget-friendly way to treat yourself or your loved ones. You don’t need fancy, expensive ingredients to create something truly spectacular. What I love most about this cake, though, is its incredible **versatility**. It’s perfect for a cozy morning with coffee, an elegant addition to a brunch spread, a delightful after-dinner dessert, or just a little pick-me-up snack on a Tuesday afternoon. It truly fits every occasion. It stands out from other quick breads or cakes because it has that extra layer of richness and that irresistible swirl, making it feel extra special without the extra fuss.
How do I make a better than you know cake?
Quick Overview
This cake is all about effortless elegance. You’ll start by whisking together your dry ingredients, then combine your wet ingredients before bringing them all together into a beautiful batter. A simple, creamy filling gets swirled in, and then it’s off to the oven for a perfect bake. The whole process is designed to be straightforward and forgiving, ensuring you get that wonderfully moist and flavorful result every single time. It’s truly a lifesaver when you need a delicious treat without a lot of fuss.
Ingredients
For the Main Batter:
You’ll need:
– 2 cups all-purpose flour: I always use unbleached flour for a slightly better texture. If you’re feeling adventurous, you can try a gluten-free blend, but make sure it’s a good quality one!
– 1.5 teaspoons baking soda: This is crucial for that lovely lift. Make sure it’s fresh!
– 1 teaspoon ground cinnamon: Use a good quality cinnamon for the best aroma and flavor.
– 1/2 teaspoon ground nutmeg: Freshly grated is amazing if you have it, but pre-ground works too.
– 1/4 teaspoon ground cloves (optional, but I love it!): Just a pinch adds such depth.
– 1/2 teaspoon salt: Balances all the sweetness.
– 1.5 cups granulated sugar: You can reduce this slightly if you prefer a less sweet cake, but this amount really helps with the moisture.
– 3 large eggs: Make sure they’re at room temperature; they’ll incorporate better.
– 1 cup vegetable oil (or other neutral oil like canola): This is key for keeping the cake incredibly moist. You can also use melted coconut oil, though the flavor is slightly different.
– 1/4 cup buttermilk (or 1/4 cup milk + 1/2 tsp lemon juice or vinegar, let sit for 5 mins): This is my secret weapon for an extra tender crumb! If you don’t have any, the milk and acid substitute works like a charm.
– 1 teaspoon vanilla extract: Always use good quality vanilla for the best flavor.
– 2 cups grated zucchini, squeezed dry: This is non-negotiable! Squeeze out as much liquid as you possibly can. It sounds like a lot, but it bakes down beautifully and adds amazing moisture. About 2 medium zucchinis usually do the trick.
For the Filling:
This is where the magic really happens!
– 4 ounces Cream Cheese, softened: Make sure it’s truly soft, not melted.
– 1/4 cup granulated sugar: Just enough to sweeten it slightly.
– 1 large egg yolk: This binds it all together and makes it extra creamy.
– 1/2 teaspoon vanilla extract: To enhance the creaminess.
For the Glaze:
A simple, sweet finish.
– 1 cup powdered sugar: Sifted is best to avoid lumps.
– 2-3 tablespoons milk (or cream for extra richness): Start with 2 and add more until you reach your desired drizzling consistency.
– 1/4 teaspoon vanilla extract: For a little extra flavor.
Step-by-Step Instructions
Step 1: Preheat & Prep Pan
First things first, get your oven preheated to 350°F (175°C). This is super important for even baking, so don’t skip it! You’ll need a 9×13 inch Baking Pan. I like to grease mine really well with butter or non-stick spray, and then dust it with a little flour, tapping out any excess. This ensures your beautiful cake won’t stick. You can also line it with parchment paper if you prefer, leaving a little overhang on the sides to make lifting it out a breeze.
Step 2: Mix Dry Ingredients
Grab a large bowl – this is where we’ll do most of our mixing. Whisk together the flour, baking soda, cinnamon, nutmeg, cloves (if using), and salt. Give it a good whisk until everything is evenly distributed. This step might seem small, but it helps ensure your leavening agents are perfectly mixed throughout, which means a more evenly risen cake. Make sure there are no clumps of baking soda!
Step 3: Mix Wet Ingredients
In a separate medium bowl, whisk together the granulated sugar, eggs, vegetable oil, buttermilk, and vanilla extract until well combined. The mixture should look smooth and emulsified. Don’t worry if it seems a little thin; that’s exactly what we want. This liquid base is what will make our cake so wonderfully moist.
Step 4: Combine
Now, pour the wet ingredients into the large bowl with the dry ingredients. Using a spatula or wooden spoon, mix gently until *just* combined. It’s really important not to overmix here! A few streaks of flour are okay; they’ll disappear as you fold in the zucchini. Overmixing can develop the gluten too much, leading to a tough cake, and nobody wants that. Once combined, gently fold in your squeezed-dry grated zucchini. Make sure it’s evenly distributed throughout the batter.
Step 5: Prepare Filling
While your oven is doing its thing, let’s whip up that creamy filling. In a small bowl, beat the softened Cream Cheese until it’s smooth and creamy. You can use a hand mixer or a whisk; just make sure there are no lumps. Then, beat in the granulated sugar, egg yolk, and vanilla extract until everything is well combined and smooth. This filling is so simple but adds an amazing richness and a beautiful contrast to the spiced cake.
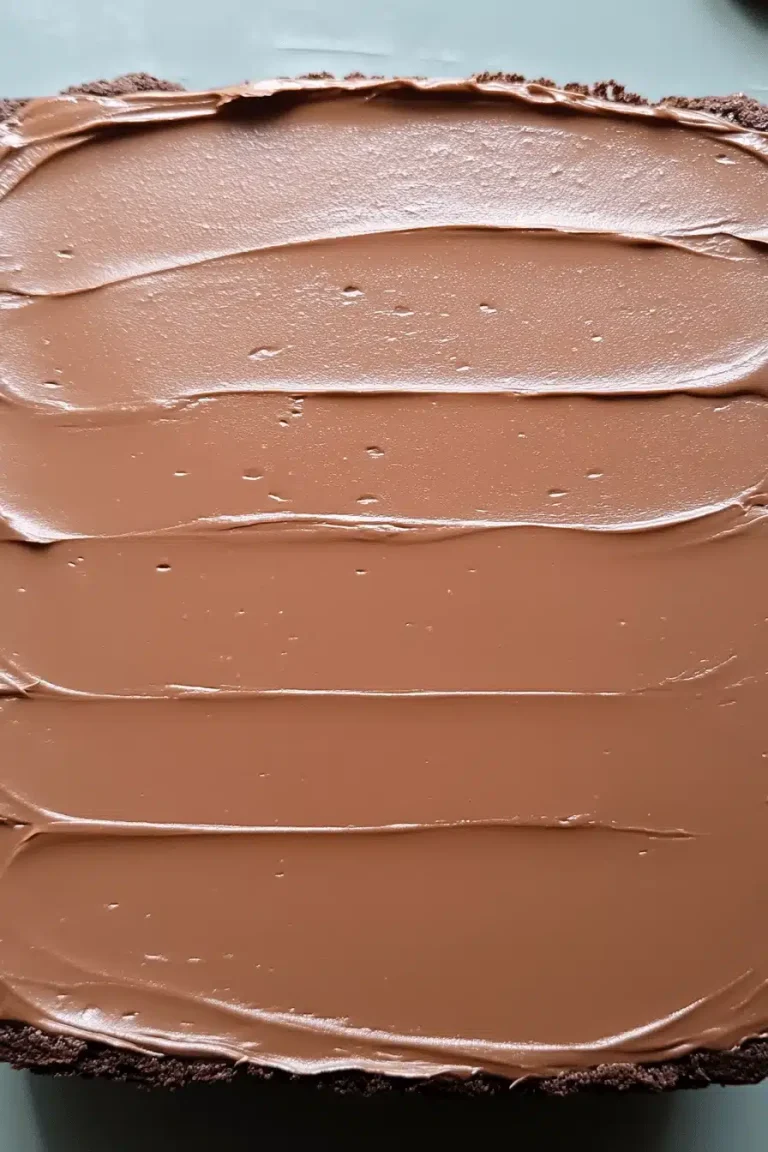
Step 6: Layer & Swirl
Pour about half of the cake batter into your prepared baking pan and spread it out evenly. Dollop spoonfuls of the Cream Cheese filling over the batter. Don’t worry about perfect placement; it’s supposed to be a bit rustic. Then, pour the remaining cake batter over the filling. Now for the fun part: using a knife or a skewer, gently swirl the filling through the batter. Make figure-eights or random swirls – just don’t over-swirl, or you’ll lose that lovely contrast. Aim for beautiful marbled patterns!
Step 7: Bake
Pop the pan into your preheated oven and bake for 35-45 minutes. The exact time will depend on your oven, so keep an eye on it. You’ll know it’s done when a wooden skewer or toothpick inserted into the center comes out clean (or with a few moist crumbs attached, but no wet batter). If the top starts to brown too quickly, you can always loosely tent it with foil.
Step 8: Cool & Glaze
Once baked, remove the cake from the oven and let it cool in the pan on a wire rack for about 15-20 minutes. This allows it to set up properly. While it’s cooling, whisk together the powdered sugar, 2 tablespoons of milk, and vanilla extract for the glaze. Add more milk, a teaspoon at a time, until you reach a drizzly consistency. Once the cake has cooled slightly, drizzle the glaze generously over the top. Let it set for another 10-15 minutes before slicing.
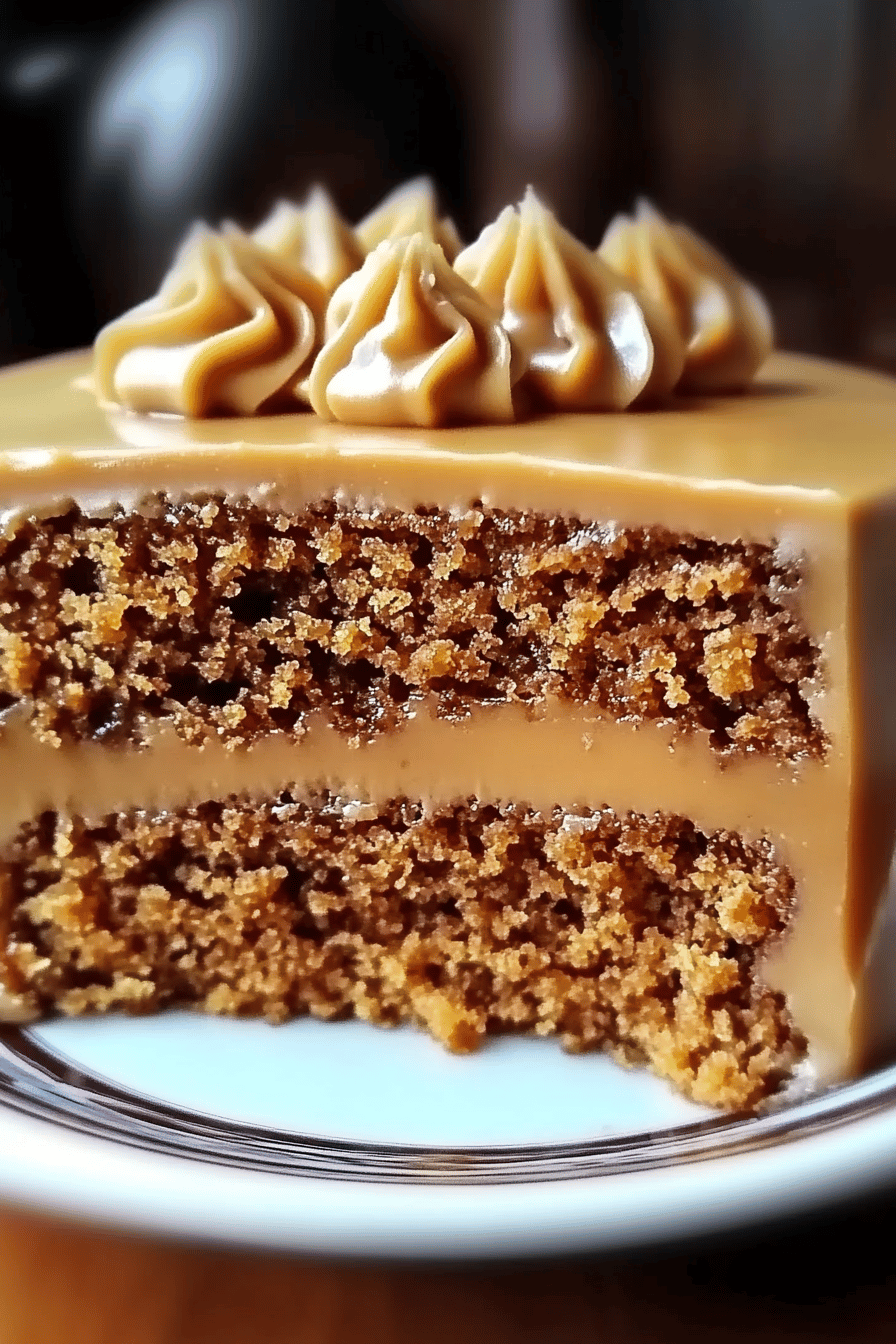
Step 9: Slice & Serve
Once the glaze has set, slice your “Better Than You-Know-What” Cake into squares and serve! It’s fantastic served slightly warm or at room temperature. I love a thick slice with a cup of coffee or a glass of cold milk. The contrast between the warm spices, the creamy filling, and the sweet glaze is just heavenly. Enjoy every bite!
What to Serve It With
This cake is so versatile, it’s practically begging to be paired with all sorts of deliciousness! For **breakfast**, it’s an absolute dream. A thick slice alongside a steaming mug of dark roast coffee is pure bliss. The spices in the cake complement the coffee beautifully. For **brunch**, I love to serve it in elegant squares on a tiered stand, perhaps with a light dusting of powdered sugar before the glaze goes on, or alongside some fresh berries. A mimosa or a sparkling cider is a perfect beverage companion. As **dessert**, it’s a winner on its own, but if you want to go all out, a tiny dollop of whipped cream or a scoop of vanilla bean ice cream alongside is divine. It’s also fantastic after dinner with a warm cup of herbal tea. And for those **cozy snacks**, when you just need a little something sweet, a slice with a glass of cold milk is the ultimate comfort. My family also loves it crumbled over yogurt for an extra special breakfast treat. It’s truly a cake that fits every moment.
Top Tips for Perfecting Your “Better Than You-Know-What” Cake
Over the years, I’ve picked up a few tricks that make this cake consistently amazing. Here are my top tips to help you achieve cake perfection:
Zucchini Prep: This is probably the MOST important step. Grate your zucchini (I prefer a medium grate), then transfer it to a clean kitchen towel or cheesecloth. Squeeze out as much liquid as humanly possible. Seriously, put some muscle into it! Excess moisture is the enemy of a good cake texture and can make it gummy. Freshly grated zucchini is best; it has less liquid than pre-shredded or if it’s been sitting around.
Mixing Advice: Remember what I said about not overmixing? It’s worth repeating. Mix the wet and dry ingredients until *just* combined. A few little flour streaks are fine. Overmixing develops gluten, making your cake tough and dense. Once the zucchini is in, fold it gently. Think of it as a hug for the batter, not a vigorous stir.
Swirl Customization: The swirl is all about visual appeal and pockets of creamy goodness. Don’t aim for perfection; aim for beautiful marbling. Use a skewer or the tip of a knife and make gentle figure-eights or random swirls. You want distinct pockets of the cream cheese filling, not to completely blend it into the batter. Experiment with patterns – you can’t really go wrong!
Ingredient Swaps: If you’re out of buttermilk, that milk and acid substitute I mentioned is your best friend. It mimics the tang and tenderness buttermilk provides. For the oil, any neutral-tasting oil will work. I’ve even used melted and cooled avocado oil in a pinch, and it was great! For the spices, feel free to adjust to your preference. If you’re not a fan of cloves, leave them out. Love cinnamon? Add a touch more!
Baking Tips: Every oven is a little different. Start checking for doneness around the 35-minute mark. A wooden skewer or toothpick inserted into the center should come out with moist crumbs, not wet batter. If the top is browning too quickly before the center is cooked, loosely tent the pan with aluminum foil. This is a lifesaver for preventing burnt tops and undercooked middles.
Glaze Variations: The basic glaze is lovely, but you can have fun with it! For a richer glaze, use heavy cream instead of milk. You can also add a tiny bit of lemon zest for a bright counterpoint to the sweetness, or even a drop of food coloring for a festive touch. If you prefer a more subtle finish, skip the glaze entirely and just dust with powdered sugar once the cake is cooled.
Storing and Reheating Tips
Keeping this delicious cake fresh is easy peasy! For **room temperature storage**, once the cake has completely cooled and the glaze has set, you can cover it tightly with plastic wrap or store it in an airtight container. It should stay wonderfully moist for up to 3 days. I find that the flavors actually meld and deepen a bit on the second day! If you live in a warm climate or your kitchen gets quite warm, you might want to opt for refrigerator storage. In the **refrigerator**, place the cake in an airtight container or wrap it well with plastic wrap. It will keep nicely for up to 5 days. When you’re ready to enjoy a slice from the fridge, I recommend letting it sit out at room temperature for about 15-20 minutes to take the chill off and allow the textures to soften again. For **freezer instructions**, this cake freezes beautifully! Wrap individual slices or the entire cooled cake (un-glazed is best if freezing long-term) tightly in a couple of layers of plastic wrap, then in a layer of aluminum foil or a freezer-safe bag. It can be stored in the freezer for up to 2-3 months. To thaw, simply unwrap and let it come to room temperature. If you froze it un-glazed, you can then add fresh glaze or a dusting of powdered sugar. For **glaze timing advice**, it’s always best to add the glaze after the cake has cooled. If you plan to freeze the cake, it’s often better to glaze it after thawing to prevent the glaze from cracking or becoming watery in the freezer. However, if you’re storing it at room temperature or in the fridge for a few days, glazing it before storing is perfectly fine!
Frequently Asked Questions
Final Thoughts
I really hope you give this “Better Than You-Know-What” Cake a try. It’s more than just a recipe to me; it’s a source of comfort, a crowd-pleaser, and a reminder that sometimes, the most delicious things are also the simplest to make. It’s that perfect balance of warm spices, tender cake, and creamy goodness that just hits all the right notes. It’s proven itself to be a reliable winner time and time again, whether I’m baking for a last-minute get-together or just craving something special. If you love this cake, you might also enjoy my Spiced Apple Crumble Loaf or my Lemon Blueberry Bundt Cake, which also have that wonderful homemade feel. I can’t wait to hear what you think, or better yet, see your creations! Please leave a comment below and let me know how yours turned out, or share any fun variations you tried. Happy baking!
Better Than You-Know-What Cake
Ingredients
Cake Layers
- 2 cups all-purpose flour
- 1.5 cups granulated sugar
- 0.75 cup unsweetened cocoa powder
- 1.5 teaspoons baking soda
- 1 teaspoon baking powder
- 1 teaspoon salt
- 2 large eggs
- 1 cup buttermilk
- 0.5 cup vegetable oil
- 2 teaspoons vanilla extract
- 1 cup hot water
Cream Cheese Frosting
- 8 ounces cream cheese, softened
- 0.5 cup unsalted butter, softened
- 4 cups powdered sugar
- 2 tablespoons milk
- 1 teaspoon vanilla extract
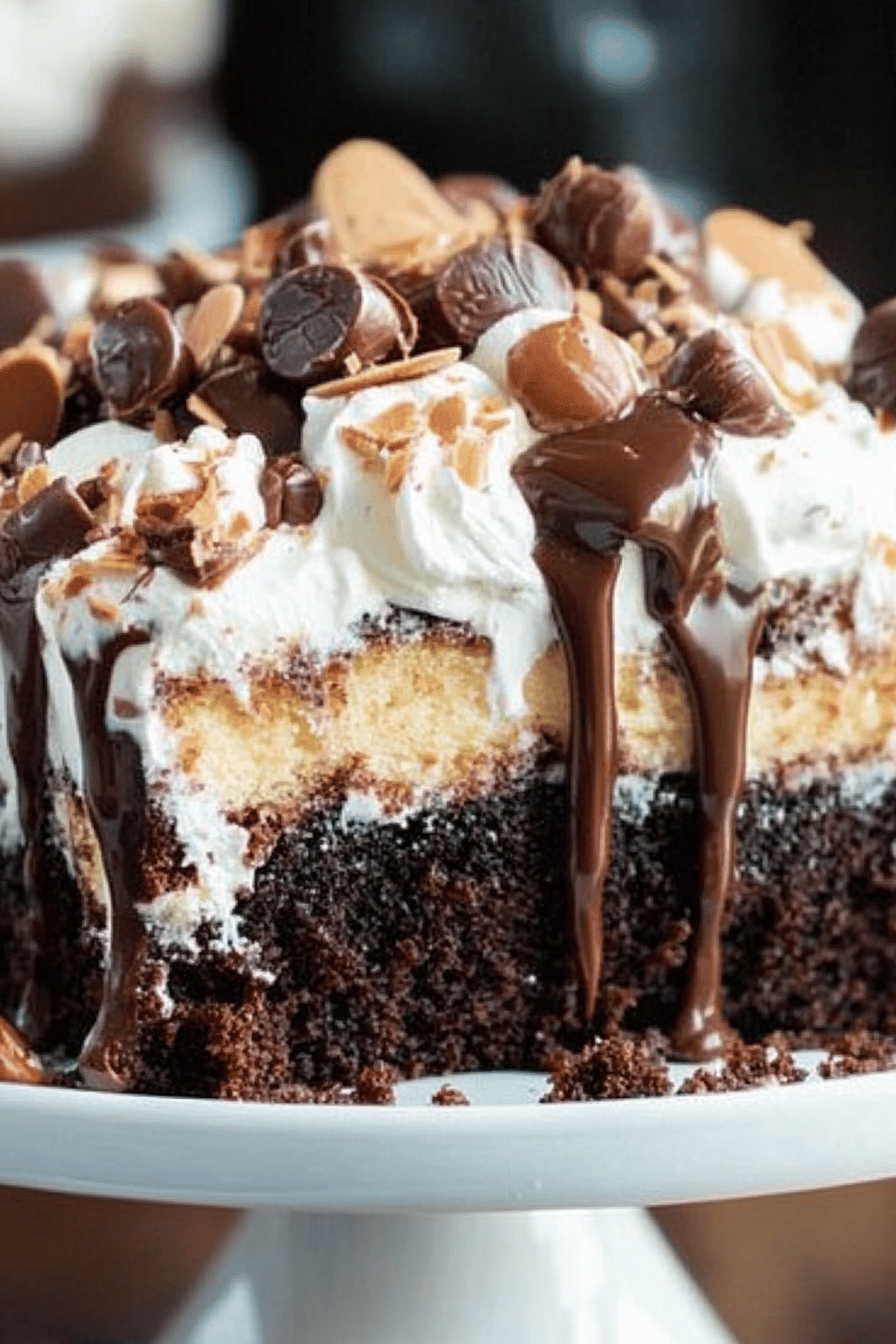
Chocolate Ganache
- 6 ounces semi-sweet chocolate chips
- 0.5 cup heavy cream
Instructions
Preparation Steps
- Preheat oven to 350°F (175°C). Grease and flour two 9-inch round cake pans.
- In a large bowl, whisk together the flour, sugar, cocoa powder, baking soda, baking powder, and salt.
- In a separate bowl, whisk together the eggs, buttermilk, oil, and vanilla extract.
- Add the wet ingredients to the dry ingredients and mix until just combined. Gradually stir in the hot water until the batter is smooth.
- Pour the batter evenly into the prepared cake pans.
- Bake for 30-35 minutes, or until a wooden skewer inserted into the center comes out clean.
- Let the cakes cool in the pans for 10 minutes before inverting them onto a wire rack to cool completely.
- While the cakes are cooling, prepare the cream cheese frosting: In a large bowl, beat together the cream cheese and butter until smooth. Gradually add the powdered sugar, alternating with the milk, beating until well combined and creamy. Stir in the vanilla extract.
- Once the cakes are completely cool, spread a generous layer of cream cheese frosting on top of one cake layer. Place the second cake layer on top and frost the entire cake with the remaining frosting.
- Prepare the chocolate ganache: In a small saucepan, heat the heavy cream over medium heat until it just begins to simmer. Remove from heat and pour over the chocolate chips in a heatproof bowl. Let stand for 5 minutes, then whisk until smooth and glossy.
- Pour the ganache over the top of the frosted cake, letting it drip down the sides.
- Chill the cake for at least 30 minutes before slicing and serving.