Alice Springs Chicken
You know, there are some recipes that just stick with you, the kind that you find yourself making over and over again because they’re just *that* good. This Alice Springs Chicken is one of those for me. It’s not just a meal; it’s a memory. I remember the first time I tasted it, at a restaurant years ago, and I was instantly hooked. The creamy, cheesy topping, the hint of spice, the tender chicken – it was pure comfort. I went home that night determined to recreate it, and after a few tries (okay, maybe more than a few!), I landed on this version. It’s now a staple in my kitchen, especially on those nights when I need something that feels a little special but is surprisingly easy to pull off. It’s that perfect balance of indulgence and effortlessness, kind of like a really good Chocolate Chip Cookie – always there for you, always delicious. My family devours it, and I’m sure yours will too!
What is Alice Springs Chicken?
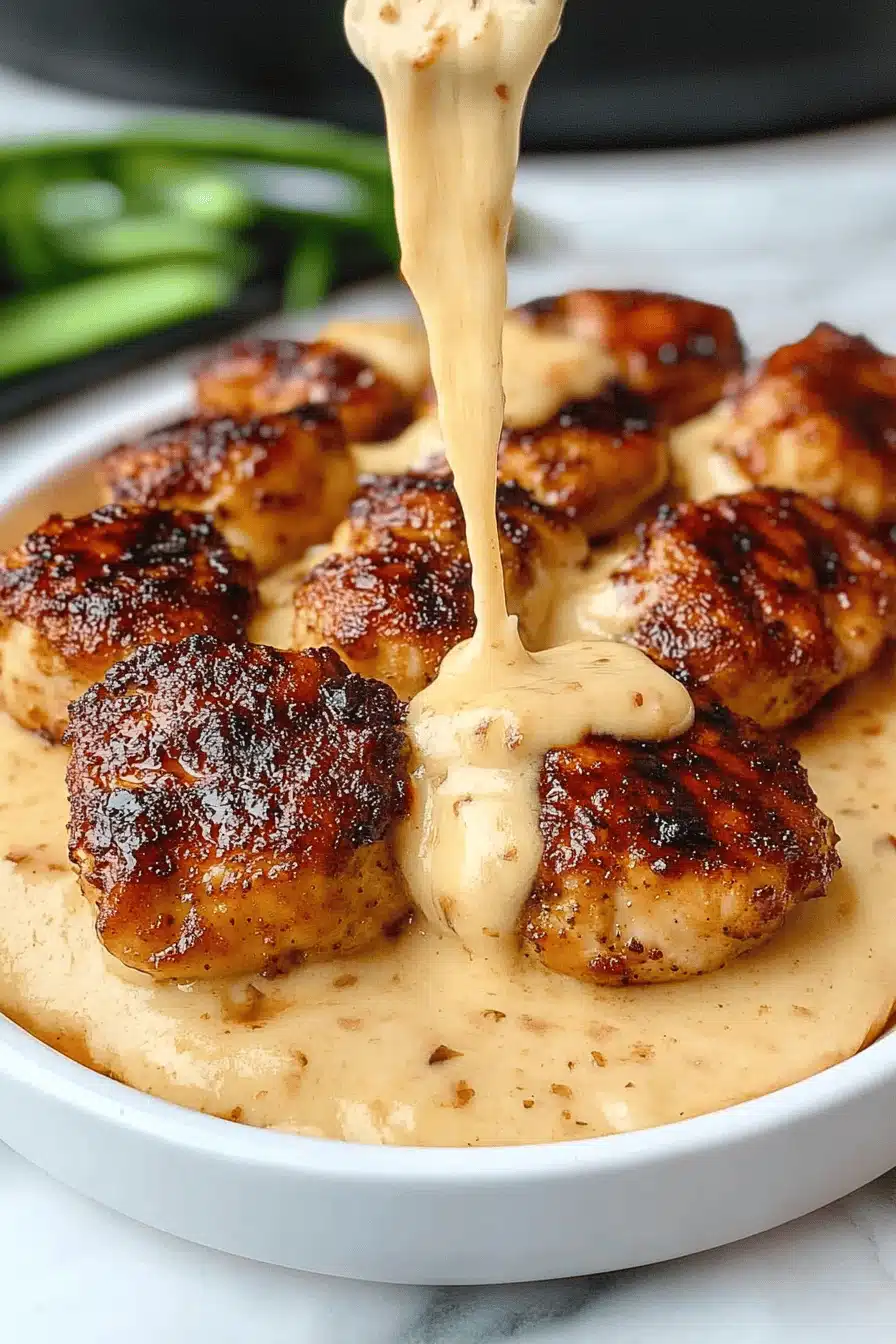
So, what exactly is Alice Springs Chicken? Think of it as a ridiculously delicious, oven-Baked Chicken dish that’s coated in a creamy, slightly spicy honey-mustard sauce and topped with crispy bacon and Monterey Jack cheese. It’s inspired by a dish from a certain Outback-themed restaurant chain, and honestly, this homemade version is even better if I do say so myself! It’s essentially pan-seared chicken breasts that get a luxurious, flavor-packed topping before being baked to golden perfection. It’s not overly complicated; it’s just a smart combination of ingredients that come together to create something truly magical. The name itself sounds a bit adventurous, doesn’t it? Like something you’d find served under a starry Australian sky, but at its heart, it’s pure, unadulterated comfort food that makes everyone happy.
Why you’ll love this recipe?
There are so many reasons why this Alice Springs Chicken Recipe has become my go-to, and I bet you’ll fall in love with it for all the same reasons. First and foremost, the flavor is just out of this world. That creamy honey-mustard sauce is tangy, a little sweet, and has just the right amount of warmth from the Dijon mustard. It coats the chicken beautifully, making every bite incredibly flavorful. Then you’ve got the crispy bacon bits and the melty Monterey Jack cheese – it’s a flavor party in your mouth! What I also adore about this recipe is its sheer simplicity. Despite tasting like it came from a fancy restaurant, it’s surprisingly straightforward to make. You can whip this up on a weeknight without breaking a sweat, and it feels so much more special than your average chicken dinner. It’s also incredibly budget-friendly. The ingredients are all common pantry staples, so you won’t need to go on a wild goose chase to find anything. And let’s talk about versatility! This is fantastic served with rice or pasta to soak up all that amazing sauce, but it’s also delicious with roasted vegetables or a simple green salad for a lighter meal. Honestly, if you’re looking for a dish that’s guaranteed to please everyone at the table, something that’s both comforting and impressive, this is it. It’s the kind of recipe that makes you feel like a kitchen rockstar without all the fuss.
How do I make Alice Springs Chicken?
Quick Overview
The magic of this Alice Springs Chicken lies in its layered approach to flavor and texture. We’ll start by pan-searing the chicken for a beautiful golden crust, then smother it in a luscious, homemade honey-mustard Cream Sauce. The final touch? A generous topping of crispy bacon and melty Monterey Jack cheese, all baked together until bubbly and golden. It sounds involved, but it’s really just a few simple steps that build incredible flavor. You’ll have a restaurant-quality meal on your table in under an hour, perfect for those busy nights when you want something delicious and satisfying.
Ingredients
For the Chicken:
4 boneless, skinless chicken breasts (about 6-8 ounces each) – I like to use breasts that are roughly the same thickness so they cook evenly. If yours are super thick, you can pound them down a bit. A good pound of chicken usually serves about 4 people comfortably.
2 tablespoons olive oil – Or any neutral cooking oil you prefer.
Salt and freshly ground Black Pepper – To taste. Don’t be shy with seasoning!
For the Honey Mustard Sauce:
1/2 cup mayonnaise – This is the secret to the creamy sauce! Full-fat mayo works best for richness.
1/4 cup Dijon mustard – For that classic tangy flavor. You can adjust this to your preference.
2 tablespoons honey – Adds the perfect touch of sweetness to balance the mustard.
1 clove garlic, minced – Fresh garlic makes such a difference.
1/4 teaspoon paprika – Just a pinch for a little color and subtle flavor.
A pinch of cayenne pepper (optional) – If you like a little kick! I often add this when I’m feeling adventurous.
For the Topping:
4-6 slices bacon, cooked until crispy and crumbled – I like to cook my bacon in the oven on a baking sheet so it’s evenly crispy.
1 1/2 cups shredded Monterey Jack cheese – Or a blend of Monterey Jack and cheddar for extra flavor. Make sure it’s shredded yourself from a block for the best meltability!
Step-by-Step Instructions
Step 1: Preheat & Prep Pan
First things first, get your oven preheated to 375°F (190°C). While that’s warming up, grab a large, oven-safe skillet (cast iron is my favorite for this, but any good quality oven-safe skillet will work). Add the olive oil to the skillet and place it over medium-high heat. We want the oil nice and hot but not smoking. Pat your chicken breasts dry with paper towels – this is crucial for getting a good sear!
Step 2: Mix Dry Ingredients
This step is super simple. In a small bowl, just go ahead and combine your salt and pepper. You’ll then generously season both sides of your chicken breasts with this mixture. Don’t be afraid to really get it on there; a well-seasoned chicken is a happy chicken!
Step 3: Mix Wet Ingredients
In a medium bowl, whisk together the mayonnaise, Dijon mustard, honey, minced garlic, paprika, and the optional cayenne pepper. Keep whisking until everything is smooth and well combined. This sauce is going to be your flavor powerhouse, so give it a good mix to ensure all those delicious flavors meld together. Taste it and adjust if you want more sweetness, tang, or heat.
Step 4: Combine
Once your skillet is hot and the oil is shimmering, carefully place the seasoned chicken breasts into the skillet. Let them sear undisturbed for about 3-4 minutes per side, until they’re beautifully golden brown. We’re not cooking them all the way through here, just getting a lovely sear on them. Once seared, remove the chicken from the skillet and set it aside on a plate for a moment.
Step 5: Prepare Filling
Take the creamy honey mustard sauce you just made and spread it evenly over the seared chicken breasts, ensuring they’re fully coated. This is where the magic starts to happen! Then, sprinkle the crumbled crispy bacon over the top of the sauce. Finally, generously top each chicken breast with the shredded Monterey Jack cheese. Make sure the cheese covers the bacon and sauce well; it’s going to get beautifully melty and golden.
Step 6: Layer & Swirl
This step is really about the topping. You’ll take your prepared honey mustard sauce and generously spread it over the seared chicken. Then, comes the best part: sprinkle that delicious, crispy crumbled bacon over the sauce, and finally, top it all off with a generous amount of shredded Monterey Jack cheese. You want a good, even layer of cheese that will melt into a glorious, bubbly blanket.
Step 7: Bake
Now, carefully place your oven-safe skillet (with the chicken breasts loaded with all that goodness) into the preheated oven. Let it bake for about 20-25 minutes, or until the chicken is cooked through and the cheese is melted, bubbly, and starting to turn golden brown. The best way to check if the chicken is done is to use a meat thermometer – it should register 165°F (74°C) in the thickest part.
Step 8: Cool & Glaze
Once the chicken is cooked and golden, carefully remove the skillet from the oven. Let it rest for about 5 minutes before serving. This allows the juices to redistribute, making the chicken more tender and moist. You don’t want to slice into it immediately, or all those lovely juices will run out!
Step 9: Slice & Serve
Serve your glorious Alice Springs Chicken hot, straight from the skillet if you like! It looks stunning that way. You can also carefully transfer the chicken breasts to individual plates. It’s absolutely delicious as is, or you can spoon over any extra sauce from the pan if there’s any left (which is unlikely at my house!).
What to Serve It With
This Alice Springs Chicken is so versatile, it really shines with so many different accompaniments! For a classic breakfast or brunch, I love serving it with some fluffy scrambled eggs and maybe even a side of home fries. The richness of the chicken and the creamy sauce are just divine with a good dose of breakfast carbs! If you’re serving it for a more elegant brunch spread, consider pairing it with a light, fresh fruit salad or some avocado slices to cut through the richness. It’s also fantastic alongside some roasted asparagus or broccoli – the crispness of the veggies is a lovely contrast to the tender chicken and melty cheese. For a truly comforting meal, especially on a chilly evening, a big scoop of fluffy mashed potatoes or some creamy rice pilaf is absolutely perfect. The rice or potatoes soak up every last bit of that incredible sauce, making it pure comfort on a plate. And if you’re feeling a little fancy, a simple side salad with a light vinaigrette adds a lovely freshness and balances out the dish beautifully. Honestly, the possibilities are endless, and that’s one of the things I love most about this recipe!
Top Tips for Perfecting Your Alice Springs Chicken
Over the years, I’ve picked up a few tricks that really help make this Alice Springs Chicken absolutely perfect every single time. For starters, when it comes to the chicken itself, don’t skip patting it dry! It’s such a simple step, but it makes a huge difference in getting a beautiful, golden-brown sear. A wet chicken breast will just steam instead of searing, and you miss out on that depth of flavor. Speaking of searing, make sure your pan is hot enough before you add the chicken. You want to hear that gentle sizzle right away. When it comes to the sauce, I always tell people to taste and adjust. My honey might be sweeter than yours, or your Dijon might have more tang, so don’t be afraid to tweak the honey or mustard to your personal preference. A little pinch of cayenne pepper can really elevate the dish if you like a bit of warmth, but if you’re sensitive to spice, just leave it out – it’s still delicious! For the topping, using freshly shredded cheese is a game-changer. Pre-shredded cheese often has anti-caking agents that can make it melt less smoothly. So, if you can, grate your Monterey Jack yourself for the ultimate gooey, melty goodness. And when it comes to baking, ovens can be so finicky! I always recommend checking your chicken a few minutes before the suggested baking time. You’re looking for that cheese to be gloriously melted and starting to get a little golden brown around the edges, and the chicken to be cooked through (165°F is the magic number on a thermometer). I’ve learned that sometimes, the oven runs a little hotter or cooler, so just keep an eye on it. If you want to change things up, you can totally swap out the cheese for cheddar or a Mexican blend, or even add some sautéed mushrooms or onions under the sauce before baking for an extra layer of flavor. These little tweaks make it your own, and that’s what cooking is all about!
Storing and Reheating Tips
This Alice Springs Chicken is so good, you might just have leftovers – if you’re lucky! If you do end up with some, storing and reheating it properly will ensure it’s just as delicious the next day. For room temperature storage, I honestly don’t recommend leaving it out for more than two hours, as the creamy sauce and cheese can spoil. Once it’s cooled down a bit after cooking, the best way to store leftovers is in an airtight container in the refrigerator. It will stay fresh and tasty for about 3-4 days. When you’re ready to reheat, there are a couple of ways to go. My favorite is in the oven. Place the leftovers in an oven-safe dish, maybe cover it loosely with foil to prevent the cheese from burning too much, and reheat at around 350°F (175°C) for about 15-20 minutes, or until heated through. The cheese will melt beautifully again. If you’re in a super hurry, you can also reheat individual portions in the microwave. Just be aware that the cheese might not get quite as perfectly melted and gooey as it does in the oven, and the chicken might not be as firm. For the best results, I always suggest reheating gently. And a little tip for the sauce: if it seems a bit thicker after refrigeration, you can stir in a tiny splash of milk or water when reheating to loosen it up. If you find yourself with a surplus and want to save it for longer, this chicken freezes surprisingly well! Let it cool completely, then wrap individual portions tightly in plastic wrap and then in aluminum foil, or place them in freezer-safe containers. It can be stored in the freezer for up to 2-3 months. To thaw, transfer it to the refrigerator overnight and then reheat as directed. The glaze is best added fresh, so if you’re freezing, you might want to consider adding fresh cheese and maybe some crispy bacon after reheating for the best texture and flavor!
Frequently Asked Questions
Final Thoughts
So there you have it – my go-to recipe for Alice Springs Chicken! I truly hope you give this a try. It’s more than just a recipe; it’s a taste of comfort, a little bit of indulgence, and honestly, just a whole lot of deliciousness packed into one dish. I’ve made it for busy weeknights, for guests, and even just for myself when I needed a pick-me-up, and it always delivers. The combination of that creamy, tangy sauce with the crispy bacon and gooey cheese is just pure magic. If you love this recipe, you might also enjoy my {Link to another Chicken Recipe} or my {Link to a Pasta Recipe} for more family-pleasing dinner ideas. I can’t wait to hear what you think! Please let me know in the comments below how yours turns out, or if you have any special twists you like to add. Happy cooking, everyone!