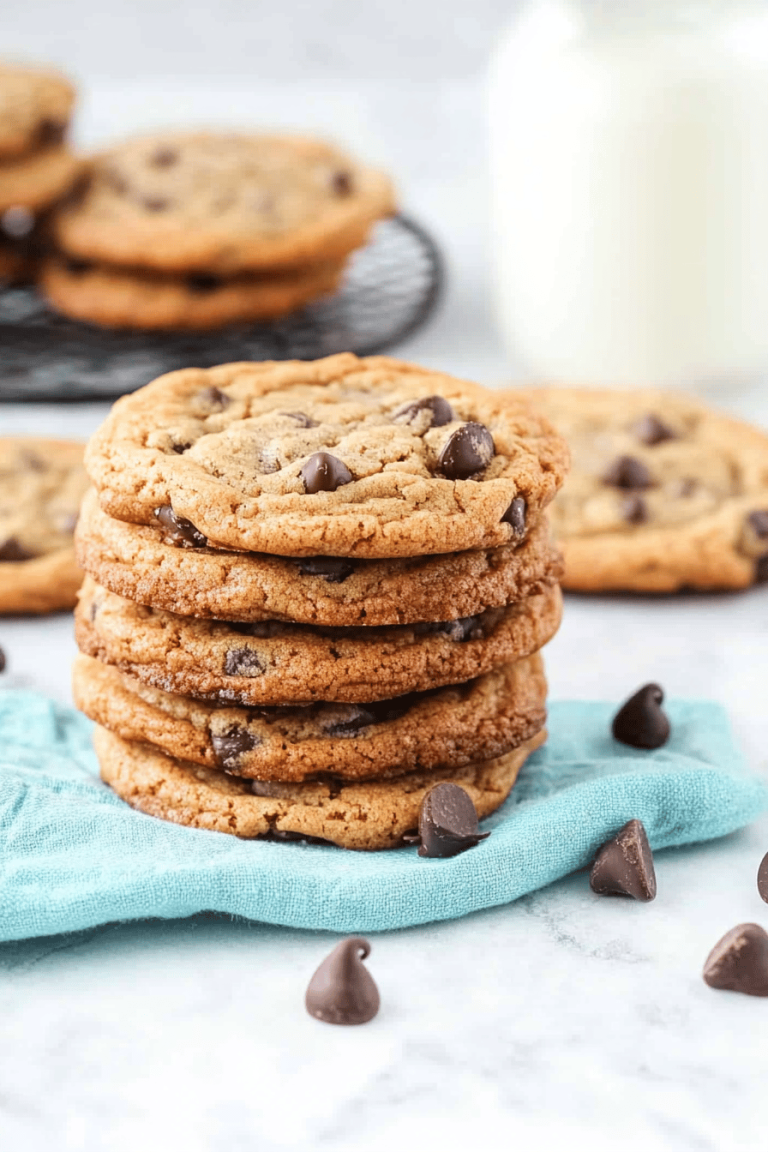
chocolate malt bar
There’s something magical about a chocolate treat that tastes like a hug in bar form. I still remember the first time I tasted a bite that tasted like a malt shake and a brownie had a baby—and I fell hard. This chocolate malt bar recipe is the grown-up version of that memory: fudgy, a little chewy, and with a whisper of malt that makes the chocolate feel brighter, not heavier. It’s incredibly forgiving, too—no fancy equipment needed, and it scales up or down with almost no fuss. I always reach for this when I’m hosting a casual tea-time, or when I need a quick homemade gift that feels special. It compares nicely to a peppermint bark in texture but with a deeper, roasted chocolate vibe. And the best part? You can slice it into neat squares and stash them for a week or so, or freeze a batch for emergencies—trust me, that’s a lifesaver on busy nights. The chocolate malt bar aroma alone—molten chocolate meeting toasty malt—fills the kitchen and draws everyone in before the first bite.
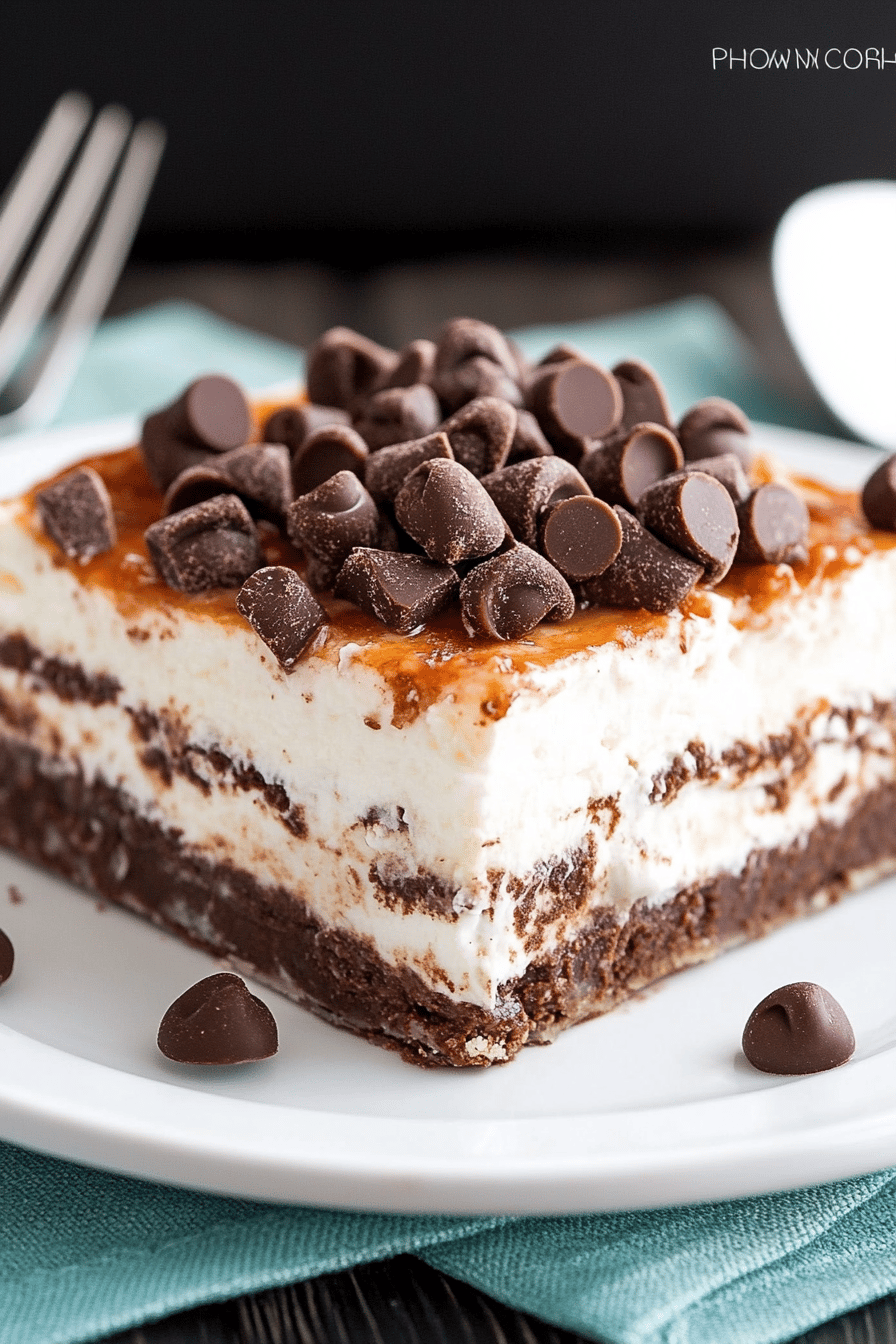
What is chocolate malt bar?
Think of a chocolate malt bar as a two-layer love affair: a dense, fudgy base infused with rolled oats and malted milk powder, topped with a creamy, subtly tangy malt filling, and finished with a glossy chocolate glaze. It’s essentially a grown-up granola-bar meets brownie in a portable package. The name comes from the classic malted milk powder that gives the whole thing a soft-cracker, malt-forward finish without crumbling apart. This treat is a nod to retro dessert vibes while staying firmly in present-day kitchen practicality. It’s the kind of recipe you’ll find yourself reaching for when you want something comforting, but not overly sweet. It’s also surprisingly adaptable—swap in almond milk for a creamier bite, or toss in a handful of chopped nuts for extra crunch.
Why you’ll love this recipe?
What I love most about this chocolate malt bar is how it feels like a small celebration you can hold in your hand. A bite delivers a clean, rounded chocolate flavor with a whisper of malt that lingers without clashing with the sweetness. It’s not a loud dessert; it’s a confident one. The base is sturdy enough to travel, yet soft enough to bite through without a fork. The filling adds a little tang and indulgence, which makes every square feel special. And because this is mostly pantry-friendly, you won’t be hunting down niche ingredients in the middle of a weeknight.
- Flavor: Deep chocolate with a warm malt backdrop that tastes like your favorite malted beverage but in bar form.
- Simplicity:What are the basic ingredients for a creamy glaze?
- Cost-efficiency: Oats, malt powder, and cocoa keep the price friendly while delivering big flavor.
- Versatility: Use a shallow 9×13 pan for thicker bars or a larger sheet for a thinner, crisper bite; switch up the glaze to suit any mood or season.
- Make-ahead friendly: The bars slice neatly and freeze well, making them perfect for meal-prep or gift-giving.
It’s also become a crowd-pleaser at potlucks and a favorite “comfort snack” for my kids—my younger one swears the malt powder is magic, and my older one swears this is what dessert should feel like on a busy weeknight. If you’ve got a chocolate malt bar shaped craving after dinner, you’ve found the right recipe.
How to Make Chocolate Malt Bar
Quick Overview
This is the kind of recipe you can finish in an evening without stress. You whip up a fudgy oat-based batter, drizzle a creamy malt filling over the top, swirl them together for a marbled look, bake until just set, and finish with a glossy, chocolatey glaze. The assembly is forgiving, the flavor is comforting, and the texture lands somewhere between brownie and candy bar—dense, a little chewy, and completely irresistible. The best part? You can customize with milks and add-ins, yet the classic version remains perfectly balanced and crowd-pleasing.
Ingredients
For the Main Batter:
- 1 cup rolled oats
- 1/2 cup all-purpose flour
- 1/2 cup unsweetened cocoa powder
- 1/2 cup malted milk powder
- 1/2 teaspoon salt
- 1/2 cup (1 stick) unsalted butter, melted
- 1/2 cup brown sugar, packed
- 1/4 cup light corn syrup or maple syrup
- 1 teaspoon vanilla extract
For the Filling:
- 8 oz cream cheese, softened
- 1/3 cup powdered sugar
- 2 tablespoons malted milk powder
- 1 teaspoon vanilla extract
- 2 tablespoons milk or cream (adjust for spreadable consistency)
For the Glaze:
- 3/4 cup semisweet chocolate chips
- 2 tablespoons unsalted butter
- 1 teaspoon light corn syrup or milk (to thin)
- Optional: a pinch of sea salt or a touch of espresso powder for depth
Step-by-Step Instructions
Step 1: Preheat & Prep Pan
Heat your oven to 350°F (175°C). Line a 9×13-inch baking pan with parchment paper, letting a little overhang for easy removal. This is the moment I love because the kitchen fills with that cocoa-chocolate aroma you’ll recognize from childhood baking sessions. If you don’t have parchment, a light spray with nonstick spray works, but parchment keeps the edges neat and makes slicing later a breeze.
Step 2: Mix Dry Ingredients
In a large bowl, whisk together rolled oats, flour, cocoa powder, malted milk powder, and salt. The dry mix should look uniform and a touch sandy—this is what gives the base its chewy, brownie-like texture. I always rub the cocoa between my fingers for a moment to wake up the chocolate aroma. It’s a small ritual that makes a big difference in flavor perception.
Step 3: Mix Wet Ingredients
In a separate bowl, combine melted butter, Brown Sugar, corn syrup, and vanilla. Stir until the sugar begins to dissolve and the mixture looks glossy and a little thick. I love how the butter carries the sweetness and helps the base stay tender after baking. If you’re using almond milk here, you’ll notice a slightly lighter mouthfeel—worth trying if you want to test a dairy-free route.
Step 4: Combine
Fold the wet ingredients into the dry until just combined. You want a cohesive batter but avoid overmixing, which can make the base feel dense. The batter will be thick and a touch sticky—that’s normal. It should press into the pan easily, with a few small pockets where you can see the oats peeking through.
Step 5: Prepare Filling
Beat the softened Cream Cheese with powdered sugar, malt powder, vanilla, and enough milk to create a smooth, spreadable mixture. You’re aiming for a creamy texture that doesn’t run, so add the milk a teaspoon at a time. If you’re feeling fancy, a pinch of lemon zest can brighten the tang just a touch without overpowering the malt and chocolate.
Step 6: Layer & Swirl
Spread the main batter in an even layer across the pan. Drop spoonfuls of the filling over the surface and use a knife or skewer to swirl it into the batter. The goal is marbling, not perfect ribbons—those little swirls catch the eye and give each bite a hint of creaminess. If you’re short on time, you can also layer the filling in the center and press down gently so some of it peeks through around the edges.
Step 7: Bake
Bake for 22-28 minutes, until the edges are set and a toothpick comes out with a few moist crumbs. The center may look slightly glossy—that’s okay. It will continue to set as it cools. Oven temperatures vary, so start checking at 22 minutes and go from there. If your oven runs hot, rotate the pan halfway through to ensure even baking and a uniform finish.
Step 8: Cool & Glaze
Let the bars cool completely in the pan on a rack before glazing. A long, patient cool is the secret to clean slices. While they rest, melt chocolate chips and butter until smooth, with a pinch of salt if you like. Drizzle or pour over the bars, then return to a cool, dry spot to set. If you want a neater finish, you can chill the bars briefly before glazing so the glaze sets faster.
Step 9: Slice & Serve
Use the parchment overhang to lift the slab from the pan, then slice into neat squares. A sharp knife helps yield clean edges, and wiping the blade between cuts prevents smearing. I love finishing with a light dusting of cocoa powder or sea salt to enhance the chocolate notes. Serve with a cold glass of milk or a hot cup of coffee—these chocolate malt bar slices are equally at home as a tea-time treat or a late-night indulgence.
What to Serve It With
This chocolate malt bar is a trouble-free showstopper, but it shines even brighter when paired thoughtfully. Here are a few ideas that I’ve tested with great results.
For Breakfast: A small bar alongside a robust espresso or a dollop of Greek Yogurt with blueberries makes for a decadent yet balanced morning bite. The malt flavor pairs beautifully with a tangy dairy note, so a yogurt cup adds a nice counterpoint.
For Brunch: Serve on a pretty platter with sliced strawberries and a pot of coffee or team it with a glass of cold milk for kids. The bars slice cleanly and hold up well for a casual, no-fuss brunch table.
As Dessert: Plate a square with a scoop of vanilla Ice Cream and a few crushed nuts for texture. A little whipped cream and a scattering of flaky sea salt turns the presentation into a restaurant-worthy finish that still feels homey.
For Cozy Snacks: Warm them slightly in the microwave for 8-12 seconds to soften the filling; it’s like a mini ganache moment. Pair with a cup of tea and a good book for a rainy-day treat that hits the sweet spot without going overboard.
Top Tips for Perfecting Your Chocolate Malt Bar
These little tricks have saved a lot of bars from ending up crumbly or dull in flavor. I’ve learned them the hard way after dozens of batches, so you don’t have to repeat my early fails.
Zucchini Prep: Not applicable here—scratch that. But I do have a note about moisture control: if you decide to swap in a different grain or add-ins like shredded coconut, toast them first to bring out flavor and reduce excess moisture that can weigh down the bar.
Mixing Advice: The key is mixing just until combined for the batter, and not overworking once you add the wet into the dry. A few lumps are fine and will bake out. Overmixing leads to a tougher texture, which is the opposite of what we want for a chocolate malt bar. When in doubt, use a wooden spoon or a silicone spatula and fold gently.
Swirl Customization: For prettier swirls, warm the filling slightly so it’s easy to drizzle and doesn’t clump. If you want more visible marbling, dollop the filling in larger scoops and swirl with a knife in quick, confident motions. The goal is a playful pattern, not a perfectly uniform look.
Ingredient Swaps: To make it dairy-free, use coconut oil in place of butter and a dairy-free Cream Cheese substitute. For a lighter version, reduce the butter slightly and add a touch more milk to the filling. Malt powder is the star here—if you can’t find it, a small extra tablespoon of cocoa powder plus a teaspoon of vanilla can help mimic some of the toasty notes, though the malt flavor will be softer.
Baking Tips: If your oven tends to run cooler, cover the top loosely with foil halfway through to prevent over-browning while the center finishes setting. If you like a fudge-like center, pull it at 22-24 minutes; if you prefer a firmer bite, go closer to 28 minutes. Don’t worry—the glaze seals the deal and adds that glossy finish we love.
Glaze Variations: A pale chocolate glaze with a splash of cream gives a glossy, soft finish. For a zing, add a teaspoon of espresso powder to the glaze. If you want a lighter approach, dust with a touch of powdered sugar or cocoa just before serving to hint at chocolate without overpowering the malt notes. I’ve used a pinch of chili powder once for a little heat—surprisingly good with a robust chocolate base.
These adjustments helped me tailor the chocolate malt bar to the moment—whether I’m craving a quick bite after dinner, or I want something that travels well for a weekend picnic. The more I bake these, the more I realize the heart of the recipe lies in the balance: chocolate that’s not too heavy, a malt accent that’s present but not shouty, and a texture that invites you to take another bite. It’s a loaf of comfort in bar form, and that’s something I’m always grateful for.
Storing and Reheating Tips
Storage matters for texture and flavor, especially when you’ve got a crowd grabbing the same tray. Here’s how I keep these chocolate malt bar slices at their best.
Room Temperature: Store in an airtight container, lined with parchment between layers if you’re stacking. They stay fresh for up to 3 days, depending on humidity. If you live in a humid climate, you may see a slight softening of the glaze, which is normal and easily refreshed by a few minutes of room-temperature rest.
Refrigerator Storage: In the fridge, these bars hold for up to 1 week in a sealed container. The glaze remains shiny, but to keep it crisp, place a parchment layer on top and avoid stacking too tightly.
Freezer Instructions: For longer storage, wrap individual bars tightly in plastic wrap, then place in a freezer-safe bag. They’ll keep well for up to 2 months. Thaw at room temperature, or warm them gently in the microwave for a few seconds if you want a soft, gooey center again. The malt flavor actually perks up a bit after a short rest in the freezer—try it!
Glaze Timing Advice: If you’re freezing, consider glazing after thawing to preserve the glaze’s gloss. If you glaze before freezing, the glaze might develop a dull finish after thawing, though it will still taste delicious. For best results, glaze last and store unglazed bars until ready to serve.
Frequently Asked Questions
Final Thoughts
There’s something reliably comforting about a well-made chocolate malt bar. It’s the kind of recipe that travels well, tastes like home, and invites you to linger at the counter with a mug of something warm. When I bake these, the kitchen fills with the scent of cocoa, malt, and melted butter, and I know I’m about to make someone smile. It’s not just a dessert—it’s a tiny ritual that signals calm and care. If you’re craving nostalgia with a modern twist, this chocolate malt bar will be your new go-to. I’d love to hear how you customize yours—swap a few ingredients, try a different glaze, or add your favorite mix-ins. Happy baking! And if you try it, please leave a comment with how you toasted the oats or what glaze you preferred. Your notes might become the next little tip I add to this recipe.