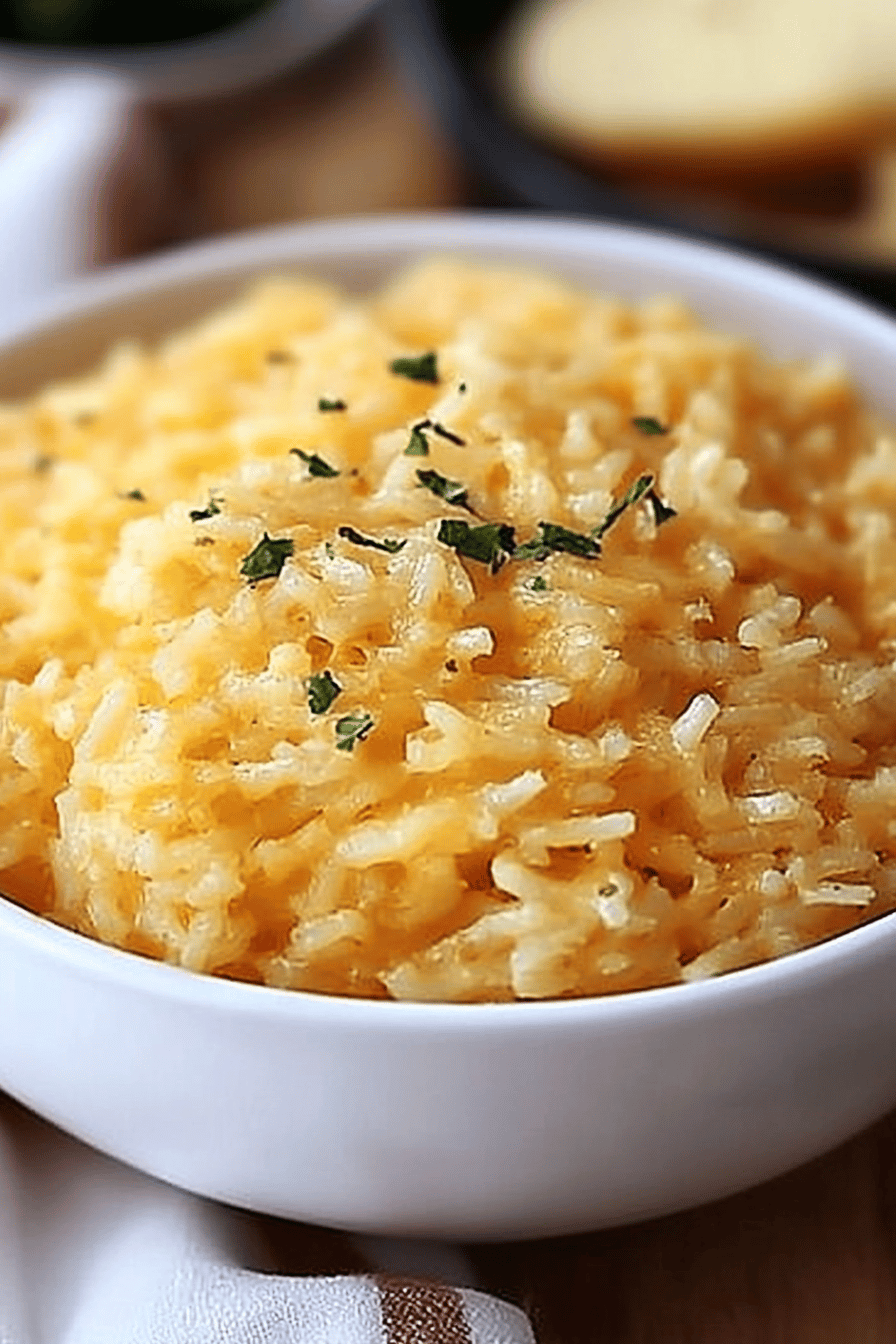
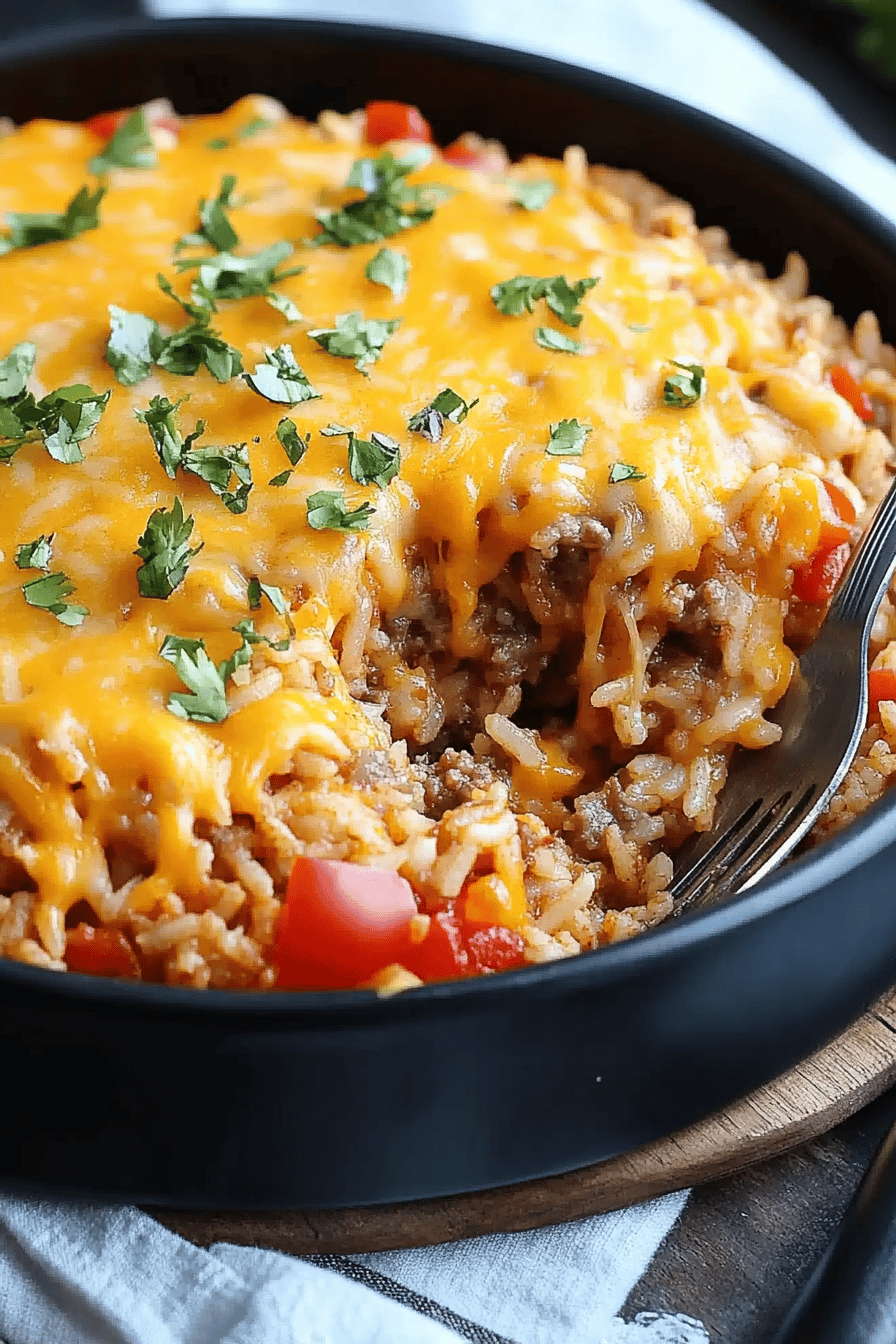
Cheesy taco rice
You know those nights? The ones where you stare into the fridge, feeling that familiar pang of “what are we even going to eat?!” without any real inspiration? Yeah, me too. Especially when the kids are clamoring for dinner and my brain feels like mush. That’s exactly when this Cheesy Taco Rice recipe becomes my absolute hero. It’s not just food; it’s a hug in a bowl, a savory symphony that tastes like comfort and home. I remember the first time I whipped this up – it was a desperate attempt to use up some Ground Beef and a bag of frozen corn, and honestly, I didn’t have high expectations. But oh, how wrong I was! The aroma that filled the kitchen was incredible, and the way it all came together so effortlessly… well, let’s just say it was a revelation. It’s the kind of dish that feels like a fancy weeknight treat but is actually ridiculously simple. Forget complicated casseroles; this Cheesy Taco Rice is where it’s at for deliciousness without the drama.

What is Cheesy Taco Rice?
So, what exactly is this magical Cheesy Taco Rice? Think of it as your favorite taco night flavors, all melded together into a comforting, one-pan (mostly!) dish that’s incredibly satisfying. It’s essentially seasoned ground meat, tender rice, and a whole lot of melty cheese, all simmered together until it’s creamy and delicious. The “taco” part comes from the zesty blend of spices – cumin, chili powder, paprika – that give it that familiar, craveable kick. It’s not a formal dish; it’s more like an edible warm blanket on a chilly evening. It’s approachable, totally adaptable, and just downright happy food. It’s the kind of meal where you don’t need a fancy tablecloth or a lengthy explanation. It’s just good, honest, flavor-packed food that makes everyone at the table smile.
Why you’ll love this recipe?
There are so many reasons why this Cheesy Taco Rice has earned a permanent spot in my recipe rotation, and I just know you’ll fall in love with it too. Firstly, the FLAVOR! Oh my goodness. It hits all the right notes – savory, a little spicy, and that irresistible cheesy goodness that just makes everything better. It’s the kind of taste that makes you close your eyes for a second and savor it. Then there’s the SIMPLICITY. Seriously, if you can brown some ground meat and boil rice, you can make this. It’s a lifesaver on those nights when you’re juggling a million things and just need a solid meal without a lot of fuss. The ingredients are generally pantry staples, making it super COST-EFFECTIVE too, which is always a win in my book. But perhaps my favorite part is its VERSATILITY. You can easily tweak it to suit your taste. Love corn? Add it! More of a bean person? Toss some in! It’s also fantastic for meal prep. I often make a double batch and have leftovers for lunch the next day, and it reheats beautifully. Unlike some recipes that require endless chopping or obscure ingredients, this Cheesy Taco Rice uses straightforward components that you can find at any grocery store. It’s the perfect answer when you’re craving something hearty and satisfying, but don’t want to spend hours in the kitchen. Honestly, the way it comes together so easily and tastes SO good is what truly sets it apart for me.
How do I make a Cheesy Taco Rice?
Quick Overview
This Cheesy Taco Rice Recipe is all about bringing together simple, flavorful ingredients for a dish that’s as easy to make as it is delicious to eat. We’ll start by browning some ground meat with classic taco seasonings, then stir in rice, broth, and a few other goodies. It simmers away until the rice is perfectly cooked and the whole mixture is wonderfully creamy and cheesy. It’s a true one-pot wonder, meaning less cleanup and more time enjoying your meal! It’s the kind of recipe that makes you feel like a kitchen rockstar without breaking a sweat.
Ingredients
For the Hearty Base:
1 pound ground beef (or turkey, or even a mix!) – I find 80/20 gives the best flavor and tenderness.
1 medium onion, finely chopped – Yellow or white onions work great here.
2 cloves garlic, minced – Fresh garlic is key for that aromatic base.
1 tablespoon olive oil – Or your favorite cooking oil.
1 (10 ounce) can Rotel diced tomatoes and green chilies, undrained – This is a secret weapon for flavor and a little heat!
1 (15 ounce) can black beans, rinsed and drained – Adds great texture and protein.
1 cup uncooked white rice – Long grain or medium grain works best. I usually use what I have on hand!
2 cups beef broth (or chicken broth) – This is what makes the rice cook beautifully and adds depth.
1 teaspoon chili powder – Adjust to your spice preference.
1 teaspoon cumin – Essential for that authentic taco flavor.
½ teaspoon smoked paprika – Adds a lovely smoky depth.
Salt and freshly ground Black Pepper to taste – Season as you go!
For the Cheesy Gooeyness:
2 cups shredded cheddar cheese (or a Mexican blend!) – Sharp cheddar is my go-to for the best flavor.
½ cup shredded Monterey Jack cheese – For extra creaminess.
Optional Toppings (Highly Recommended!):
Sour cream or Greek yogurt
Chopped fresh cilantro
Diced avocado or guacamole
Salsa
Crushed tortilla chips
Step-by-Step Instructions
Step 1: Preheat & Prep Pan
Grab a large skillet or Dutch oven – something with high sides is ideal because it will hold all that deliciousness. Place it over medium-high heat. Let it get nice and hot before you add anything; this helps the meat brown properly without steaming.
Step 2: Mix Dry Ingredients
While the pan heats up, get your spices ready. In a small bowl, whisk together the chili powder, cumin, and smoked paprika. Having them all measured out means you can easily add them to the pan at the right moment without fumbling.
Step 3: Mix Wet Ingredients
You don’t really “mix” wet ingredients separately here, but you’ll want your Rotel and beef broth handy. Make sure your garlic and onion are minced and chopped, respectively. Having everything prepped and ready to go is what makes this recipe so smooth.
Step 4: Combine
Add the olive oil to the hot skillet. Once shimmering, add your chopped onion and sauté for about 3-4 minutes until it starts to soften and become translucent. Then, add the minced garlic and cook for another minute until fragrant – be careful not to burn it! Now, add your ground beef to the skillet. Break it up with a spoon and cook, stirring occasionally, until it’s nicely browned. Drain off any excess grease; I usually tilt the pan and use a paper towel for this. Stir in your pre-mixed spices and cook for another minute, letting the spices bloom and become wonderfully aromatic.
Step 5: Prepare Filling
Add the undrained can of Rotel and the rinsed black beans to the skillet with the browned meat and onions. Stir everything together. Now, add your uncooked rice. Give it a good stir to coat the rice grains with the meaty mixture. Pour in the beef broth and bring the whole concoction to a simmer. Once it’s gently bubbling, reduce the heat to low, cover the skillet tightly, and let it simmer for about 18-20 minutes, or until the rice is tender and has absorbed most of the liquid. Resist the urge to lift the lid too often, as you want to trap that steam!
Step 6: Layer & Swirl
This is the fun part! Once the rice is cooked and most of the liquid is absorbed, remove the skillet from the heat. Sprinkle both the cheddar and Monterey Jack cheeses evenly over the top of the rice mixture. Place the lid back on for about 5 minutes to allow the cheese to melt beautifully into a gooey, delicious blanket. You can peek after 3 minutes to see how it’s doing. The goal is a luscious, melted cheese topping.
Step 7: Bake
This step is actually optional but highly recommended if you want that perfectly bubbly, slightly browned cheese on top. Once the cheese is melted, you can pop the skillet (if oven-safe) or transfer the mixture to a baking dish into a preheated oven at 375°F (190°C) for about 5-10 minutes, just until the cheese is bubbly and edges are slightly golden. This step really elevates the dish!
Step 8: Cool & Glaze
Carefully remove the skillet (or baking dish) from the oven. Let it sit for about 5 minutes before serving. This allows everything to settle and makes it much easier to serve. The “glaze” here is essentially the melted cheese and the rich, savory juices that have melded together.
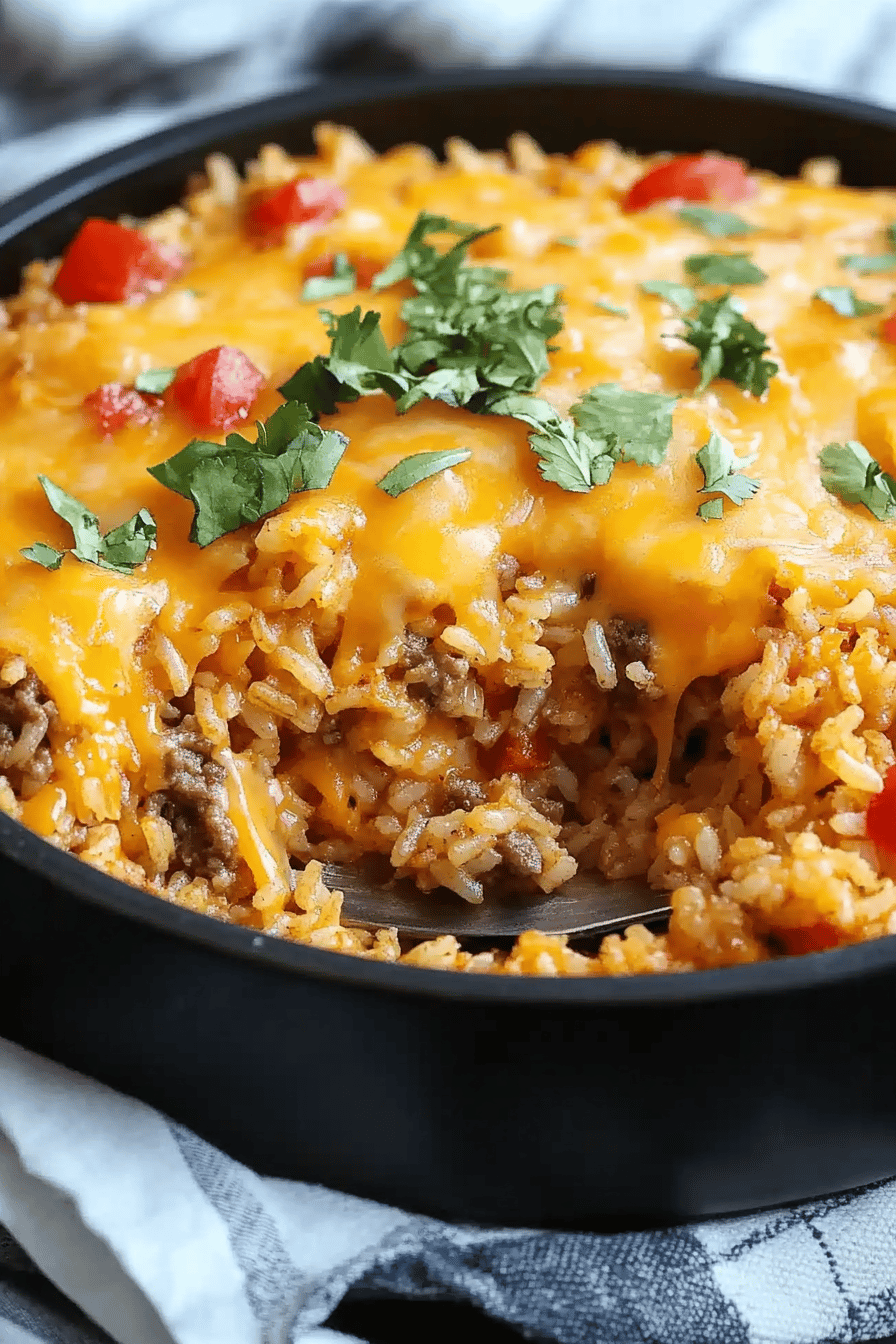
Step 9: Slice & Serve
Spoon generous portions of the Cheesy Taco Rice into bowls. Top with your favorite fixings like sour cream, cilantro, avocado, or salsa. This is best served hot and fresh, when the cheese is still wonderfully gooey!
What to Serve It With
This Cheesy Taco Rice is practically a meal in itself, but it also plays wonderfully with a few accompaniments, depending on what you’re in the mood for. For a true comfort food breakfast, I love to serve a smaller portion alongside a fried egg – the runny yolk mixing into the cheesy rice is heavenly. A dollop of sour cream on top really seals the deal. For a more elegant brunch, I might plate it up with some fresh pico de gallo and a side of crispy tortilla strips for crunch. The bright, fresh flavors of the pico de gallo cut through the richness beautifully. If you’re treating it as a main course, a simple side salad with a zesty vinaigrette is perfect. It adds a lovely freshness and balances out the heartiness of the rice. Sometimes, we even just scoop it up with extra tortilla chips for a super casual, fun family dinner. It’s also fantastic for using up leftover cooked chicken or pork – just stir it in during the last few minutes of simmering! My family loves it so much that sometimes I serve it with just a side of corn on the cob when it’s in season, or some simple steamed broccoli for a bit of green.
Top Tips for Perfecting Your Cheesy Taco Rice
I’ve made this Cheesy Taco Rice more times than I can count, and over the years, I’ve picked up a few tricks that I think really make a difference. First, when it comes to the ground meat, don’t be afraid to really brown it well. That little bit of browning adds so much depth of flavor to the finished dish. And when you drain the grease, make sure you get most of it out, or your final dish can end up a bit too oily. For the rice, I’ve found that rinsing it beforehand can help prevent it from getting too mushy, especially if you’re not watching it closely. I also like to stir the rice into the meat and onion mixture for a minute or two before adding the liquid. This little step, called “toasting” the rice, really helps enhance its nutty flavor. When it comes to the cheese, use good quality cheese that melts well. Pre-shredded cheese often has anti-caking agents that can make it less creamy. I always recommend shredding your own cheese if you have the time. If you’re a spice fiend like me, feel free to amp up the chili powder or add a pinch of cayenne pepper for an extra kick. Conversely, if you prefer milder flavors, you can reduce the chili powder and omit the Rotel if you want less heat. I’ve also experimented with adding a tablespoon of tomato paste along with the spices – it really deepens the tomato flavor. For a creamier texture, some folks like to stir in a dollop of sour cream or a splash of milk right before adding the cheese. I tested this once with a bit of Greek yogurt when I was out of sour cream, and it worked surprisingly well, adding a nice tang! If you’re using a smaller skillet, you might need to add a little more liquid, as it will evaporate faster. Just keep an eye on it. The most important thing is to trust your instincts; cooking is all about tasting and adjusting!
Storing and Reheating Tips
This Cheesy Taco Rice is fantastic for leftovers, which is a huge plus for busy households like mine. If you have any that miraculously survives, store it in an airtight container in the refrigerator. It’ll keep well for about 3-4 days. The flavors actually meld even more overnight, making it just as tasty, if not more so, the next day. For reheating, I usually just pop a portion in the microwave, stirring halfway through, until it’s heated through. If it seems a bit dry, I’ll add a tiny splash of water or broth before microwaving. Another method I love is to gently reheat it in a skillet over low heat, stirring occasionally. This helps maintain that lovely texture without drying it out too much. Some people even like to top it with a little extra cheese and pop it under the broiler for a minute or two to get that bubbly, cheesy top again – pure bliss! I haven’t personally frozen this dish, as it’s usually devoured too quickly, but I imagine it would freeze reasonably well. If you do freeze it, I’d recommend letting it cool completely, then portioning it into freezer-safe containers. Thaw it overnight in the refrigerator before reheating. The cheese might separate slightly upon reheating, but it should still be delicious. I would avoid adding the cheese before freezing and instead stir it in fresh after reheating to get the best creamy texture.
Frequently Asked Questions
Final Thoughts
So there you have it – my go-to Cheesy Taco Rice recipe! It’s the kind of dish that brings a smile to everyone’s face, from picky eaters to seasoned foodies. It’s proof that you don’t need a lot of fancy ingredients or complicated steps to create something truly comforting and delicious. I hope you give this a try the next time you’re in a dinner rut or just craving something incredibly satisfying. It’s become a staple in my kitchen for a reason, and I’m so excited to share it with you. If you loved this recipe, you might also enjoy my Speedy Skillet Lasagna or my Creamy Chicken and Broccoli Casserole – they’re all about big flavor with minimal fuss! Let me know in the comments below how your Cheesy Taco Rice turns out, or if you have any special additions you like to make! I’m always looking for new ways to love this dish even more. Happy cooking!