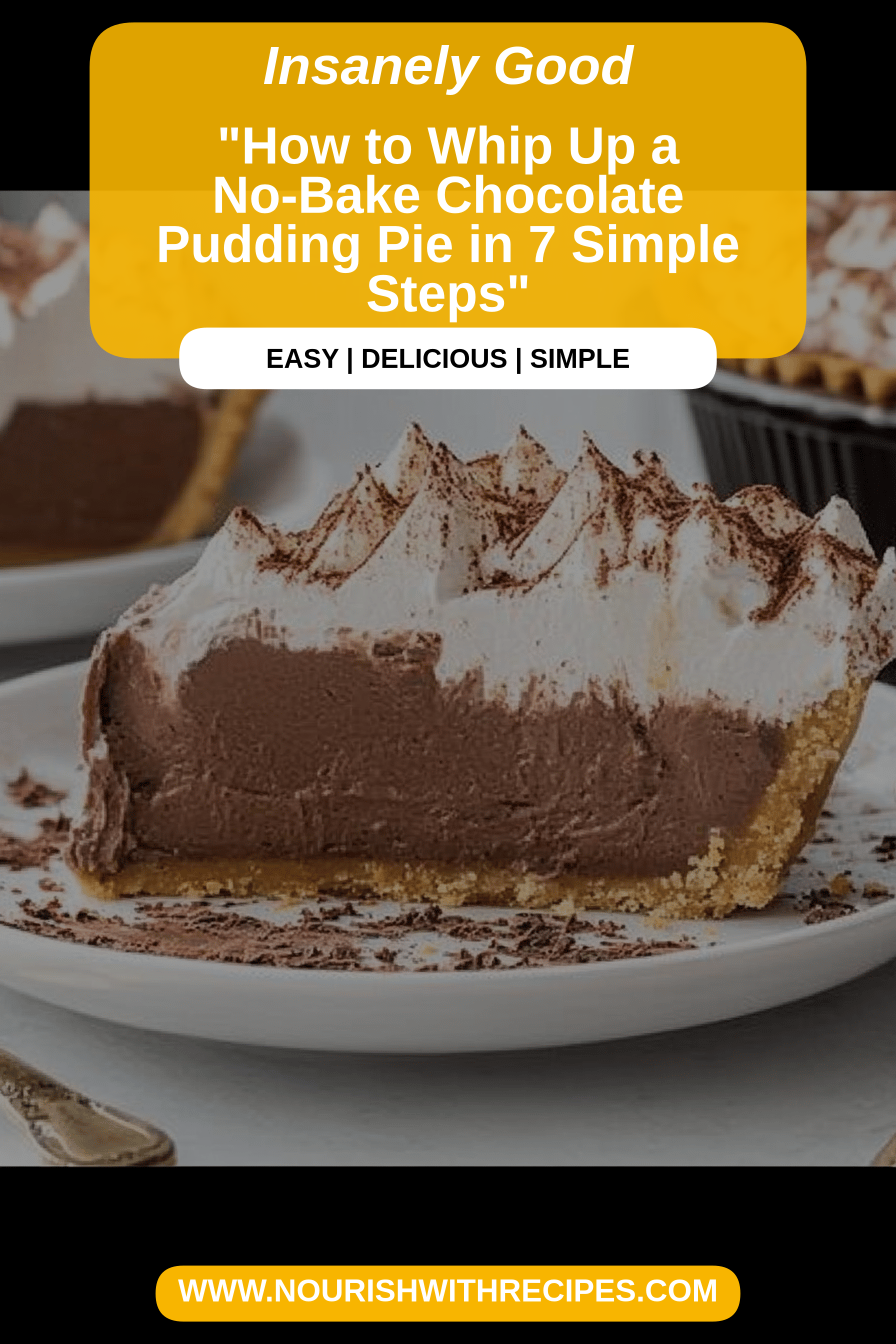
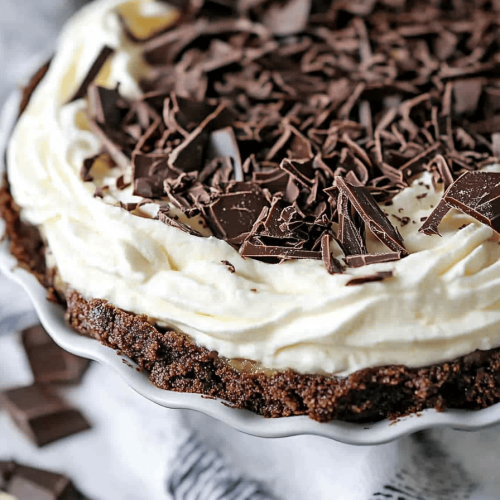
No-Bake Chocolate Pudding Pie
There are some recipes that just feel like a warm hug, you know? The kind that instantly transport you back to childhood, or that you whip up when you need a little extra sweetness in your day but don’t have the energy for a whole baking project. This No-Bake Chocolate Pudding Pie is exactly that for me. It’s the dessert that my kids beg for constantly, the one I bring to potlucks and it’s always the first to disappear, and honestly, it’s my secret weapon for those unexpected cravings when I really don’t want to turn on the oven. Forget those complicated layered cakes that take hours; this is pure, unadulterated chocolatey goodness without all the fuss. It’s like the easiest, most decadent chocolate mousse decided to get dressed up in a crunchy crust and strut its stuff. If you’ve ever loved a classic chocolate Cream Pie but wished you could skip the baking part, you’re in for a real treat!
What is no bake chocolate pudding?
So, what exactly is this magical creation? Think of it as the ultimate shortcut to pure chocolate bliss. It’s a delightfully rich, creamy, and deeply chocolatey pudding filling nestled inside a wonderfully crisp, no-bake crust. The beauty of it is that there’s absolutely no oven required for the main event, making it a lifesaver on hot summer days or when your oven is already occupied. It’s essentially taking all the things we adore about Homemade Chocolate pudding and elevating it into a sophisticated, yet incredibly approachable, pie. The crust is usually a simple combination of crushed cookies or graham crackers mixed with butter, which sets up firm in the fridge. The filling? Oh, that’s where the real magic happens – a velvety smooth pudding made from scratch, often thickened with cornstarch and flavored with cocoa powder and real chocolate for that intense chocolatey punch. It’s a concept that’s been around forever, but this version has a few little tweaks that I think make it extra special.
Why you’ll love this recipe?
Honestly, where do I even begin with why you’ll adore this No-Bake Chocolate Pudding Pie? Let’s break it down. First and foremost, the flavor is just out of this world. We’re talking deep, rich, Dark Chocolate flavor that’s sweet enough to satisfy any craving but not so sweet that it becomes cloying. It’s that perfect balance that makes you want to go back for just one more bite. Then there’s the texture – oh, the texture! The filling is impossibly smooth and creamy, almost like a truffle, and it contrasts beautifully with the slightly crumbly, buttery crust. It’s pure sensory delight. And let’s talk about simplicity, because that’s a huge win in my book. This pie is surprisingly easy to make, even if you’re new to dessert making. You don’t need any fancy equipment, and most of the ingredients are pantry staples. It’s genuinely a “mix, chill, and enjoy” kind of deal, which is perfect for busy weeknights or when you’re entertaining last-minute guests. It’s also incredibly cost-effective. Compared to many elaborate desserts, the ingredients are relatively inexpensive, making it a budget-friendly way to impress your friends and family. Plus, it’s so versatile! I’ve served this at casual barbecues, elegant dinner parties, and everything in between. It always gets rave reviews and people are always shocked when I tell them it’s no-bake. What I love most about this recipe is the pure joy it brings. It’s simple, honest comfort food that tastes like a million bucks but is made with so much love and minimal effort. It’s truly the best of all worlds.
How do I make no bake chocolate pudding?
Quick Overview
Making this pie is a breeze! You’ll start by quickly assembling a simple no-bake crust using crushed cookies and butter, which then gets chilled to firm up. While that’s happening, you’ll whip up a luscious, thick Chocolate Pudding from scratch on the stovetop. Once the pudding has cooled slightly, you’ll pour it into the prepared crust, smooth the top, and then let the whole pie chill in the refrigerator until it’s perfectly set. It’s a straightforward process with just a few key steps, and the result is a showstopper that looks and tastes like you spent hours in the kitchen. The beauty is its simplicity, meaning less stress for you and more delicious pie for everyone to enjoy!
Ingredients
For the Crust:
2 ½ cups finely crushed chocolate Sandwich Cookies (about 25-30 cookies, including the filling!) – I love using Oreos for this; they give a fantastic flavor and color. Make sure they’re really finely crushed, almost like coarse sand. A food processor makes this super quick, but you can also put them in a zip-top bag and crush them with a rolling pin. It’s a great stress reliever, by the way!
How much butter should I use to make a crust?
For the Filling:
2 cups whole milk – While you can use 2%, whole milk really makes the pudding richer and creamier. I’ve even experimented with almond milk, and it worked well, though it was slightly less rich.
¾ cup granulated sugar – You can adjust this slightly depending on your sweetness preference and the cocoa powder you use.
¼ cup cornstarch – This is our thickening agent. Make sure it’s smooth and lump-free when you add it to the milk.
½ teaspoon salt – A little salt really balances the sweetness and enhances the chocolate flavor. Don’t skip it!
4 ounces bittersweet or semi-sweet chocolate, finely chopped – Using good quality chocolate, not just chocolate chips if possible, will give you a superior flavor. Bittersweet gives a deeper chocolate taste, while semi-sweet is a bit milder.
2 tablespoons unsalted butter, softened – This adds a lovely sheen and extra creaminess to the finished pudding.
1 teaspoon pure vanilla extract – Vanilla is crucial for rounding out the chocolate flavor. Use the good stuff!
For the Glaze:
½ cup heavy cream – This forms the base of our simple, luscious glaze.
4 ounces bittersweet or semi-sweet chocolate, finely chopped – Same as for the filling; quality matters!
1 tablespoon unsalted butter, softened (optional, for extra sheen) – This is an optional step, but it gives the glaze a beautiful glossy finish.
Step-by-Step Instructions
Step 1: Preheat & Prep Pan
First things first, grab a 9-inch pie plate. You don’t need to grease it or anything fancy since the crust is made with butter and cookies. Just have it ready. We’re not preheating an oven for this particular recipe, which is part of its charm! The magic happens in the chilling process.
Step 2: Mix Dry Ingredients
In a medium bowl, combine the finely crushed chocolate sandwich cookies and the melted butter. Stir this together with a fork or your hands until it’s evenly moistened and resembles wet sand. It should clump together when you squeeze it. This is the foundation of our no-bake crust, so getting it right ensures it holds its shape.
Step 3: Mix Wet Ingredients
In your prepared pie plate, dump the cookie and butter mixture. Now, using the bottom of a glass or a measuring cup, press the crumbs firmly and evenly into the bottom and up the sides of the pie plate. You want a nice, compact crust. Get it really packed in there so it doesn’t crumble apart when you slice it. Pop this into the freezer while you prepare the filling. This helps it firm up quickly.
Step 4: Combine
In a large saucepan (a heavy-bottomed one is best to prevent scorching), whisk together the granulated sugar, cornstarch, and salt. Make sure there are no lumps of cornstarch. Gradually whisk in the whole milk until everything is smooth. This initial step ensures your pudding base is perfectly smooth.
Step 5: Prepare Filling
Place the saucepan over medium heat. Cook, whisking constantly, until the mixture thickens and comes to a gentle boil. This usually takes about 5-8 minutes. Keep whisking to prevent lumps and scorching on the bottom. Once it boils, let it bubble gently for about 1 minute, still whisking. This is important for fully activating the cornstarch and getting that lovely thick texture.
Step 6: Layer & Swirl
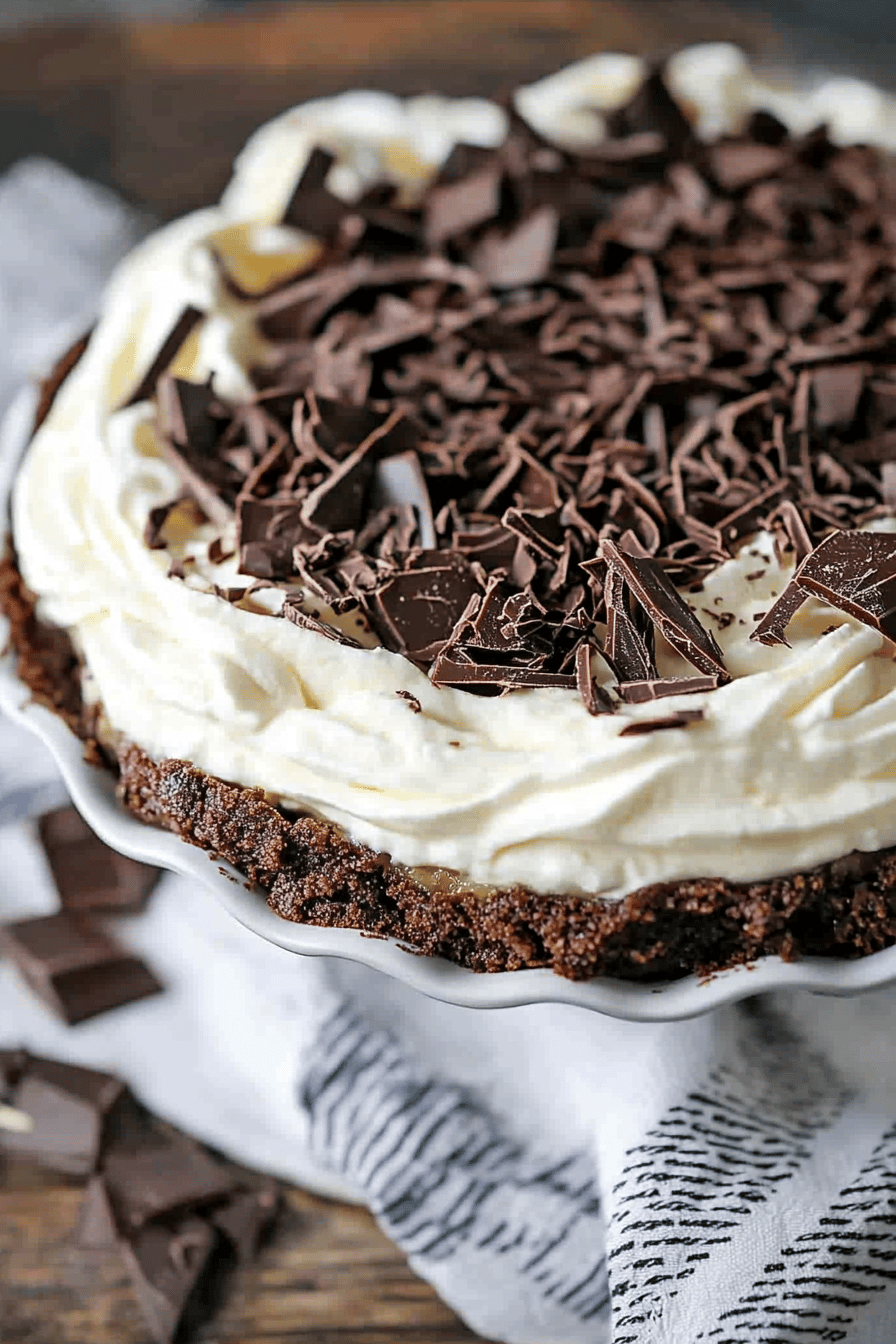
Remove the pudding from the heat. Add the finely chopped chocolate and the softened butter. Let it sit for about 2 minutes to allow the residual heat to melt the chocolate and butter. Then, whisk gently until the mixture is completely smooth, glossy, and the chocolate is fully incorporated. Stir in the vanilla extract. Now, take the chilled crust out of the freezer. Pour the warm pudding into the crust. Smooth the top with a spatula. At this point, you can add whipped cream or chocolate shavings if you like, or let it set as is. Some people like to swirl in a little whipped cream or even a dollop of peanut butter at this stage for an extra swirl of flavor and visual appeal. I usually just keep it smooth and simple.
Step 7: Bake
This is the no-bake part! Cover the pie loosely with plastic wrap, making sure the wrap doesn’t touch the surface of the pudding (you can place a few toothpicks in the pudding to keep the wrap from sticking). Refrigerate for at least 4-6 hours, or preferably overnight, until the pie is completely firm and set. The longer it chills, the better it will hold its shape when sliced.
Step 8: Cool & Glaze
Once the pie is firm, you’re ready for the glaze. Gently heat the heavy cream in a small saucepan over medium-low heat until it just begins to simmer around the edges. Do not boil. Pour the hot cream over the finely chopped chocolate in a heatproof bowl. Let it sit for about 5 minutes without stirring, allowing the heat to melt the chocolate. Then, gently whisk from the center outwards until the glaze is smooth and glossy. If using, whisk in the softened butter for extra shine. Let the glaze cool for about 10-15 minutes, until it’s slightly thickened but still pourable. Pour the cooled glaze over the chilled pie, spreading it gently to cover the surface evenly.
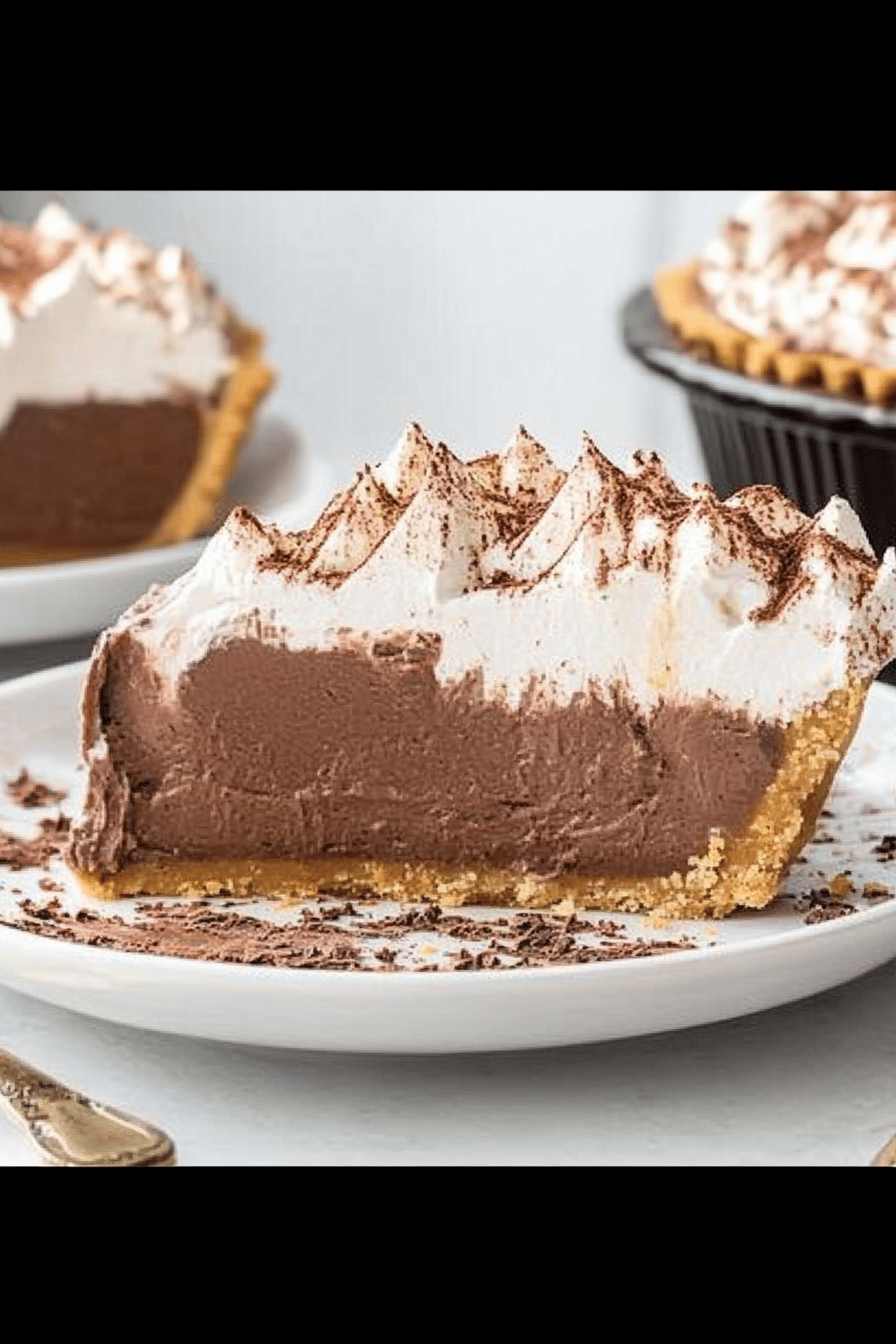
Step 9: Slice & Serve
Return the pie to the refrigerator for another 30 minutes to allow the glaze to set. Once firm, slice the pie with a sharp knife (warming the knife in hot water and wiping it dry between slices helps get clean cuts!). Serve chilled. This pie is best served cold, straight from the fridge, for that perfect pudding texture.
What to Serve It With
This No-Bake Chocolate Pudding Pie is so versatile, it fits in anywhere! For breakfast? Okay, hear me out. A tiny sliver with a strong, black coffee is actually quite decadent. The rich chocolate and the hint of coffee just sing together. For brunch, I love to serve it in small, elegant portions. A dusting of cocoa powder or a few fresh raspberries on top makes it look extra special. It pairs beautifully with a mimosa or a sparkling cider. As a dessert, it’s obviously a star. It’s perfect after a hearty meal, especially alongside a rich espresso or a glass of dessert wine. For those cozy, “I just need something sweet” moments, it’s perfect on its own, maybe with a big scoop of vanilla ice cream or a dollop of unsweetened whipped cream to balance the richness. My family’s favorite way to enjoy it is straight from the pie plate with a spoon – no fuss, just pure chocolatey joy after dinner. We’ve also discovered that a drizzle of salted caramel sauce over the chocolate glaze is absolutely divine, turning it into a salted caramel chocolate pudding pie. It’s that good.
Top Tips for Perfecting Your No-Bake Chocolate Pudding Pie
I’ve made this pie more times than I can count, and through those countless batches, I’ve picked up a few tricks that really make a difference. For the crust, the key is really pulverizing those cookies. If they’re not fine enough, your crust can end up too crumbly. A food processor is your best friend here, but if you don’t have one, a sturdy zip-top bag and a rolling pin will do the trick nicely. Really pack that crust into the pie plate; a firm, even layer is crucial for easy slicing later. When you’re making the pudding, don’t rush the thickening process. Whisk constantly over medium heat until it gently boils and then let it bubble for that full minute. This ensures the cornstarch is cooked properly, which prevents that starchy taste and guarantees a thick, luscious pudding. If you get lumps, a quick whisk with an immersion blender usually sorts them right out. I’ve also found that using a good quality chocolate makes a noticeable difference in flavor. Don’t skimp on the vanilla either; it really rounds out the chocolate notes beautifully. For the glaze, the ratio of cream to chocolate is pretty forgiving, but I find this one creates a perfect consistency that’s not too thin and not too thick. Letting the glaze cool before pouring is important; if it’s too hot, it might melt the pudding slightly, and if it’s too cool, it might be difficult to spread evenly. And the chill time is non-negotiable! Give it at least 4-6 hours, but overnight is truly the magic number for the firmest, most sliceable pie. If you’re tempted to add extra chocolate chips to the pudding, I’d advise against it; the finely chopped chocolate melts better and integrates more smoothly. For ingredient swaps, I’ve had success using almond milk for the pudding, but you might need to cook it a minute longer to achieve the desired thickness. And if you don’t have chocolate sandwich cookies for the crust, graham crackers work, but you’ll likely need to add a tablespoon or two more butter to get the right consistency.
Storing and Reheating Tips
This No-Bake Chocolate Pudding Pie is best enjoyed fresh, but it does store surprisingly well. If you have any leftovers (which is rare in my house!), store the pie loosely covered with plastic wrap or in an airtight container in the refrigerator. It will keep well for about 3-4 days. The crust might soften slightly over time, but the flavor remains fantastic. If you prefer to make the pie ahead of time, you can definitely do that! I often make mine the day before I plan to serve it, letting it chill overnight to ensure it’s perfectly set. The glaze also holds up well in the fridge. You can also freeze this pie, though the texture of the crust might change slightly upon thawing, becoming a bit softer. To freeze, wrap the un-glazed pie tightly in a layer of plastic wrap and then a layer of aluminum foil. It should keep well in the freezer for up to 1-2 months. When you’re ready to serve, thaw it in the refrigerator overnight. I recommend adding the glaze only after the pie has thawed and is ready to be served, as the glaze can sometimes become a bit wet or separate in the freezer. For reheating, there’s no real “reheating” needed as it’s a chilled dessert. If it’s been in the fridge for a while and you prefer it a little less cold, you can let it sit out at room temperature for about 15-20 minutes before slicing. This also helps soften the pudding just enough to make it extra creamy and delicious. The key to storing is keeping it protected from air to prevent it from drying out or absorbing other odors from the fridge.
Frequently Asked Questions
Final Thoughts
There you have it – my ultimate No-Bake Chocolate Pudding Pie! It’s one of those recipes that just makes life a little sweeter and a lot easier. The blend of the crunchy cookie crust and the impossibly smooth, rich chocolate pudding is pure magic, and the fact that you don’t have to turn on the oven is just the icing on the (chocolate) cake, or rather, the glaze on the pie! I truly believe this recipe is a keeper for any home baker, whether you’re a seasoned pro or just starting out in the kitchen. It’s the perfect example of how simple ingredients, combined with a little love and a few easy steps, can create something truly spectacular. If you love this pie, you might also enjoy my recipe for [mention a similar recipe, e.g., Easy Chocolate Mousse] or my [mention another related recipe, e.g., No-Bake Peanut Butter Bars] for more no-bake delights. I can’t wait to hear what you think of this pie! If you give it a try, please let me know in the comments below how it turned out, or share your own favorite tips and variations. Happy baking (or in this case, happy no-baking)!

No-Bake Chocolate Pudding Pie
Ingredients
Crust
- 1.5 cups graham cracker crumbs
- 0.25 cups granulated sugar
- 0.33 cups butter, melted
Chocolate Pudding Filling
- 2 packages instant chocolate pudding mix
- 3 cups milk
- 1 cup whipped topping thawed
Garnish (Optional)
- whipped cream
- chocolate shavings
Instructions
Preparation Steps
- In a medium bowl, combine graham cracker crumbs and granulated sugar. Pour in the melted butter and mix until combined. Press the mixture firmly into the bottom and up the sides of a 9-inch pie plate.
- In a large bowl, whisk together the instant chocolate pudding mixes and milk until well combined and slightly thickened. Let it sit for a few minutes to set.
- Gently fold in the thawed whipped topping until just combined. Do not overmix.
- Spoon the chocolate pudding mixture into the prepared graham cracker crust and spread evenly.
- Chill the pie in the refrigerator for at least 1 hour, or until the pudding is firm.
- Before serving, garnish with whipped cream and chocolate shavings, if desired.