Brownie Baking Secrets
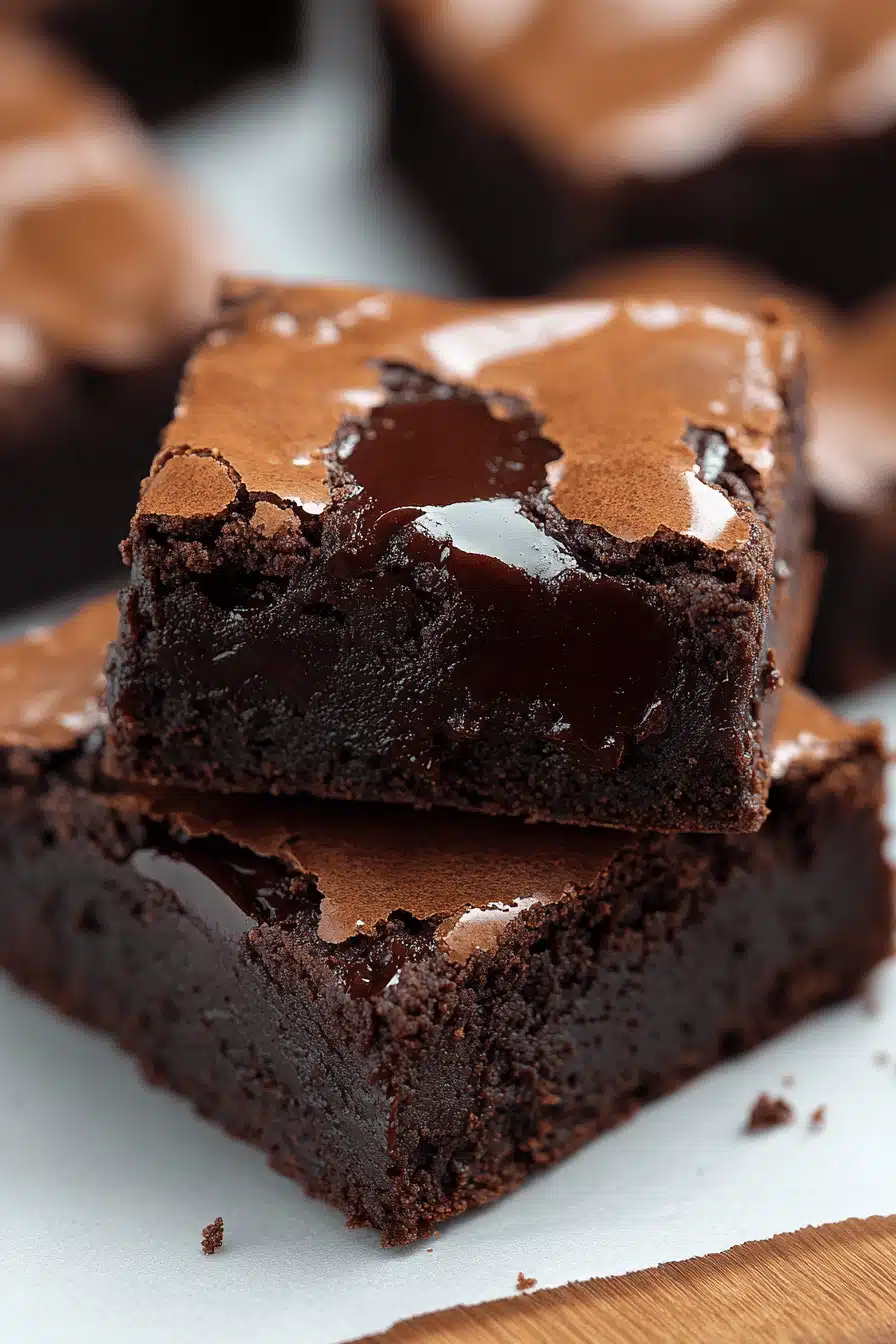
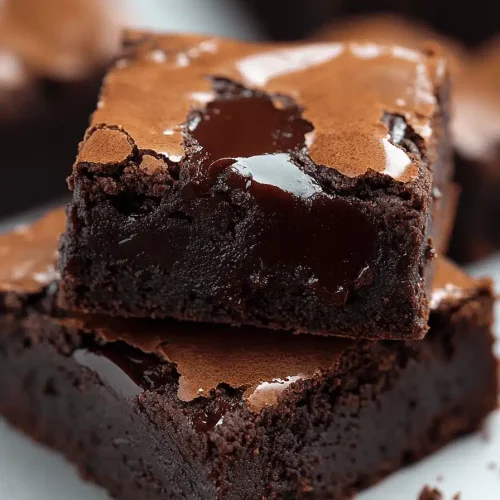
You know those nights? The ones where a craving hits, a serious, can’t-be-ignored, chocolatey craving? For me, it usually strikes around 9 PM, and the thought of baking a whole cake feels like climbing Mount Everest. That’s exactly when this recipe for ultimate brownies comes to the rescue. It’s not just any brownie; it’s the brownie that makes my family’s eyes light up, the one that disappears faster than a free sample at a bakery. Forget those cakey imposters or those fudgy bricks that are too dense to enjoy. This is the Goldilocks of brownies – perfectly chewy, intensely chocolatey, and with a beautiful, crackly top that just screams “eat me!” I’ve been tweaking this recipe for years, picking up little brownie baking secrets along the way, and I’m finally ready to spill the beans and share them with you, my favorite people.
What are brownies?
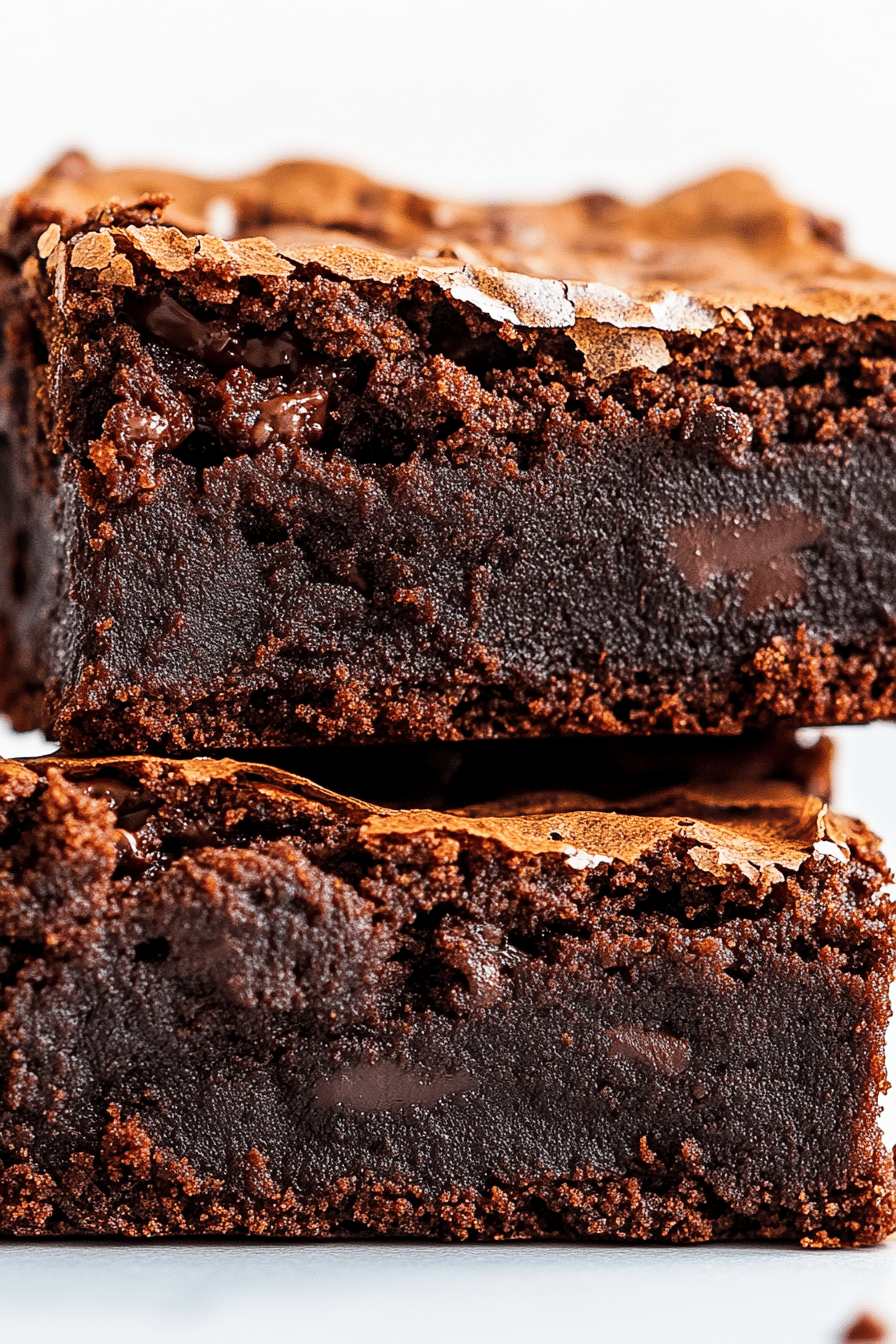
So, what exactly makes these brownies so special? Think of them as the best parts of all the brownies you’ve ever loved, rolled into one perfect pan. They’re intensely rich, with a deep cocoa flavor that isn’t too sweet. The texture is that glorious in-between: they have a slight chew around the edges, a fudgy middle that melts in your mouth, and a thin, delicate crust on top that’s just *chef’s kiss*. I call them my “Brownie Baking Secrets” because it’s not just about following steps; it’s about understanding a few key principles that elevate them from just okay to utterly unforgettable. They’re essentially a hug in dessert form, perfect for satisfying any sweet tooth without being overly complicated.
Why you’ll love this recipe?
Honestly, there are so many reasons why this recipe has become my go-to, and I just know you’re going to fall in love with it too. Let’s start with the flavor – oh my goodness, the flavor! It’s a deep, Dark Chocolate experience that will make any true chocoholic swoon. It’s not one-dimensional; you get notes of richness that come from good quality cocoa and a hint of espresso powder, which I’ll talk more about later. Beyond the incredible taste, the simplicity is a lifesaver. I can whip these up even when I’m short on time. The ingredients are pretty standard pantry staples, which makes them super cost-efficient. No need for fancy, expensive ingredients here!
What I love most about these brownies is their versatility. They’re fantastic on their own, of course, but they also play really well with others. I’ll get to more serving suggestions later, but imagine them slightly warm with a scoop of vanilla Ice Cream… Pure bliss. Compared to other brownie recipes I’ve tried, this one consistently delivers. Some recipes promise fudgy but deliver dry, others are too sweet, and some just don’t have that depth of chocolate flavor. This one gets it right every single time. It’s my secret weapon for potlucks, birthdays, or just a Tuesday night when everyone needs a little pick-me-up. It truly feels like a labor of love, even though it’s surprisingly easy.
How do I make these dreamy brownies?
Quick Overview
The magic of these brownies lies in a few key techniques: blooming the cocoa, carefully combining the wet and dry ingredients to avoid overmixing, and knowing exactly when to pull them from the oven. It’s a straightforward process that involves melting butter, whisking in sugar and eggs until pale and fluffy, then gently folding in the dry ingredients. The result is a batter that’s thick and promises pure chocolatey goodness. It’s a recipe that truly rewards a little attention to detail, but don’t let that scare you – it’s still incredibly manageable!
Ingredients
For the Main Batter:
Butter: 1 cup (2 sticks) unsalted butter, melted. Using unsalted lets you control the saltiness, and melting it is crucial for that fudgy texture. I’ve tried it with salted and it can sometimes throw off the balance.
Granulated Sugar: 1 ¾ cups. This is key for that perfect sweet-but-not-too-sweet balance and contributes to the crackly top.
Eggs: 3 large eggs, at room temperature. Room temperature eggs emulsify better, leading to a smoother batter. Don’t skip this!
Vanilla Extract: 2 teaspoons. Pure vanilla extract makes a huge difference in bringing out the chocolate flavor. The fake stuff just doesn’t cut it here.
All-Purpose Flour: 1 cup. We don’t need much flour, which is why they’re so fudgy!
Unsweetened Cocoa Powder: ¾ cup. I prefer Dutch-processed cocoa for a darker color and smoother flavor, but natural unsweetened works too. You really want a good quality cocoa powder for the best flavor.
Espresso Powder: 1 teaspoon (optional, but HIGHLY recommended!). This is one of my favorite brownie baking secrets. It doesn’t make the brownies taste like coffee; it just intensifies the chocolate flavor like magic. Trust me on this one!
Salt: ½ teaspoon. Balances the sweetness and enhances the chocolate.
Chocolate Chips: 1 cup semi-sweet or dark chocolate chips. I love adding these for extra pockets of melted chocolate goodness.
For the Optional Swirl (my personal favorite addition!):
Cream Cheese: 4 ounces, softened. This adds a lovely tangy creaminess. It’s a game-changer!
Powdered Sugar: ¼ cup. To sweeten the Cream Cheese Swirl.
Cocoa Powder: 1 tablespoon. To give the swirl a chocolatey punch.
For the Optional Glaze (if you’re feeling fancy!):
Powdered Sugar: 1 cup, sifted.
Milk or Cream: 1-2 tablespoons. Just enough to get the right consistency.
Cocoa Powder: 1 tablespoon.
Step-by-Step Instructions
Step 1: Preheat & Prep Pan
First things first, preheat your oven to 350°F (175°C). I always use a metal 9×13 inch Baking Pan. Don’t use glass; it bakes too unevenly. Line the pan with parchment paper, leaving an overhang on the sides. This makes lifting the brownies out a breeze and saves you from scrubbing! Lightly grease the parchment paper and the exposed sides of the pan too.
Step 2: Mix Dry Ingredients
In a medium bowl, whisk together the flour, cocoa powder, espresso powder (if using), and salt. Whisking is important here to break up any lumps in the cocoa and distribute everything evenly. Set this aside.
Step 3: Mix Wet Ingredients
In a large bowl, combine the melted butter and granulated sugar. Whisk them together until well combined. Then, add the eggs one at a time, whisking vigorously after each addition. You want the mixture to look pale, thick, and a little foamy – almost like a ribbon stage. This is where a lot of the magic happens for that crackly top! Stir in the vanilla extract.
Step 4: Combine
Now, here’s a crucial step for tender brownies: add the dry ingredients to the wet ingredients. Fold them together with a spatula until *just* combined. Seriously, stop mixing as soon as you don’t see any streaks of dry flour. Overmixing develops the gluten in the flour, which can make your brownies tough and cakey. We want fudgy and chewy!
Step 5: Prepare Filling (Optional Swirl)**
If you’re doing the cream cheese swirl (and I highly recommend it!), grab a small bowl. Beat the softened cream cheese until smooth. Then, beat in the powdered sugar and cocoa powder until well combined and creamy. It should be a thick, spreadable consistency.
Step 6: Layer & Swirl
Pour about half of the brownie batter into your prepared pan and spread it evenly. If you’re using the swirl, dollop spoonfuls of the cream cheese mixture over the batter. Then, pour the remaining brownie batter over the top. Gently spread this second layer of batter, trying to cover the cream cheese as much as possible. Now, for the swirl effect: take a knife or a skewer and gently swirl the cream cheese mixture through the brownie batter. Don’t over-swirl, or you’ll lose the distinct patterns. Just a few passes should do it!
Step 7: Bake
Bake for 25-35 minutes. This is where brownie baking secrets really come into play. You want them baked until a toothpick inserted into the center comes out with moist crumbs attached, not wet batter. If it comes out completely clean, they might be overbaked. The edges should look set, and the center might still look a *little* gooey – it will continue to bake as it cools.
Step 8: Cool & Glaze
This is perhaps the HARDEST part: letting them cool completely. Seriously, resist the urge to cut into them hot! Let them cool in the pan on a wire rack for at least 2-3 hours, or until completely cool. This allows them to set up properly. If you’re adding the glaze, whisk together the sifted powdered sugar, cocoa powder, and milk/cream until smooth and pourable. Drizzle it over the cooled brownies and let it set a bit before cutting.
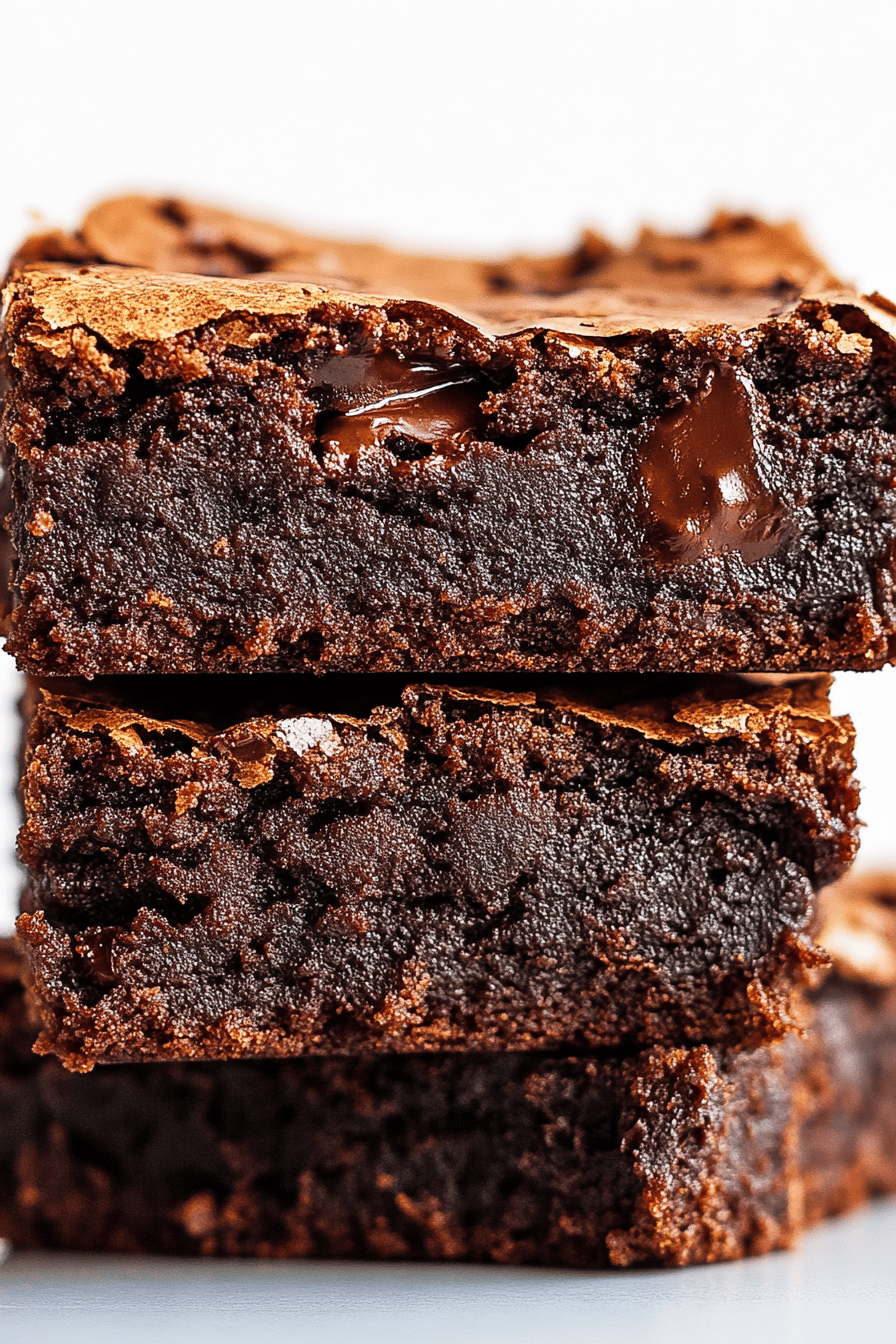
Step 9: Slice & Serve
Once completely cool, use the parchment paper overhang to lift the brownies out of the pan. Place them on a cutting board. For the cleanest cuts, use a sharp knife that you dip in hot water and wipe dry between each cut. You’ll get those beautiful, defined edges and reveal that gorgeous interior texture.
What to Serve It With
These brownies are honestly a showstopper all on their own, but they also pair beautifully with a few things depending on the occasion. For a simple, elegant breakfast treat (yes, I’ve been known to have a brownie for breakfast!), a mug of strong coffee is all you need. The bitterness of the coffee cuts through the richness perfectly. For a more relaxed brunch setting, I love serving them slightly warmed with a dollop of whipped cream or a scattering of fresh raspberries. The tartness of the berries is a delightful contrast.
As a dessert, they are absolutely divine with a scoop of high-quality vanilla bean ice cream. The contrast of warm brownie and cold ice cream is a classic for a reason! Sometimes, I’ll even add a drizzle of caramel sauce. If you’re just having a cozy night in, a glass of cold milk is always a winner. My kids, bless their hearts, just devour them with milk. My husband likes them with a dark roast coffee after dinner. They’re so versatile, you really can’t go wrong. Another favorite in my family is to crumble them over a bowl of my homemade vanilla bean pudding – talk about a decadent treat!
Top Tips for Perfecting Your Brownies
Over the years, I’ve learned a few things that take these brownies from great to absolutely phenomenal. These brownie baking secrets are what I rely on every single time:
Blooming the Cocoa: I touched on this in the ingredients, but it’s worth repeating. If you’re not using Dutch-processed cocoa, you might want to “bloom” it. Whisk the cocoa powder and espresso powder (if using) into the melted butter and sugar mixture before adding the eggs. Letting it sit for a minute or two while the butter is still warm really intensifies the chocolate flavor. It’s a game-changer for that deep, rich taste.
Don’t Overmix the Batter: I can’t stress this enough! As soon as you see no dry flour streaks, stop mixing. Overmixing develops gluten, which leads to tough, cakey brownies. A few small lumps are better than overmixing. You want that dense, fudgy texture.
The Perfect Bake Time: This is probably the most common pitfall. Ovens vary, so rely on the toothpick test. You want moist crumbs attached, not clean. It’s better to underbake slightly than overbake. The residual heat will continue to cook them as they cool. Remember, they will firm up considerably as they cool.
Room Temperature Eggs are Key: I know it’s tempting to just grab eggs from the fridge, but taking the time to let them come to room temperature (or quickly warming them in a bowl of warm water for a few minutes) really helps them emulsify better with the butter and sugar. This creates a smoother batter and contributes to that coveted crackly top.
Quality Ingredients Matter: Especially for the cocoa powder and chocolate chips. You don’t need the most expensive brands, but using a good quality unsweetened cocoa powder and decent chocolate chips will make a noticeable difference in the final flavor profile. I personally love Ghirardelli or Valrhona for cocoa, and their semi-sweet chips are fantastic.
Cooling is Crucial: Patience, dear friends, patience! The brownies need to cool completely in the pan. This allows them to set up properly. If you try to cut them too soon, they will be messy and might fall apart. I know it’s hard, but it’s one of the most important brownie baking secrets for a perfect texture.
The Swirl is Optional, but Recommended: If you love that tangy cream cheese element and the beautiful visual appeal of a swirl, don’t skip it. It adds a wonderful layer of complexity and makes them look super impressive. Just make sure the cream cheese is softened and the mixture isn’t too thin.
Storing and Reheating Tips
Once these brownies are baked and cooled, you’ll want to keep them fresh to enjoy later. They’re surprisingly resilient!
Room Temperature: Stored in an airtight container, these brownies will stay wonderfully moist and delicious at room temperature for about 3-4 days. I usually just cover the pan tightly with plastic wrap once completely cooled, or transfer them to a good quality food storage container. They are usually gone within two days in my house, but I’ve tested it!
Refrigerator Storage: If you live in a very warm climate or just prefer them chilled, they can be stored in the refrigerator for up to a week. Make sure they are in an airtight container to prevent them from drying out. The texture will be a bit firmer when cold, which some people actually prefer!
Freezer Instructions: Yes, you can freeze these! For best results, cut the brownies into individual portions. Wrap each portion tightly in plastic wrap, then in aluminum foil, and place them in a freezer-safe bag or container. They’ll keep well in the freezer for up to 2-3 months. To thaw, remove them from the freezer and let them thaw at room temperature for a couple of hours.
Glaze Timing Advice: If you’ve added a glaze, it’s best to store the brownies at room temperature. Refrigerating can sometimes make the glaze a little sticky or soft. If freezing with glaze, I’d suggest glazing them *after* thawing to keep the glaze looking its best. Otherwise, the freezing and thawing process can affect its texture.
Frequently Asked Questions
Final Thoughts
There you have it, my friends! My deepest brownie baking secrets, all laid out for you. These aren’t just brownies; they’re a little piece of happiness that you can whip up in your own kitchen. They’re perfect for those moments when you need something truly special, something that feels like a treat but doesn’t require hours of effort. I love how they bring smiles to faces, whether it’s my family gathered around the kitchen table or friends at a potluck. The richness, the texture, that slight chew – it all comes together to create something truly unforgettable.
If you’re a fan of intense chocolate flavors and that perfect fudgy texture, you absolutely have to give these a try. And if you enjoyed this recipe, you might also want to check out my Classic Chocolate Chip Cookie Recipe or my Decadent Red Velvet Cake for more baking inspiration. I can’t wait to hear how your brownies turn out! Please leave a comment below and let me know your thoughts, any variations you tried, or just how much you loved them. Happy baking!
Brownie Baking Secrets
Ingredients
Brownie Batter
- 0.5 cup unsalted butter melted
- 1 cup granulated sugar
- 0.5 cup unsweetened cocoa powder
- 2 large eggs
- 1 teaspoon vanilla extract
- 0.5 cup all-purpose flour
- 0.25 teaspoon salt
- 0.5 cup chocolate chips optional, semi-sweet or dark
Instructions
Baking Instructions
- Preheat your oven to 350°F (175°C) and grease and flour an 8x8 inch baking pan.
- In a medium bowl, whisk together the melted butter and granulated sugar until well combined.0.5 cup unsalted butter
- Whisk in the cocoa powder until smooth. Then, beat in the eggs one at a time, followed by the vanilla extract.0.5 cup unsalted butter
- In a separate small bowl, combine the flour and salt. Gradually add the dry ingredients to the wet ingredients, mixing until just combined. Do not overmix.0.5 cup unsalted butter
- Fold in the chocolate chips if using.0.5 cup unsalted butter
- Pour the batter into the prepared baking pan and spread evenly.
- Bake for 30-35 minutes, or until a toothpick inserted into the center comes out with moist crumbs (not wet batter).
- Let cool completely in the pan on a wire rack before cutting into squares.