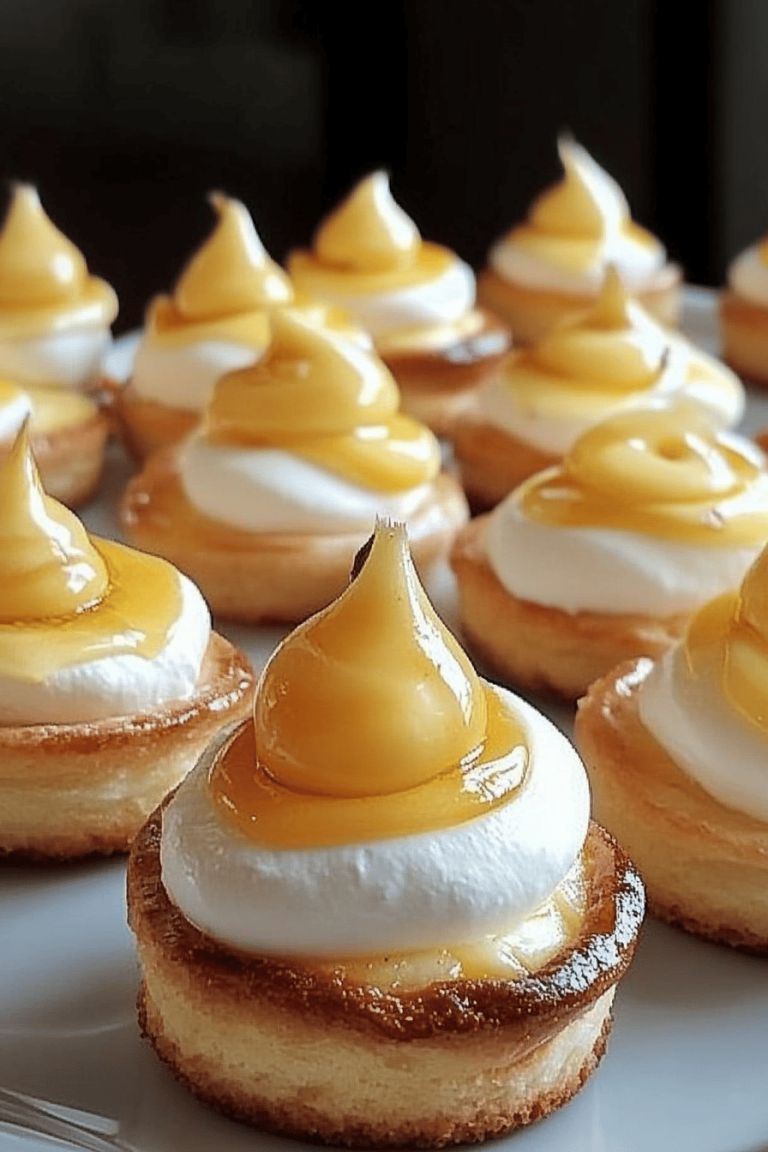
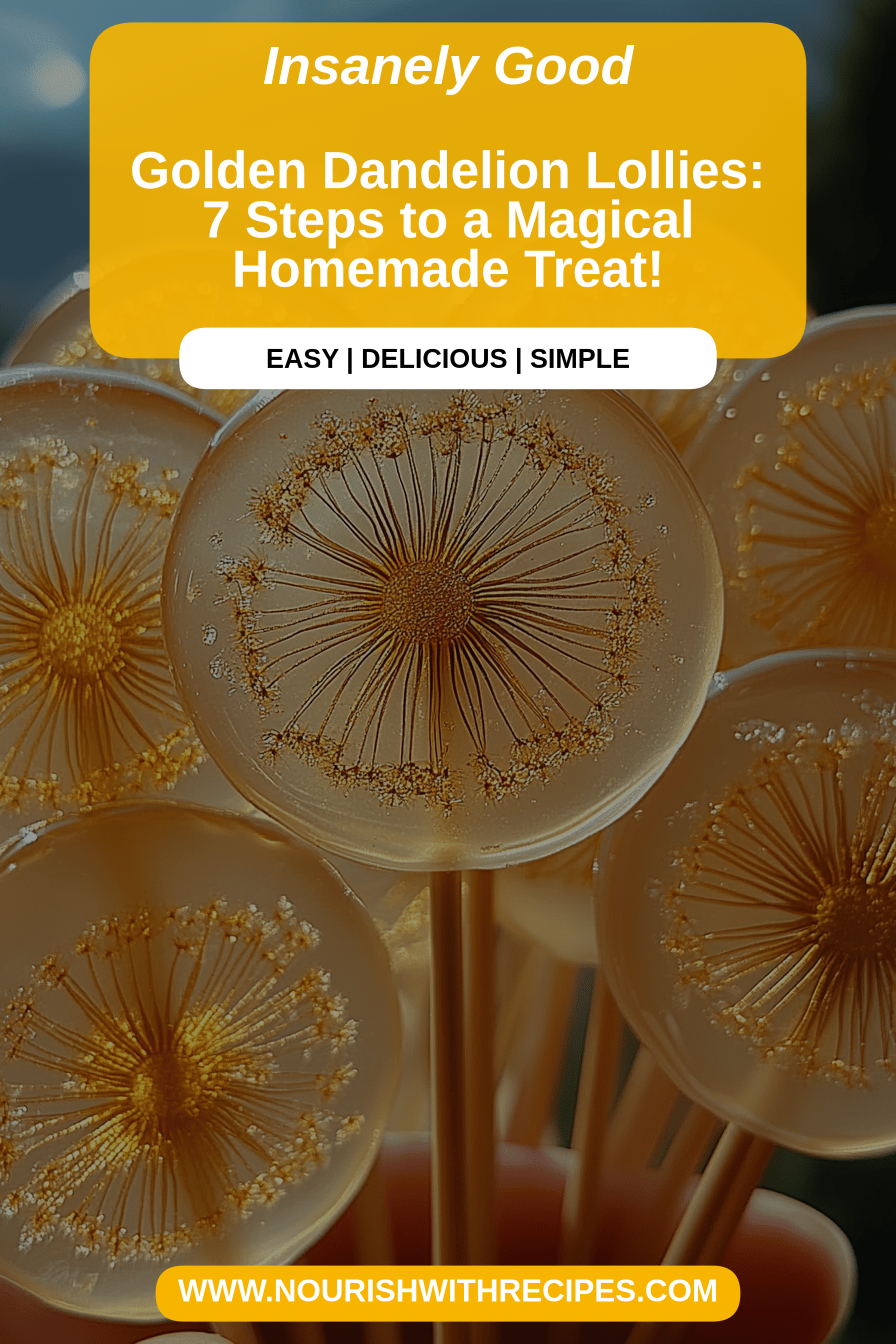
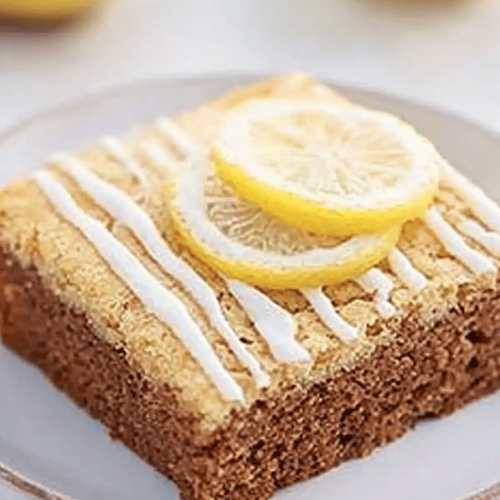
Golden Dandelion Lollies
Oh, where do I even begin with these Golden Dandelion Lollies? They’re more than just a treat; they’re little pockets of pure joy, bursting with sunshine and a flavor that’s both familiar and delightfully surprising. I remember the first time I whipped these up, it was on a whim during a particularly dreary spring day. The kids were restless, I was craving something sweet but didn’t want to deal with a whole cake, and I happened to have a bounty of zucchini in the fridge. I’d seen recipes for Zucchini Bread and muffins, but I wanted something a little different, something fun. And then it hit me – why not turn it into something dippable, something you could really *enjoy*? These Golden Dandelion Lollies were born out of that exact moment, and let me tell you, they’ve become a staple in my kitchen ever since. They’re sort of like a super-moist, slightly tangy muffin meets a delightfully sweet, almost cake-like bite, all swirled with a sunshine-yellow glaze that just makes you smile. If you love those fluffy, bright lemon loaves you see at fancy bakeries, but crave something a bit more wholesome and with that unexpected zing, you’re going to fall head over heels for these.
What are Golden Dandelion Lollies?
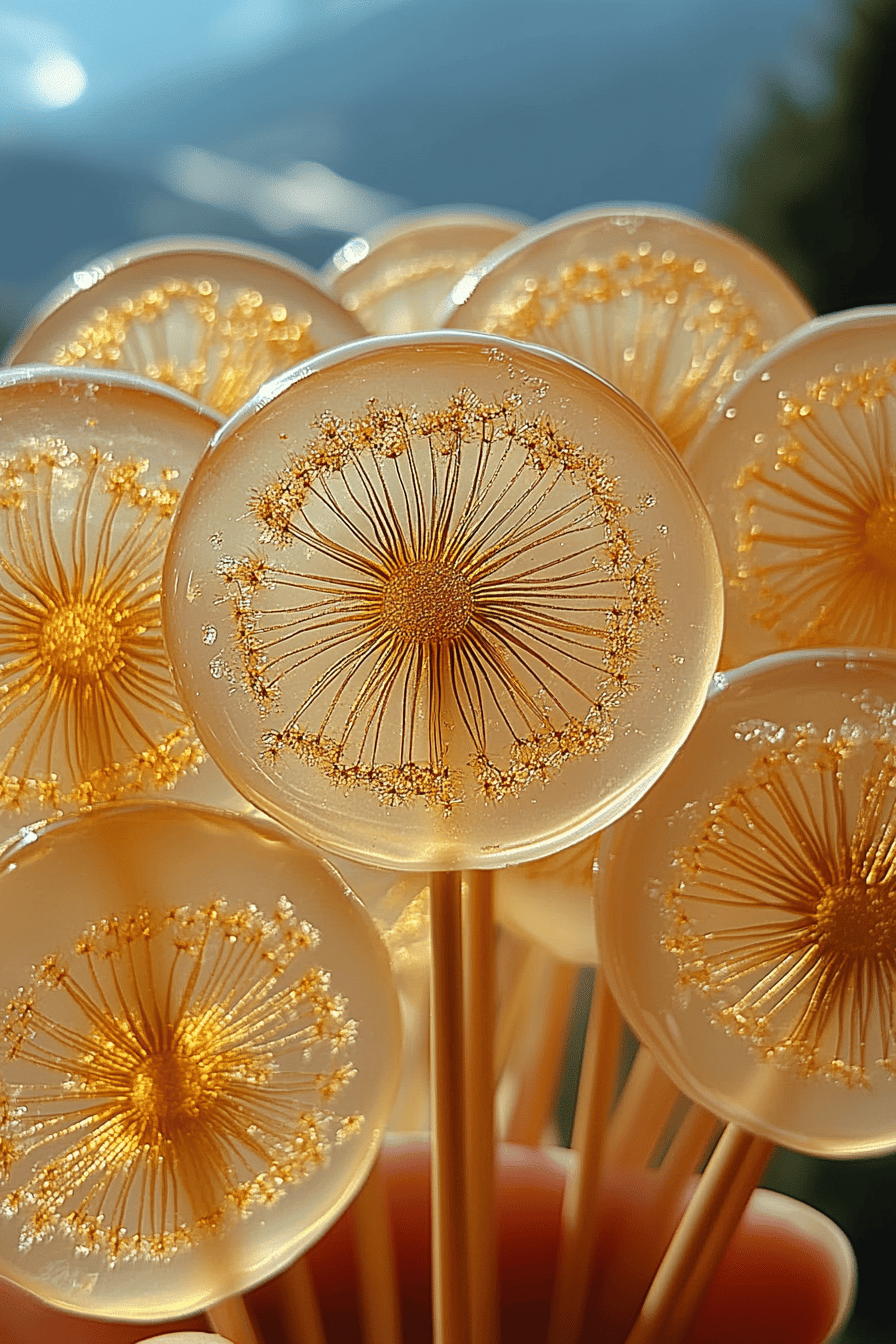
So, what exactly *are* these delightful little creations? Think of them as a happy accident turned into a culinary masterpiece! The “Golden” comes from the vibrant yellow glaze that cascades over the top, mimicking the cheerful bloom of a dandelion. And “Lollies”? Well, that’s just my affectionate nickname for them because they’re so satisfying to hold and bite into, almost like a grown-up, sophisticated lollipop. Essentially, they are a wonderfully moist, subtly sweet baked good that uses grated zucchini as its secret weapon for incredible texture and moisture. Don’t let the zucchini scare you; you absolutely cannot taste it! It just works magic behind the scenes to make these unbelievably tender. They’re not quite a cake, not quite a muffin, but a perfect hybrid that’s ideal for breakfast, a delightful afternoon pick-me-up, or even a light dessert. They’re wonderfully adaptable, and once you try them, you’ll understand why they’ve earned a special place in my recipe repertoire.
Why you’ll love this recipe?
I know you will love this recipe. I’m a huge fan of it. I’m obsessed. I’m going to make it againflavor! It’s this perfect balance of sweet, slightly tangy, and incredibly comforting. The hint of lemon in the glaze cuts through the sweetness beautifully, making each bite feel fresh and bright. It’s that kind of flavor that makes you close your eyes and just savor it. Then there’s the simplicity. I’m all about recipes that feel achievable, even on a busy weeknight, and these Golden Dandelion Lollies are exactly that. You probably have most of the ingredients in your pantry right now. The process is straightforward, and there’s very little fuss involved, which is a lifesaver when you just need a sweet fix without a major production. And let’s talk about Cost-efficiency: What is the best way to measure cost-efficiency?! Zucchini is often an abundant and inexpensive ingredient, especially when it’s in season. You get a fantastic yield for very little cost, which is always a win in my book. Plus, they’re so versatile. I’ve served these as a quick breakfast on the run, as part of a beautiful brunch spread, and even as a light dessert after a hearty meal. They’re fantastic with a cup of coffee, tea, or even a glass of milk. What I love most about this recipe, though, is the sheer happiness it brings. That golden glaze, the tender crumb – it just feels like a hug in edible form. It’s a recipe that I’ve shared with friends, and they always rave about how surprisingly easy and delicious they are. It’s a guaranteed crowd-pleaser, and it makes you feel like a baking superstar without even breaking a sweat.
How to Make Golden Dandelion Lollies
Quick Overview
This recipe is wonderfully straightforward. You’ll essentially be mixing up a tender batter, folding in some delicious flavor elements, and then baking them to golden perfection. The magic really happens with the simple glaze that gets drizzled over the top once they’re cooled. It’s a no-fuss method that results in a truly impressive treat. The beauty of this recipe lies in its forgiving nature; even if you’re new to baking, you can absolutely nail this. We’re talking minimal bowls, minimal mess, and maximum deliciousness. It’s truly one of those recipes that makes you feel like a kitchen wizard.
Ingredients
For the Main Batter:
2 cups all-purpose flour
1 teaspoon baking soda
½ teaspoon baking powder
½ teaspoon salt
1 teaspoon ground cinnamon (optional, but I love it for warmth!)
1 ½ cups granulated sugar (or ¾ cup granulated sugar and ¾ cup packed light Brown Sugar for extra moisture and depth)
½ cup unsalted butter, softened (or a neutral oil like canola or vegetable for an even lighter texture)
2 large eggs, at room temperature
1 teaspoon pure vanilla extract
1 tablespoon lemon zest (from about 1 large lemon)
2 cups finely grated zucchini, squeezed dry (about 2 medium zucchinis)
For the Filling:
½ cup full-fat Greek yogurt or Sour Cream (this adds amazing richness!)
¼ cup granulated sugar
1 tablespoon lemon juice (freshly squeezed is best!)
1 teaspoon cornstarch (to help it thicken nicely)
For the Glaze:
1 ½ cups powdered sugar, sifted
2-3 tablespoons fresh lemon juice (start with 2, add more for thinner consistency)
½ teaspoon lemon zest (optional, for extra zing)
Step-by-Step Instructions
Step 1: Preheat & Prep Pan
First things first, let’s get our oven ready. Preheat it to 350°F (175°C). You’ll need a 9×13 inch Baking Pan. I like to grease it really well with butter or baking spray, and then line the bottom with parchment paper. Leave a little overhang on the sides so you can easily lift the whole thing out later – trust me, it’s a game-changer for slicing. Make sure the parchment covers the entire bottom surface.
Step 2: Mix Dry Ingredients
In a large bowl, whisk together the flour, baking soda, baking powder, salt, and cinnamon (if you’re using it). Give it a good whisk to make sure everything is evenly distributed. This simple step helps ensure your lollies have a nice, even rise and texture.
Step 3: Mix Wet Ingredients
In a separate, medium bowl, cream together the softened butter (or oil) and the sugar until it’s light and fluffy. If you’re using butter, this is where you’ll really notice the difference. Then, beat in the eggs one at a time, making sure each is fully incorporated before adding the next. Stir in the vanilla extract and the lemon zest. The zest is key for that bright, sunshiney flavor!
Step 4: Combine
Now, gradually add the dry ingredients to the wet ingredients, mixing on low speed or by hand until just combined. Be careful not to overmix here; we want tender lollies! Once it’s *almost* combined, gently fold in the finely grated and squeezed-dry zucchini. It might seem like a lot of zucchini, but it’ll incorporate beautifully and make the batter incredibly moist.
Step 5: Prepare Filling
In a small bowl, whisk together the Greek yogurt (or Sour Cream), sugar, lemon juice, and cornstarch until smooth. This creates a creamy, slightly tangy filling that adds an extra layer of deliciousness and moisture to the lollies. It just melts into the batter as it bakes!
Step 6: Layer & Swirl
Pour about half of the batter into your prepared baking pan and spread it evenly. Dollop spoonfuls of the filling mixture over the batter. Then, pour the remaining batter over the filling. Now comes the fun part! You can gently swirl the filling through the top layer of batter using a knife or skewer. Don’t overdo it; we’re looking for pretty ribbons, not a completely mixed mess. This creates those lovely pockets of creaminess and visual appeal.
Step 7: Bake
Bake for 30-35 minutes, or until a wooden skewer or toothpick inserted into the center comes out clean. The top should be a beautiful golden brown. Keep an eye on it, as oven temperatures can vary!
Step 8: Cool & Glaze
Let the Golden Dandelion Lollies cool in the pan for about 15-20 minutes before carefully lifting them out using the parchment paper overhang. Let them cool completely on a wire rack. Once they’re completely cool, it’s time for the glaze! Whisk together the sifted powdered sugar with 2 tablespoons of lemon juice. If it’s too thick, add a tiny bit more lemon juice, a teaspoon at a time, until you reach your desired drizzling consistency. Stir in the extra lemon zest if you’re using it. Drizzle generously over the cooled lollies.
Step 9: Slice & Serve
Once the glaze has set a bit, slice the Golden Dandelion Lollies into squares or rectangles. I usually cut mine into about 2-inch pieces. They’re fantastic served at room temperature, but honestly, they’re also pretty delicious slightly warm!
What to Serve It With
These Golden Dandelion Lollies are so versatile, you can serve them up at almost any occasion, and they’ll be a hit! For Breakfast, they are an absolute dream. I love pairing them with a strong cup of black coffee or a creamy latte. They’re perfect for busy mornings when you need something substantial but quick to grab and go. Just slice and eat! For Brunch, they add a touch of sunshine to any spread. I often arrange them on a nice platter with fresh berries and perhaps a dollop of whipped cream or a little extra Greek yogurt. They look so elegant, and everyone always asks for the recipe. A mimosa or some sparkling cider makes the perfect beverage pairing. As Dessert, they’re surprisingly delightful. They’re not overly heavy, so they work beautifully after a rich meal. I’ll sometimes serve a warm slice with a scoop of vanilla bean ice cream or a drizzle of raspberry coulis. The contrast of warm lolly and cold ice cream is divine! And for those Cozy Snacks moments – you know, when you just need a little something sweet to curl up with? These are it. They’re wonderfully comforting, and I often find myself just cutting off a corner to enjoy with a warm mug of herbal tea while reading a good book. My family also loves them with a big glass of cold milk, especially after school. It’s a comforting, familiar pairing that always brings smiles.
Top Tips for Perfecting Your Golden Dandelion Lollies
Over the years, I’ve learned a few little tricks that really make these Golden Dandelion Lollies sing. For Zucchini Prep, it’s crucial to grate it finely and then squeeze out as much moisture as you can. I usually use my hands, but a cheesecloth or a clean kitchen towel works wonders too. The less water, the better the texture of your lollies, and you won’t end up with a soggy bottom! When it comes to Mixing Advice, remember what I said about not overmixing the batter. Just combine until the dry ingredients are hydrated. Overmixing develops the gluten in the flour, which can lead to tougher baked goods. A few streaks of flour are perfectly fine. For Swirl Customization, don’t be afraid to get creative! You can use a skewer, the back of a spoon, or even a chopstick to create beautiful marbling. You can also add a tiny bit of food coloring to the filling for extra visual pop if you’re feeling whimsical! When it comes to Ingredient Swaps, I’ve experimented quite a bit. If you want to make it vegan, you can likely swap the butter for a neutral oil and the eggs for a flax egg (1 tablespoon flaxseed meal + 3 tablespoons water, let sit for 5 minutes). For the dairy in the filling, a plant-based yogurt or sour cream would work, though it might alter the texture slightly. For Baking Tips, always know your oven. If your oven tends to run hot, you might need to reduce the temperature slightly or cover the pan with foil if the top starts to brown too quickly. Make sure to test for doneness in the center; it’s the thickest part. And for Glaze Variations, if you’re not a huge lemon fan, you can use orange juice or even a simple vanilla glaze. You can also play with the thickness – a thinner glaze will soak in a bit more, while a thicker one will give you that nice, crisp shell. I’ve even added a tiny pinch of turmeric to the glaze for an extra golden hue, but that’s just me being silly!
Storing and Reheating Tips
One of the things I love about these Golden Dandelion Lollies is how well they keep. For Room Temperature storage, I usually let them cool completely, then I cover them tightly with plastic wrap or place them in an airtight container. They stay wonderfully moist for about 2-3 days like this. Just make sure they’re fully cooled before covering, or you’ll end up with condensation, which can make them soggy. If you’re storing them in the Refrigerator, they’ll last even longer, up to a week! Again, an airtight container is your best friend. I find that the texture remains excellent. When you want to serve them chilled, just take them out of the fridge about 15-20 minutes before you plan to eat them to let them come to room temperature slightly. For Freezer Instructions, these are perfect! Once completely cooled, I slice them into individual portions and wrap each one tightly in plastic wrap, then tuck them into a freezer-safe bag or container. They’ll keep well for up to 2-3 months. To thaw, simply unwrap them and let them sit at room temperature for a couple of hours. If you want to reheat them slightly (which is lovely for a warmer treat), you can pop them in a toaster oven or a low oven for a few minutes until warmed through. Regarding Glaze Timing Advice, I always recommend glazing *after* the lollies have completely cooled. If you glaze them while they’re warm, the glaze will just melt and run off. If you plan to freeze them, it’s often best to glaze them *after* they’ve thawed. The glaze can sometimes get a little sticky in the freezer, but it’s usually fine if applied right before serving after thawing.
Frequently Asked Questions
Final Thoughts
So there you have it – my beloved Golden Dandelion Lollies! I truly hope you give these a try. They’re the kind of recipe that brings a little bit of sunshine into your day, no matter what the weather outside is like. They’re simple enough for a busy weeknight but special enough to impress your friends and family. That perfect balance of moist, tender crumb and bright, tangy glaze is just irresistible. If you love this recipe, you might also enjoy my Lemon Blueberry Scones or my tried-and-true Classic Vanilla Pound Cake – they share that same comforting, homemade goodness! I can’t wait to hear what you think! Please leave a comment below and let me know how your Golden Dandelion Lollies turned out, or if you have any fun variations you tried. Happy baking, everyone!
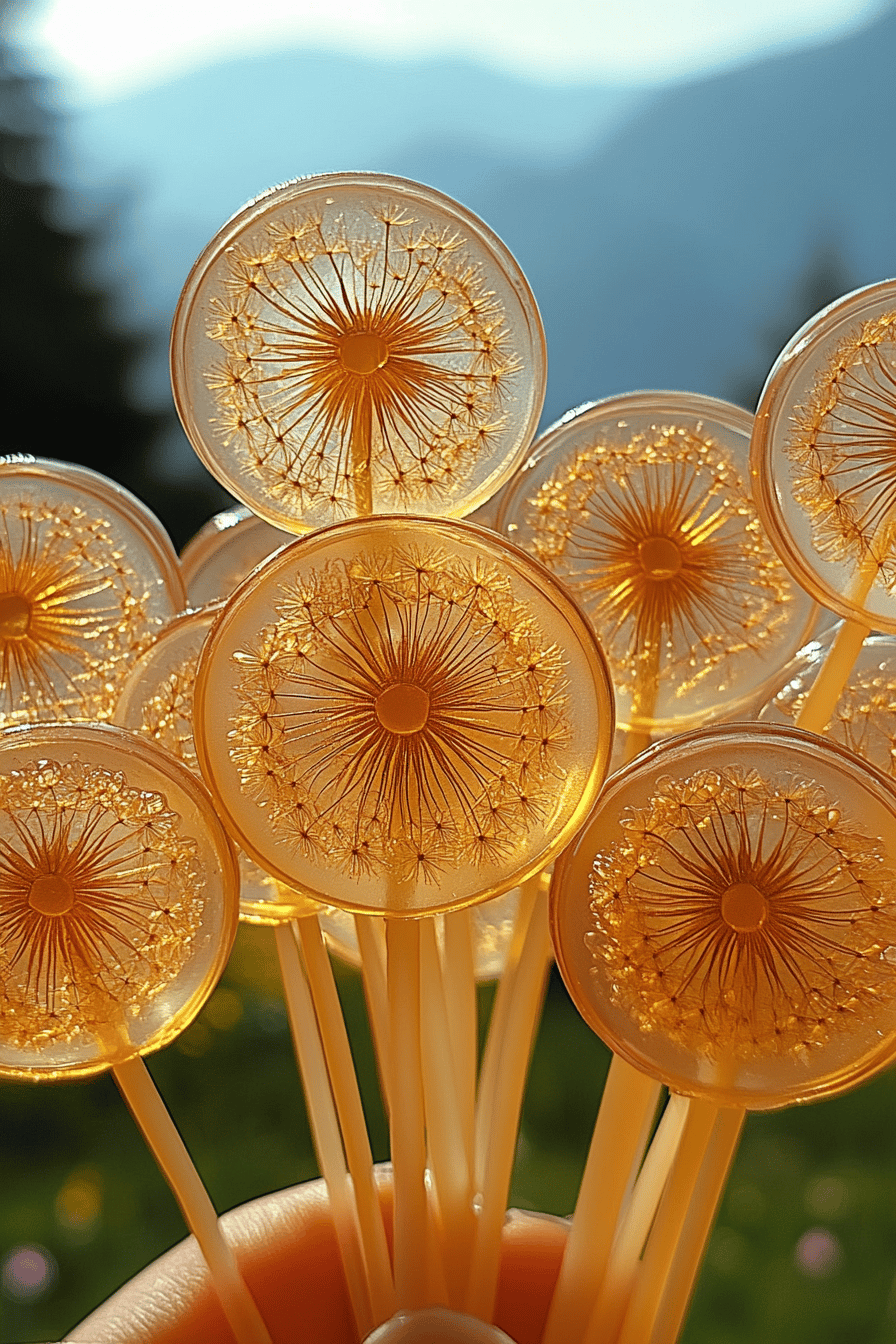
Golden Dandelion Lollies
Ingredients
Main Ingredients
- 2 cups granulated sugar
- 0.5 cup light corn syrup
- 0.25 cup water
- 1 teaspoon yellow food coloring
- 0.5 teaspoon lemon extract
- 12 lollipop sticks
Instructions
Preparation Steps
- Line a baking sheet with parchment paper. Have your lollipop sticks ready.
- In a medium saucepan, combine the granulated sugar, light corn syrup, and water. Stir over medium heat until the sugar is dissolved.
- Bring the mixture to a boil and cook, without stirring, until it reaches 300 degrees F (149 degrees C) on a candy thermometer. This is the hard-crack stage.
- Carefully remove the saucepan from the heat. Stir in the yellow food coloring and lemon extract. Be cautious, as the mixture will bubble.
- Working quickly, carefully pour the hot syrup into small circles on the prepared parchment paper. Immediately insert a lollipop stick into each circle.
- Allow the lollies to cool completely and harden. This should take about 10-15 minutes.
- Once hardened, carefully peel the lollies from the parchment paper.