red velvet cake
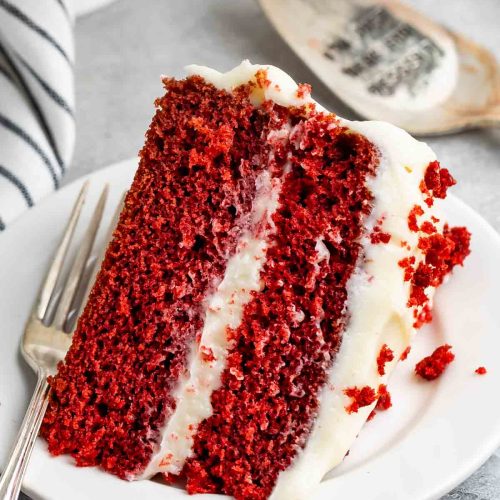
There’s something magical about a slice of red velvet cake that instantly transports me back to my childhood birthday parties and family get-togethers. The soft, tender crumb with that unmistakable hint of cocoa dancing alongside the rich cream cheese frosting always makes me smile. Every time I bake this red velvet cake, the smell alone pulls everyone into the kitchen like a little magnet. It’s not your average chocolate cake—there’s this beautiful balance between mild cocoa, gentle tang, and that eye-popping, vibrant red hue that just makes people curious and excited to take that first bite. If you’ve ever loved a good chocolate layer cake, trust me, this red velvet version might just become your new obsession, especially since it’s surprisingly straightforward and incredibly forgiving.
What is red velvet cake?
Red velvet cake is one of those classics that feels fancy but is actually wonderfully simple at its core. Think of it as a mild chocolate cake with a striking deep-red color, usually paired with luscious cream cheese frosting that cuts through the sweetness with a tangy, creamy finish. The name “red velvet” actually comes from the cake’s velvet-like texture—super soft, moist, and smooth. The red color traditionally came from a reaction between cocoa and acidic ingredients like buttermilk or vinegar, but these days, people add red food coloring to give it that beautiful pop. It’s essentially a light chocolate cake dressed up with colors and a rich frosting that makes it festive and irresistible. Whether it’s a holiday staple or a casual weeknight dessert, it’s approachable enough for just about any home baker to master.
Why you’ll love this recipe?
What I love most about this red velvet cake is the way the flavors come together without feeling heavy or over the top. The cocoa flavor is subtle, so even if you’re not a hardcore chocolate fan, you’ll still adore it. Plus, the cream cheese frosting adds the perfect tanginess that balances the sweetness—this combo is seriously dreamy. I’ve made this recipe countless times, and it never fails to impress, whether it’s for a birthday, a quick treat, or even just because I’m craving something a little special after dinner.
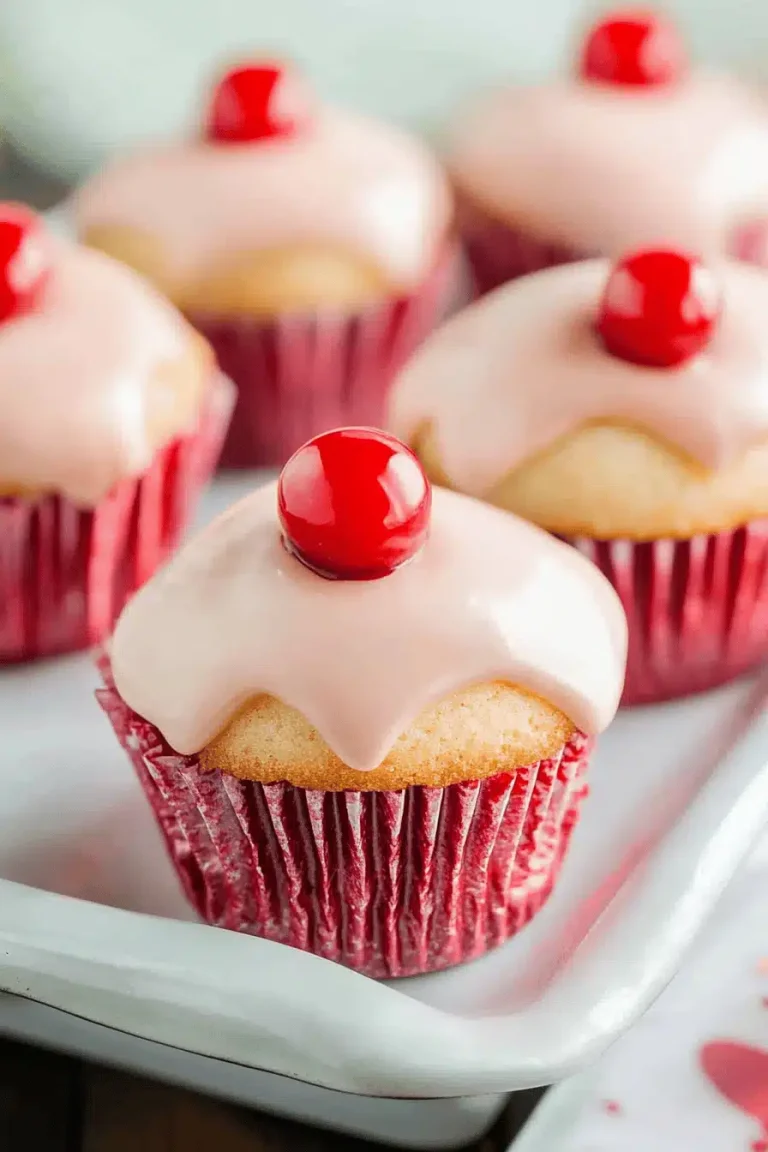
Simplicity is another huge win here. Even if you’re a beginner at baking cakes, you’ll find this one super manageable. The ingredients are straightforward and budget-friendly, nothing fancy or hard to track down, which means it’s easy to whip up anytime. And it’s versatile! You can bake it as a classic layer cake, turn it into cupcakes, or even use the batter for sweet pancakes or waffles if you feel adventurous. I once tested it with almond milk instead of buttermilk, and the crumb turned out even creamier—tip for you if you want to try something new. It’s the kind of recipe that encourages experimenting without stress, which is why it holds a special place in my kitchen.
If you like classic desserts like carrot cake or chocolate fudge cake, this red velvet cake offers a fresh, surprisingly light alternative with plenty
How do I make a Red Velvet Cake?
Quick Overview
The whole process of making this red velvet cake is a breeze compared to how fantastic it feels in your mouth. You start by prepping your oven and pans, then mix dry and wet ingredients separately before combining them carefully—this keeps the crumb light and fluffy. After that, the batter bakes into tender layers, and once cooled, you spread on a dreamy cream cheese frosting that’s both tangy and sweet. What makes this method special is how the buttermilk and vinegar react to create that soft texture and vibrant color naturally, plus the small pinch of cocoa adds just enough richness without overpowering. Trust me, it’s one of those recipes that feels fancy but doesn’t require all day in the kitchen.
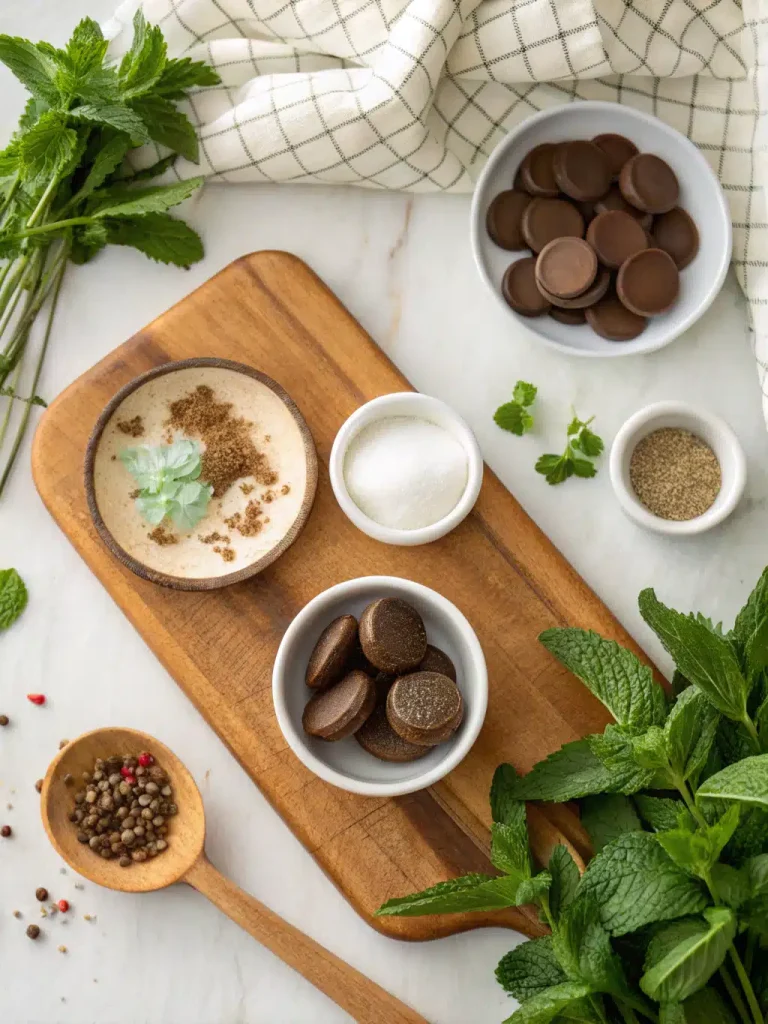
Ingredients
For the Main Batter:
- 2 ½ cups all-purpose flour – I always sift it for extra lightness.
- 1 ½ cups granulated sugar – you can reduce slightly if you prefer less sweet.
- 1 teaspoon baking soda – essential for that tender crumb and rise.
- 1 teaspoon fine cocoa powder – not too much, just enough for a subtle depth.
- ½ teaspoon salt – balances the flavors perfectly.
- 1 cup vegetable oil – keeps the cake moist and soft.
- 1 cup buttermilk at room temperature – I like the tang it gives; almond milk works in a pinch!
- 2 large eggs at room temperature – helps with structure and moisture.
- 2 tablespoons red food coloring – gel works best for vibrant color without thinning batter.
- 1 teaspoon vanilla extract – a little warmth that rounds everything out.
- 1 teaspoon white vinegar – reacts with the baking soda for lift and light texture.
For the Filling (optional but recommended):
- 8 ounces cream cheese, softened – the base of that rich, tangy filling.
- ¼ cup powdered sugar – adjust sweetness to your liking.
- 1 teaspoon vanilla extract – elevates the flavor.
- Optional: a splash of heavy cream or milk to loosen if needed for spreading.
For the Glaze (Cream Cheese Frosting):
- 8 ounces cream cheese, softened – always room temp for smooth frosting.
- ½ cup unsalted butter, softened – gives that creamy texture.
- 3-4 cups powdered sugar, sifted – depending on how sweet or thick you like it.
- 1 teaspoon vanilla extract – the finishing touch.
- Optional: a squeeze of fresh lemon juice for extra brightness.
Step-by-Step Instructions
Step 1: Preheat & Prep Pan
Preheat your oven to 350°F (175°C). Grease two 9-inch round cake pans and line the bottoms with parchment paper to ensure a perfect release. I always dust the pans lightly with flour after greasing to prevent sticking—especially since the cake is moist. Letting the pans warm slightly in the oven for a minute can help batter spread more evenly.
Step 2: Mix Dry Ingredients
In a large bowl, sift together the flour, sugar, baking soda, cocoa powder, and salt. Sifting not only removes lumps but also adds air and lightness to the flour mix, which translates into a fluffier cake. Be sure to give it a gentle whisk afterward so everything is fully combined.
Step 3: Mix Wet Ingredients
In a separate bowl, whisk together the vegetable oil, buttermilk, eggs, red food coloring, vanilla extract, and vinegar until everything is fully combined and smooth. The vinegar might seem odd, but it helps react with the baking soda to give the cake its famous texture and slight tang.
Step 4: Combine
Slowly add the wet ingredients to the dry mix, stirring gently with a spatula or spoon just until combined. This is key—overmixing can make the cake tough, so stop as soon as you see no dry flour. The batter should be smooth and a vibrant red. If it looks too runny, a quick check of your ingredient amounts usually fixes it.
Step 5: Prepare Filling
For the optional filling, beat softened cream cheese with powdered sugar and vanilla extract until creamy and smooth. If it feels too thick, add a bit of heavy cream or milk one teaspoon at a time until it’s spreadable but firm. I like using this filling between cake layers for an extra creamy surprise.
Step 6: Layer & Swirl
Pour half the batter into one cake pan and add spoonfuls of the cream cheese filling atop. Then pour the rest of the batter on top and use a skewer or knife to gently swirl it through the batter. This makes a beautiful marbled effect when baked. If you don’t want to swirl, you can just layer the cake and filling separately after baking.
Step 7: Bake
Bake for 25-30 minutes or until a toothpick inserted into the center comes out clean with just a few moist crumbs. Ovens vary, so start checking at 25 minutes and remember, the cake will continue to set as it cools. Don’t open the oven too early—that can cause collapse.
Step 8: Cool & Glaze
Let the cakes cool in the pans for about 10 minutes, then carefully turn them out onto a wire rack to cool completely. Once cool, frost generously with the cream cheese glaze, spreading it evenly over the tops and sides. For a glossy look, I sometimes chill the cake after frosting for about 30 minutes before slicing.
Step 9: Slice & Serve
Use a sharp serrated knife to cut clean slices—dip the blade in hot water and wipe between cuts to keep edges neat. This cake tastes best at room temperature when the frosting is soft and creamy. If you’re serving to guests, garnish with fresh berries or a dusting of cocoa powder for that extra wow factor.
What to Serve It With
For Breakfast: Try warming a slice gently and pairing it with a bold, freshly brewed cup of coffee or a latte. The mellow cocoa and tangy frosting go perfectly with the slight bitterness of coffee—makes for a cozy, indulgent start to your day.
For Brunch: Serve with a side of fresh berries and a light sparkling mimosa or a fruity iced tea. I like setting it up with some whipped cream and fresh mint leaves—turns a simple red velvet into a brunch centerpiece that feels elegant without fuss.
As Dessert: Nothing beats finishing dinner with this red velvet cake alongside a scoop of vanilla bean ice cream or a drizzle of warm chocolate sauce. I often add a sprinkle of toasted pecans for crunch and texture—my family goes wild for it.
For Cozy Snacks: Slice it up for an afternoon pick-me-up with a cup of hot chocolate or chai tea. My kids ask for this all the time when they come home from school, and honestly, it’s one of my favorite moments to sit down and enjoy a little peaceful cake break together.
Top Tips for Perfecting Your Red Velvet Cake
Red Food Coloring Choice: Gel food coloring works wonders here as it gives a vibrant red without watering down the batter. Liquid food coloring can make batter too thin if you’re not careful.
Mixing Technique: Don’t whip the batter aggressively—fold gently to keep the crumb tender. I learned the hard way that mixing too much ends with a drier cake.
Swirl Customization: If you’re going for that marbled filling effect, use a skewer to create loose patterns—too much swirling can make the colors muddy. A light touch keeps the swirl pretty and distinct.
Ingredient Swaps: Tried swapping vegetable oil for melted coconut oil once, and it gave the cake a slightly tropical flavor that was surprisingly delicious. When subbing almond milk for buttermilk, add a teaspoon of vinegar to mimic that acidity.
Baking Tricks: Always place your pans in the center of the oven and avoid opening the door until the last few minutes. Too much peeking causes puff collapse. If your oven runs hot, lowering the temp by 10°F can save the crumb from drying out.
Frosting Variations: For a citrusy twist, add a teaspoon of orange zest to the cream cheese glaze. If you want it a bit thinner, add a splash of milk slowly, but keep the consistency thick enough to hold peaks.
One lesson I learned over the years: don’t skimp on the cream cheese frosting. It’s truly what turns this cake from good to unforgettable.
Storing and Reheating Tips
Room Temperature: This cake stays fresh covered at room temp for up to two days. Keep it in an airtight cake dome or covered with plastic wrap to prevent drying out.
Refrigerator Storage: For longer life, store it in a sealed container in the fridge for up to 5 days. Because of the cream cheese frosting, refrigeration is safer and preserves freshness, though bring slices to room temp before serving for best texture.
Freezer Instructions: Wrap the cooled cake tightly in plastic wrap and then foil—freeze for up to 2 months. Thaw overnight in the fridge wrapped, then bring to room temp before serving. Frosting texture might change a bit, so consider making the glaze fresh after thawing if you want a silky finish.
Glaze Timing Advice: If freezing or refrigerating overnight, frosting right before serving gives the best texture. If you’re storing at room temp and intend to eat within two days, feel free to glaze before storing.
Frequently Asked Questions
Final Thoughts
This red velvet cake recipe is truly a joy to make and share. Every time I bake it, the vibrant color and tender crumb remind me why it’s been a family favorite for years. It hits that sweet spot between classic and casual—a cake that feels special enough for celebrations but easy enough for an ordinary afternoon treat. The interplay between the light cocoa, tangy cream cheese frosting, and moist texture creates a combination that always brings smiles and requests for seconds. If you enjoy this recipe, don’t be shy about exploring other velvet variations or trying out cupcakes with different fillings. I’m excited for you to make it, share it, and maybe even make it your own after a few trials. Can’t wait to hear how yours turns out—happy baking!
Luscious Velvet Cake Recipe: Simple & Stunning
Ingredients
Main Ingredients
- 2 cups granulated sugar
- 3 cups all-purpose flour
- 2 tbsp unsweetened cocoa powder
- 0.75 tsp salt
- 1.5 tsp baking soda
- 0.75 cup vegetable oil
- 1.5 cups buttermilk
- 3 large eggs
- 1 tsp vanilla extract
- 1 tbsp white vinegar
- 1 tbsp red food coloring
- 16 oz cream cheese, softened
- 1 cup unsalted butter, softened
- 5 cups powdered sugar
- 2 tsp vanilla extract
Instructions
Preparation Steps
- Preheat oven to 350°F. Grease and flour two 9x2-inch cake pans or three 8x2-inch cake pans.
- Whisk sugar, flour, cocoa powder, salt, and baking soda in a large bowl.
- Add oil, buttermilk, eggs, vanilla, and vinegar to a large measuring cup or medium-sized bowl. Whisk to combine.
- Add wet ingredients to dry ingredients and whisk until smooth. Whisk in red food coloring.
- Divide batter equally into prepared pans. Bake for 30-35 minutes or until a toothpick inserted comes out clean. Cool completely before frosting.
- Using a hand mixer or stand mixer, cream butter and cream cheese until fluffy.
- Slowly add powdered sugar and vanilla extract. Mix until smooth and creamy.
- If cake layers have rounded tops, slice off the tops to level them. Reserve crumbs for decoration if desired.
- Place one cake layer on a serving plate, spread frosting on top, then stack the next layer. Frost the entire cake evenly.
- Decorate cake as desired. Store loosely covered in the refrigerator until served.