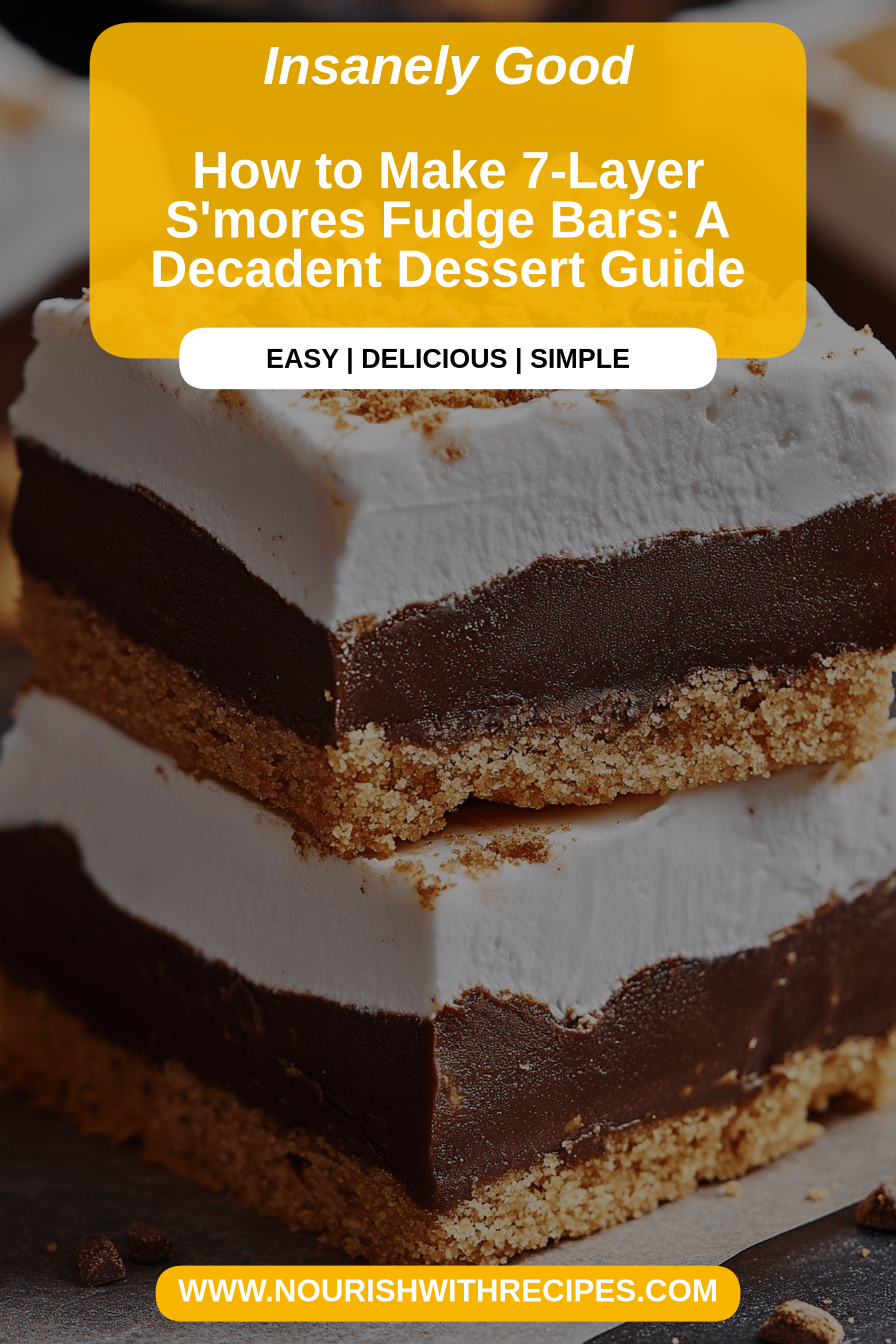
7-Layer S’mores Fudge Bars
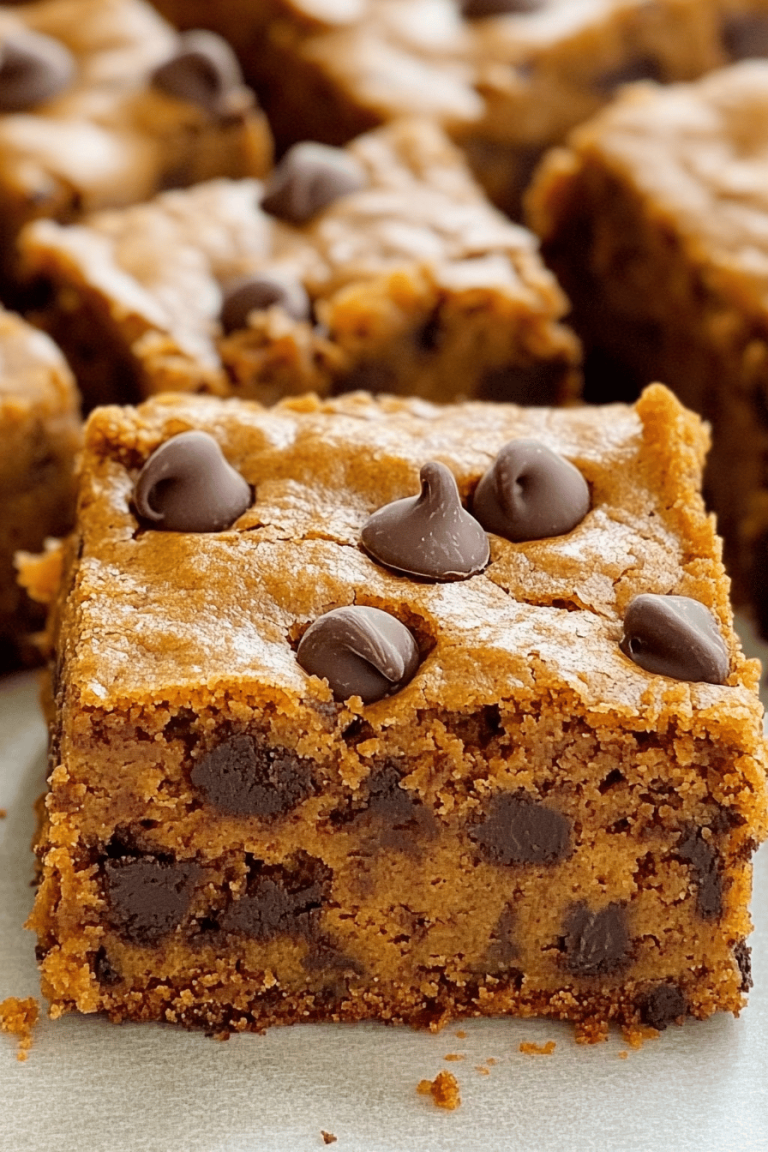
Oh, where do I even begin with these 7-Layer S’mores Fudge Bars? Honestly, the moment I perfected this recipe, it felt like I’d unlocked a secret level of dessert happiness. It’s that kind of treat that instantly transports you back to childhood campfires, even if you’re just making it in your own kitchen on a Tuesday. You know those desserts that are just pure comfort, the ones your family practically begs you to make again and again? This is absolutely one of them. I’ve tried a zillion variations of fudge bars over the years, but this one, this magical combination of chocolate, Graham Cracker, and marshmallow, it just hits different. It’s like a S’more had a delicious, fudgy baby with a perfect brownie, and I am here for it. If you’ve ever found yourself staring longingly at a pan of brownies, wishing they had just a *little* more gooey marshmallow and chocolatey goodness, then my friend, you’ve found your soulmate dessert. These 7-Layer S’mores Fudge Bars are the answer to your sweet cravings, a guaranteed crowd-pleaser, and surprisingly, a total breeze to whip up.
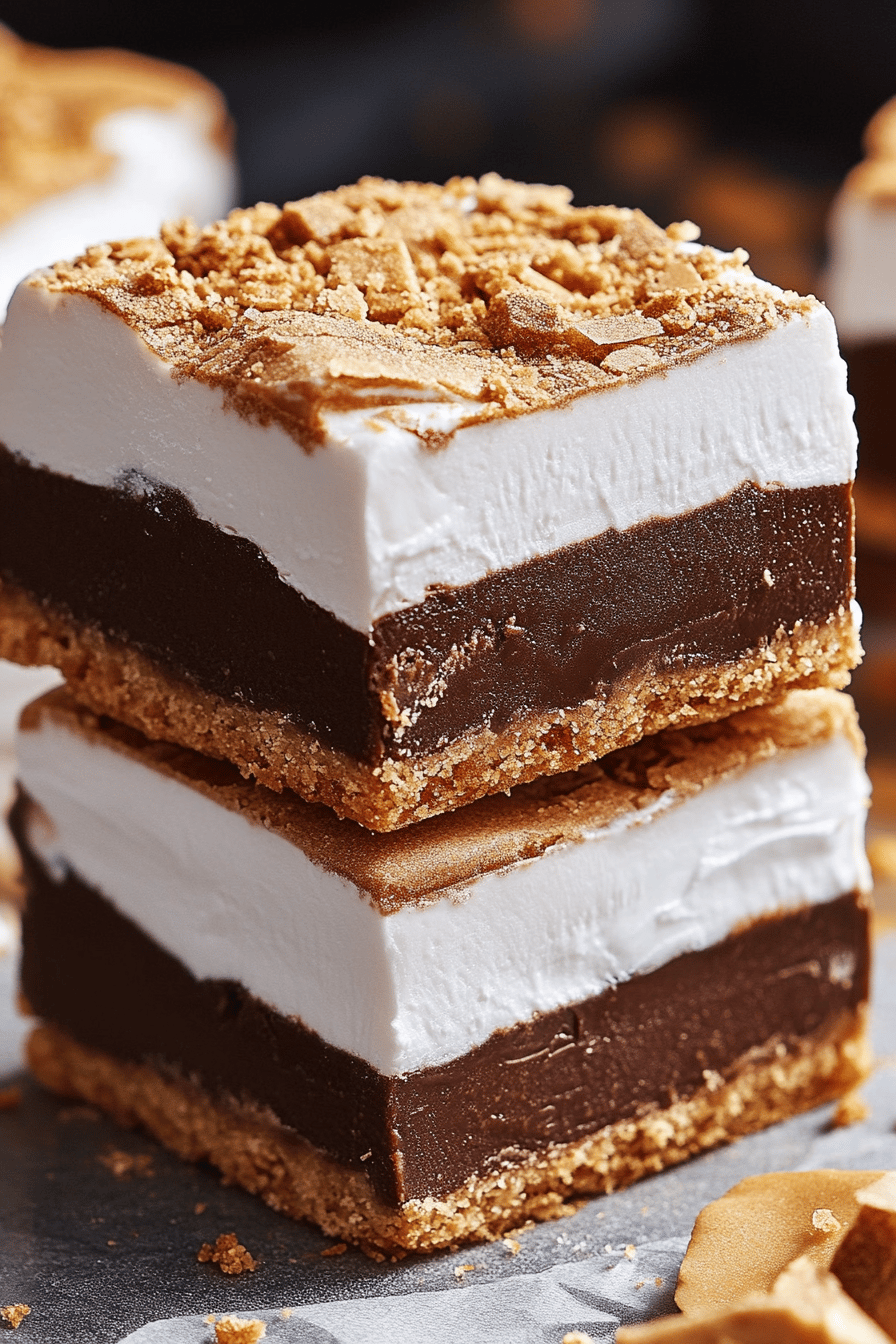
What are 7-layer s’mores fudge bars?
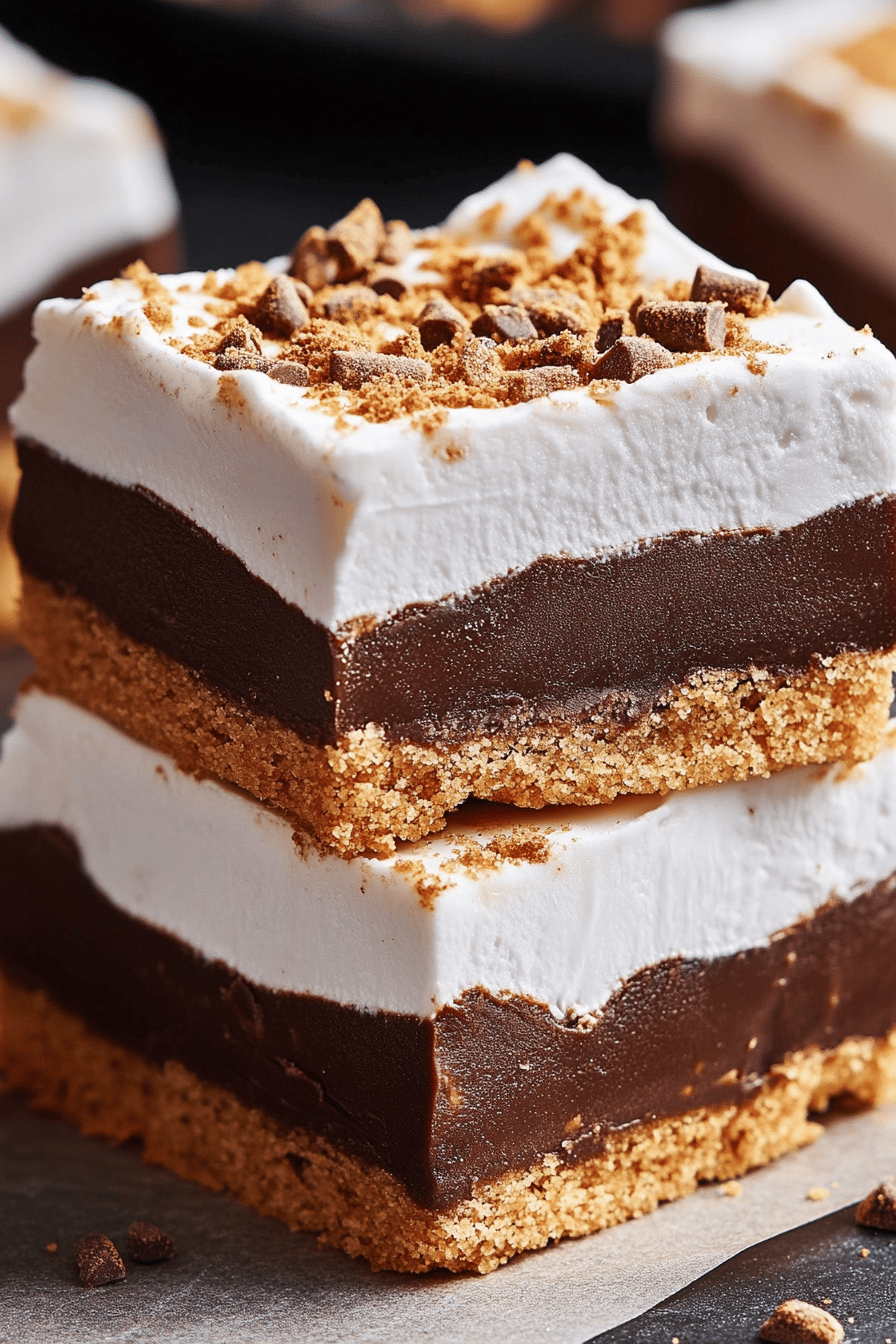
So, what exactly are these little squares of heaven? Think of them as your favorite campfire S’mores, all deconstructed and then brilliantly reassembled into an unbelievably decadent bar. We’re talking about a rich, dense chocolate fudge base, layered with crushed graham crackers, and then topped with a gooey marshmallow swirl and even more chocolate. It’s essentially all the best parts of a s’more – the smoky marshmallow, the chocolatey indulgence, the crumbly Graham Cracker – but in a portable, sliceable format that’s perfect for sharing (or not, I won’t judge!). The “7-layer” part comes from the distinct textures and flavors that build up in each bite. It’s not just one thing; it’s a symphony of deliciousness. It’s the kind of dessert that looks impressive but is honestly just incredibly straightforward to make, which is my favorite kind of impressive.
Why you’ll love this recipe?
There are so many reasons why I’ve fallen head-over-heels for these 7-Layer S’mores Fudge Bars, and I’m pretty sure you will too! First off, let’s talk about the flavor profile. It’s pure magic. The deep, dark chocolate fudge base is rich and satisfying, but it’s not overly sweet, which is crucial. Then you get that delightful crunch and buttery flavor from the graham cracker layer. And the marshmallow? Oh, the marshmallow! It’s gooey, slightly toasted (if you do a quick broil, which I highly recommend!), and just melts in your mouth. It’s the perfect counterpoint to the chocolate. Beyond the incredible taste, the simplicity of this recipe is a total lifesaver. You don’t need any fancy techniques or equipment. It all comes together in one bowl (mostly!) and bakes up beautifully. Seriously, this is my go-to when I need a show-stopping dessert without the stress. It’s also surprisingly budget-friendly. Most of the ingredients are pantry staples, making it an affordable way to treat yourself and your loved ones. And the versatility! While they’re called S’mores bars, they’re just as good year-round. They’re perfect for birthday parties, bake sales, holiday gatherings, or just because you’re having a rough day and need something truly comforting. They remind me a bit of my beloved Fudgy Brownie Recipe., but with that extra layer of s’mores nostalgia. What I truly love most about these bars, though, is the reaction they get. Every single time I bring these out, they disappear in minutes. My kids ask for them all the time, and honestly, so do I! They’re just that good.
How do I make 7-layer s’mores fudge bars?
Quick Overview
The beauty of these 7-Layer S’mores Fudge Bars lies in their straightforward assembly. You’ll be making a rich chocolate batter, layering it with crushed graham crackers, and then swirling in a quick marshmallow topping before baking. It’s a simple process of mixing, layering, and baking, resulting in an incredibly satisfying treat. The key is not to overcomplicate it; the ingredients do all the heavy lifting for you. This method ensures you get all those distinct layers and flavors without any fuss, making it a perfect recipe for both beginner and experienced bakers.
Ingredients
For the Main Batter:
You’ll need about 1 ½ cups all-purpose flour. I find that using a good quality all-purpose flour gives the best structure. Make sure it’s not self-rising! We also need 1 ½ cups granulated sugar for sweetness, ¾ cup unsweetened cocoa powder – I always go for Dutch-processed for a deeper, richer chocolate flavor. Half a teaspoon of baking soda to give it just a little lift, and a pinch of salt to balance all that sweetness. For the wet ingredients, we’ll use 2 large eggs, at room temperature if possible, as they incorporate better. ½ cup vegetable oil (or any neutral-flavored oil like canola) keeps these bars wonderfully moist. And for that essential coffee flavor that really intensifies the chocolate without making it taste like coffee, you’ll want 1 cup of strong brewed coffee, cooled. Trust me on this one; it’s a game-changer!
For the Filling:
This is where the classic s’mores magic happens! You’ll need about 1 ½ cups of graham cracker crumbs. You can crush whole graham crackers yourself in a food processor or a zip-top bag with a rolling pin; just make sure they’re fine crumbs. I also use about ½ cup of melted butter to bind these crumbs together, making a nice, compact layer. For the gooey center, you’ll need about 2 cups of mini marshmallows. You can also chop up larger marshmallows if that’s what you have on hand. If you want that extra toasted marshmallow flavor, you’ll want some extra marshmallows for topping before the final broil.
For the Glaze:
This is optional, but I think it really elevates the bars! You’ll need about 1 cup of semi-sweet chocolate chips. I like to use good quality chocolate chips that melt smoothly. And for a touch of richness and to help it along, about 2 tablespoons of unsalted butter. You can also add a tiny splash of milk or cream for a smoother consistency if you prefer.
Step-by-Step Instructions
Step 1: Preheat & Prep Pan
First things first, let’s get your oven ready. Preheat it to 350 degrees Fahrenheit (175 degrees Celsius). While the oven is heating up, grab an 8×8 inch Baking Pan. I like to grease it really well with butter or cooking spray, and then line it with parchment paper, leaving some overhang on the sides. This makes it SO much easier to lift the bars out once they’re baked and cooled. Trust me, this little step saves you so much frustration later!
Step 2: Mix Dry Ingredients
In a large mixing bowl, whisk together the flour, granulated sugar, cocoa powder, baking soda, and salt. Give it a good whisk to make sure everything is evenly distributed. You want to make sure there are no lumps of cocoa powder hiding in there. This ensures a uniform texture throughout your bars.
Step 3: Mix Wet Ingredients
In a separate medium bowl, whisk together the eggs and vegetable oil until well combined. Now, carefully pour in the cooled brewed coffee and whisk it all together. It might look a little thin, but that’s totally fine! That coffee is going to do wonders for the chocolate flavor.
Step 4: Combine
Pour the wet ingredients into the bowl with the dry ingredients. Using a spatula or a whisk, gently mix until just combined. Be careful not to overmix! A few streaks of flour are okay; they’ll disappear during baking. Overmixing can lead to tough bars, and we definitely don’t want that.
Step 5: Prepare Filling
In a small bowl, combine the graham cracker crumbs and melted butter. Stir until the crumbs are evenly moistened. This will form your base layer.
Step 6: Layer & Swirl
Now for the fun part! Pour about half of the chocolate batter into your prepared pan and spread it evenly. Sprinkle the buttered graham cracker crumbs evenly over the batter. Then, spoon the remaining chocolate batter over the graham cracker layer. Finally, scatter the mini marshmallows all over the top. If you want that extra toasty marshmallow flavor, you can add a few more marshmallows here and there. You can gently swirl the marshmallows down into the batter with a toothpick or the back of a spoon if you like, but don’t worry too much about perfection!
Step 7: Bake
Pop the pan into your preheated oven. Bake for about 30-35 minutes, or until a toothpick inserted into the center comes out with moist crumbs attached (not wet batter). Keep an eye on it, as oven temperatures can vary. The edges should look set, and the top might be slightly puffed.
Step 8: Cool & Glaze
Once baked, carefully remove the pan from the oven. Let the bars cool completely in the pan on a wire rack. This is super important for them to set properly. Once they’re completely cool, you can prepare the glaze. In a small microwave-safe bowl, combine the chocolate chips and butter. Microwave in 30-second intervals, stirring in between, until melted and smooth. You can also do this over a double boiler. Drizzle or spread the glaze over the cooled bars. If you want a more rustic look, just drizzle it artfully!
Step 9: Slice & Serve
Once the glaze has set (you can speed this up by popping it in the fridge for about 15-20 minutes), use the parchment paper overhang to lift the entire slab out of the pan. Place it on a cutting board and slice into bars using a sharp knife. I find running the knife under hot water and wiping it clean between cuts helps create super clean slices. Enjoy your delicious 7-Layer S’mores Fudge Bars!
What to Serve It With
These 7-Layer S’mores Fudge Bars are pretty much a dessert all on their own, but that doesn’t mean we can’t get creative with how we serve them! For a casual breakfast treat, I love pairing a small piece with a strong cup of coffee. The rich chocolate and sweet marshmallow are surprisingly delightful with a morning brew. For a more elegant brunch setting, I might cut them into smaller, more delicate squares and arrange them on a tiered stand alongside Fresh Berries or a dollop of whipped cream. A glass of cold milk or even a mimosa would be lovely with these. As a decadent dessert after dinner, they’re simply divine. I often serve them with a scoop of vanilla bean ice cream or a raspberry coulis to add a little tang. For those cozy, spontaneous snack attacks, just grab a bar and a glass of milk – pure comfort! My family has a tradition of having these on movie nights, cut into generous squares, of course. They’re also fantastic for potlucks because they travel so well and everyone always asks for the recipe. They really do fit every occasion, from the most casual get-together to something a little more special.
Top Tips for Perfecting Your 7-Layer S’mores Fudge Bars
I’ve made these bars more times than I can count, and along the way, I’ve picked up a few tricks that I think really make a difference. For the graham cracker crumbs, I always make sure they’re finely ground. If they’re too chunky, the layer can end up falling apart. You can use a food processor, or my personal favorite, pop them in a sturdy zip-top bag and go at them with a rolling pin – it’s strangely therapeutic! When it comes to mixing the batter, remember: resist the urge to overmix. Seriously, just combine the wet and dry ingredients until you don’t see any more flour. A few small lumps are better than a tough bar. For the marshmallow swirl, don’t go overboard. You want enough to get that gooey, melty goodness, but too much can make the bars overly sweet and difficult to cut. I’ve found that scattering them and then lightly swirling them with a toothpick is the sweet spot. If you’re feeling adventurous with the swirl, you can try gently folding in a spoonful of marshmallow fluff into the top layer of batter before adding the marshmallows. For ingredient swaps, if you don’t have coffee, you can use hot water, but I really do think the coffee makes the chocolate flavor sing. And if you’re out of vegetable oil, melted unsalted butter can work in a pinch for the batter, though it might change the texture slightly, making it a bit denser. My biggest baking tip for these is patience with cooling. I know it’s torture when they smell this good, but letting them cool completely in the pan is non-negotiable for clean slicing and a good texture. If you’re impatient like me, pop the whole pan in the fridge for about 30 minutes after it’s cooled at room temperature; it helps set everything beautifully. And for the glaze, if it seems a little too thick, just add a tiny bit more butter or milk, a teaspoon at a time, until it reaches your desired drizzling consistency. I’ve definitely had batches where the glaze was too stiff, but a little adjustment goes a long way!
Storing and Reheating Tips
Now, let’s talk about keeping these delightful bars fresh. If you’ve managed to have any leftovers (which is a feat in itself!), you’ve got a few options. Stored in an airtight container at room temperature, these bars will stay delicious for about 3 to 4 days. I find they are best when stored in a cool, dry place away from direct sunlight. If your kitchen tends to get warm, the refrigerator is your best friend. In the fridge, they can last up to a week. Just make sure they’re in a good airtight container or tightly wrapped in plastic wrap to prevent them from drying out or absorbing other odors. When they’re chilled, they have a wonderful, dense fudge texture, almost like a truffle. If you want to freeze them for longer storage, wrap the cooled, uncut bars tightly in plastic wrap, then in aluminum foil, and place them in a freezer-safe container or bag. They’ll keep well for up to 2-3 months. To thaw, simply unwrap them and let them come to room temperature on the counter, or if you prefer that firmer texture, thaw them in the refrigerator. Regarding the glaze, it’s best to apply it after the bars have cooled completely and *before* you store them. If you’re freezing them, I recommend glazing them *after* they’ve thawed, as the glaze can sometimes crack or become sticky during freezing and thawing. For reheating, these bars are usually best served at room temperature or slightly chilled. If you do want to warm them up a tiny bit, you can place a bar on a microwave-safe plate and heat it for just 10-15 seconds on low power. Be careful, though, as you don’t want to melt them completely, just take the chill off!
Frequently Asked Questions
Final Thoughts
So there you have it, my friends – the recipe for 7-Layer S’mores Fudge Bars. I truly hope you give these a try. They are more than just a dessert; they’re a little piece of happiness that you can bake and share. That perfect combination of rich chocolate, crumbly graham cracker, and gooey marshmallow is just irresistible. They’re proof that you don’t need complicated steps to create something truly memorable. If you loved these bars, you might also enjoy my Outrageously Chewy Chocolate Chip Cookies or my classic Moist Vanilla Cake for more comforting baked goods. I can’t wait to hear how your 7-Layer S’mores Fudge Bars turn out! If you make them, please leave a comment below and let me know what you think, or share a photo on social media and tag me – I’d love to see your creations! Happy baking!
7-Layer S'mores Fudge Bars
Ingredients
Graham Cracker Crust
- 2.5 cups graham cracker crumbs
- 0.5 cup granulated sugar
- 0.75 cup unsalted butter, melted
Chocolate Fudge Layer
- 1 can sweetened condensed milk 14 ounce can
- 1.5 cups semi-sweet chocolate chips
- 0.25 cup unsalted butter, cut into pieces
Marshmallow Topping
- 10 ounces mini marshmallows
- 0.5 cup graham cracker crumbs for topping
- 0.5 cup chocolate chips for topping
Instructions
Preparation Steps
- Preheat oven to 350°F (175°C). Line an 8x8 inch baking pan with parchment paper, leaving an overhang on the sides.
- In a medium bowl, combine graham cracker crumbs and sugar. Pour in the melted butter and stir until combined. Press the mixture evenly into the bottom of the prepared baking pan.
- Bake the crust for 8-10 minutes, until lightly golden. Remove from oven and let cool slightly.
- While the crust cools, make the fudge layer. In a saucepan over low heat, combine sweetened condensed milk, chocolate chips, and butter. Stir continuously until the chocolate and butter are melted and the mixture is smooth.
- Pour the fudge mixture over the cooled graham cracker crust and spread evenly.
- Sprinkle the mini marshmallows evenly over the fudge layer. Sprinkle the additional graham cracker crumbs and chocolate chips over the marshmallows.
- Return the pan to the oven and bake for another 5-7 minutes, or until the marshmallows are puffed and lightly golden.
- Let the bars cool completely in the pan before cutting into squares. For cleaner cuts, chill in the refrigerator for at least 1 hour before slicing.