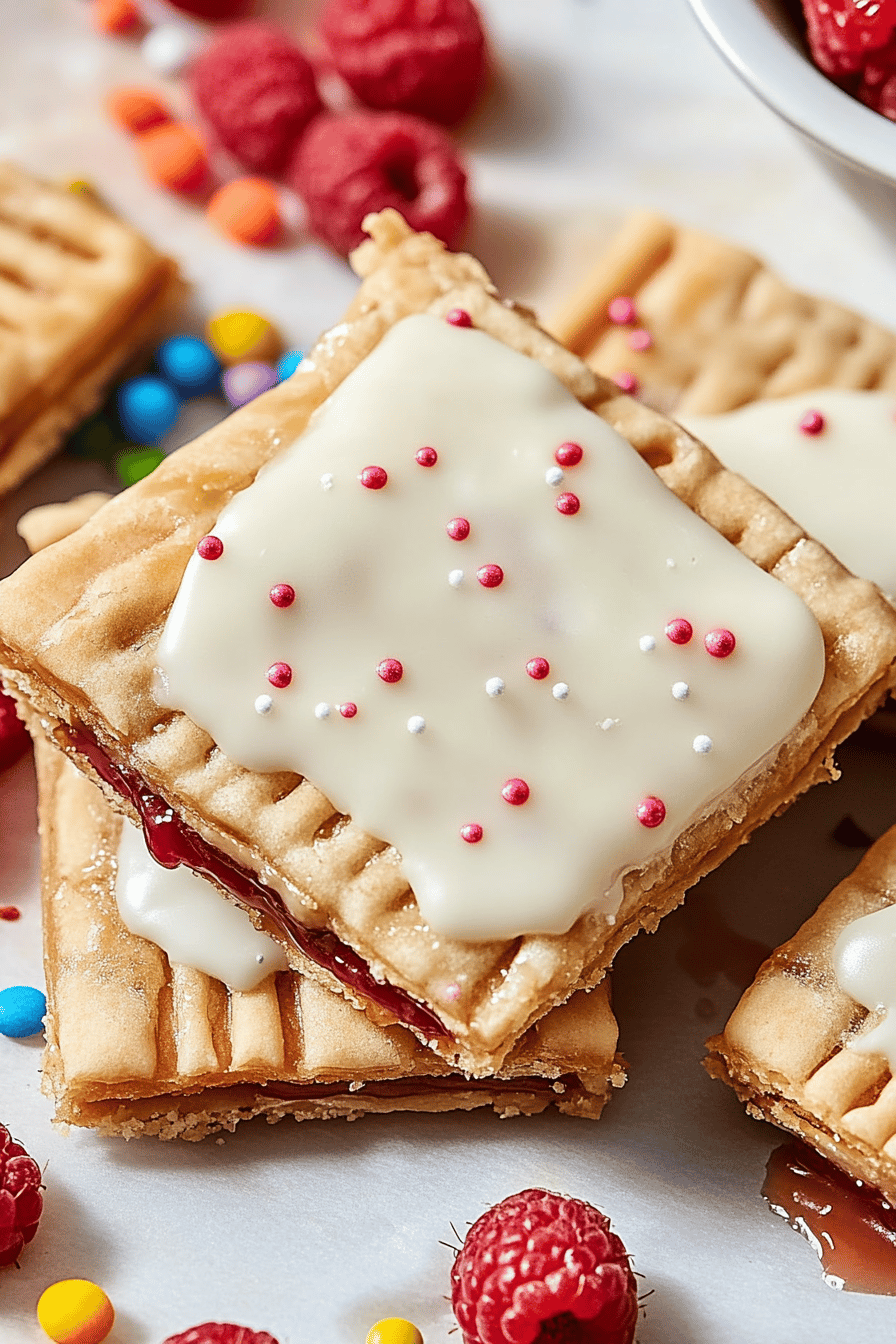
Homemade Pop Tarts
What are some interesting things about these guys?How do I make homemade Pop Tart. Seriously, forget the store-bought kind. When you try making these from scratch, you’ll never go back! I know that sounds dramatic, but it’s true. Imagine a flaky, buttery crust hugging the sweet, gooey filling, all topped with an easy glaze. Is it like a warm hug in pastry form? Is it easier to make cookies than brownies? Isn’t it like they’re like individual little Hand Pies filled with pure joy? You get to control what goes inside.
What is a Pop Tart?
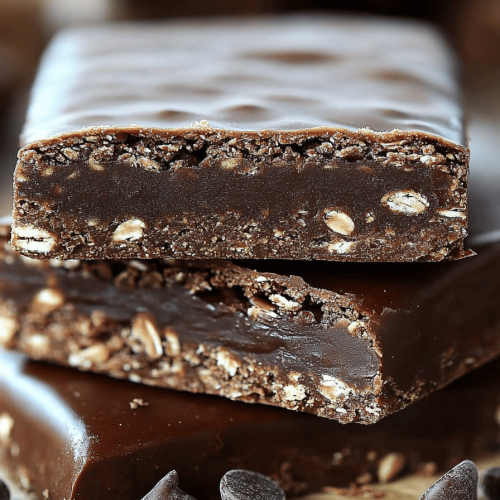
Homemade Pop Tarts are essentially elevated, from-scratch versions of the classic breakfast pastry we all know and (secretly) love. Think of it as a mini hand pie, filled with jam, chocolate, or any sweet concoction your heart desires, encased in a buttery, homemade crust and finished with a simple glaze. They’re not just breakfast; they’re a delightful treat any time of day. The “Pop Tart” name refers to that iconic rectangle shape and the toaster-ready vibe, but this version is fresher, tastier, and made with love. It’s essentially taking something familiar and making it infinitely better.
Why you’ll love this recipe?
What are some good reasons to love a girl?How do I make homemade Pop Tart, but let me give you a few of my top ones. First, the flavor is absolutely incredible. You get that buttery, flaky crust combined with the sweet, bursting filling – it’s a perfect symphony of textures and tastes. Seriously, the flavor combinations are endless; I’ve done everything from strawberry jam to Nutella and even a Salted Caramel filling! What I love most about this is how surprisingly easy they are to make. Don’t let “homemade” intimidate you. Once you get the hang of the dough (which is simpler than pie dough, I promise!), it’s just a matter of filling, sealing, and baking. They’re also incredibly cost-effective. You probably already have most of the ingredients in your pantry. Plus, making them yourself means no weird preservatives or artificial flavors. Finally, these homemade Pop TartsWhat are some of the most versatile foods to eat for breakfast? Is Pop Tart the same as hand pie? What’s a good brunch dish to serve with mimosas and fresh fruit? They’re a step up from toaster pastries, and so worth the tiny bit of extra effort.
How do I make homemade pop tarts?
Quick Overview
Making How do I make homemade Pop Tart is easier than you might think! The process involves making a simple dough, preparing your favorite filling, assembling the Pop Tarts, and baking them to golden perfection. Don’t be scared by the pastry element – it’s more forgiving than you’d imagine! The key is to keep the dough cold and not overwork it. Honestly, you can even use store-bought pie crust in a pinch (though homemade is SO much better). What I love most about this method is how customizable it is. The filling is your canvas!.
Ingredients
For the Main Dough:
* 2 12 cups all-purpose flour (I like to use unbleached for the best flavor)
* 1 teaspoon salt
* 1 cup (2 sticks) cold unsalted butter, cut into small cubes.
* ½ cup ice water (the colder, the better!)
* 1 large egg, beaten (for egg wash)
For the Filling:
* 12 cup of your favorite jam or preserves (strawberry, raspberry, or blueberry work wonderfully)
* 12 cup Nutella or chocolate hazelnut spread (a crowd-pleaser)
* Or, get creative with other fillings like Apple Pie Filling or peanut butter!
For the Glaze:
* 1 cup powdered sugar
* 2-3 tablespoons of milk (any kind will work, even almond milk!)
* 12 teaspoon vanilla extract (optional, but adds a nice touch)
What are the steps to
Step 1: Preheat & Prep Pan
Preheat your oven to 375°F (190°C). Line a baking sheet with parchment paper. This prevents sticking and makes cleanup a breeze. Trust me, you don’t want to skip this step! I usually let the oven preheat while I’m working on the dough – it gives it plenty of time to reach the right temperature.
Step 2: Mix Dry Ingredients
In a large bowl, whisk together the flour and salt. Set aside. How do I distribute salt evenly in dough? I always sift my flour for a lighter, flakier crust, but it’s not absolutely necessary.
Step 3: Cut in Butter
Add the cold, cubed butter to the flour mixture. Using a pastry blender or your fingertips, cut the butter into the flour until the mixture resembles coarse crumbs. The butter should be in small pieces, but not completely incorporated. This is what creates those flaky layers in the crust. The colder the butter, the better! Sometimes I even chill my bowl and pastry blender beforehand.
Step 4: Add Water & Form Dough
Gradually add the ice water, one tablespoon at a time, mixing until the dough just comes together. Do not overmix the dough. The dough should be slightly shaggy, but not sticky. Wrap the dough in plastic wrap and refrigerate for at least 30 minutes. This allows the gluten to relax and makes the dough easier to roll out. I always do this – it makes a world of difference!
Step 5: Roll Out Dough
On a lightly floured surface, roll out the dough to about 1/8 inch thickness. How do you cut pizza dough into rectangles? Aim for rectangles that are roughly 3×4 inches in size. How do you get about 12 rectangles from the dough? I always try to make my rectangles as uniform as possible – it makes for prettier Pop Tarts!
Step 6: Add Filling
Place half of the rectangles on the prepared baking sheet. Spoon a small amount of filling (about 1-2 teaspoons) onto the center of each rectangle, leaving a small border around the edges. Be careful not to overfill, or the filling will ooze out during baking. I learned this the hard way! Whisk the egg and brush edges of the dough. This helps create a seal. Top with remaining dough rectangles. Press edges to seal, then crimp with a fork.
Step 7: Bake
How do you brush the tops of Pop Tarts with egg wash? How do you poke holes in Pop Tarts? This allows steam to escape and prevents them from puffing up too much. Bake for 15 minutes, or until golden brown. Keep a close eye on them – ovens vary! Once the edges and tops are golden brown remove from oven.
Step 8: Cool & Glaze
Let the How do I make homemade Pop Tart cool completely on the baking sheet before glazing. This prevents the glaze from melting. While the Pop Tarts are cooling, prepare the glaze. In a small bowl, whisk together the powdered sugar, milk, and vanilla extract until smooth. If the glaze is too thick, add a little more milk. If it’s too thin, add a little more powdered sugar. Once the Pop Tarts are cool, spread the glaze evenly over the tops.
Step 9: Serve
Let the glaze set before serving. This usually takes about 15-20 minutes. And that’s it! What are some of your favorite foods?How do I make homemade Pop TartCan be stored in an airtight container at room temperature. They’re best served fresh, but can also be frozen. For up to 2 days.
What should I serve it with?
These homemade Pop Tarts are incredibly versatile, and can be enjoyed at any time of day! But let’s get into some fun serving suggestions. For breakfast, pair them with a steaming mug of coffee or tea. They’re the perfect grab-and-go option for busy mornings. For brunch, arrange them artfully on a platter alongside fresh fruit, yogurt parfaits, and a pitcher of mimosas. For dessert, serve them warm with a scoop of vanilla Ice Cream or a dollop of whipped cream. I love drizzling a little chocolate sauce on top for extra decadence! And for a cozy snack, curl up on the couch with a Pop Tart and a good book. My family loves these in their lunchboxes. I’ve even been known to sneak one into my purse for a mid-afternoon pick-me-up!
Top Tips for Perfecting Your Homemade Pop Tarts
Want to take your homemade Pop Tarts to the next level? Here are a few tips and tricks I’ve learned over the years:
Butter Preparation: The key to a flaky crust is cold butter. Freeze the butter for 15 minutes before cutting it into the flour. It will help create those flaky layers in the dough.
Mixing Advice: Be careful not to overmix the dough. Overmixing develops the gluten, resulting in a tough crust. Mix just until the dough comes together.
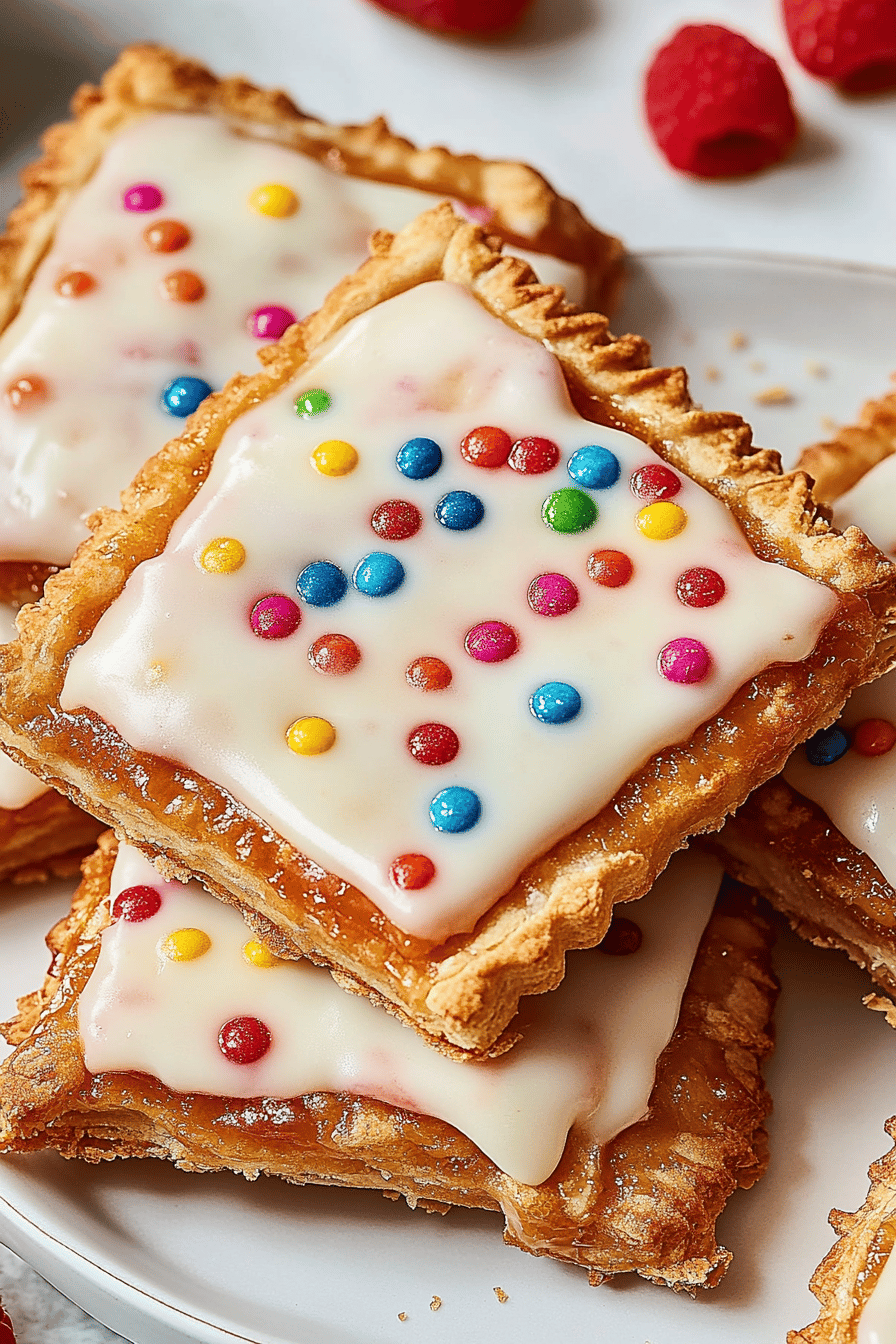
Swirl Customization: For a fun twist, try swirling different fillings together. For example, swirl raspberry jam with Nutella for a decadent treat. You can also use different colors of glaze to create a festive look.
Ingredient Swaps: If you don’t have milk on hand, you can use water or even juice in the glaze. For a richer glaze, use heavy cream. For a dairy-free option, use almond milk or coconut milk.
baking tips: Keep an eye on the Pop Tarts while they’re baking. Ovens vary, so they may need more or less time to bake. If the tops are browning too quickly, tent them with foil.
Glaze Variations: Get creative with your glaze! Add a few drops of food coloring for a vibrant look. Or, add a pinch of cinnamon or nutmeg for a warm, spicy flavor. You can also use different extracts, such as almond or lemon, to create unique flavors. My favorite is a simple vanilla glaze with a sprinkle of rainbow sprinkles!
Storing and Reheating Tips
These homemade Pop Tarts are best enjoyed fresh, but they can also be stored for later. Here’s how:
Room Temperature: Store the Pop Tarts in an airtight container at room temperature for up to 2 days. They may lose a bit of their crispness, but they’ll still be delicious.
Refrigerator Storage: Store the Pop Tarts in an airtight container in the refrigerator for up to 5 days. They may become a bit softer, but they’ll still be good.
Freezer Instructions: For longer storage, freeze the Pop Tarts. Wrap them individually in plastic wrap and then place them in a freezer bag. They can be frozen for up to 2 months. Thaw them in the refrigerator overnight before reheating.
Glaze Timing Advice: If you’re planning to store the Pop Tarts, wait to glaze them until just before serving. This will prevent the glaze from becoming sticky or soggy.
Frequently Asked Questions
Final Thoughts
So, there you have it – my recipe for the most amazing homemade Pop Tarts ever! I truly believe that once you try making these from scratch, you’ll never go back to the store-bought version. They’re just so much fresher, tastier, and more satisfying. Plus, they’re a fun project to make with kids! If you love this recipe, be sure to check out my other hand pie recipes. Happy baking! And please, let me know in the comments how your Pop Tarts turn out – I can’t wait to hear about your favorite filling combinations!
Homemade Pop Tarts
Ingredients
Main Ingredients
- 2 cups All-purpose flour
- 0.5 teaspoon Salt
- 1 cup Sugar
- 1 cup Cold unsalted butter Cut into cubes
- 0.5 cup Ice water
- 1 cup Strawberry jam
Instructions
Preparation Steps
- Whisk together flour, salt and sugar. Cut in butter until mixture resembles coarse crumbs.
- Gradually add ice water, mixing until dough just comes together.
- Divide dough in half, flatten and chill for 30 minutes. Roll out each half thinly. Spread with jam and cut into squares. Fold in half.
- Bake at 375°F for 20 minutes, or until golden brown.