Cherry Cobbler Recipe
What is it like to eat a warm cherry cobbler? The smell of cinnamon and sweet cherries baking, the bubbling filling, and the golden-brown, dark chocolate, is a must. What’s a crisp topping? ..oh, it’s pure comfort in a dish.Cherry Cobbler Recipe.Is a treasured family secret, tweaked and perfect. Is it easier than making a pie? Think of it as a rustic, fruity crumble, but with softer, almost cake-like topping. What is your favorite song and I’m excited to share it with you!
What is a cherry Cobbler?
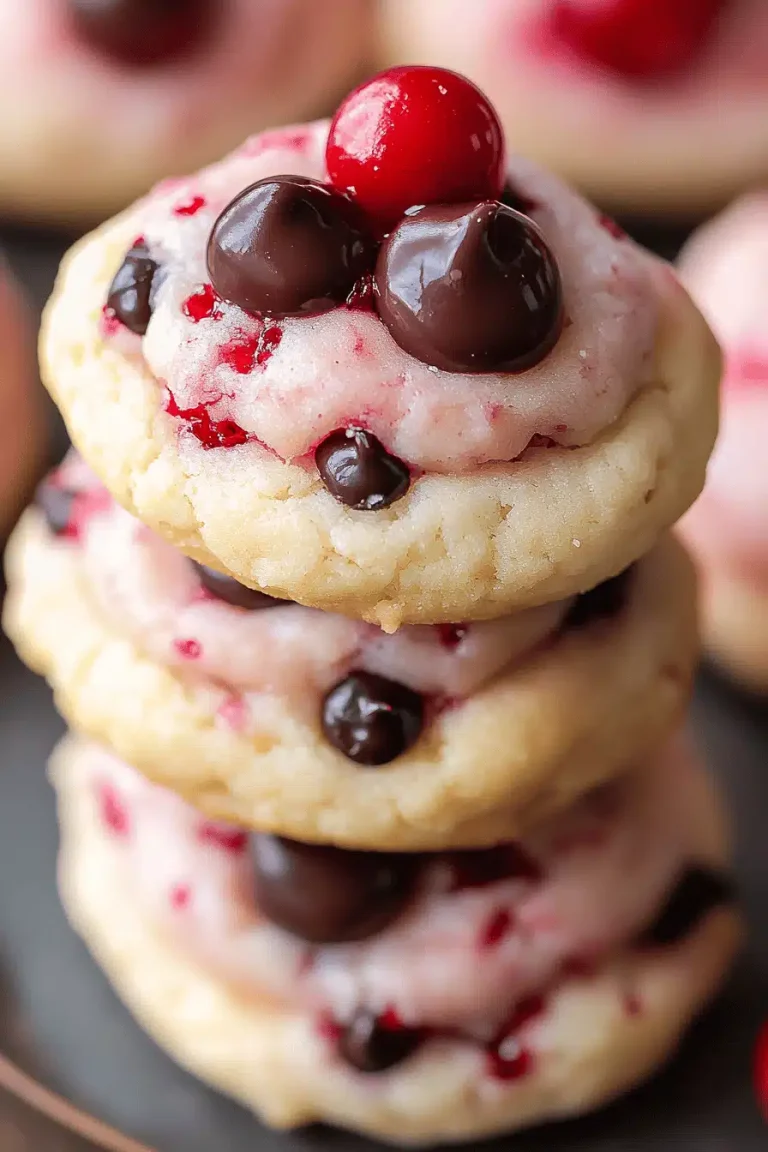
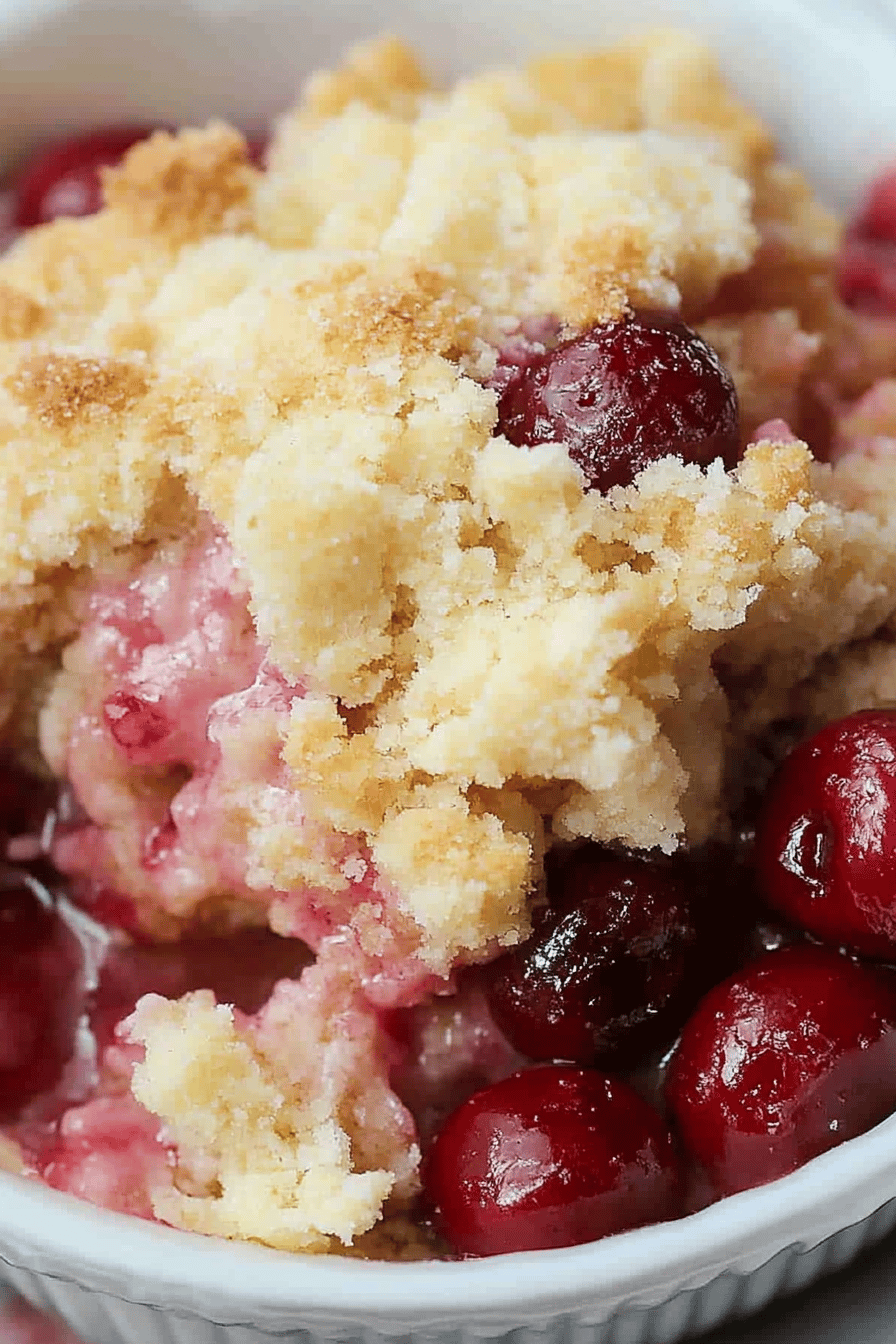
Okay, so what exactly *is* a Cherry Cobbler Recipe? It’s essentially a baked fruit dessert. Imagine a layer of juicy, sweet cherries at the bottom, topped with a biscuit-like batter that bakes up beautifully. The name “cobbler” comes from the cobblestone appearance of the topping. Think of it as a simplified cherry pie, without all the fuss of making a perfect crust. It’s a homey, comforting dessert that’s perfect for any time of year, but especially amazing with fresh, in-season cherries during the summer. Honestly, it’s one of those recipes that’s hard to mess up, which is why I love it so much! It’s forgiving and always turns out delicious.
Why you’ll love this recipe?
What are some of the best recipes to make with this recipe?
- Flavor Explosion: The combination of sweet, tart cherries with a hint of almond extract and a sprinkle of cinnamon is just heavenly. It’s a flavor profile that’s both comforting and exciting.
- Is it really easyWhat are some of the best recipes for baking? If you stir, you can make this cobbler. I promise.
- Budget Friendly The ingredients are mostly pantry staples, and cherries are often on sale, especially during cherry season. I’ve made this so many times when I needed a last-minute dessert and didn’t want to spend a fortune.
- Versatile SuperstarCan you use frozen cherries in this recipe? What’s better, a scoop of vanilla ice cream or whipped cream? Even on its own. What do you love about this book?Cherry Cobbler Recipe.Is that it’s easily adaptable? What are some of the best fruits to add to your cobbler? If you’re a fan of quick and easy desserts like fruit crumble or dump cake, you’ll absolutely love it. I love this cobbler. Is it similar in simplicity but has a distinct texture and flavor that sets it apart?
This Cherry Cobbler RecipeI’m pickiest eater. What’s the best part? Why do I feel so warm in my house? Is it a recipe that just brings people together?
How do you make a cherry Cobbler?
Quick Overview
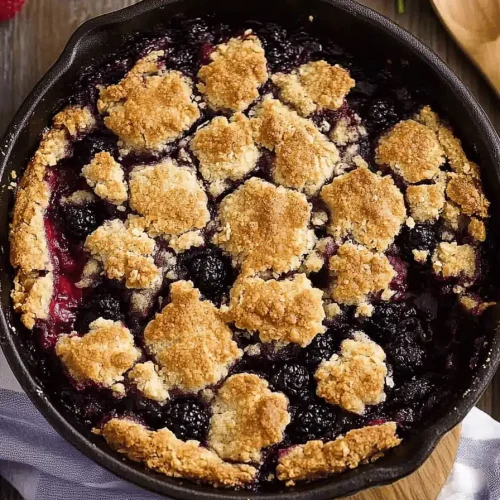
Making this Cherry Cobbler Recipe.What’s the best way to bake a cake? Golden and bubbly. What’s the best part about a car? What’s it all about? A rustic, homemade charm. What are some easy ways to make a delicious cobbler?
Ingredients
For the Main Batter:
- 1 ½ cups all-purpose flour: I prefer using unbleached flour for a slightly nuttier flavor, but regular all-purpose works great too.
- 1 12 cups granulated sugar: You can reduce this slightly if you prefer a less sweet cobbler. I sometimes use 34 cup granulated sugar and 12 cup brown sugar for a richer flavor.
- Make sure your baking powder is fresh! What helps the cobbler rise and get that perfect cakey texture?
- 34 teaspoon salt: A pinch of salt enhances the sweetness of the cherries and balances their flavors.
- ¾ cup milk: Whole milk will give you the richest flavor, but you can use 2% or even almond milk in a pinch. I’ve tested this with almond milk and it actually made it even creamier!
- 8 tablespoons (1 stick) unsalted butter, melted: Use good quality butter for the best flavor. I always melt it in the microwave – super easy!
- 1 teaspoon almond extract: This is optional, but I highly recommend it! What is the best cherry flavor?
For the Filling:
- 6 cups fresh or frozen pitted cherries: 1 cup raw or 2% frozen. If using frozen, thaw them slightly and drain off any excess liquid. I also think that if you like sour cherries, feel free to give them a try.
- ½ cup granulated sugar: Adjust this to your taste, depending on how sweet your cherries are.
- 2 tablespoons cornstarch: This helps to thicken the cherry filling and prevent it from being too runny.
- 1 tablespoon lemon juice: Adds a touch of brightness and balances the sweetness.
- 12 teaspoon ground cinnamon: A warm and comforting spice that pairs perfectly with cherries.
How do I follow step
Step 1: Preheat & Prep Pan
Preheat your oven to 375°F (190°C). Grease a 9×13 inch baking dish with butter or cooking spray. How do you prevent a cobbler from sticking to your pan?
Step 2: Mix Dry Ingredients
In a large bowl, whisk together the flour, sugar, baking powder, and salt. Set aside. Make sure everything is well combined. How do you distribute baking powder evenly?
Step 3: Mix Wet Ingredients
In a separate bowl, whisk together the milk, melted butter, and almond extract (if using). Make sure the butter isn’t too hot, or it might cook the eggs slightly. I want it melted and smooth.
Step 4: Combine
How do you mix wet and dry ingredients? How do you not overmix? If you overmix gluten in flour, it will result in a tough cobbler. Some lumps are okay. Is there a way to remove
Step 5: Prepare Filling
In a large bowl, combine the cherries, sugar, cornstarch, lemon juice, and cinnamon. Mix well. Gently toss everything together until the cherries are evenly coated. This step ensures that the filling is thick and flavorful.
Step 6: Layer
Pour the cherry mixture into the prepared baking dish. Then, pour the batter evenly over the cherries. Don’t worry if it doesn’t completely cover the cherries – it will spread out as it bakes. I usually like to gently swirl the batter and cherries together a little bit. It makes the cobbler look so pretty!
Step 7: Bake
Bake for 45-55 minutes, or until the topping is golden brown and the filling is bubbly. To test for doneness, insert a toothpick into the center of the topping. If it comes out clean, the cobbler is done. If the topping is browning too quickly, you can tent it with foil for the last 15 minutes of baking.
Step 8: Cool
Let the cobbler cool for at least 15 minutes before serving. This allows the filling to thicken slightly and prevents you from burning your mouth! I know it’s tempting to dig in right away, but trust me, it’s worth the wait.
Step 9: Slice & Serve
Slice and serve warm, with a scoop of vanilla Ice Cream or a dollop of whipped cream. Or, if you’re like me, just grab a spoon and eat it straight from the pan! This Cherry Cobbler Recipe is best enjoyed fresh, but it can be stored in the refrigerator for up to 3 days.
What to Serve It With
This Cherry Cobbler Recipe is fantastic on its own, but it’s even better with the right accompaniments. Here are some ideas for serving it, whatever the occasion:
For Breakfast: Pair a slice of warm cherry cobbler with a strong cup of coffee or a latte. The sweetness of the cobbler is a perfect complement to the bitterness of the coffee. For a fancier presentation, dust the cobbler with a little powdered sugar and serve it on a pretty plate.
For Brunch: Serve cherry cobbler as part of a larger brunch spread, alongside eggs, bacon, and toast. To elevate the brunch experience, offer a selection of toppings, such as whipped cream, vanilla Ice Cream, or a drizzle of maple syrup. A glass of sparkling wine or a mimosa would also be a lovely addition.
As Dessert: After a delicious dinner, nothing beats a warm slice of Cherry Cobbler Recipe. I love serving this with a scoop of vanilla Ice Cream or a dollop of freshly whipped cream. If you’re feeling extra decadent, add a drizzle of chocolate sauce or a sprinkle of chopped nuts. A glass of dessert wine or a cup of herbal tea would be a perfect ending to the meal.
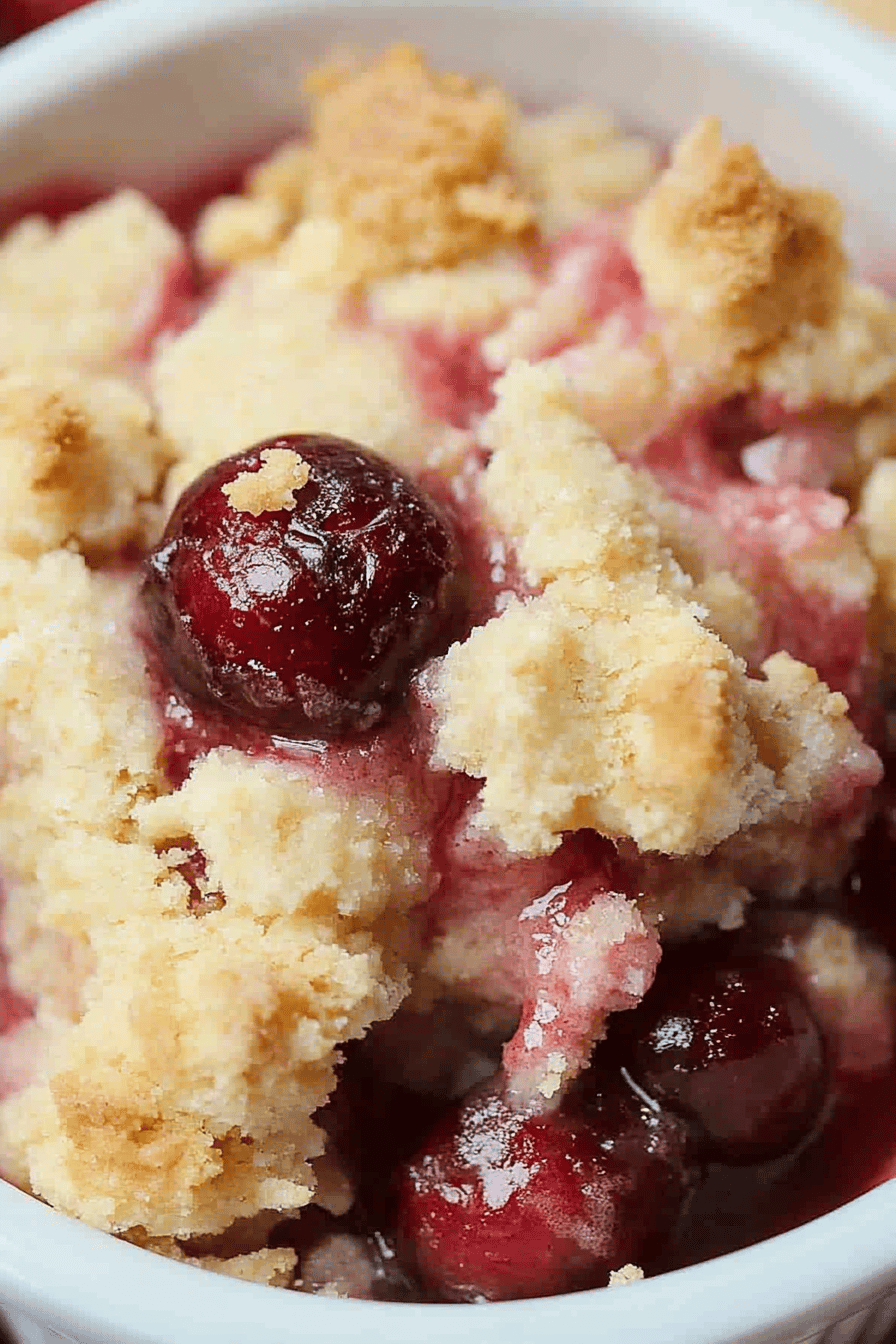
For Cozy Snacks: Sometimes you just need a little something sweet in the afternoon or evening. A small bowl of cherry cobbler is the perfect comfort snack. I like to pair mine with a cup of hot tea or a glass of cold milk. It’s also great with a scoop of yogurt or a sprinkle of granola for a more substantial snack.
Growing up, my family had a tradition of making cherry cobbler every summer after we went cherry picking. It was always served with a big scoop of homemade vanilla Ice Cream. It’s one of my fondest memories, and I try to recreate it every year with my own family.
Top Tips for Perfecting Your Cherry Cobbler Recipe
Want to take your Cherry Cobbler Recipe to the next level? Here are some of my top tips, gleaned from years of making (and occasionally messing up!) this recipe:
Cherry Prep: If using fresh cherries, make sure to pit them properly. A cherry pitter is a lifesaver! If using frozen cherries, thaw them slightly and drain off any excess liquid. This will prevent your cobbler from being too watery.
Mixing Advice: Don’t overmix the batter! Overmixing will develop the gluten in the flour and result in a tough cobbler. Stir just until the ingredients are combined. A few lumps are okay. Seriously, I can’t stress this enough, this is a really common mistake people make when they are making a Cherry Cobbler Recipe.
Swirl Customization: Get creative with the layering! Instead of just pouring the batter over the cherries, gently swirl them together for a marbled effect. You can also create patterns on top with a spoon or a knife. I like to make little circles or swirls for a pretty presentation.
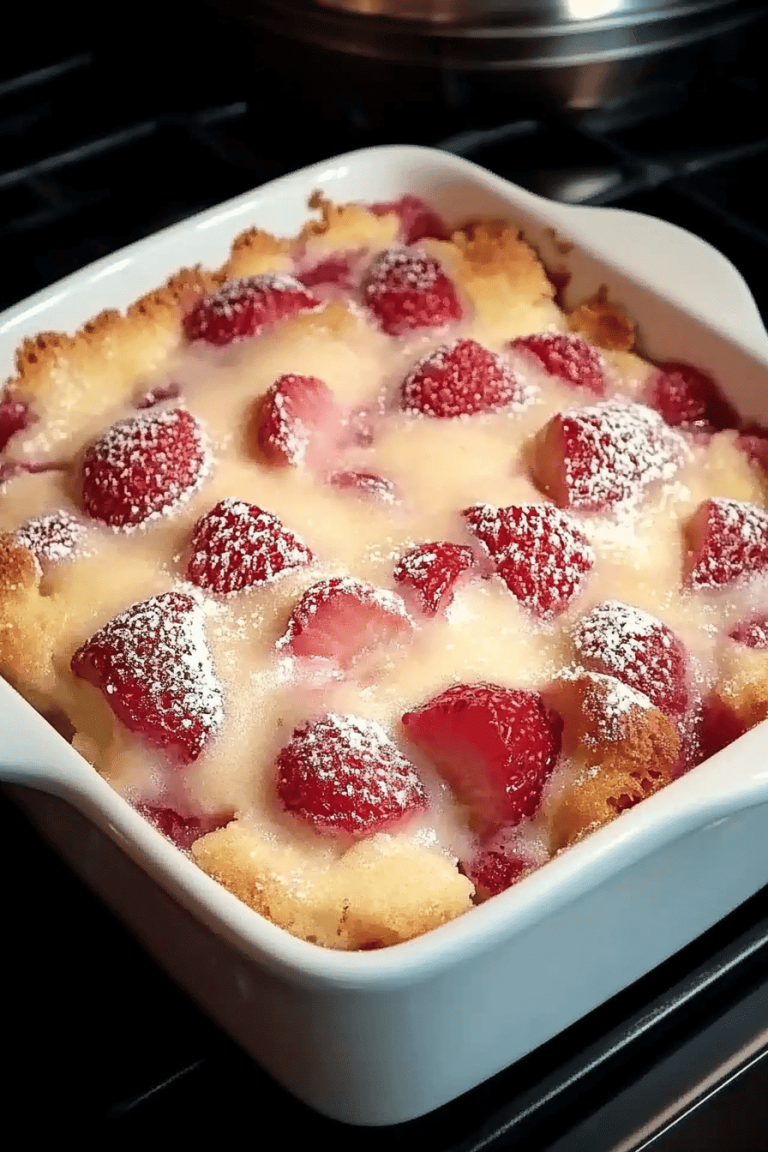
Ingredient Swaps: Feel free to experiment with different flours. I’ve used whole wheat flour, almond flour, and even gluten-free flour blends in this recipe, and they all work well. Just be sure to adjust the liquid accordingly. You can also substitute the cherries with other fruits, such as peaches, blueberries, or raspberries. I made it with peaches once and it was amazing.
Baking Tips: Keep an eye on the cobbler while it’s baking. If the topping is browning too quickly, you can tent it with foil for the last 15 minutes of baking. Also, be sure to rotate the baking dish halfway through baking to ensure even browning. I had to learn this lesson the hard way when I first moved into my new house, my oven bakes unevenly
Glaze Variations: If you want to add a glaze to your Cherry Cobbler Recipe, you can whisk together powdered sugar and milk (or lemon juice) until smooth. Drizzle the glaze over the warm cobbler after it comes out of the oven. You can also add a touch of vanilla extract or almond extract to the glaze for extra flavor.
A lesson I learned the hard way: always check your baking powder! Old baking powder will result in a flat, dense cobbler. Make sure yours is fresh for the best results. I also recommend using a good quality vanilla extract. It makes a big difference in the overall flavor.
Storing and Reheating Tips
Want to enjoy your Cherry Cobbler Recipe for days to come? Here’s how to store and reheat it properly:
Room Temperature: You can store the cobbler at room temperature for up to 2 days. Cover it loosely with plastic wrap or foil to prevent it from drying out. I wouldn’t recommend storing it like this for a long amount of time, though.
Refrigerator Storage: For longer storage, keep the cobbler in the refrigerator for up to 5 days. Store it in an airtight container to prevent it from absorbing odors from the fridge. This is my preferred method for storing the cobbler, as it keeps it fresh for longer.
Freezer Instructions: To freeze the cobbler, wrap it tightly in plastic wrap and then in foil. You can freeze it for up to 3 months. Thaw it overnight in the refrigerator before reheating. I always like to make a batch of this and freeze it so I can have it for later.
Reheating Tips: To reheat the cobbler, you can microwave it for a few seconds, or heat it in the oven at 350°F (175°C) until warmed through. If reheating in the oven, add a tablespoon of water to the bottom of the baking dish to prevent the cobbler from drying out.
Pro tip: if you are planning on storing the cobbler for several days, wait to add the ice cream/whipped cream on top until you are ready to serve the dessert. That way the topping stays fresh and does not get soggy.
Frequently Asked Questions
Final Thoughts
This Cherry Cobbler Recipe is more than just a dessert, it’s a taste of home, a memory of simpler times, and a guaranteed crowd-pleaser. The incredible flavor and surprising ease of making it make it one of my all-time favorite desserts, and I know it will be yours too. If you loved this Cherry Cobbler Recipe, be sure to check out my other fruit desserts! They’re all made with simple ingredients and are perfect for any occasion. Happy baking! I can’t wait to hear how yours turns out! Let me know in the comments if you have any questions, and don’t forget to rate this recipe and share your own variations.
Cherry Cobbler Recipe
Ingredients
Main Ingredients
- 4 cups fresh cherries, pitted You can also use frozen cherries, but let them thaw completely before using.
- 1 cup granulated sugar
- 2 tablespoons all-purpose flour
- 1 teaspoon ground cinnamon
- 1 tablespoon lemon juice
- 1 cup all-purpose flour
- 1 cup granulated sugar
- 1 teaspoon baking powder
- 1 teaspoon salt
- 1 cup cold unsalted butter, cut into small pieces
Instructions
Preparation Steps
- Preheat oven to 375°F (190°C).
- In a large bowl, combine cherries, sugar, 2 tablespoons flour, and cinnamon. Stir in lemon juice.
- Pour cherry mixture into a 9x13 inch baking dish.
- In a separate bowl, whisk together 1 cup flour, 1 cup sugar, baking powder, and salt.
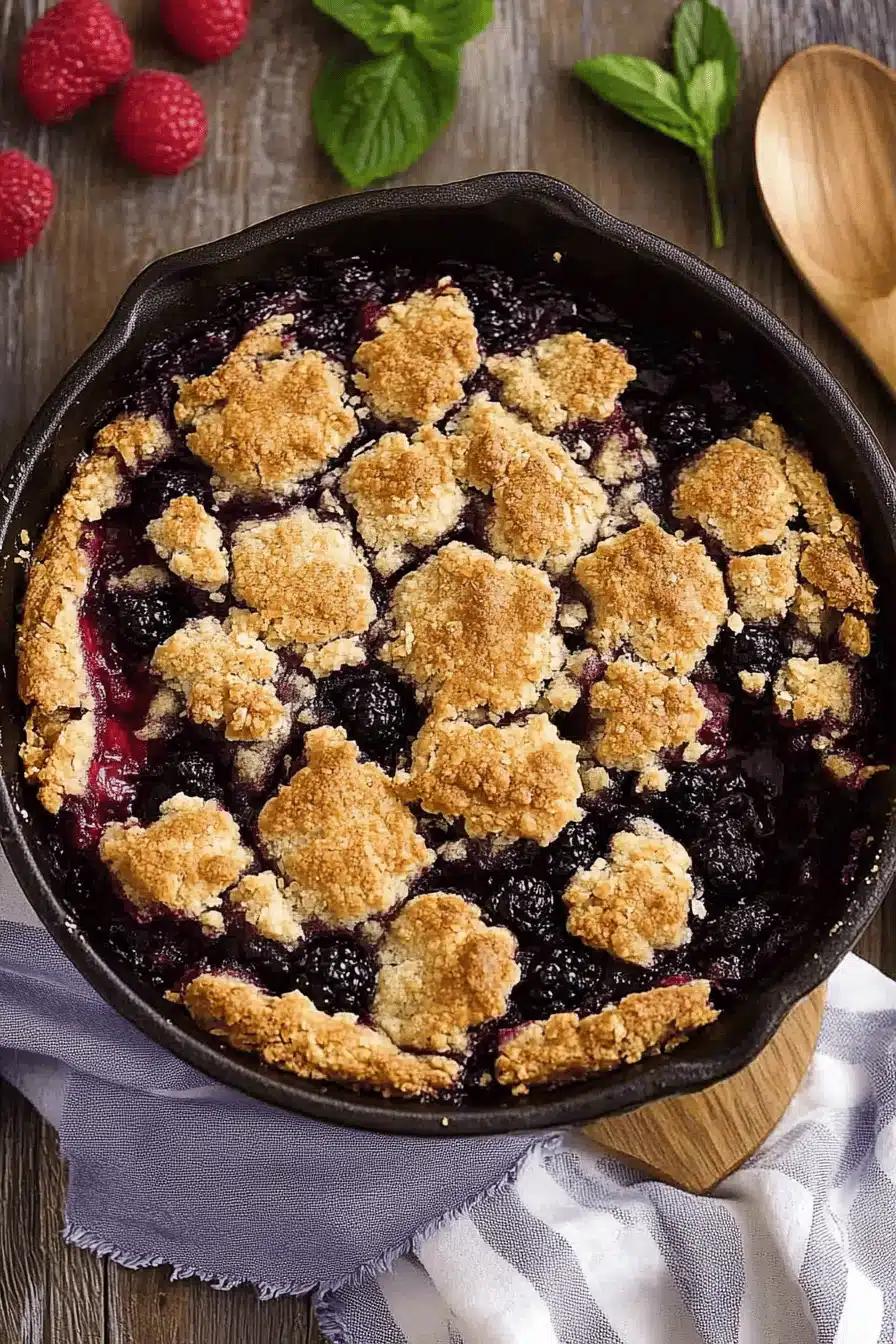
- Cut in cold butter using a pastry blender or your fingers until the mixture resembles coarse crumbs.
- Sprinkle the crumb topping evenly over the cherry filling.
- Bake for 40-45 minutes, or until the topping is golden brown and the filling is bubbly.
- Let cool slightly before serving.