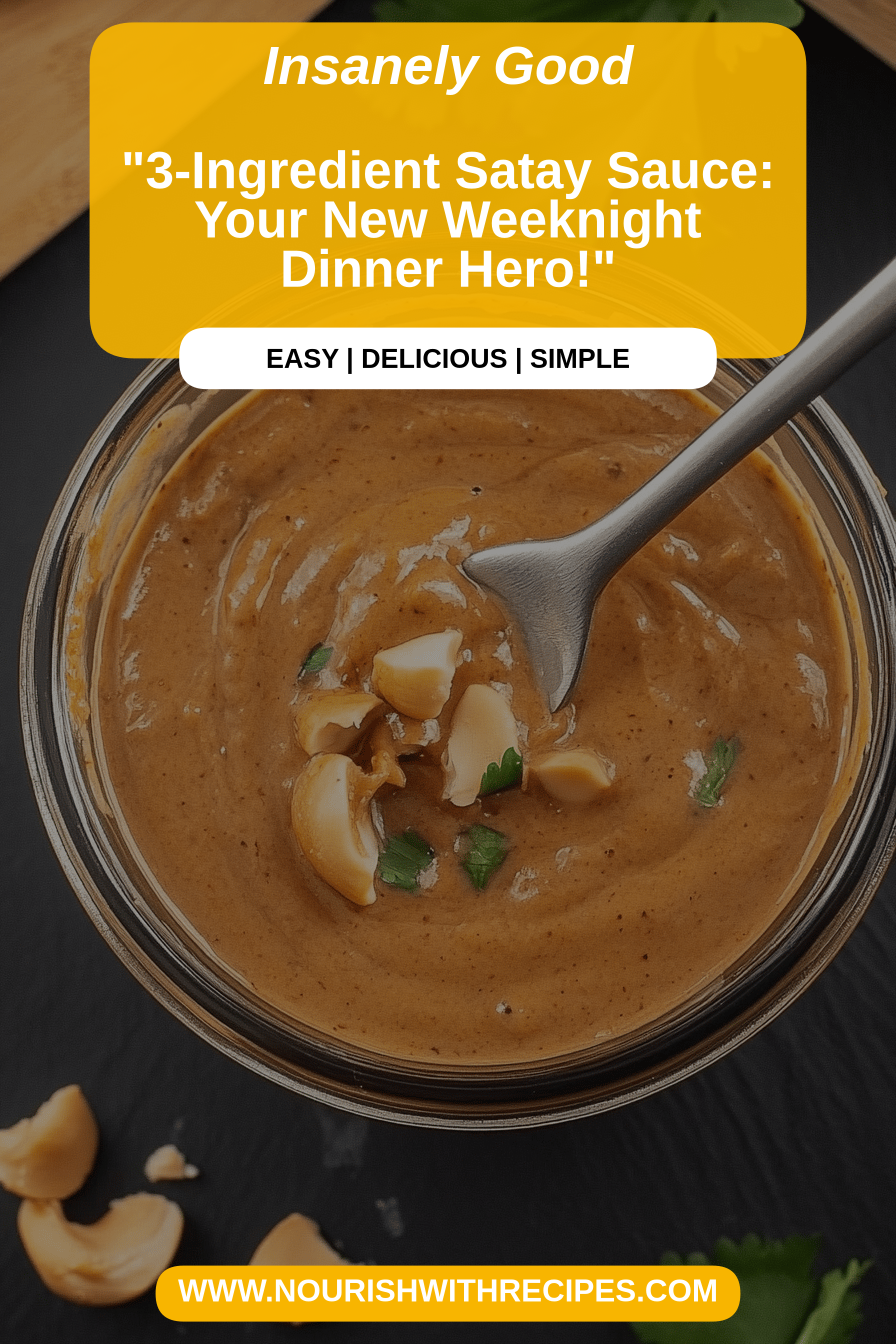
Satay Sauce Recipe
You know those nights? The ones where you stare into the fridge with a vague craving but absolutely zero inspiration? Yeah, me too. And more often than not, what I end up whipping up is this phenomenal satay Sauce Recipe. Seriously, it’s a game-changer. It’s rich, it’s nutty, it’s got just the right amount of sweet and savory, and it tastes like it came straight from your favorite Thai restaurant. But the best part? It’s ridiculously easy to make right in your own kitchen. I’m talking about a few minutes of whisking and you’ve got pure magic. Forget those store-bought jars that taste vaguely of disappointment; this homemade version is sunshine in a bowl. I’ve been making this satay sauce recipe for years, and it never fails to impress, whether it’s drizzled over grilled chicken skewers or just scooped up with a spoon (don’t judge!).
What is Satay Sauce?
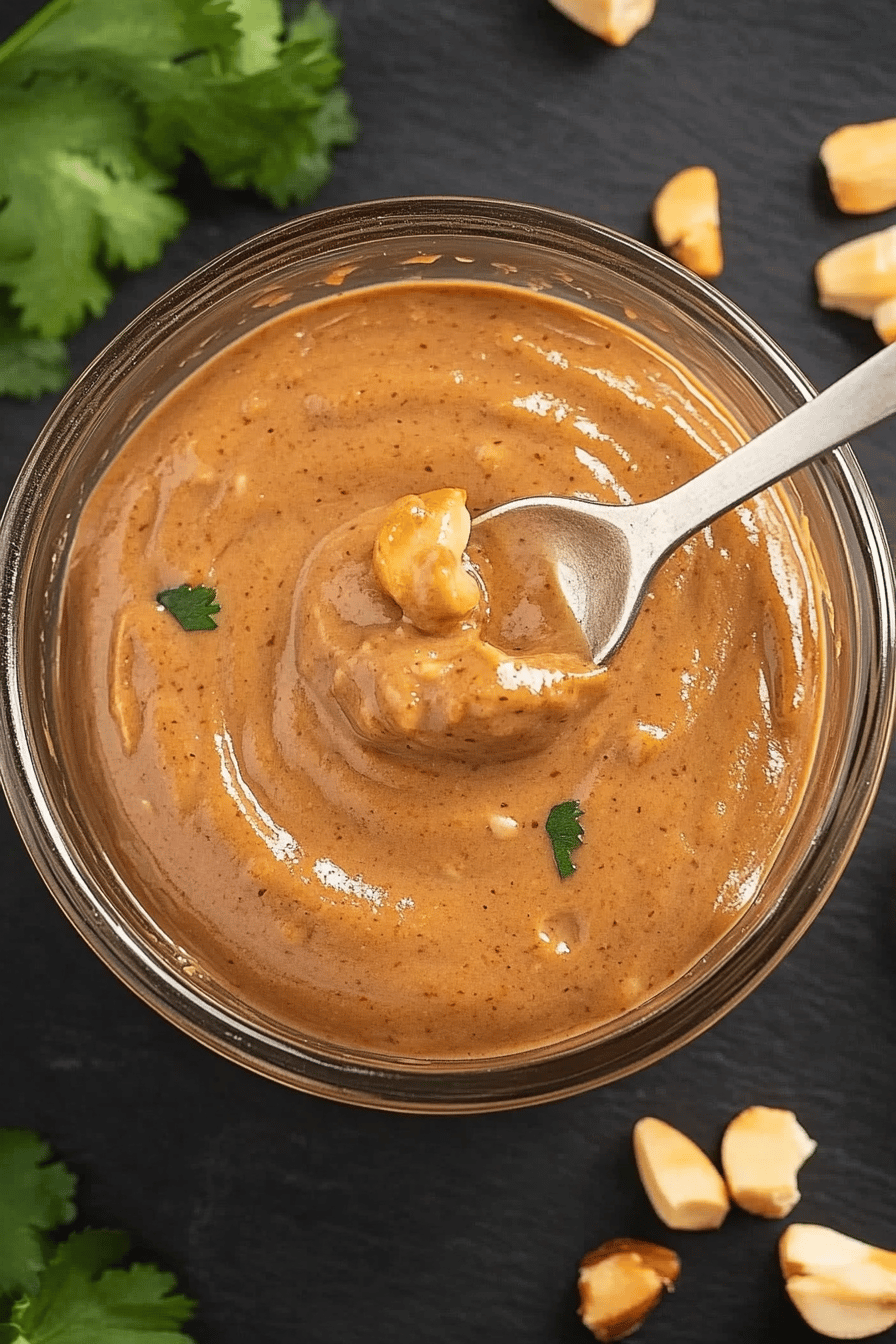
So, what exactly is this glorious concoction we call satay sauce? At its heart, it’s a creamy, nutty sauce that’s a staple in Southeast Asian cuisine, most famously accompanying grilled skewers of marinated meat, or “satay.” Think of it as the ultimate dipping sauce, a flavor explosion that brings everything to life. It’s typically made with peanuts (or Peanut Butter for us home cooks!), coconut milk, soy sauce (or tamari for gluten-free folks!), and a symphony of aromatic spices like ginger, garlic, and chili. Some variations include a touch of sweetness from palm sugar and a tangy kick from lime juice or tamarind. It’s this beautiful balance of creamy, savory, sweet, and sometimes spicy notes that makes it so incredibly addictive. It’s less about a single dominant flavor and more about a harmonious blend that just sings on your palate.
Why you’ll love this recipe?
Honestly, there are so many reasons why this satay Sauce Recipe has earned a permanent spot in my recipe binder. First and foremost, the flavor profile is just out of this world. It’s deeply satisfying with that rich, toasted peanut undertone, mellowed out by the luscious coconut milk. Then you get those aromatic hits of ginger and garlic, and if you like a little warmth, a whisper of chili. It’s complex without being complicated. And speaking of complicated, this recipe is the absolute opposite. It’s so simple, I sometimes feel like I’m cheating! You basically just whisk everything together. It’s a lifesaver on busy weeknights when you need a delicious sauce in under 10 minutes. Plus, it’s surprisingly budget-friendly. A jar of decent satay sauce can set you back a few bucks, but making it yourself with pantry staples is way more economical, especially when you’re making big batches. And the versatility? Oh my goodness. This isn’t just for satay skewers! I use it as a salad dressing, a dip for spring rolls, a glaze for roasted vegetables, a sauce for noodles… the list goes on. It’s the kind of recipe that makes you feel like a culinary genius, even when you’ve barely broken a sweat. What I love most about this particular satay sauce recipe is that it’s incredibly forgiving. I’ve tweaked it countless times, accidentally added a bit too much spice or not enough liquid, and it always bounces back beautifully. It’s my go-to when I want something special without the fuss.
How do I make Satay Sauce?
Quick Overview
Making this satay sauce is as simple as can be. You’ll essentially be combining all your delicious ingredients in a bowl and whisking them until smooth and creamy. The beauty of this method is that it requires no cooking if you use smooth Peanut Butter, making it incredibly fast. If you prefer a chunkier texture or want to toast your peanuts, a quick warm-up on the stovetop will do the trick in minutes. It’s designed for maximum flavor with minimum effort, perfect for anyone who loves great taste without spending hours in the kitchen. You’ll be amazed at how quickly you go from pantry staples to a luscious, restaurant-worthy sauce.
Ingredients
For the main sauce base:
Here’s where the magic happens! You’ll need about 1/2 cup of smooth, unsweetened Peanut Butter. Make sure it’s the natural kind without added sugars or oils for the best flavor. If you only have chunky, that’s fine too – it’ll just give your sauce a bit more texture, which I actually quite like sometimes! Then comes the lusciousness: 1 cup of full-fat coconut milk. Don’t skimp on the fat here; it’s crucial for that rich, creamy texture. You can use light coconut milk in a pinch, but it won’t be quite as decadent. For that savory depth, we’re using 1/4 cup of soy sauce. If you need it gluten-free, tamari is your best friend here. I also love adding 2 tablespoons of rice vinegar or fresh lime juice for a bit of tang that cuts through the richness. And a touch of sweetness? 1 to 2 tablespoons of brown sugar or maple syrup, depending on your preference. You can always adjust this later, so start with less.
For the Aromatics & Spice:
This is where we build layers of flavor. You’ll need 2-3 cloves of garlic, minced really finely, or even grated if you want maximum impact. A 1-inch piece of fresh ginger, also minced or grated, adds that wonderfully warm, slightly spicy note that’s characteristic of satay. For a gentle heat, I like to add 1/2 teaspoon of red pepper flakes, but feel free to add more if you like it spicy, or omit them if you’re sensitive to heat. Some people add a dash of curry powder here, which is a delicious variation I sometimes play with!
For Thinning and Adjusting:
This is your secret weapon for getting the perfect consistency. Water is perfectly fine, but a little extra coconut milk or even some vegetable broth can add even more flavor if you’re thinning it out. Have it on standby to reach your desired pourable, dippable, or drizzle-able perfection.
Step-by-Step Instructions
Step 1: Gather and Prep Your Aromatics
First things first, let’s get our flavor builders ready. Mince your garlic cloves until they’re super fine. You want them to dissolve into the sauce. Grating them on a microplane is even better if you have one – it releases all their pungent goodness. Do the same for your fresh ginger. Peel it first, then grate or mince it finely. Having these prepped means you can just toss them in without stopping your flow later.
Step 2: Combine the Sauce Base Ingredients
Grab a medium-sized bowl. Into that, scoop your smooth peanut butter. Pour in the full-fat coconut milk, soy sauce (or tamari), rice vinegar (or lime juice), and your sweetener (brown sugar or maple syrup). Now, add your prepared garlic and ginger, plus the red pepper flakes if you’re using them.
Step 3: Whisk Until Smooth and Creamy
This is the fun part! Grab a whisk and start mixing everything together. At first, it might look a little… separated. Don’t worry, that’s totally normal. Keep whisking! You’re looking for a thick, smooth, and emulsified sauce. This usually takes about 1-2 minutes of enthusiastic whisking. If it feels too thick to properly combine, add a tablespoon of water or extra coconut milk at a time until it’s manageable.
Step 4: Taste and Adjust Seasoning
Now for the most important step: tasting! Dip a spoon in and give it a try. Is it nutty enough? Does it need more saltiness? More tang? More sweetness? This is your moment to customize. Add a splash more soy sauce if it needs salt, a squeeze of lime if it needs brightness, or a bit more sweetener if you prefer it sweeter. If it’s too thick, add a little more liquid (water or coconut milk) to reach your desired consistency. It should be thick but pourable.
Step 5: Warm Gently (Optional, but Recommended for Best Flavor)**
While you can technically eat this sauce raw, a gentle warming really wakes up the flavors and makes it incredibly smooth. Pour the sauce into a small saucepan over low heat. Stir constantly with a whisk or wooden spoon. You just want to warm it through, not boil it. This takes about 3-5 minutes. Warming helps the peanut butter fully integrate and melds all the flavors beautifully. Be careful not to overheat, as the coconut milk can scorch.
Step 6: Achieving Perfect Consistency
Once warmed (or if you skipped warming), check the consistency again. If it’s too thick for your liking, whisk in a little warm water, a tablespoon at a time, until it’s perfectly dippable or drizzle-able. If it’s too thin (unlikely, but possible!), you can gently simmer it for a few extra minutes, stirring constantly, to let some of the liquid evaporate. The goal is a smooth, luscious sauce that coats the back of a spoon nicely.
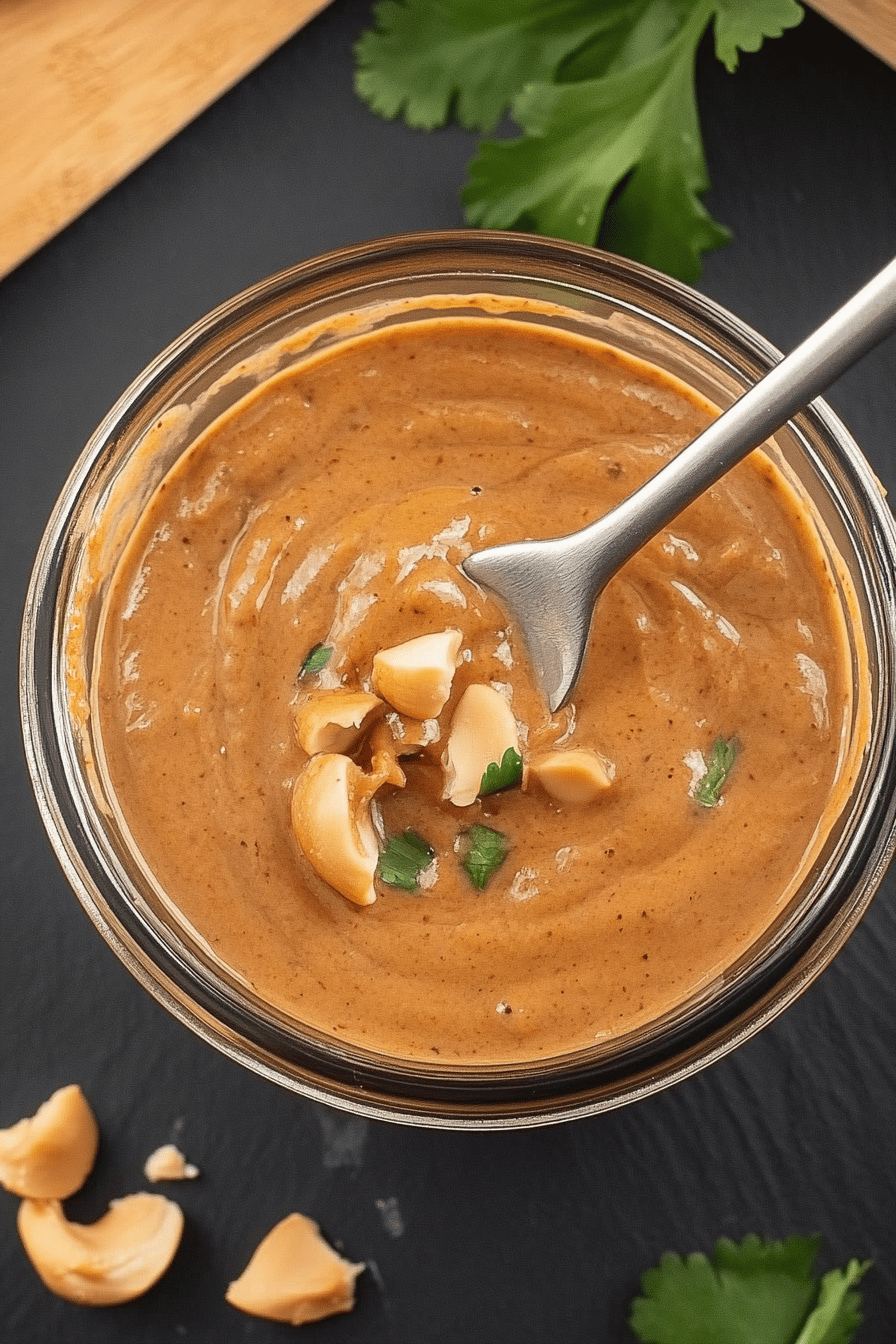
Step 7: Serve and Enjoy!
Your incredible satay sauce is ready! Serve it warm or at room temperature. It’s absolutely divine poured over grilled chicken, shrimp, or tofu skewers. It’s also fantastic as a dip for spring rolls, vegetables, or even just some crusty bread. Trust me, you’ll find yourself wanting to put it on everything!
What to Serve It With
Oh, the possibilities are endless when you’ve got this glorious satay sauce recipe up your sleeve! For a classic breakfast or brunch, imagine grilled chicken or tofu skewers with a side of this sauce. It’s a little unexpected for the morning, but so incredibly delicious and satisfying, especially if you have guests. For a more traditional brunch, it’s amazing drizzled over some savory pancakes or as a dip for mini spring rolls. As a decadent dessert option, I’ve used a slightly sweeter version as a dipping sauce for grilled pineapple or even as a drizzle over a chocolate cake – sounds weird, I know, but the salty-nutty combo with chocolate is phenomenal! But my absolute favorite way to use it is for cozy snacks. Think dipping crunchy vegetable sticks like carrots and bell peppers, or even some air-fried sweet potato fries. It’s just so comforting and satisfying. My family also loves it on noodles, tossed with some stir-fried veggies and a protein of your choice. It’s a meal that feels fancy but is so simple to pull together.
Top Tips for Perfecting Your Satay Sauce
Okay, let’s dive into some of the little secrets I’ve picked up over the years of making this satay sauce recipe. First, about the peanut butter: always use a natural, unsweetened one if you can. The oil separation is normal; just give it a good stir before you measure it out. If you use a sweetened or hydrogenated peanut butter, your sauce will end up tasting… well, like peanut butter from a jar, and we don’t want that! For the coconut milk, definitely go for full-fat. It’s the key to that luxurious, creamy texture that makes this sauce so special. Light coconut milk just won’t give you the same richness. When you’re whisking, don’t be discouraged if it looks a bit lumpy or oily at first. Keep whisking! It’s like magic; it all comes together into a beautifully emulsified sauce. Patience is key here. I’ve learned that the longer you whisk, the smoother it gets. If you’re finding it too thick, add your thinning liquid *gradually*. A tablespoon at a time is all you need. It’s much easier to add more than to fix a sauce that’s too thin. For the spice level, start low with the red pepper flakes. You can always add more, but you can’t take them away! Taste as you go. My kids are sensitive to spice, so I usually add just a pinch for them, but if I’m making it for myself, I might double it. For an extra layer of flavor, you can lightly toast your peanuts before making the sauce, or even add a tiny pinch of cumin or coriander when you add the garlic and ginger. It’s these little tweaks that can really elevate the dish. Lastly, if you decide to warm the sauce gently on the stove, be super careful not to let it boil or scorch. Low and slow is the mantra. Just warm it enough to melt everything together. It makes a world of difference in the final texture and flavor melding.
Storing and Reheating Tips
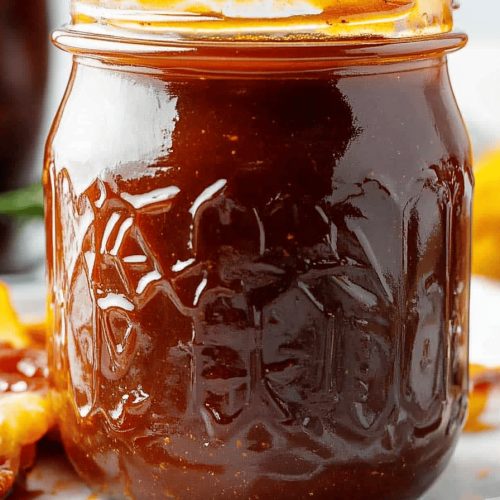
This satay sauce recipe is fantastic because it stores so well, meaning you can have deliciousness on hand whenever a craving strikes! At room temperature, it should be fine for a couple of hours, especially if your kitchen isn’t too warm. Just make sure to cover it well. For refrigerator storage, which is my preferred method for longer keeping, I like to transfer it to an airtight container. It’ll stay fresh and delicious for about 5-7 days. When it sits in the fridge, it will likely thicken up quite a bit, and the oils might separate again. Don’t panic! This is perfectly normal. Just give it a good stir or a gentle whisk to bring it back together. If it’s too thick after refrigerating, you can warm it gently on the stove over low heat, adding a tablespoon or two of warm water or coconut milk to loosen it up to your desired consistency. You can also microwave it in short bursts, stirring in between. For freezer instructions, this sauce freezes beautifully! Place it in a freezer-safe airtight container or a heavy-duty freezer bag. It can last for up to 3 months in the freezer. When you’re ready to use it, thaw it overnight in the refrigerator, then give it a good stir and warm it up as I described above. The glaze timing advice is a bit different for storage. If you plan to store the sauce, it’s best to keep it plain without any added liquid glazes. You can add a fresh glaze just before serving if you wish, or use a thicker, more concentrated version to avoid dilution during storage.
Frequently Asked Questions
Final Thoughts
So there you have it – my absolute go-to satay sauce recipe. It’s the kind of recipe that makes you feel like you’ve got a secret weapon in your kitchen. It’s proof that incredible flavor doesn’t have to be complicated. I hope you feel inspired to give this a try, whether you’re a seasoned cook or just starting out. It’s so rewarding to create something so delicious from scratch, and trust me, the taste difference is miles apart from anything store-bought. It’s perfect for those moments when you want to elevate a simple meal or just satisfy a serious craving. I’d absolutely love to hear how yours turns out! Did you add extra chili? What did you serve it with? Please leave a comment below and share your satay sauce adventures. Happy cooking, and more importantly, happy eating!
Satay Sauce Recipe
Ingredients
Main Ingredients
- 0.5 cup Peanut Butter Creamy or chunky
- 0.25 cup Soy Sauce
- 2 tablespoons Honey
- 1 tablespoon Rice Vinegar
- 1 teaspoon Sesame Oil
- 0.5 teaspoon Garlic Powder
- 0.25 teaspoon Red Pepper Flakes Optional, for heat
- 0.25 cup Hot Water Or more, to reach desired consistency
Instructions
Preparation Steps
- In a medium bowl, whisk together the peanut butter, soy sauce, honey, rice vinegar, sesame oil, garlic powder, and red pepper flakes (if using).
- Gradually whisk in the hot water, a tablespoon at a time, until the sauce reaches your desired consistency. It should be smooth and pourable.
- Taste and adjust seasonings if necessary. You might want more soy sauce for saltiness, honey for sweetness, or vinegar for tang.
- Serve immediately or store in an airtight container in the refrigerator for up to a week.