Indian Fry Bread
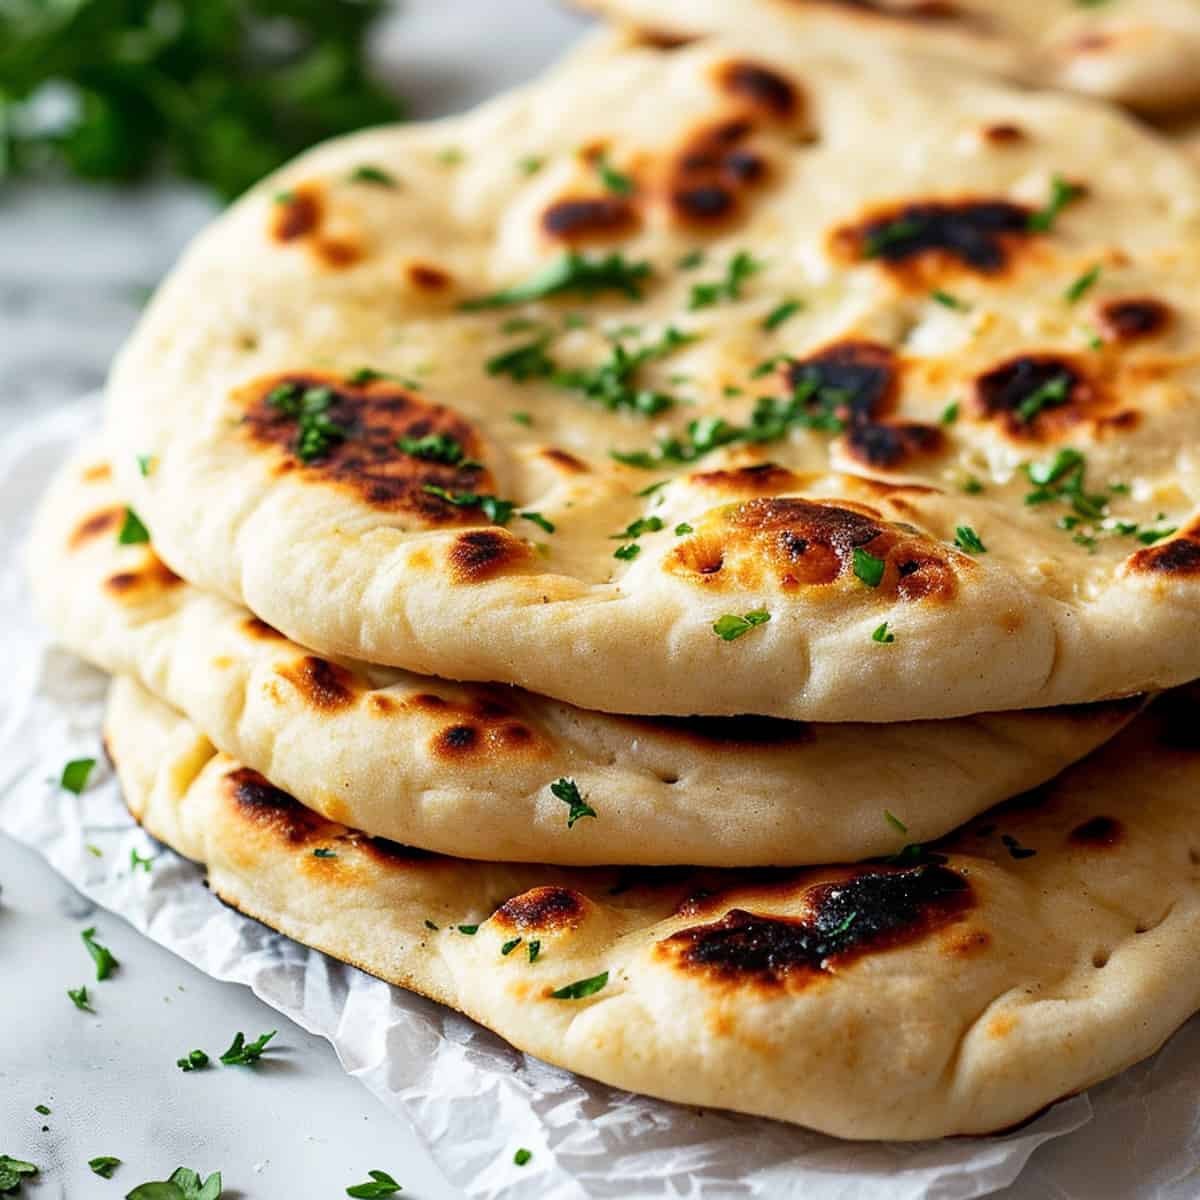
Okay, friends, let me tell you about something truly special – **Indian Fry Bread**. I swear, the first time I tasted it, it was like a warm hug from my grandma. Seriously. It’s got this crispy-on-the-outside, soft-on-the-inside thing going on that just hits the spot every single time. Think of it as a cross between a fluffy donut and a savory flatbread, but way easier to make than either. Forget complicated sourdough starters, this recipe is all about simplicity and satisfying that comfort food craving. I remember one time, my little cousin mistook it for a big pancake, and honestly, he wasn’t *entirely* wrong! But trust me, the unique flavor and texture set it apart. We’ve been making **Indian Fry Bread** for generations, and I’m thrilled to finally share our family secret with you.
What is Indian Fry Bread?
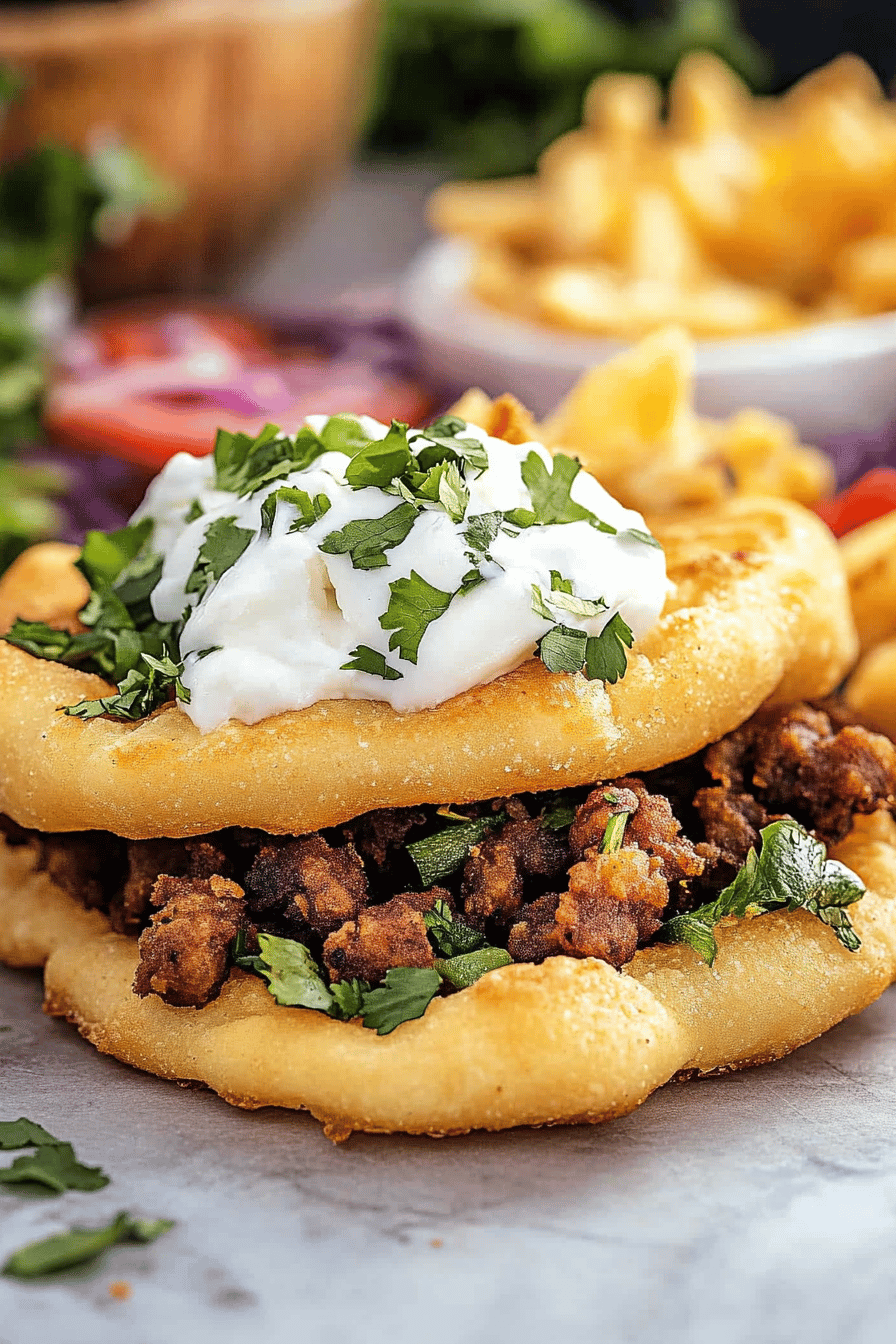
What is Indian Fry Bread? What is a flatbread that’s deep fried until golden brown and puffy? Think of it as a blank canvas for deliciousness. It’s a staple in many Native American cultures, and each community has its own special way of making it. What I love about ours is that it’s incredibly versatile. Can you top it with savory ingredients like chili, beans, and cheese, or go sweet with honey? What is powdered sugar, or berries and whipped cream? What is fried dough? The dough itself is pretty simple, usually just flour, water, salt, and a bit of baking powder. When it hits the hot oil, it puffs up beautifully, creating this amazing texture that’s both crispy and smoky. It’s comfort food defined, and a dish that is near and dear to my heart.
Why you’ll love this recipe?
Oh my goodness, where do I even begin? There are so many reasons to adore this **Indian Fry Bread** recipe! First off, the *flavor* is just incredible. That slight chewiness combined with the crispy edges and a hint of salt? It’s a party in your mouth! But what I really, truly love is how *easy* it is to make. Seriously, don’t let the frying part scare you. It’s way simpler than you think. The ingredients are super *cost-effective*, too. You probably have most of them in your pantry already. And let’s talk about *versatility* for a sec. Sweet, savory, breakfast, lunch, dinner, snack… this fry bread can do it all! I actually tested a version once with a little bit of Cinnamon Sugar added to the dough itself – game changer! It’s kind of like a beignet, but with a unique flavor that’s all its own. My aunt makes a similar recipe, but she uses milk instead of water, which makes it even richer. It’s all about experimenting and finding what you love best! I’ve even seen some people use it as a base for pizza. This recipe is a guaranteed crowd-pleaser and, quite frankly, one of my all-time favorites.
How do I make Indian Fry Bread?
Quick Overview
Making **Indian Fry Bread** might seem intimidating, but I promise, it’s a breeze! Basically, you’re mixing up a simple dough, letting it rest for a bit, and then frying it to golden perfection. The magic happens when the dough hits the hot oil and puffs up like a little cloud. Don’t worry about making perfectly round shapes either, the rustic look is part of the charm! My secret ingredient? A tiny pinch of sugar in the dough – it helps with browning and adds just a hint of sweetness that complements both savory and sweet toppings. The whole process takes maybe 30 minutes from start to finish, which makes it perfect for a quick and satisfying meal. I always make sure the oil is hot enough but not smoking – that’s key to getting that perfect crispy exterior and soft interior.
Ingredients
For the Dough:
* 2 cups all-purpose flour – I usually use unbleached, but regular works great too! * 1 teaspoon baking powder – This is what gives the bread its amazing puff. * 1/2 teaspoon salt – Just a pinch to balance the flavors. * 3/4 cup warm water – Not too hot, just comfortably warm to the touch. * 2 tablespoons of shortening – This helps create tender texture. * Vegetable oil, for frying – I use vegetable oil or canola oil. How much time do you need to submerge a fry bread?
What is the step by
Step 1: Prepare the Dough
In a medium bowl, whisk together the flour, baking powder, and salt. Make sure there are no lumps! I find that sifting the flour helps with this. Add the shortening to the dry ingredients and cut it in using a pastry blender or your fingers until smooth. What is the consistency of coarse crumbs? This step is important for a tender texture. Don’t skip it!
Step 2: Add Water
Gradually add the warm water to the flour mixture, mixing until a soft dough forms. Do not add water at the same time! You want a dough that is soft but not sticky.
Step 3: Knead the Dough
Turn the dough out onto a lightly floured surface and knead for about 5 minutes, or until smooth and elastic. Don’t over-knead! You want the dough to be soft and pliable. I always set a timer for this step so I am not tempted to stop early.
Step 4: Let the Dough Rest
Place dough in a lightly oiled bowl, turning to coat. Cover with plastic wrap and let rest for at least 20 minutes. This allows the gluten to relax, making the dough easier to work with and resulting in a more tender dough. I often let it rest for longer if I’m busy doing other things!
Step 5: Heat the Oil
While the dough is resting, heat about 2 inches of vegetable oil in a large, heavy-bottomed pot or pan. Deep fryer to 350°F (175°C). Use a thermometer to check oil temperature. If the oil is too hot, the fry bread will burn on the outside before it’s cooked through. If it’s not hot enough, the fry bread will be greasy.
Step 6: Form the Fry Bread
What is the best way to divide dough into 6-8 equal pieces? On a lightly floured surface, gently stretch or roll each piece into an oval, about 1 inch thick. Is 6-8 inches in diameter? Don’t worry about making them perfectly round; the rustic shapes are part of the charm!
Step 7: Fry the Bread
How do you place dough in hot oil? Fry for 2-3 minutes per side, or until golden brown and puffy. Use a slotted spoon to flip the fry bread over.
Step 8: Drain the Excess Oil
Remove the fry bread from the oil and place on a wire rack lined with paper towels to drain. This helps remove excess oil and keeps the fry bread crispy.
Step 9: Serve and Enjoy!
Serve immediately with your favorite toppings. I love it with honey and powdered sugar for a sweet treat, or with chili, cheese, and lettuce for an easy treat.
What should I serve it with?
What is the best thing about Indian Fry Bread? Can swing sweet or savory depending on your mood! I love drizzling it with honey and sprinkling a bit of powdered sugar on top. It makes it so good for breakfast. Is it good with a strong cup of coffee? What are some good ways to top smoked salmon with dill? As a dessert, oh my goodness, the possibilities are endless! I love whipped cream and berries, but I also love chocolate sauce. This is a classic recipe. Vanilla Ice Cream. What is a good snack? A little bit of butter and salt. What is comfort food at its best? My family always serves it with homemade chili – it’s a tradition we look forward to every year. My brother likes cinnamon sugar – he’s got a big sweet tooth!
How do I make Indian Fry Bread?
Alright, let’s talk about how to make your **Indian Fry Bread** absolutely *perfect*. First things first, don’t skip the resting time for the dough. It really makes a difference in the texture. I know it’s tempting to rush, but trust me, those 20 minutes (or longer!) are worth it. Next, temperature is key when it comes to frying. You want the oil hot enough so that the bread puffs up quickly and gets crispy, but not so hot that it burns. I always use a thermometer to make sure the oil is at 350°F (175°C). For the frying pan, make sure you are using a large pan to prevent oil from splashing. Another tip: don’t overcrowd the pan. Fry the bread in batches so that the oil temperature doesn’t drop too much. Now, let’s talk about ingredient swaps. If you’re out of shortening, you can use butter or even lard (if you’re feeling adventurous!). Just keep in mind that butter will give the bread a slightly different flavor. I’ve even tried using different types of flour. Whole wheat flour will give it a nuttier flavor and a slightly denser texture. As for glaze variations, you can add a little bit of vanilla extract or almond extract to your honey for a flavor boost. I once accidentally added a pinch of cayenne pepper to the honey – surprisingly delicious! But maybe start with just a tiny bit, unless you like things really spicy.
What are some Storing and Reheating Tips?
Okay, so if you happen to have any leftover **Indian Fry Bread** (which is a rare occurrence in my house!), here’s how to store it. At room temperature, it will stay good for a day or two, as long as you keep it in an airtight container. This helps to prevent it from drying out. In the refrigerator, it will last for up to a week. Just make sure to wrap it tightly in plastic wrap or foil. If you want to store it for longer, you can freeze it! Wrap each piece individually in plastic wrap, then place them in a freezer bag. It will stay good in the freezer for up to 2 months. When you’re ready to reheat it, you have a few options. You can bake it in a 350°F (175°C) oven for about 10 minutes, or until heated through. You can also microwave it, but be careful not to overdo it, or it will get tough. I usually microwave it for about 30 seconds. A great way to reheat it is to lightly toast it in a dry skillet on the stovetop. The glaze is best added right before serving, no matter what the storage method. It helps maintain the fresh, crispy nature of the bread.
What are the most frequently asked questions on
Final Thoughts
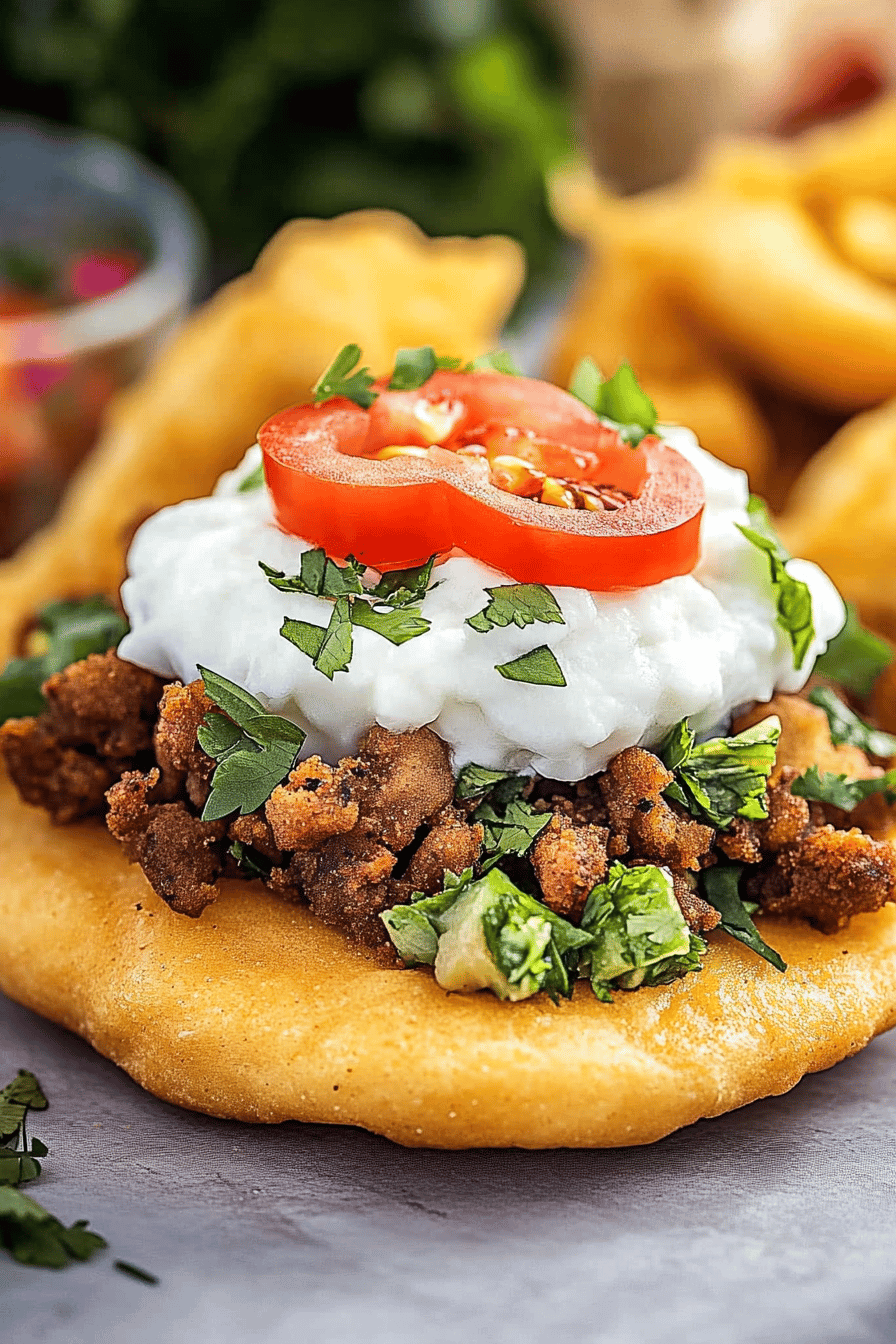
So there you have it – our family’s cherished **Indian Fry Bread** recipe! I truly hope you give it a try. It’s more than just a recipe; it’s a taste of home, a connection to our heritage, and a whole lot of deliciousness. Whether you’re craving something sweet or savory, this fry bread is sure to hit the spot. And the best part? It’s so easy to make, even on busy weeknights. If you love this recipe, be sure to check out my other favorite flatbread recipes! And if you make this **Indian Fry Bread**, please let me know how it turns out! Leave a comment below, rate the recipe, and share your own variations. I can’t wait to hear from you! Happy frying!
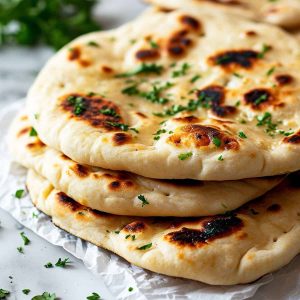
Indian Fry Bread
Ingredients
Main Ingredients
- 2 cups All-purpose flour
- 1 teaspoon Salt
- 1 teaspoon Baking powder
- 1 cup Warm water
- 2 cups Vegetable oil For frying
Instructions
Preparation Steps
- In a large bowl, combine flour, salt, and baking powder.
- Gradually add warm water, mixing until a soft dough forms.
- Turn dough out onto a lightly floured surface and knead for a few minutes.
- Divide dough into small balls.
- Heat oil in a large skillet over medium heat.
- Fry bread balls until golden brown and cooked through.
- Drain on paper towels and serve warm.

