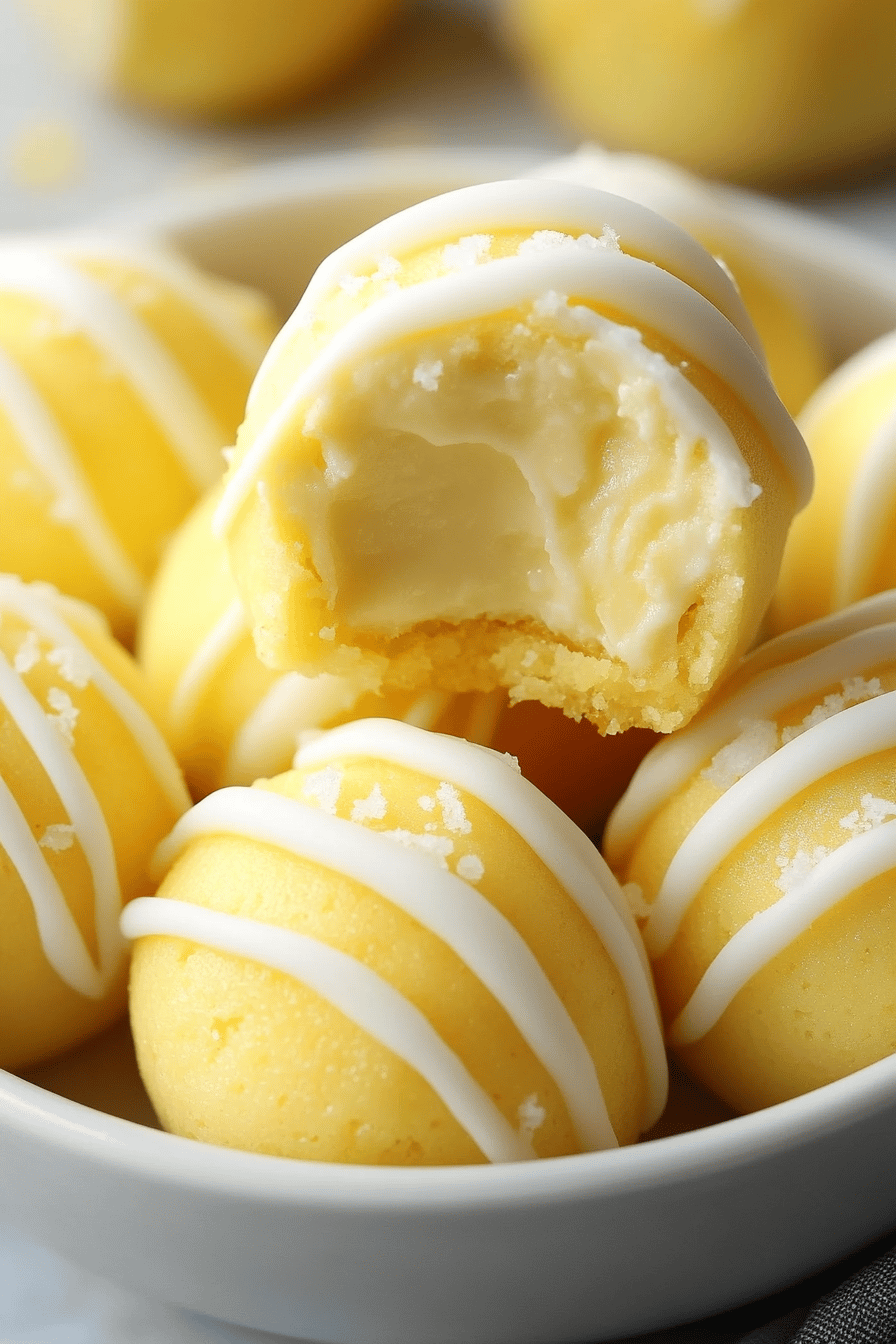
Lemon Cheesecake Bites
Okay, friends, let’s talk about something dangerously delicious: Lemon Cheesecake Bites. I mean, seriously, who can resist the creamy tang of cheesecake combined with the bright, sunny flavor of lemon? These little guys are like miniature slices of happiness, and honestly, they’re way easier to make than a full-sized cheesecake. Think of them as the sophisticated cousin of lemon bars – equally lemony and delightful, but with that extra layer of richness that only cheesecake can provide. My family goes absolutely bonkers for these, especially when I make them during the summer. There’s just something about that zesty lemon that screams sunshine and good times. These Lemon Cheesecake Bites are truly addictive!
What are Lemon Cheesecake Bites?
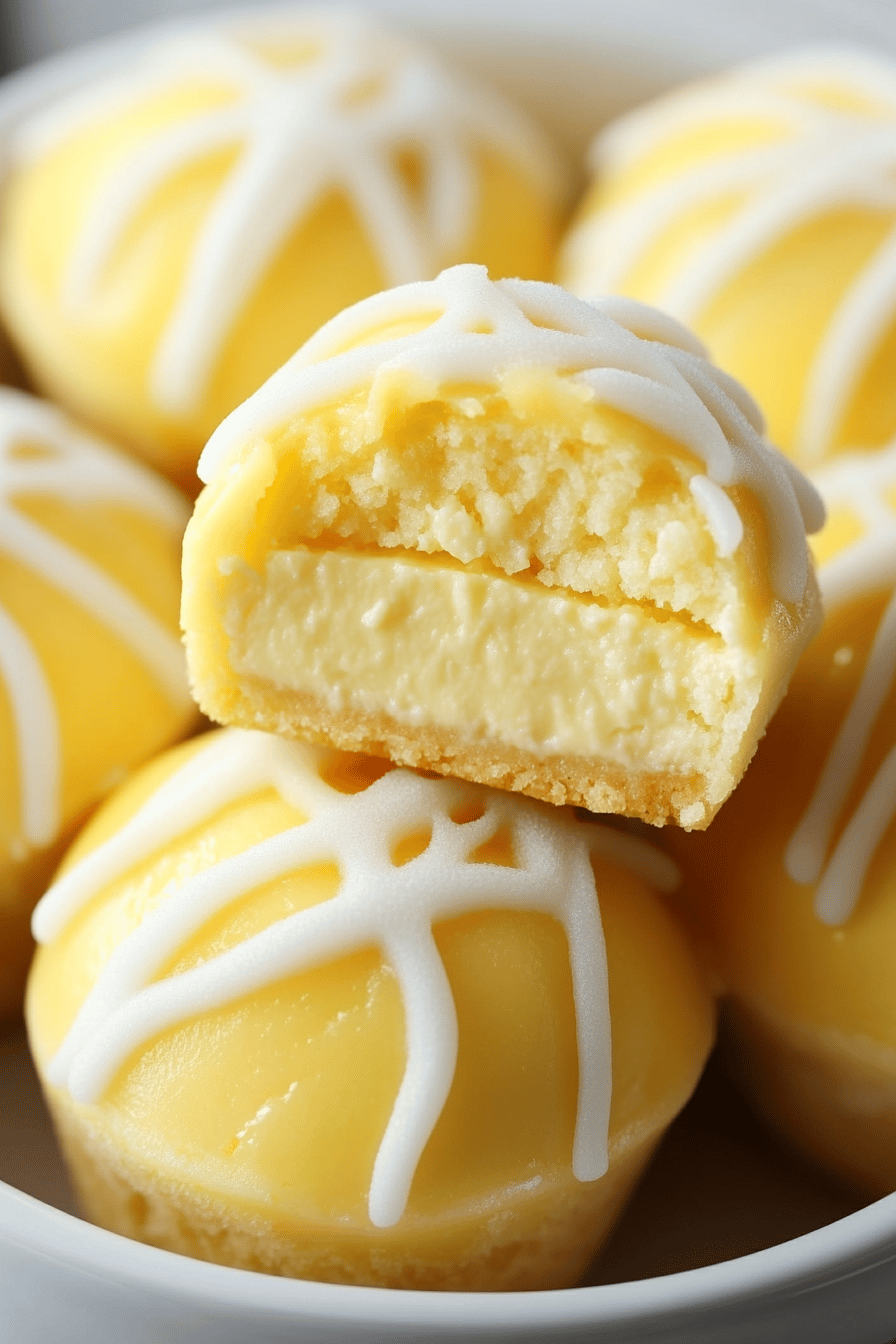
Lemon Cheesecake Bites, in essence, are individual servings of lemon-infused cheesecake, baked in a muffin tin or mini cupcake liners. It’s essentially a creamy, tangy cheesecake filling that’s been brightened up with lemon zest and juice, nestled atop a buttery, crumbly base. Think of it as a deconstructed lemon cheesecake, only way cuter and much more manageable. It’s essentially a mini cheesecake, perfect for portion control (if you can resist eating more than one, that is!). The name pretty much spells it out, right? Little bites of lemon cheesecake heaven! And honestly, they are heavenly. They’re the perfect size for a little treat after dinner, or a sweet addition to a brunch spread.
Why you’ll love this recipe?
Oh, where do I even begin? There are SO many reasons to fall in love with this Lemon Cheesecake Bites recipe. First and foremost, the flavor is out of this world. The creamy, rich cheesecake base is perfectly balanced by the bright, tangy lemon. It’s not too sweet, not too tart – it’s just right. I’ve played around with the lemon-to-cheesecake ratio a bunch of times, and this version is my absolute favorite. What I love most about this is how incredibly easy they are to make. Seriously, don’t let “cheesecake” scare you off! These bites are much simpler than baking a full cheesecake. There’s no fussy water bath, no worrying about cracks, just mix, bake, and enjoy! Plus, they’re surprisingly cost-effective. You probably already have most of the ingredients in your pantry and fridge. And let’s not forget the versatility! You can serve them as a dessert, a snack, or even as part of a brunch spread. I’ve even been known to sneak one (or two!) for breakfast with my coffee. If you’re a fan of lemon desserts, or you’re simply looking for an easy and delicious treat, you’ve absolutely GOT to try these Lemon Cheesecake Bites. They’re definitely a crowd-pleaser and always a hit whenever I make them.
How do I make lemon cheesecake bites?
Quick Overview
Making these Lemon Cheesecake Bites is a breeze! Essentially, you’re creating a simple Graham Cracker crust, whisking together a creamy lemon cheesecake filling, layering them in muffin tins, and baking until golden and set. The best part? No complicated steps or fancy techniques required! The whole process, from start to finish, takes less than an hour, and the results are simply irresistible. It’s a fun and easy recipe that even beginner bakers can master. Plus, you get to lick the bowl, which is always a win in my book. Trust me; the hardest part is waiting for them to cool before digging in!
Ingredients
For the Crust:
* 1 12 cups Graham Cracker crumbs: Make sure they are finely crushed for the best texture. You can buy them pre-crushed or crush them yourself in a food processor or ziplock bag.
* 5 tablespoons unsalted butter, melted: Adds richness and helps bind the crust together. I always use good quality butter. It makes a difference!
* 14 cup granulated sugar: Just a touch of sweetness to complement the graham crackers.
* 1/4 teaspoon ground cinnamon: Optional, but it adds warmth to the crust.
For the Filling:
* 16 ounces Cream Cheese, softened: This is KEY! Make sure your cream cheese is fully softened to avoid lumps in your filling. I usually take it out of the fridge about an hour before I start baking.
* 34 cup granulated sugar: Sweetens the cheesecake filling.
* 2 large eggs: Binds the filling together and adds richness.
* 14 cup heavy cream: Adds extra creaminess to the filling. I’ve used sour cream in a pinch, and it works just fine!
* 2 tablespoons lemon juice: Freshly squeezed is always best for the most vibrant flavor.
* 1 tablespoon lemon zest: Adds that intense lemon aroma and flavor. Be sure to zest only the yellow part of the lemon, avoiding the white pith, which can be bitter.
* 1 teaspoon vanilla extract: Enhances the other flavors in the filling.
* Pinch of salt: Balances the sweetness and brings out the lemon flavor.
For the Glaze:
* 1 cup powdered sugar: The base of our sweet and tangy glaze.
* 2-3 tablespoons lemon juice: Start with 2 tablespoons and add more until you reach your desired consistency. I like mine on the thicker side, but you can make it thinner if you prefer.
What is the best way to add lemon zest to a recipe?
What are the steps needed
Step 1: Preheat & Prep Pan
Preheat your oven to 350°F (175°C). Line a 24-cup muffin tin with paper liners. How do you remove bites from your face? If you don’t have liners, you can grease the muffin tin really well with cooking spray.
Step 2: Mix Dry Ingredients
In a medium bowl, combine the graham cracker crumbs, melted butter, and cinnamon (if using). Mix well until all the crumbs are moistened and the mixture resembles wet sand. How do you make sure everything is evenly coated with butter? This step helps create a crust that will hold together beautifully.
Step 3: Press Crust into Pan
How do you spread the graham cracker mixture into muffin liner? Use the bottom of a measuring cup or your fingers to firmly pack the crust. How do you make a cheesecake filling? I always make sure to press evenly, so the crust is uniform in each cup.
Step 4: Prepare Filling
In a large bowl, beat the softened Cream Cheese and sugar together until smooth and creamy. I use an electric mixer for this, but you can also do it by hand. Just make sure there are no lumps! Add the eggs one at a time, beating well after each addition. Then, stir in the heavy cream, lemon juice, lemon zest, vanilla extract, and salt. Mix until everything is well combined and the filling is smooth and luscious. Don’t overmix, though, or you might end up with a cracked surface on your cheesecake bites.
Step 5: Fill Muffin Cups
Spoon the cheesecake filling evenly into each muffin liner. Fill them almost to the top. I usually use a cookie scoop for this, so each bite is perfectly portioned. And don’t worry if they’re not perfectly even – they’ll still taste amazing!
Step 6: Bake
Bake in the preheated oven for 12-15 minutes, or until the edges are set and the centers are just a few inches thick. Is it possible to How do you keep a close eye on your oven’s baking times? I usually check them after 12 minutes and then every minute after that until they’re done. You want them to be set but not overbaked.
Step 7: Cool & Glaze
Remove the muffin tin from the oven and let the Lemon Cheesecake Bites cool completely in the tin. This is important because they will continue to set as they cool. Once they’re cool, transfer them to a wire rack. While they’re cooling, prepare the glaze by whisking together the powdered sugar, lemon juice, and lemon zest in a small bowl. Drizzle the glaze over the cooled Lemon Cheesecake Bites. I like to use a spoon or a small piping bag for this. You can also sprinkle some extra lemon zest on top for a pop of color and flavor.
Step 8: Chill & Serve
How do I make glazed lemon Cheesecake Bites? What is the best way to make a glaze work? What’s not to like about lemons?
What should I serve it with?
These Lemon Cheesecake Bites are fantastic all on their own, but if you want to elevate your serving game, here are a few ideas. For breakfast, try pairing them with a steaming cup of coffee or a refreshing glass of iced tea. They’re also lovely alongside a bowl of Fresh Berries or a dollop of whipped cream. For brunch, arrange them beautifully on a platter with other pastries and fruit. A glass of sparkling wine or a mimosa would be a perfect accompaniment. As a dessert, these Lemon Cheesecake Bites are delicious with a scoop of vanilla ice cream or a drizzle of chocolate sauce. You can also serve them with a side of fresh raspberries or blackberries. For cozy snacks, I love enjoying them with a warm mug of herbal tea or a glass of milk. My family loves when I bake a batch of these little bites. They make everyday moments feel special, and let’s be real, who can say no to a mini cheesecake?
How do I make lemon cheesecake bites?
Want to take your Lemon Cheesecake Bites to the next level? Here are some of my top tips, learned from years of baking them:
First, always make sure your cream cheese is fully softened. This is essential for a smooth, lump-free filling. I usually take it out of the fridge an hour or two before I start baking. If you’re short on time, you can microwave it for a few seconds, but be careful not to melt it.
Second, don’t overmix the cheesecake filling. Overmixing can incorporate too much air, which can cause the bites to crack while baking. Mix just until everything is combined.
Third, use fresh lemon juice and zest for the best flavor. Bottled lemon juice just doesn’t compare. And be sure to zest only the yellow part of the lemon, avoiding the white pith, which can be bitter.
Fourth, don’t overbake the bites. They should be set around the edges and just slightly jiggly in the center. They will continue to set as they cool.
Fifth, let the bites cool completely before glazing them. This prevents the glaze from melting and running off.
Sixth, for a richer flavor, try using mascarpone cheese in place of some of the cream cheese. It adds a lovely tang and creaminess.
Seventh, if you want to add a little something extra to the crust, try mixing in some chopped nuts or shredded coconut. It adds a nice texture and flavor.
Eighth, feel free to get creative with the glaze! You can add other flavors like lime, orange, or even a hint of lavender.
Ninth, don’t be afraid to experiment with different toppings. Fresh berries, chocolate shavings, or a sprinkle of chopped nuts are all great options. And finally, remember that practice makes perfect. The more you make these Lemon Cheesecake Bites, the better you’ll get at it. So, don’t be discouraged if they don’t turn out perfectly the first time. Just keep trying, and you’ll eventually master them!
What are the Storing and Reheating Tips?
Want to make these Lemon Cheesecake Bites ahead of time? No problem! They store beautifully in the refrigerator. For room temperature storage, keep the bites in an airtight container for up to 2 hours. Any longer, and they should be refrigerated to prevent them from spoiling. In the refrigerator, they will last for up to 5 days. Store them in an airtight container to keep them fresh and prevent them from drying out. For freezer storage, wrap each bite individually in plastic wrap and then place them in a freezer-safe container. They can be frozen for up to 2 months. When you’re ready to enjoy them, thaw them in the refrigerator overnight. Glaze timing advice? I prefer to add the glaze right before serving, especially if I’m storing them in the freezer. This prevents the glaze from getting soggy. If you’ve already glazed them, they will still be delicious, but the glaze might be a little softer. And there you have it! Everything you need to know about storing and reheating these delectable Lemon Cheesecake Bites. Enjoy!
What are the most frequently asked questions on
Final Thoughts
Alright, my friends, there you have it! My absolute favorite Lemon Cheesecake Bites recipe. I truly believe these little bites of sunshine are worth every single second of baking time. They’re easy, delicious, and always a crowd-pleaser. What more could you ask for? And if you’re loving this lemony goodness, why not try my Lemon Poppy Seed Muffins next? Or maybe even a classic Lemon Meringue Pie? I’d love to hear how your Lemon Cheesecake Bites turn out! Feel free to leave a comment below, rate the recipe, and share your own variations. Happy baking!
Lemon Cheesecake Bites
Ingredients
Crust Ingredients
- 1.5 cups graham cracker crumbs
- 0.5 cup sugar
- 0.25 cup melted butter
Filling Ingredients
- 16 ounces cream cheese softened
- 1 cup sugar
- 1 tablespoon lemon zest
- 0.5 cup lemon juice
- 2 large eggs
Instructions
Preparation Steps
- Preheat oven to 350°F (175°C). Combine graham cracker crumbs, sugar, and melted butter. Press into mini muffin tins.
- In a separate bowl, beat cream cheese and sugar until smooth. Add lemon zest, lemon juice, and eggs; mix until combined.
- Pour filling over crusts. Bake for 20-25 minutes, or until set.
- Let cool completely before serving.