Royal Icing Recipe
Oh, hello there! Come on in, grab a mug – I’ve got a fresh pot of coffee brewing. You know, I was just thinking about all those times we’ve spent hours hunched over Pinterest boards, trying to get that perfect cake decoration just right. We’ve all been there, right? Staring at those impossibly smooth, crisp icing lines and thinking, “How do they DO that?!” Well, my friend, I’m so excited to share a little secret with you today. This isn’t just any royal Icing Recipe; this is *the* royal icing recipe that has saved my sanity more times than I can count. It’s ridiculously simple, consistently flawless, and frankly, it’s what makes those homemade cookies and cakes look like they came straight out of a fancy bakery. Forget those complicated, fussy recipes that make you feel like you need a chemistry degree. This is the real deal, the one I’ve tweaked and tested until it’s absolute perfection. If you’ve ever felt intimidated by decorating, consider this your friendly nudge to dive right in!
What is royal icing?
So, what exactly *is* this magical stuff we call royal icing? Think of it as the superhero of cake and cookie decorating. It’s essentially a super-stiff, but surprisingly smooth, icing made from powdered sugar, egg whites (or a meringue powder alternative, more on that later!), and a touch of flavoring. Unlike buttercream, which is creamy and soft, royal icing dries rock-hard. This is its superpower! It gives you crisp lines, sharp details, and a durable finish that’s perfect for flooding cookies, creating intricate piping designs, or even building gingerbread houses that actually stand up. The “royal” in its name probably comes from its elegant, sophisticated finish that truly elevates any baked good. It’s the secret ingredient that takes something already delicious and makes it look utterly spectacular. Don’t be fooled by its simple ingredients; when mixed correctly, it’s a game-changer for any home baker looking to impress!
Why you’ll love this recipe?
Honestly, there are so many reasons why this is my go-to royal icing recipe, and I just know you’re going to adore it too. First off, the flavor. Now, I know some royal icing can be a bit… well, bland. But this one? I always add a touch of vanilla bean paste or a good quality vanilla extract, and sometimes a tiny pinch of almond extract, which just makes it sing. It’s subtly sweet, not overpowering, and lets the flavor of your cookies or cake shine through. But the biggest win for me is the simplicity. I’ve tried so many recipes that require super precise temperatures or juggling raw egg whites in a double boiler, and let’s be honest, who has the time or mental energy for that on a busy baking day? This recipe cuts out all the fuss. You just whisk, mix, and go. It’s incredibly forgiving, too. I’ve accidentally added a tiny bit too much liquid and brought it back with more powdered sugar, or vice versa, and it’s still worked beautifully. The cost-efficiency is another huge plus. Powdered sugar and egg whites (or meringue powder) are pantry staples for most of us, making this an incredibly budget-friendly way to make your baked goods look gourmet. And the versatility! Oh my goodness, the versatility is endless. You can thin it down with a little water for beautiful flooding, keep it thick for intricate piping, divide it into batches and color it to your heart’s content. It’s perfect for everything from elegant wedding cookies to fun dinosaur-shaped cookies for a kid’s birthday party. What I love most about this royal icing recipe is that it consistently delivers professional-looking results without any of the stress. It’s the perfect blend of beauty and ease.
How do I make royal icing?
Quick Overview
This royal icing recipe is a breeze, truly! You’re basically going to combine your dry ingredients, whisk in your wet ingredients until you get a thick, smooth consistency, and then adjust it to your desired piping or flooding thickness. The key is in the ratios and the final consistency check, which we’ll get into. It’s so straightforward, you’ll wonder why you ever shied away from decorating before. Seriously, within minutes, you’ll have a batch ready to transform your cookies into edible works of art.
Ingredients
For the Main Icing:
You’ll need about 4 cups (480g) of confectioners’ sugar, also known as powdered sugar. Make sure it’s sifted! Trust me on this, lumps in your powdered sugar mean lumps in your icing, and nobody wants that. I always use a fine-mesh sieve. Then, you’ll need 3 tablespoons of meringue powder. This is my absolute favorite way to go because it’s shelf-stable and gives you that wonderful, hard-drying finish without the fuss or food safety concerns of raw egg whites. If you prefer, you can substitute about 2 large egg whites, but make sure they’re fresh and that you’re serving your decorated items fairly quickly. A tablespoon of good quality vanilla extract or vanilla bean paste is essential for flavor. And finally, about 1/4 cup (60ml) of water, but this is where we’ll adjust for consistency.
For Coloring (Optional):
If you want to get fancy, you’ll need some gel food coloring. I highly recommend gel colors over liquid ones because they are super concentrated, so you don’t need much, and they won’t water down your icing consistency. A little goes a long way to achieving vibrant hues!
For Thinning (if needed):
Just a few drops of water at a time. This is your secret weapon for achieving the perfect floodable consistency.
Step-by-Step Instructions
Step 1: Prepare Your Workspace
First things first, gather all your ingredients and make sure your mixing bowl and whisk are super clean. Even a tiny bit of grease can affect how your icing whips up. I usually set out my sifted powdered sugar, meringue powder, vanilla, and water. Have your whisk attachment ready if you’re using a stand mixer, or just grab your trusty hand whisk.
Step 2: Combine Dry Ingredients
In your mixing bowl, add the sifted confectioners’ sugar and the meringue powder. Give them a quick whisk together just to combine them thoroughly. This ensures the meringue powder is evenly distributed throughout the sugar, which is important for a smooth, consistent icing.
Step 3: Add Wet Ingredients
Now, add the vanilla extract (or paste) and about half of the water to the dry ingredients. Start mixing on a low speed if using a mixer, or with your whisk by hand, until the ingredients just start to come together. It will look clumpy and thick at this stage, and that’s perfectly fine!
Step 4: Achieve the Right Consistency
Gradually add the remaining water, a tablespoon at a time, mixing well after each addition. Continue mixing until the icing is smooth, thick, and glossy. You’re looking for a consistency that holds its shape when you lift the whisk, but also flows slowly, like thick honey or lava. If it’s too stiff, add water, just a teaspoon at a time. If it’s too thin, add more sifted powdered sugar, a tablespoon at a time. This might take a few minutes of mixing. I usually let mine mix for about 3-5 minutes on medium speed in my stand mixer to get it really smooth and airy.
Step 5: Divide and Color (Optional)
If you plan on using multiple colors, this is the time to divide your icing into smaller bowls. Use a spatula to scrape the main batch into your desired portions. Then, add a tiny amount of gel food coloring to each bowl and mix until the color is uniform. Remember that the color will deepen slightly as it sits. If you’re just using one color, you can add it now to the whole batch.
Step 6: Prepare for Piping/Flooding
Transfer your icing to piping bags fitted with tips for details, or cover the bowls tightly with a damp cloth or plastic wrap pressed directly onto the surface of the icing to prevent a skin from forming while you work. If you’re flooding cookies, you’ll want to thin down the icing further with a teaspoon or two of water until it reaches a “10-15 second” consistency – meaning when you drizzle some icing back into the bowl, it disappears into the surface within 10-15 seconds.
Step 7: Decorate!
Now for the fun part! Use your piping bags to outline your cookies or create designs. Once outlined, let that outline set for about 15-20 minutes. Then, fill in the center with your thinned flood icing. Gently tap the cookie on the counter to help the icing settle and spread evenly. You can use a scribe tool or a toothpick to pop any air bubbles and to guide the icing to the edges.
Step 8: Let it Dry
This is crucial! Royal icing needs time to dry completely. Depending on humidity and thickness, this can take anywhere from 4 hours to overnight. I usually leave my decorated cookies out on a wire rack in a well-ventilated area. Resist the urge to touch them until they are fully dry and hard.
Step 9: Admire and Enjoy
Once completely dry, your cookies are ready to be admired and, more importantly, devoured! The finish will be smooth, crisp, and professional. You’ve done it!
What to Serve It With
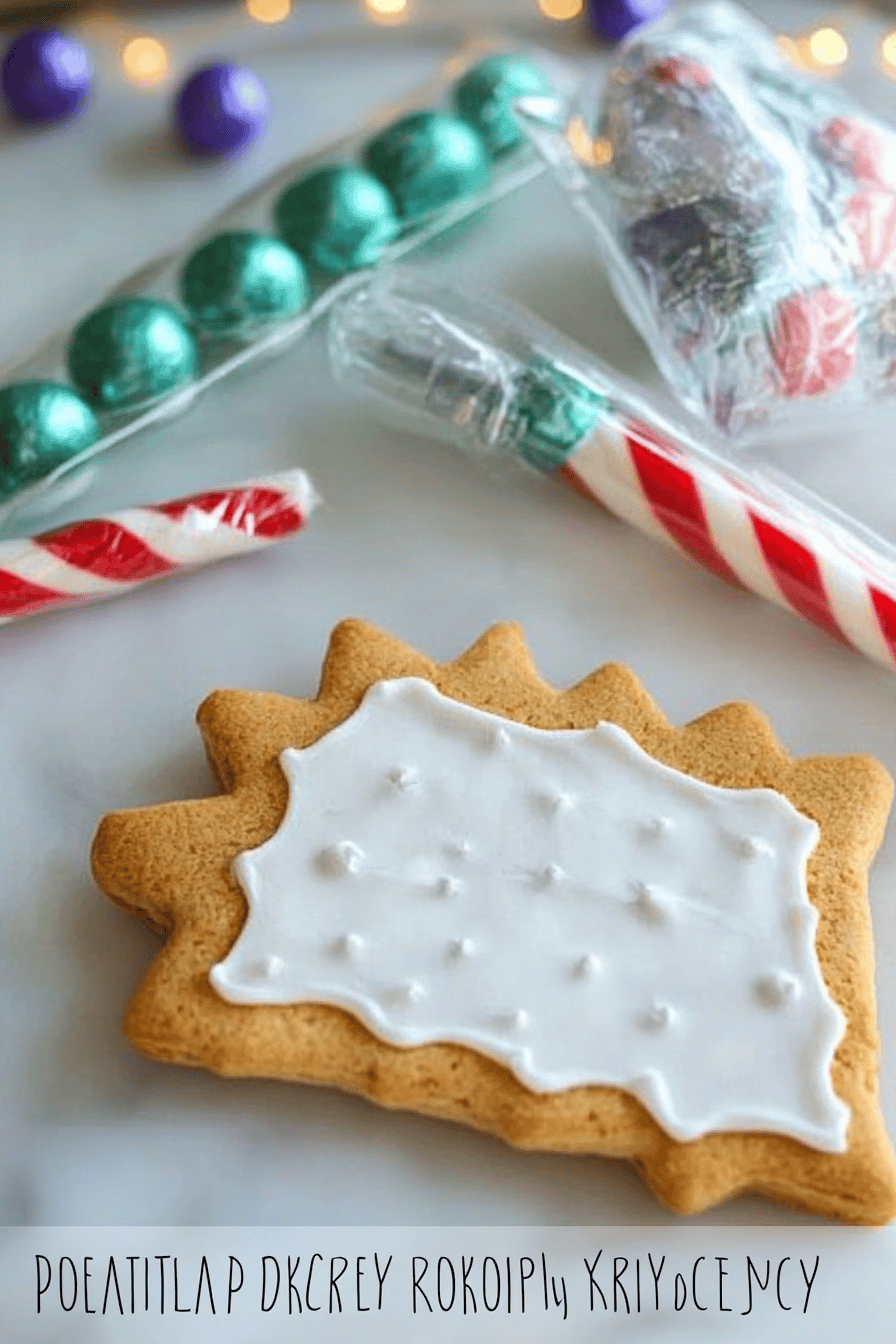
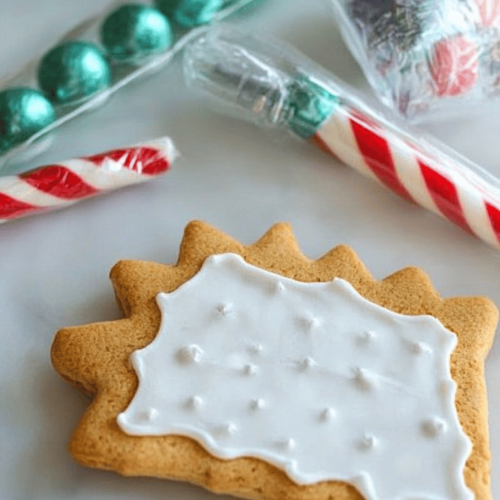
This royal icing recipe is a decorating tool, so what you serve it *with* is all about the base! It’s absolutely phenomenal on sugar cookies – those classic Butter Cookies that are firm enough to hold their shape and decorated beautifully. Think of simple rounds, cut-out shapes for holidays, or even elaborate gingerbread house panels. For breakfast, imagine a delicately iced Danish pastry or a simple, sweet scone that gets a touch of elegance. Brunch is where this icing truly shines; think mini quiches with a tiny iced swirl for a whimsical touch, or elegant macarons with a crisp, colorful shell. As dessert, it’s the star on traditional Christmas cookies, wedding favors, or even as delicate edible embellishments on a layered cake. For cozy snacks, a batch of simple sugar cookies iced with cheerful patterns is just the ticket. My family loves it on our homemade gingerbread men during the holidays, and I’ve even used it to create little edible flowers to top cupcakes for birthdays. It’s also fantastic on shortbread cookies for an afternoon tea setting. The possibilities are truly endless, and it elevates any baked good into something truly special.
Top Tips for Perfecting Your Royal Icing
I’ve definitely had my share of royal icing learning curves, so let me share a few things I’ve learned that will help you nail it every single time. First, about the meringue powder: use a good quality one. There are different brands, and some can be a bit finicky. I’ve found success with Wilton and CK Products. If you’re using egg whites, ensure they’re room temperature and then whisk them until frothy *before* adding the powdered sugar. For the powdered sugar, sifting is non-negotiable. I’ve tried skipping it on busy days and regretted it instantly because I spent more time chasing lumps than decorating. When it comes to achieving the right consistency for flooding, I always use the “10-15 second rule.” It sounds fiddly, but it’s your best friend. Drizzle some icing back into the bowl and time how long it takes for the line to disappear. If it’s too fast, it’s too thin; if it’s too slow, it’s too thick. It’s all about patience and small adjustments. When coloring, gel is key. Liquid colors will change your consistency dramatically. Start with a tiny drop and build up. I’ve learned that over-mixing after adding color can sometimes break the icing, so mix just until incorporated. If your icing seems a little too stiff for piping, don’t be afraid to add a *tiny* bit of water – literally, a drop or two at a time – and stir gently until it’s workable. Conversely, if it’s too thin, add more sifted powdered sugar, a tablespoon at a time. For storing icing that you’re not using immediately, cover it tightly with plastic wrap pressed directly onto the surface. This prevents that dreaded crust from forming. I’ve also found that using a slightly coarser sieve for your first sift of powdered sugar, and then a finer one, can help break down larger lumps even better. And for those intricate piping details, make sure your tip is clean and your icing bag is filled adequately but not stuffed. Sometimes, a little bit of air in the bag can cause sputtering, so pipe a little onto a scrap surface first to get a steady flow.
Storing and Reheating Tips
Proper storage is key to keeping your beautiful creations looking their best. For decorated cookies, the general rule is to store them in an airtight container at room temperature. This is because the royal icing dries hard and essentially acts as a seal. I’ve found that most decorated Sugar Cookies will stay perfectly fresh for up to two weeks this way. Avoid putting them in the refrigerator, as the condensation can cause the icing to get sticky and even melt. If you absolutely must refrigerate them (perhaps in very humid climates), make sure they are sealed in an airtight container, and allow them to come to room temperature *before* opening the container to minimize condensation. For un-decorated royal icing that you’ve made ahead, you can store it in an airtight container with plastic wrap pressed directly on the surface in the refrigerator for up to a week. When you’re ready to use it again, you might need to re-whip it for a minute or two to restore its smooth consistency. If it’s too stiff, you can add a teaspoon of water. For longer storage, royal icing freezes surprisingly well! Store it in a freezer-safe airtight container or bag for up to 3 months. Thaw it in the refrigerator overnight, then let it come to room temperature before re-whipping. I haven’t found a need to “reheat” decorated cookies, as they are enjoyed at room temperature. The goal is preservation, not heating.
Frequently Asked Questions
Final Thoughts
So there you have it – my tried-and-true, absolutely foolproof royal icing recipe! I really hope you give this one a go. It’s more than just an icing; it’s a gateway to so many creative possibilities in the kitchen. Whether you’re decorating for a holiday, a special occasion, or just because you want to add a little sparkle to your day, this recipe will be your trusty companion. It’s the kind of recipe that makes you feel like a pro, even if you’ve never piped a swirl before. It’s forgiving, it’s beautiful, and it tastes so good. If you love this recipe, you might also enjoy my other tutorials on decorating Sugar Cookies or my guide to making the perfect gingerbread dough – they pair wonderfully! I truly can’t wait to hear how your creations turn out. Don’t be shy, share your photos and tell me all about your decorating adventures in the comments below! Happy baking, my friends!
Royal Icing Recipe
Ingredients
Main Ingredients
- 3 cups powdered sugar
- 2 tablespoons meringue powder
- 0.25 cup water plus more if needed
- 0.5 teaspoon vanilla extract optional
Instructions
Preparation Steps
- In a large bowl, whisk together the powdered sugar and meringue powder.
- Add the water and vanilla extract (if using).
- Beat with an electric mixer on low speed until the ingredients are combined.
- Increase speed to medium-high and beat for 5-7 minutes until the icing is thick and glossy.
- If the icing is too thick, add water 1 teaspoon at a time until the desired consistency is reached. If it's too thin, add more powdered sugar.
- Use immediately for decorating or cover tightly with plastic wrap pressed directly onto the surface of the icing to prevent it from drying out.