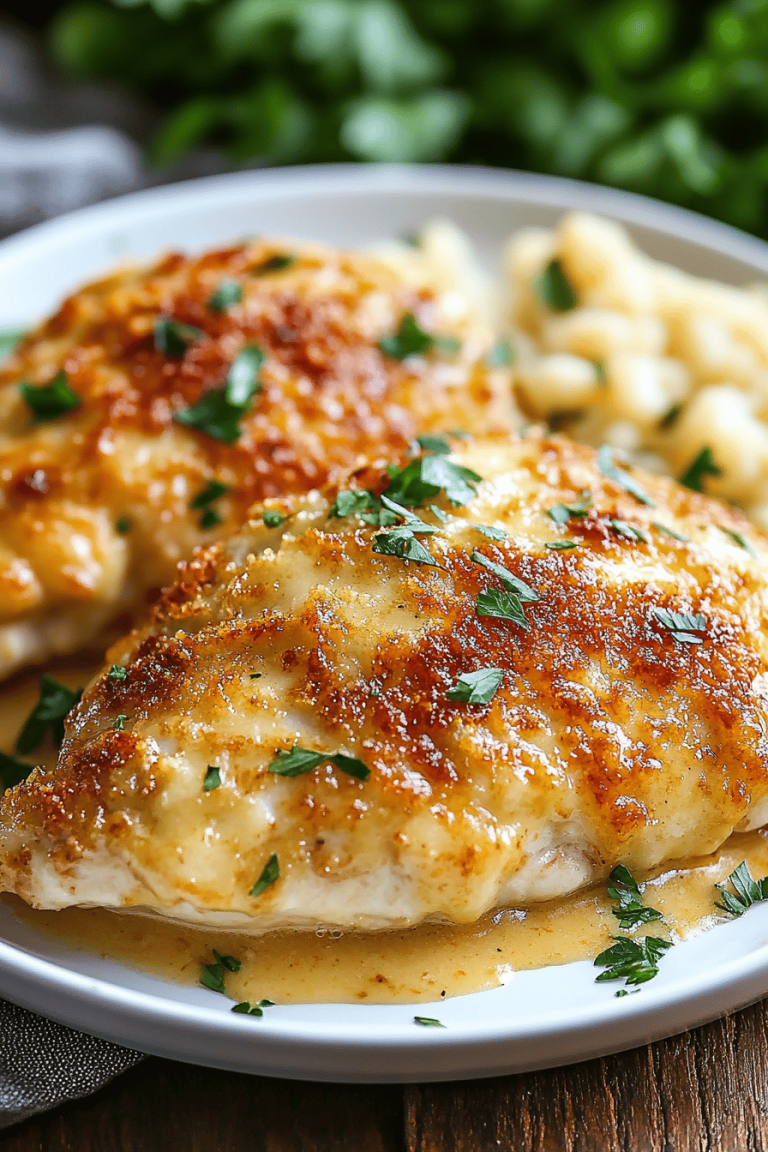
Perfect Pizza Dough
Oh, where do I even begin with this perfect pizza dough? It’s not just a recipe to me; it’s pure nostalgia. I remember being a kid, my Nana would get out her old wooden rolling pin, and the entire kitchen would fill with this incredible, yeasty aroma. We’d all gather around, eager to help (or mostly just eager to lick the bowl, let’s be honest!). This dough… it’s the foundation of so many happy memories. It’s the kind of thing that transforms a regular weeknight dinner into a mini celebration. Forget those cardboard-like store-bought crusts or the ones that taste faintly of disappointment. This is the real deal – chewy, slightly crisp, and with that perfect flavor that makes you want to eat it straight from the oven. It’s honestly my go-to, my secret weapon when friends spontaneously drop by or when the craving for a truly exceptional pizza hits hard. And trust me, I’ve tried a lot of doughs in my time, but this one is a true standout. It’s that perfect pizza dough you’ve been dreaming of, and I’m so excited to finally share it with you!
What is perfect pizza dough?
So, what exactly makes this “perfect pizza dough“? It’s not some fancy, complicated concoction. Think of it as your most reliable, best-friend dough. It’s the kind of dough that’s forgiving enough for beginners but yields results that even seasoned bakers will rave about. It’s essentially a classic Neapolitan-style pizza dough, but with a few little tweaks and a lot of love baked in. The magic lies in its simplicity and the quality of the ingredients. It’s not overly complicated; it doesn’t require a sourdough starter or a week of fermenting. It’s designed to be made by you, in your kitchen, with ingredients you can easily find. It’s the kind of dough that rises beautifully, develops a wonderful flavor profile during a relatively short fermentation, and bakes up into a crust that’s both tender and satisfyingly chewy, with just the right amount of crispness. It’s the canvas for all your pizza dreams!
Why you’ll love this recipe?
Why should I give this one a try?flavor. This dough has a depth that store-bought just can’t touch. It’s got that subtle sweetness from the yeast and flour, with a hint of salt that makes everything pop. When it bakes, it develops a gorgeous golden-brown color and a texture that’s just divine. It’s wonderfully chewy on the inside, with a delightful crispness on the exterior – that perfect balance that makes you want to tear off another piece immediately. Then there’s the simplicity. Seriously, it’s incredibly straightforward. You mix, you knead (or let the mixer do the work), you let it rise, and you’re on your way. No super-fussy steps, no obscure ingredients. It’s honestly a lifesaver on busy weeknights when you want something homemade and spectacular without spending hours in the kitchen. And let’s talk about Cost-efficiency: What is the best way to measure cost-efficiency?. Flour, water, yeast, salt – these are some of the most budget-friendly staples you can find. Making your own perfect pizza dough is significantly cheaper than ordering takeout, and the quality is miles better. Plus, the versatility! This dough is your oyster. It’s perfect for classic Margherita pizzas, but it also holds up beautifully to heartier toppings like pepperoni, sausage, and loads of cheese. You can even use it for focaccia or calzones. It’s just that good. What I love most about this dough is the feeling it gives me. It’s empowering to create something so delicious from scratch. It’s the kind of recipe that makes you feel like a true home chef, and your family and friends will be begging for more. It truly stands out because it’s consistently perfect, every single time I make it.
How to Make Perfect Pizza Dough
Quick Overview
Making this perfect pizza dough is a journey from simple pantry staples to pure pizza perfection. You’ll start by activating your yeast, then combining it with your flours and salt. A brief kneading session develops the gluten, followed by a relaxing rise that lets the magic happen. After a gentle punch-down, the dough is ready to be shaped and topped for baking. It’s a process that rewards patience with incredible flavor and texture. What makes this method special is its reliability; it’s designed to give you that ideal chewy, slightly crisp crust without any fuss.
Ingredients
For the Main Dough:
Warm water (around 105-115°F): About 1 ½ cups. This is crucial for waking up the yeast. Too hot and you’ll kill it, too cold and it won’t get going. I always test it with my finger – it should feel comfortably warm, like a nice bath. If you’re using filtered water, you might want to add a tiny pinch more yeast, as sometimes filtration can remove natural nutrients. Using filtered water is my preference for a cleaner flavor.
Active dry yeast: 2 ¼ teaspoons (that’s one standard packet). This is your leavening agent, the thing that gives the dough its life and airy texture. Make sure it’s fresh! If your yeast is old, it won’t foam up, and your dough will be flat.
All-purpose flour: 4 cups, plus more for dusting. While you can use bread flour for a chewier crust, all-purpose works wonderfully and is what I usually have on hand. I always measure flour by spooning it into the cup and leveling it off, never by scooping directly from the bag, as that can pack it too densely.
Fine sea salt: 2 teaspoons. Salt is essential not just for flavor, but also to control the yeast’s activity and strengthen the dough’s structure. Don’t skimp on this!
Olive Oil: 2 tablespoons, plus extra for greasing. A good quality extra virgin olive oil adds a lovely subtle flavor and helps keep the dough tender. It also gives it that beautiful sheen when it bakes.
Step-by-Step Instructions
Step 1: Activate the Yeast
In a large bowl (or the bowl of your stand mixer), combine the warm water and the active dry yeast. Give it a gentle stir and let it sit for about 5-10 minutes. You’re looking for it to get foamy and bubbly on top. This means your yeast is alive and ready to work its magic! If it doesn’t get foamy, your yeast might be old, or the water wasn’t the right temperature, and you’ll need to start over with fresh yeast and warm water. I’ve definitely learned this the hard way after waiting for a dough that never rose!
Step 2: Mix Dry Ingredients
To the foamy yeast mixture, add the all-purpose flour, fine sea salt, and Olive Oil. If you’re using a stand mixer, attach the dough hook. If you’re doing it by hand, you’ll use a sturdy spoon or spatula initially. Give everything a good mix until a shaggy dough starts to form. It might look a little rough at this stage, and that’s perfectly okay. The goal here is just to get everything incorporated.
Step 3: Knead the Dough
Now it’s time to develop the gluten. If you’re using a stand mixer, knead on medium-low speed for about 5-7 minutes. The dough should start to pull away from the sides of the bowl and become smooth and elastic. If you’re kneading by hand, turn the dough out onto a lightly floured surface and knead for about 8-10 minutes. Push, fold, and turn the dough until it’s smooth, elastic, and bounces back when you poke it. This is where the structure of your crust is really built!
Step 4: First Rise
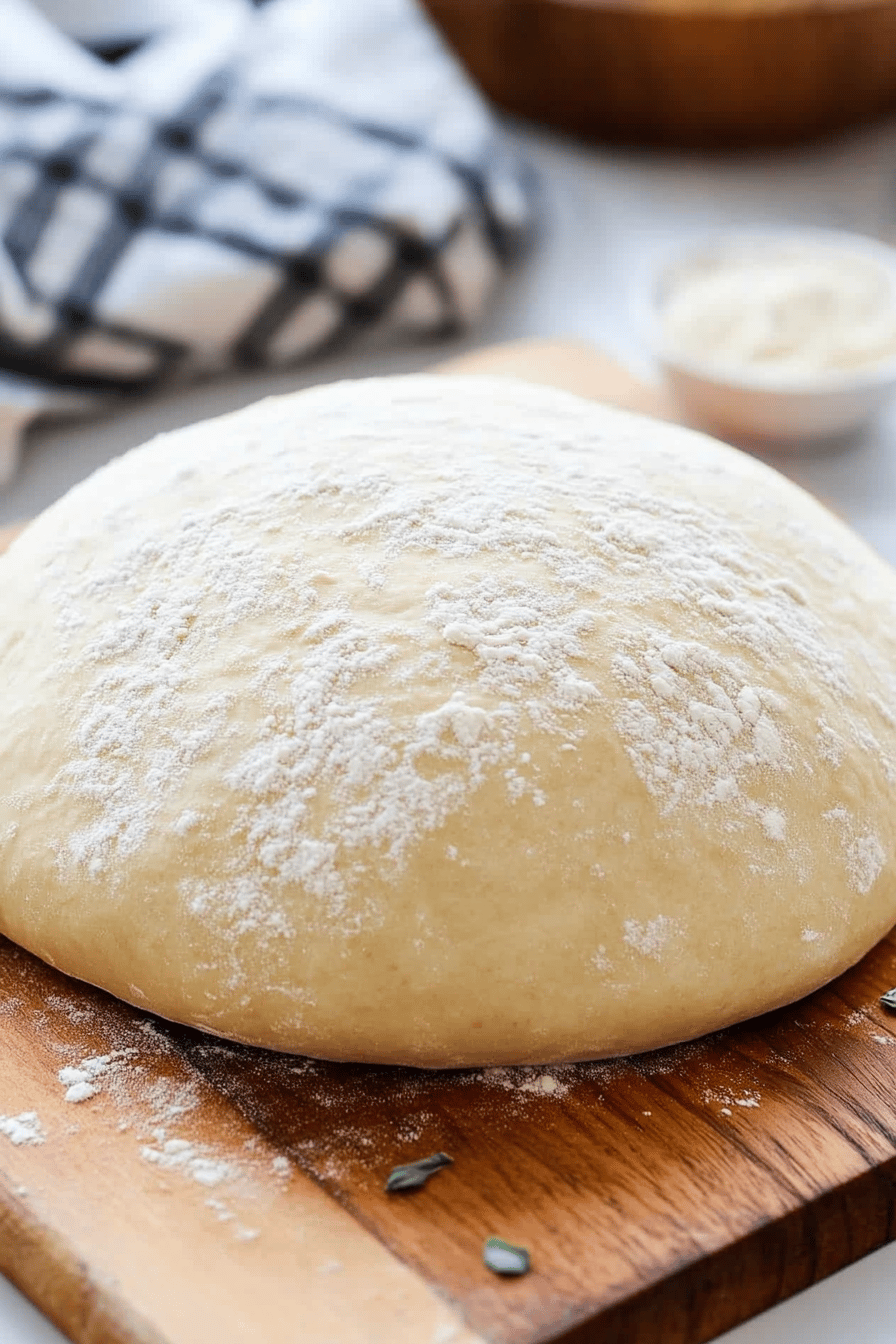
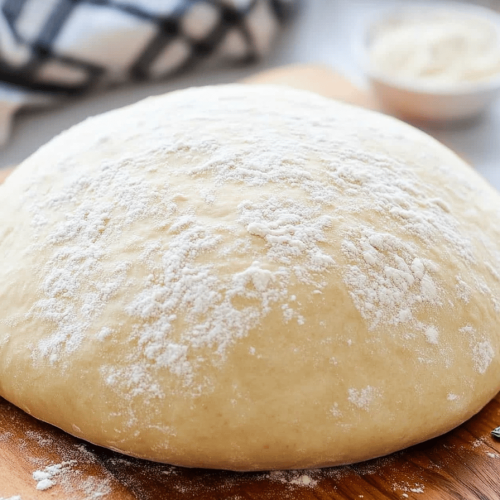
Lightly grease a clean bowl with a little Olive Oil. Place the kneaded dough in the bowl, turning it once to coat the surface with oil. Cover the bowl tightly with plastic wrap or a clean kitchen towel. Let it rise in a warm place for about 1 to 1 ½ hours, or until it has doubled in size. I often put mine in a slightly warm (but turned off!) oven. The dough should feel light and airy when you gently poke it. This waiting game is the hardest part, but so worth it!
Step 5: Punch Down and Shape
Once doubled, gently punch down the dough to release the air. Turn it out onto a lightly floured surface. At this point, you can divide the dough if you’re making multiple smaller pizzas. Gently shape each portion into a ball. If you’re not using it immediately, this is a great time to wrap it tightly and refrigerate it for a slower, flavorful rise. For immediate use, let the shaped dough balls rest, covered, for about 15-20 minutes before shaping your pizza.
Step 6: Preheat Oven and Prepare Baking Surface
About 30 minutes before you’re ready to bake, preheat your oven to its highest setting, usually 475-500°F (245-260°C). If you have a pizza stone or steel, place it in the oven during preheating. This will give you that amazing crispy bottom crust we all love. If you don’t have one, a heavy baking sheet flipped upside down also works well. You can also use a pizza peel dusted with cornmeal or flour to help slide the pizza onto the hot surface.
Step 7: Stretch and Top
Gently stretch the dough into your desired pizza shape. I like to start by pressing from the center outwards, leaving a slightly thicker edge for the crust. You can use your hands or a rolling pin, but be careful not to overwork it, which can make it tough. Once stretched, transfer it to your prepared pizza peel or parchment paper. Add your favorite sauce, cheese, and toppings. Don’t overload it, though – a few well-chosen ingredients are better than a mountain of toppings that can make the crust soggy.
Step 8: Bake Your Pizza
Carefully slide your pizza onto the preheated pizza stone, steel, or baking sheet. Bake for 10-15 minutes, or until the crust is golden brown and the cheese is bubbly and slightly browned in spots. Cooking time will vary depending on your oven and how thick you’ve made your crust. Keep an eye on it!
Step 9: Cool Slightly and Slice
Once out of the oven, let the pizza rest on a wire rack for a couple of minutes before slicing. This allows the cheese to set slightly and prevents everything from sliding off when you cut it. Use a sharp knife or a pizza cutter to slice. The smell when you cut into it… pure bliss!
What to Serve It With
This perfect pizza dough is so versatile, it’s basically a blank canvas for deliciousness. For a classic breakfast, I love making a mini pizza with a fried egg right in the center, a sprinkle of chives, and maybe some crispy bacon bits. It’s so much more satisfying than just toast! Pair it with a strong cup of coffee, and you’re ready to tackle the day. When we have friends over for brunch, I often do a more elegant version with prosciutto, arugula, and a drizzle of balsamic glaze. It looks so fancy, but it’s incredibly easy. A mimosa or a sparkling rosé is the perfect beverage accompaniment. As a dessert, especially if I’ve got some leftover dough, I’ll make a sweet pizza with a mascarpone base, fresh berries, and a dusting of powdered sugar – pure indulgence after dinner! And for those cozy snacks when you just want something comforting, a simple margherita pizza is always a winner. I love serving it with a big bowl of my family’s favorite garlic knots or a simple side salad to balance things out. Honestly, this dough is so good, it’s delicious served with just about anything, or even on its own!
Top Tips for Perfecting Your Perfect Pizza Dough
I’ve made this dough more times than I can count, and over the years, I’ve picked up a few tricks that I think really elevate it. When it comes to the flour, I’ve experimented with both all-purpose and bread flour. While bread flour can give you a slightly chewier crust due to its higher protein content, I find that good old all-purpose flour, when treated right, gives you that perfect balance of tender and chewy that I adore. My absolute favorite tip is about the water temperature; it really needs to be lukewarm, not hot. I’ve seen friends ruin a batch by using water that’s too hot, essentially killing the yeast before it even has a chance to bloom. So, definitely test that temperature! When it comes to kneading, whether by hand or with a mixer, don’t be afraid to really work the dough. You’re looking for that smooth, elastic texture. It should spring back when you gently poke it. This is crucial for a good rise and a satisfying chew. I used to be so gentle, and my crusts were always a bit dense. Now, I embrace the kneading!
Another thing I’ve learned is the power of a slow, cold fermentation. If you have the time (or the foresight!), after the first rise, you can punch down the dough, wrap it tightly, and let it rest in the refrigerator for 24-72 hours. This slow fermentation develops an incredible depth of flavor that you just can’t achieve with a quick rise. When you’re ready to use it, just let it sit at room temperature for about an hour to come back to life. For shaping, I always try to be gentle. Overworking the dough at this stage can make it tough. I prefer to use my fingertips to press the dough out, starting from the center and working my way to the edges, creating a slightly thicker rim for that classic crust. And if you’re struggling with the dough sticking, don’t be tempted to add too much extra flour; a little cornmeal or semolina on your pizza peel or parchment paper can make a world of difference for sliding your pizza into the oven. Finally, and this is a big one for me: don’t overload your pizza with toppings! Too much sauce or too many heavy ingredients can weigh down the dough, making it soggy and preventing it from cooking properly. Keep it balanced for the best results. These little tweaks have made all the difference in turning good pizza dough into truly perfect pizza dough.
Storing and Reheating Tips
So, you’ve made a batch of this glorious perfect pizza dough, and maybe you have some leftover, or you’ve made extra to stash away for later. Smart move! Storing it properly will ensure it’s just as fantastic when you decide to use it. If you plan on using the dough within a day or two, simply wrap it tightly in plastic wrap or place it in an airtight container and keep it in the refrigerator. The cold temperatures slow down the yeast activity, but the flavor continues to develop, which is a beautiful thing! It will last for up to 3-4 days in the fridge. When you’re ready to use it, just take it out of the fridge about an hour before you plan to shape and bake your pizza, allowing it to come to room temperature and become pliable again.
For longer storage, freezing is your best friend. Once the dough has completed its first rise and you’ve punched it down, divide it into individual portions if you like. Wrap each portion tightly in plastic wrap, then place it inside a freezer-safe bag or airtight container. This double-wrapping helps prevent freezer burn. Frozen dough will keep its quality for up to 3 months. When you’re ready to thaw it, transfer the frozen dough to the refrigerator the night before. It will thaw slowly overnight. Then, let it sit at room temperature for about an hour before shaping and baking, just like you would with refrigerated dough. Some people like to thaw it at room temperature, but I find the slow thaw in the fridge preserves the texture best. Reheating leftover pizza made with this dough is simple. A skillet on the stovetop over medium-low heat, with a lid, works wonders to re-crisp the crust without drying out the toppings. You can also pop slices in a toaster oven or a regular oven at around 350°F (175°C) for a few minutes. Avoid the microwave if you want to preserve that lovely crust!
Frequently Asked Questions
Final Thoughts
There you have it – my ultimate, tried-and-true recipe for perfect pizza dough. It’s the kind of recipe that brings people together, sparks joy in the kitchen, and makes for some seriously delicious meals. I genuinely believe that having a fantastic pizza dough recipe in your repertoire is a game-changer for home cooks. It’s so much more rewarding, and frankly, so much tastier, than relying on store-bought options. I hope you’ll give this a try and experience the magic for yourself. Whether you’re a seasoned baker or just starting out, this recipe is designed to be accessible and deliver incredible results every time. If you love this dough, you might also enjoy my recipe for [Link to another pizza-related recipe, e.g., Easy Homemade Marinara Sauce] or my guide to [Link to another pizza-related recipe, e.g., Creative Pizza Topping Ideas]. I can’t wait to hear how your pizzas turn out! Please feel free to leave a comment below with your creations or any questions you might have. Happy pizza making!
Perfect Pizza Dough
Ingredients
Main Ingredients
- 3.5 cups all-purpose flour plus more for dusting
- 1.5 teaspoons instant yeast
- 1.5 teaspoons salt
- 1.25 cups warm water about 105-115°F (40-46°C)
- 2 tablespoons olive oil plus more for greasing
Instructions
Preparation Steps
- In a large bowl, whisk together the flour, yeast, and salt.
- Add the warm water and olive oil to the dry ingredients. Mix with a wooden spoon or your hands until a shaggy dough forms.
- Turn the dough out onto a lightly floured surface and knead for 8-10 minutes, or until the dough is smooth and elastic. If the dough is too sticky, add a little more flour, one tablespoon at a time.
- Lightly grease a clean bowl with olive oil. Place the dough in the bowl and turn to coat. Cover the bowl with plastic wrap or a clean kitchen towel and let it rise in a warm place for 1-1.5 hours, or until doubled in size.
- Punch down the dough to release the air. Divide the dough into portions (for 2-3 pizzas) and shape into balls. You can use the dough immediately, or wrap it tightly in plastic wrap and refrigerate for up to 3 days. For best results, let refrigerated dough sit at room temperature for 30 minutes before shaping.