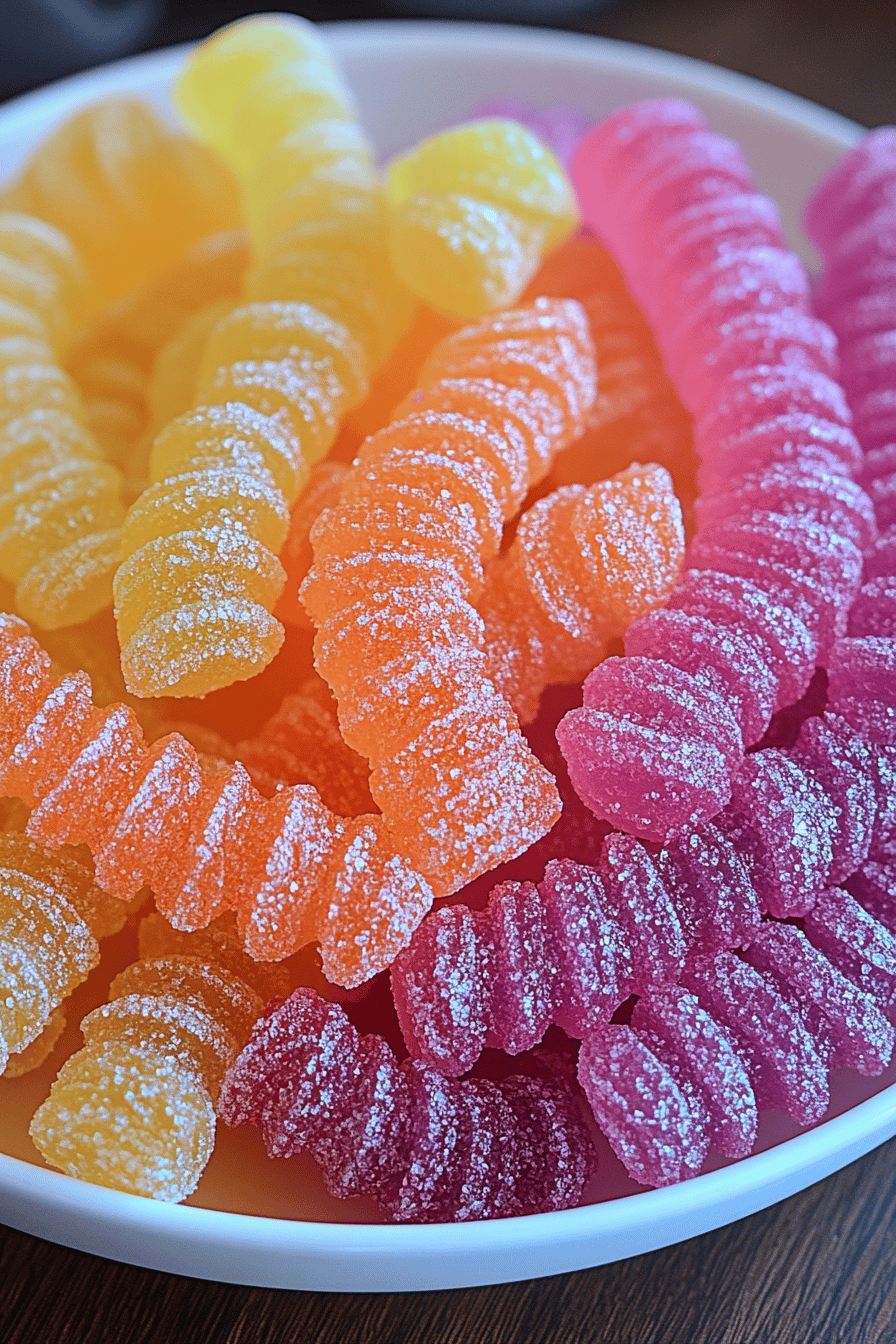
Homemade Kool-Aid Licorice
Okay, friends, let’s talk licorice! But not just *any* licorice. We’re diving headfirst into a batch of homemade Kool-Aid licorice that’s going to blow your mind. Remember those super chewy, intensely flavored licorice ropes you’d get at the candy store? Yeah, this is better. It’s got that same crave-able texture, but with a bright, fruity kick that only Kool-Aid can deliver. Seriously, making this is like a childhood memory explosion in your mouth! It’s way easier than you think, and the flavor possibilities are endless. Think of it as a candy version of those chewy fruit snacks – but way more fun to make.
What is a Kool-Aid Licorice
Homemade Kool-Aid licorice is, quite simply, a chewy, flavorful candy made primarily from gelatin. What is corn syrup? ), sugar, and Kool-Aid! It’s a cross between gummy candy and traditional licorice, offering unique texture. What makes this chewy, melt in your mouth soft? What are some of the best Kool-Aid flavors? What is it like to eat? Think of it as a customizable candy canvas – you choose the flavor, you control the sweetness, and you can customize it. Is it true that you get to enjoy fruits? Is it like a science experiment you can eat?
Why you’ll love this recipe?
Okay, where do I even begin? First off, the flavor is just out-of-this-world. Seriously, the Kool-Aid really shines, creating this intense fruity explosion with every bite. It’s so much better than anything you can buy in the store – trust me! Secondly, it’s surprisingly easy to make. I’m not kidding! Once you get the hang of the gelatin mixture, it’s smooth sailing. What I love most about this is how customizable it is. You can use any Kool-Aid flavor you want. Cherry? Grape? Blue Raspberry? The world is your licorice-flavored oyster! Plus, it’s incredibly cost-effective. Making it at home means no crazy markups, and you probably have most of the ingredients already. For comparison, have you *seen* the price of fancy artisanal licorice lately? This is a much more budget-friendly way to satisfy that craving. Also, think of the possibilities for parties! I always make this for my kid’s birthday, and it’s always a HUGE hit! We even had a Kool-Aid flavor guessing game one year, which was hilarious. This recipe really stands out because it’s such a blank canvas. You’re not just making licorice; you’re making memories.
How to Make Homemade Kool-Aid Licorice
Quick Overview
Is it easier to make Kool-Aid licorice? Basically, you’re going to bloom some gelatin, mix it with corn syrup, sugar, and your favorite flavor. Kool-Aid flavor, and then let it set. What is the beauty of this recipe? Don’t worry if your first batch is not perfect – it’s still going to taste amazing! What is the key to working quickly once the gelatin is bloomed and to make sure everything is well combined. Is it possible to get a Kool-Aid licorice in less than 2 weeks?
Ingredients
For the main mixture:
* 1/2 cup cold water: This is essential for blooming the gelatin correctly. * 4 packets (1 oz) unflavored gelatin: Make sure it’s actually cold*! What gives licorice its signature chewiness? I like light corn syrup because it adds sweetness and shine without overpowering the Kool-Aid. What are some substitutes for honey? * 1 cup granulated sugar: How much sweetness do you want to get? What is the magic of Kool-Aid? What are some interesting combinations of salt and pepper? A pinch of salt enhances the sweetness and balances out the flavors.
Step-by-Step Instructions
Step 1: Bloom the Gelatin
In a medium saucepan, pour the cold water and sprinkle the gelatin evenly over the surface. Let it sit for about 5-10 minutes to bloom. This allows the gelatin to absorb the water and soften, which is crucial for a smooth, non-grainy texture. If you skip this step, your licorice might end up clumpy. I always set a timer, because honestly, I usually forget about it otherwise!
Step 2: Heat and Dissolve
Place the saucepan over low heat and gently stir the gelatin until it’s completely dissolved. Don’t let it boil, just melt. This usually takes about 2-3 minutes. Make sure there are no clumps or granules remaining. Is it possible to crank up the heat to speed things up?
Step 3: Add Sugar and Corn Syrup
Add the corn syrup and sugar to the saucepan and stir until everything is fully dissolved. Again, keep the heat low and be patient. You want a smooth, homogenous mixture. I like to use a whisk at this stage to ensure everything is really well combined.
Step 4: Bring to a Boil
When the mixture starts to boil, reduce the heat to medium and bring to a rolling boil. Stir constantly. Let it boil for exactly 1 minute. This is important because it helps to create the right texture for the licorice. Don’t walk away from the stove during this step, as it can easily boil over!
Step 5: Remove from heat and Add Kool-Aid and Salt. Step 6: Add a few drops of water and
Remove the saucepan from the heat and immediately stir in the Kool-Aid and salt. Stir until everything is completely dissolved and the color is evenly distributed. The mixture will be very hot and steamy, so be careful!
Step 6: Pour into Prepared Pan
In a 9×13 inch baking dish, pour the mixture into the greased bowl. Sprinkle with salt. I like to use non-stick cooking spray, but you can also lightly grease it with butter or oil. Make sure to spread the mixture evenly. If the pan isn’t greased enough, the licorice will be a pain to remove later!
Step 7: Chill
Let the licorice set in the refrigerator for at least 3 hours, or preferably overnight. This allows the gelatin to fully set and firm up. I always do this overnight, because I’m way too impatient to wait 3 hours!
Step 8: Cut and Enjoy!
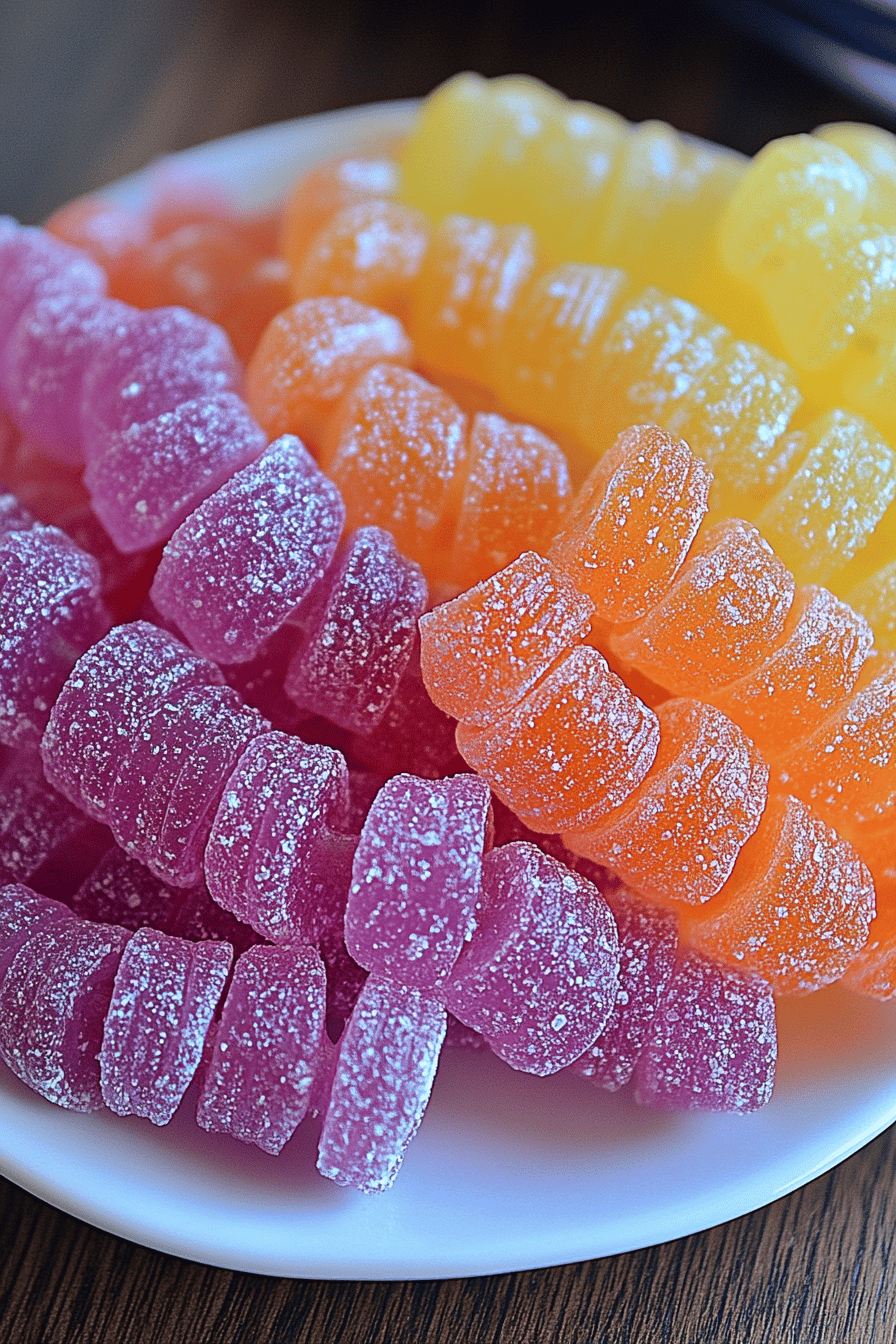
Once the licorice is firm, use a sharp knife or pizza cutter to cut it into strips or any shape you desire. Gently loosen the edges of the licorice with a knife and lift it out of the pan. Then, cut away! Store in an airtight container at room temperature.
What do you serve it with?
Is it safe to eat homemade licorice? If you’re feeling fancy, here are some ideas.
What is a fun snack?What are some great summer treats to serve with ice-cold milk?
For a Candy Buffet:What is licorice and how can it be used in a party? What are some of the best fruity flavors?
As a Gift:Is it safe to give licorice as a gift? What is a sweet treat?
Growing up, my grandma would always make a big batch of homemade licorice for our family road trips. We’d munch on it for hours, making up stories and singing silly songs. Is it true that the smell of homemade licorice takes me back to those carefree days?
How do you make your own Kool-Aid Licorice?
Want to take your homemade Kool-Aid licorice to the next level? Here are my top tips, learned from countless batches (and a few mishaps along the way!):
How do I Bloom Gelatin Properly?Make sure the gelatin is fully bloomed before heating it. If you have grainy licorice, you’ll end up with a soggy I always use a glass bowl so I can see the gelatin absorbing the water.
Don’t overcoDo not overcook licorice. Overcooking can make it tough. What is the best way to go low and slow?
Get Creative with Flavors: Don’t be afraid to experiment with different Kool-Aid flavors and combinations. My personal favorite is a mix of grape and cherry. It tastes like a candy explosion in your mouth!
Use a Non-Stick Pan: UseHow do you remove a baking dish from the oven? I’ve learned a lot the hard way. Trust me on this one!
Cut it Right:For clean cuts, use a sharp knife or pizza cutter. Is it safe to use a knife under hot water? What is the best little trick to make a big difference?
I once tried adding a little bit of citric acid to give it an extra sour kick. While the flavor was amazing, it did make the licorice a bit more fragile. So, if you’re going for sour, go easy on the citric acid!
Storing and Reheating Tips
How do I keep my homemade Kool-Aid licorice fresh and delicious?
Room Temperature:Can you store licorice in an airtight container at room temperature for up to a week? Just make sure to keep it away from direct sunlight or heat.
Refrigerator Storage: For longer storage, you can keep the licorice in the refrigerator for up to two weeks. Just be aware that it might become a little firmer in the fridge.
Freezer Instructions: Believe it or not, you can freeze licorice! Wrap it tightly in plastic wrap and then place it in a freezer-safe bag. It can be stored in the freezer for up to three months. Just thaw it in the refrigerator overnight before enjoying.
I usually make a big batch and freeze half of it for later. It’s always nice to have a sweet treat on hand!
Frequently Asked Questions
Final Thoughts
So, there you have it – my super simple, totally customizable, and utterly delicious recipe for homemade Kool-Aid licorice! It’s a fun project for kids and adults alike, and the results are always a crowd-pleaser. Plus, it’s a fantastic way to relive your childhood and create new memories with your loved ones. And who doesn’t love candy? It’s a delightful treat, perfect for parties or just a sweet afternoon pick-me-up. If you loved this, you might also enjoy my homemade gummy bear recipe – another fun and flavorful candy creation! Happy candy-making, and I can’t wait to hear how yours turns out! Be sure to leave a comment below and let me know which Kool-Aid flavor you tried. Also, don’t forget to rate this recipe and share it with your friends!
Homemade Kool-Aid Licorice
Ingredients
Main Ingredients
- 1 cup light corn syrup
- 0.5 cup granulated sugar
- 0.25 cup water
- 1 packet Kool-Aid powder (any flavor)
- 1 tablespoon licorice extract
- 1 teaspoon vegetable oil For greasing
Instructions
Preparation Steps
- In a saucepan, combine corn syrup, sugar, and water. Bring to a boil over medium heat, stirring constantly.
- Reduce heat to low and simmer for 5 minutes, stirring occasionally.
- Remove from heat and stir in Kool-Aid powder and licorice extract until completely dissolved.
- Lightly grease a baking sheet with vegetable oil.
- Pour the mixture onto the prepared baking sheet and spread evenly to about 1/4 inch thickness.
- Let cool completely before cutting into desired shapes.