Homemade Chocolate Syrup
This homemade chocolate syrup recipe is a game-changer for dessert lovers seeking to add a rich, chocolatey touch to their treats without resorting to store-bought options loaded with additives. Creating this syrup at home allows you to control the sweetness and deep chocolate flavor, making it a healthier and more delectable alternative. Whether drizzled over Ice Cream or stirred into a glass of milk, this chocolate syrup delights the palate with its smoothness and depth of flavor.

Growing up, Sunday afternoons were always reserved for sweet indulgences. My grandmother was a master in the kitchen, crafting delightful treats that felt magical. Among her many specialties, this chocolate syrup was a family favorite. She would prepare it with such love and would pour it generously over a scoop of vanilla Ice Cream. The scent of cocoa boiling on the stove would fill the kitchen, creating an irresistible atmosphere that drew us all together. It’s more than just a syrup; it’s a cherished memory that I am excited to share with you.
Why You’ll Love This Recipe
This recipe stands out because it uses simple pantry ingredients, making it both convenient and cost-effective. With no need for preservatives, it provides a clean option that caters to those who prefer homemade to processed. The depth of flavor achieved by using high-quality cocoa powder is remarkable, offering a rich, velvety texture that contrasts beautifully when served over cold desserts.
Ingredients Notes
You’ll need unsweetened cocoa powder, sugar, water, vanilla extract, and a pinch of salt. Opt for a good quality cocoa powder to enhance the flavor. If you want to reduce sweetness, consider using dark cocoa powder. You can substitute granulated sugar with coconut sugar for a caramel-like undertone, or use honey for a natural sweetener. Be sure to have a clean jar for storage, as the syrup will need to be kept in an airtight container.

Recipe Steps
Step 1
In a medium saucepan, combine the cocoa powder and sugar. Mix them well until fully integrated.
Step 2
Add water to the dry ingredients, stirring continuously to avoid lumps. Place the saucepan over medium heat.
Step 3
Bring the mixture to a gentle boil and let it simmer for approximately 3 minutes, stirring frequently until it thickens slightly.
Step 4
Remove the saucepan from the heat and add vanilla extract and a pinch of salt. Stir to combine these final ingredients thoroughly.
Step 5
Let the syrup cool completely before transferring it to a sterilized, airtight jar. Refrigerate and enjoy your Homemade Chocolate syrup as desired.
Storage Options
Store the chocolate syrup in a sterilized, airtight glass jar in the refrigerator for up to one month. For freezing, transfer the syrup to a freezer-safe container, leaving some space for expansion, and freeze for up to three months. Thaw in the refrigerator before use, and stir well as separation may occur.
Variations & Substitutions
This recipe is versatile and can cater to various dietary needs. For a vegan option, ensure your sugar is vegan-friendly. You can add a bit of peppermint extract for a holiday twist or orange zest for a citrus nuance. For those preferring sugar-free, use a sugar substitute like stevia; just adjust to taste.
Serving Suggestions
This chocolate syrup is ideal for drizzling over desserts like Ice Cream, brownies, or cakes. Use it to sweeten your breakfast by pouring over pancakes or waffles. It also works wonderfully stirred into milk or coffee for a rich, indulgent treat.
Frequently Asked Questions
Can I use this syrup in hot beverages? Absolutely! This syrup blends seamlessly into Hot Milk or coffee. Simply stir until it dissolves completely, adding a delightful chocolatey enhancement to your drink.
Can the syrup be made thicker? Yes, if you prefer a thicker consistency, allow the syrup to simmer a little longer, and add more cocoa powder if necessary. Remember to stir continuously to prevent it from burning.
Is it possible to make a sugar-free version? Absolutely, you can use stevia or another sugar substitute, adjusting the quantity to match your taste preference. This will alter the texture slightly, so experiment to achieve your desired result.

This Homemade Chocolate syrup is a delightful and simple addition to any dessert or snack. Whether enjoyed with family on a lazy Sunday or as a personal treat, it brings a touch of nostalgia wrapped in modern flavor. Elevate your dessert experience today with this versatile, rich syrup that you’ll find yourself reaching for again and again.
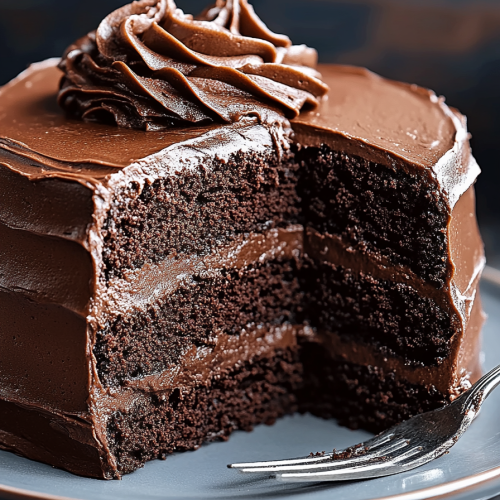
Homemade Chocolate Syrup
Ingredients
Main Ingredients
- 1.5 cups granulated sugar
- 1.5 cups water
- 1 cup unsweetened cocoa powder use high quality for best taste
- 1 teaspoon vanilla extract for flavor enhancement
- 0.25 teaspoon salt to taste
Instructions
Preparation Steps
- In a medium saucepan, whisk together the sugar, water, and cocoa powder until smooth.
- Place the saucepan over medium heat and bring the mixture to a boil, stirring frequently.
- Reduce heat to low and let simmer for 10 minutes, continuing to stir occasionally.
- Remove from heat and stir in vanilla extract and salt. Allow to cool before transferring to a bottle for storage.

