
We all have that one childhood snack that just takes us back in time. It’s the one that makes us happy. What is your favorite fruity pebble treat? What do you remember about those chewy, sweet squares of cereal? What are some of the best recipes to try? I’m talking extra marshmallow-y, perfectly soft, and bursting with that unforgettable Fruity Pebbles. If you love Rice Krispie Treats, prepare to meet your new obsession. Is Fruity Pebbles the same as a regular candy?
What are Fruity Pebbles Treats?
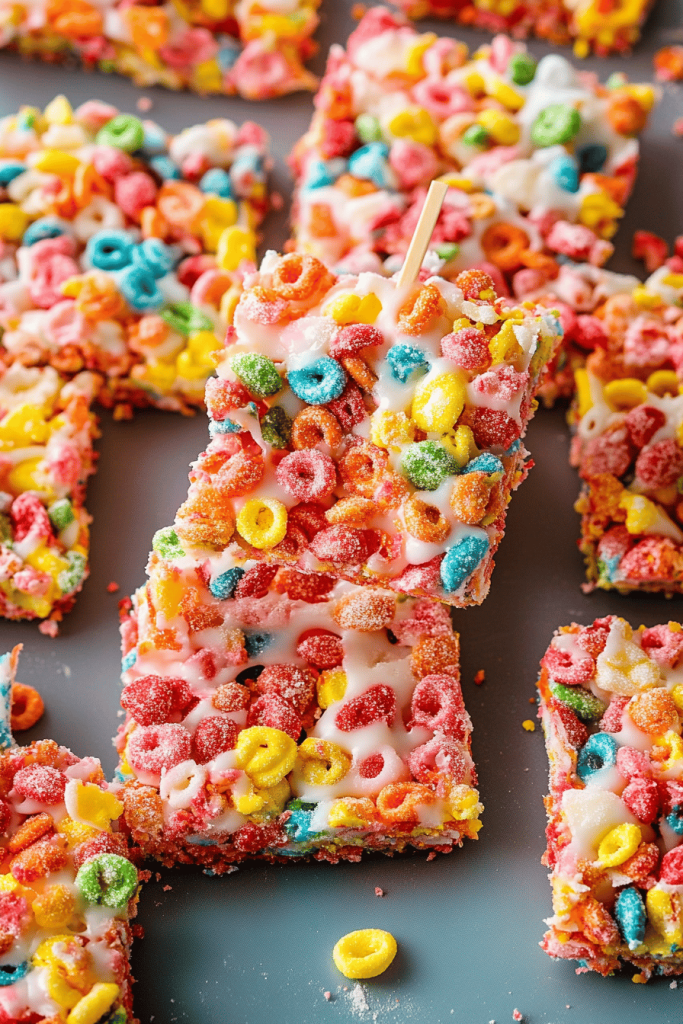
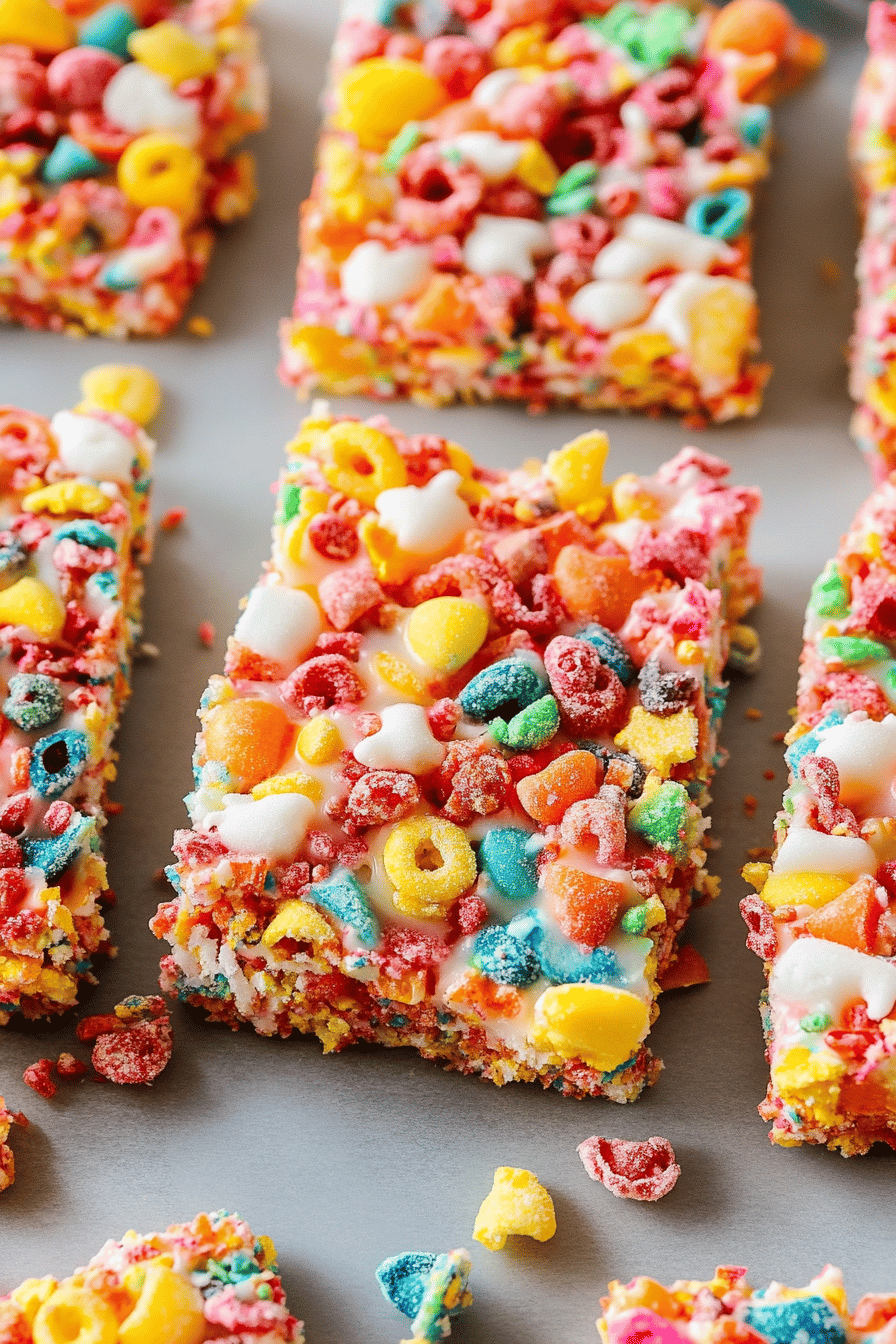
Fruity Pebbles Treats are essentially a leveled-up version of the classic Rice Krispie Treat. Instead of Rice Krispies, you use Fruity Pebbles cereal. Think of it as taking all the gooey, marshmallow-y goodness of the original and infusing it with marshmallow. What is that vibrant, fruity flavor we all know and love? What is a no bake dessert? What are some fun pebbles that are made with fruit?
Why you’ll love this recipe?
Alright, let me tell you why this recipe is a winner. First and foremost, the flavor is just incredible. You get that bright, fruity sweetness from the Fruity Pebbles that blends perfectly with the rich, melted marshmallows. It’s a match made in treat heaven! What I love most about this is how incredibly simple it is to make. Seriously, you probably have most of the ingredients in your pantry already, and it takes less than 15 minutes to whip up a batch. On top of that, it’s super cost-efficient. A box of Fruity Pebbles and some marshmallows won’t break the bank, making this a budget-friendly dessert option.
Plus, these Fruity Pebbles Treats are so versatile! They’re perfect for birthday parties, school lunches, or just a fun weekend treat. My kids actually request these more than cookies sometimes! If you’re a fan of easy, no-bake desserts like Rice Krispie Treats or even those scotcheroos, you absolutely need to give this recipe a try. It’s a guaranteed hit!
How do I make fruity pebbles?
Quick Overview
What are Fruity Pebbles Treats? You’re basically melting butter and marshmallows together, stirring in the Fruity Pebbles cereal. Is it necessary to pour the mixture into a pan? How do I cook marshmallows? Don’t worry if it seems a little messy, that’s part of fun! What is the best part about baking? What is a Fun Recipe to make with your kids?
Ingredients
For the Main Batter:
* 6 tablespoons unsalted butter: I always use a good quality butter for the best flavor. Salted butter also works, but you may need to omit any additional salt.
* 10 ounces marshmallows: Use mini marshmallows for easier melting. I prefer the classic Jet-Puffed brand.
* 6 cups Fruity Pebbles cereal: Fresh cereal is key! Stale cereal will make the treats less flavorful and slightly harder.
* 1/4 teaspoon salt: This balances the sweetness perfectly!
Optional Add-in
* 1 teaspoon vanilla extract: Adds a touch of warmth and enhances the flavor.
* Sprinkles: For extra fun and color!
How do I follow
Step 1: Prep the Pan
First, grease a 9×13 inch Baking Pan with butter or cooking spray. This will prevent the treats from sticking and make them easier to remove. I also like to line the pan with parchment paper, leaving an overhang on the sides. This makes it super easy to lift the entire batch out of the pan once they’re set. Trust me, it’s a lifesaver!
Step 2: Melt the Butter
In a large saucepan, melt the butter over medium heat. Make sure to keep an eye on it, as you don’t want it to burn. Burnt butter will give the treats an acrid taste. Once the butter is melted, reduce the heat to low.
Step 3: Melt the Marshmallows
Add the marshmallows to the melted butter and stir constantly until they are completely melted and smooth. This usually takes about 3-5 minutes. Be patient and keep stirring! The melted marshmallows should be nice and gooey, with no lumps.
Step 4: Add Vanilla and Salt
Remove the saucepan from the heat and stir in the vanilla extract (if using) and salt. This is where you can add any other flavorings you like, such as almond extract or lemon zest. Just be careful not to add too much, as it can overpower the Fruity Pebbles flavor.
Step 5: Combine with Cereal
Pour the Fruity Pebbles cereal into the saucepan with the melted marshmallow mixture. Gently fold the cereal into the marshmallows until it’s evenly coated. Be careful not to crush the cereal. You want to maintain those crunchy little pebbles.
Step 6: Press into Pan
Pour the Fruity Pebbles mixture into the prepared Baking Pan and gently press it down with a spatula or your hands. I like to use a piece of parchment paper or wax paper to prevent the mixture from sticking to my hands. Make sure to press it down evenly so the treats are uniform in thickness.
Step 7: Cool and Cut
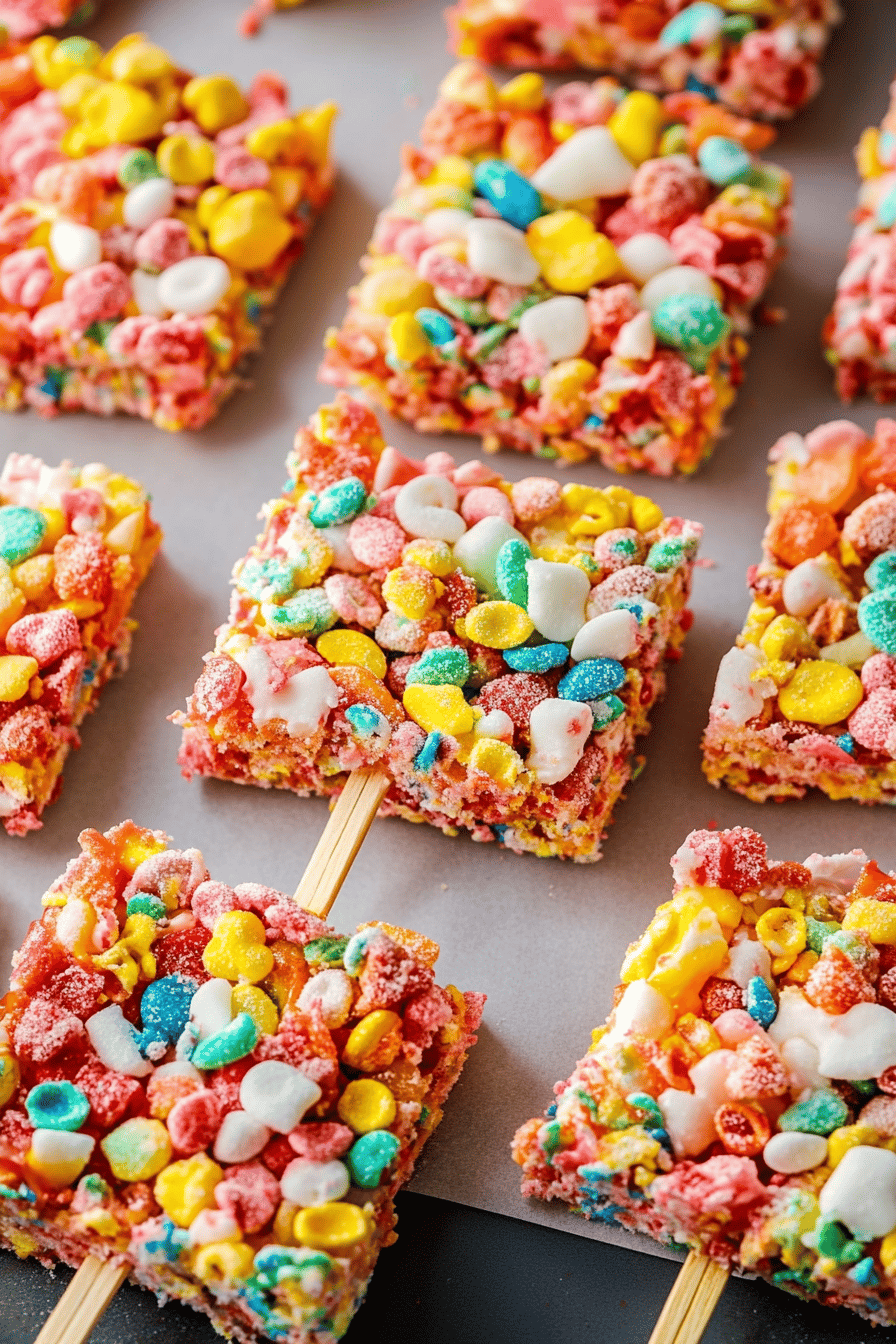
Let the Fruity Pebbles Treats cool completely in the pan before cutting them into squares. This usually takes about 30 minutes to an hour. If you’re in a hurry, you can pop them in the refrigerator to speed up the cooling process. Once they’re cool, use a sharp knife to cut them into your desired size and shape. I like to make them into squares, but you can also use cookie cutters for fun shapes!
Step 8: Enjoy!
What are Fruity Pebbles Treats? What are the best foods to eat fresh, but can be stored in an airtight container at room temperature?
What should I serve it with?
What are some of the best ways to make Fruity Pebbles treat?What is a fun breakfast? Pair a Fruity Pebbles Treat with a glass of cold milk. It’s like having dessert for breakfast, but who’s complaining? My kids love this as a special treat on weekends.
What are some ideas for a birthday party?Cut the cookies into shapes and arrange them on a platter. Serve warm or cold. What are some of the best sprinkles to add to a kid’s party?For an Afternoon Snack:Enjoy a Fruity Pebbles treat with ice cold milk. The warm cocoa complements the sweet and fruity flavor of the treats perfectly.For a Dessert Bar: Include Fruity Pebbles Treats alongside other sweet treats like cookies, brownies, and cupcakes. It’s a great way to add some variety to your dessert selection.
Growing up, we had these with just about everything as kids but this is the best combination I’ve found.
What are some of the best ways to make fruity pebbles treats?
Okay, let’s get down to the nitty-gritty. Here are some of my top tips for making the best Fruity Pebbles Treats ever!
Marshmallow Magic: Don’t overcook the marshmallows! Overcooked marshmallows will result in hard, chewy treats. You want them to be nice and gooey. I find the best results when stirring constantly.
What are the characteristics of Use fresh Fruity Pebbles cereal. Stale cereal will make the treats less flavorful and slightly harder. If your cereal is a little stale, you can freshen it up by toasting it in the oven for a few minutes.
Butter Up: Grease your pan well! This will prevent the treats from sticking and make them easier to remove. You can use butter, cooking spray, or parchment paper. I prefer parchment paper for easy cleanup.
Gentle Touch: Be gentle when mixing the cereal and marshmallows. You don’t want to crush the cereal. Fold it in gently until it’s evenly coated.
Press Evenly: Press the mixture evenly into the pan. This will ensure that the treats are uniform in thickness. Use a spatula or your hands to press it down.
Cool Completely: Let the treats cool completely before cutting them. This will prevent them from falling apart. I know it’s hard to wait, but trust me, it’s worth it!
Experiment: Don’t be afraid to experiment with different flavors and add-ins. Try adding chocolate chips, sprinkles, or even a drizzle of melted chocolate on top. You can customize these treats to your liking! I once tested these with other cereals and nothing beats fruity pebbles!
I’ve learned these tips over the years after making a couple batches that were not so great and these tips make a huge difference.
Storing and Reheating Tips
Want to keep your Fruity Pebbles Treats fresh and delicious? Here’s how to store them properly:
Room Temperature: Store the treats in an airtight container at room temperature for up to 3 days. Make sure to keep them away from direct sunlight or heat.
Refrigerator Storage: You can also store the treats in the refrigerator for up to a week. However, they may become a little harder in the fridge, so let them sit at room temperature for a few minutes before eating.
Freezer Instructions: For longer storage, you can freeze the treats for up to 2 months. Wrap them individually in plastic wrap and then place them in a freezer-safe bag or container. Thaw them at room temperature before serving.
If you’re planning to store the treats for more than a day or two, I recommend adding the optional vanilla extract. It helps to keep them moist and flavorful. I usually make a double batch of these to ensure I have enough for storing. Be careful to not add the glaze if storing for longer.
Frequently Asked Questions
Final Thoughts
So there you have it – my go-to recipe for Fruity Pebbles Treats that’s guaranteed to bring smiles to faces of all ages! This recipe is perfect for birthday parties, school events, or any time you want a fun and easy dessert. The vibrant colors and fruity flavor are sure to be a hit, and the simple preparation makes it a breeze to whip up a batch in no time. These are so much easier than baking a whole cake and taste just as delicious.
If you enjoyed this recipe, be sure to check out my other no-bake dessert recipes like my Peanut Butter Bars or chocolate fudge. They’re just as easy to make and equally delicious. Happy baking (or should I say, no-baking)! I can’t wait to hear how yours turn out – be sure to leave a comment and let me know what you think! And if you try any fun variations, I’d love to hear about those too!
Fruity Pebbles Treats
Ingredients
Main Ingredients
- 3 cups Fruity Pebbles cereal
- 10 tablespoons butter
- 10 ounces marshmallows
Instructions
Preparation Steps
- In a large saucepan, melt butter over low heat.
- Add marshmallows and stir until completely melted and smooth.
- Remove from heat and stir in Fruity Pebbles cereal until well coated.
- Press mixture into a greased 9x13 inch baking pan.
- Let cool completely before cutting into squares.