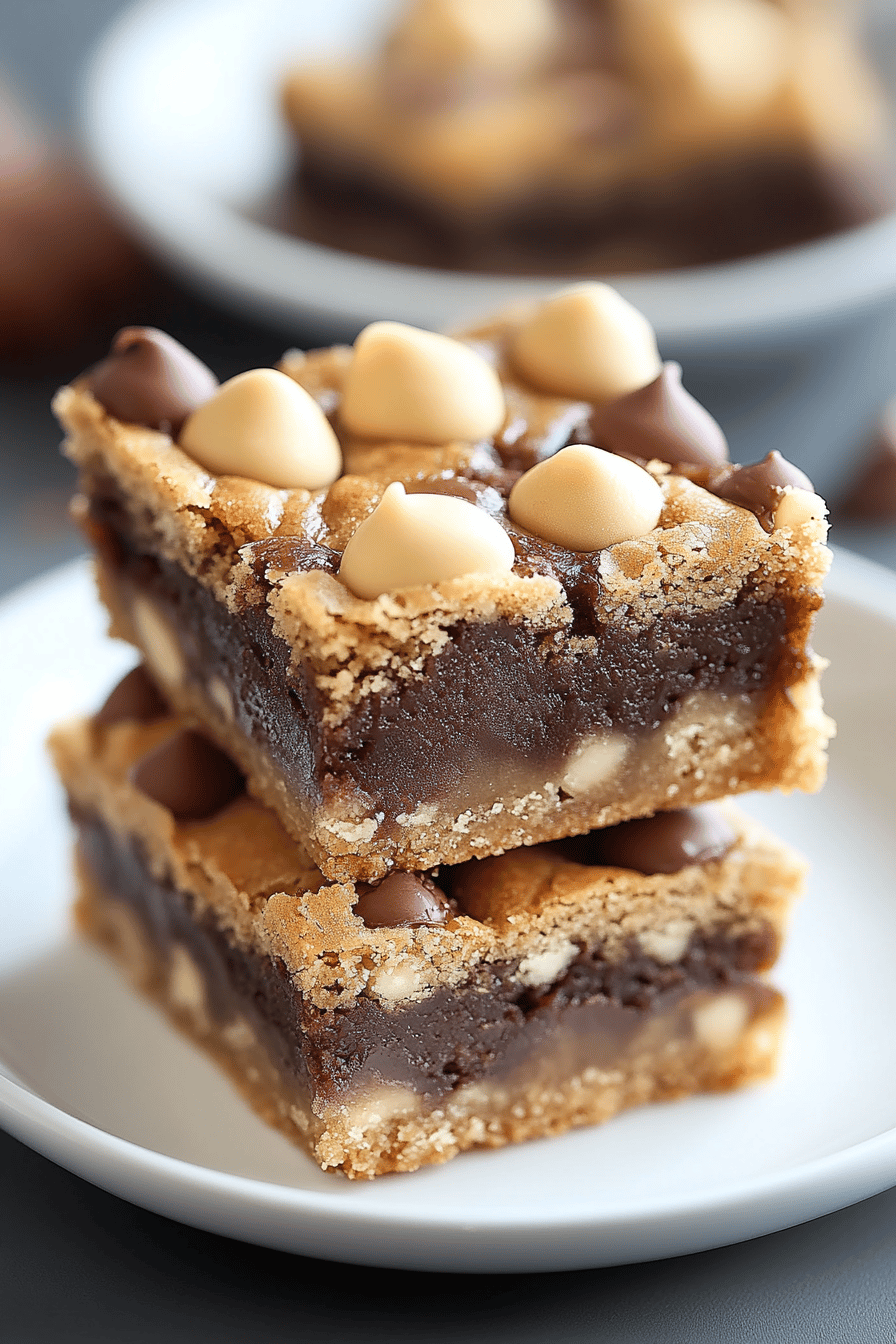
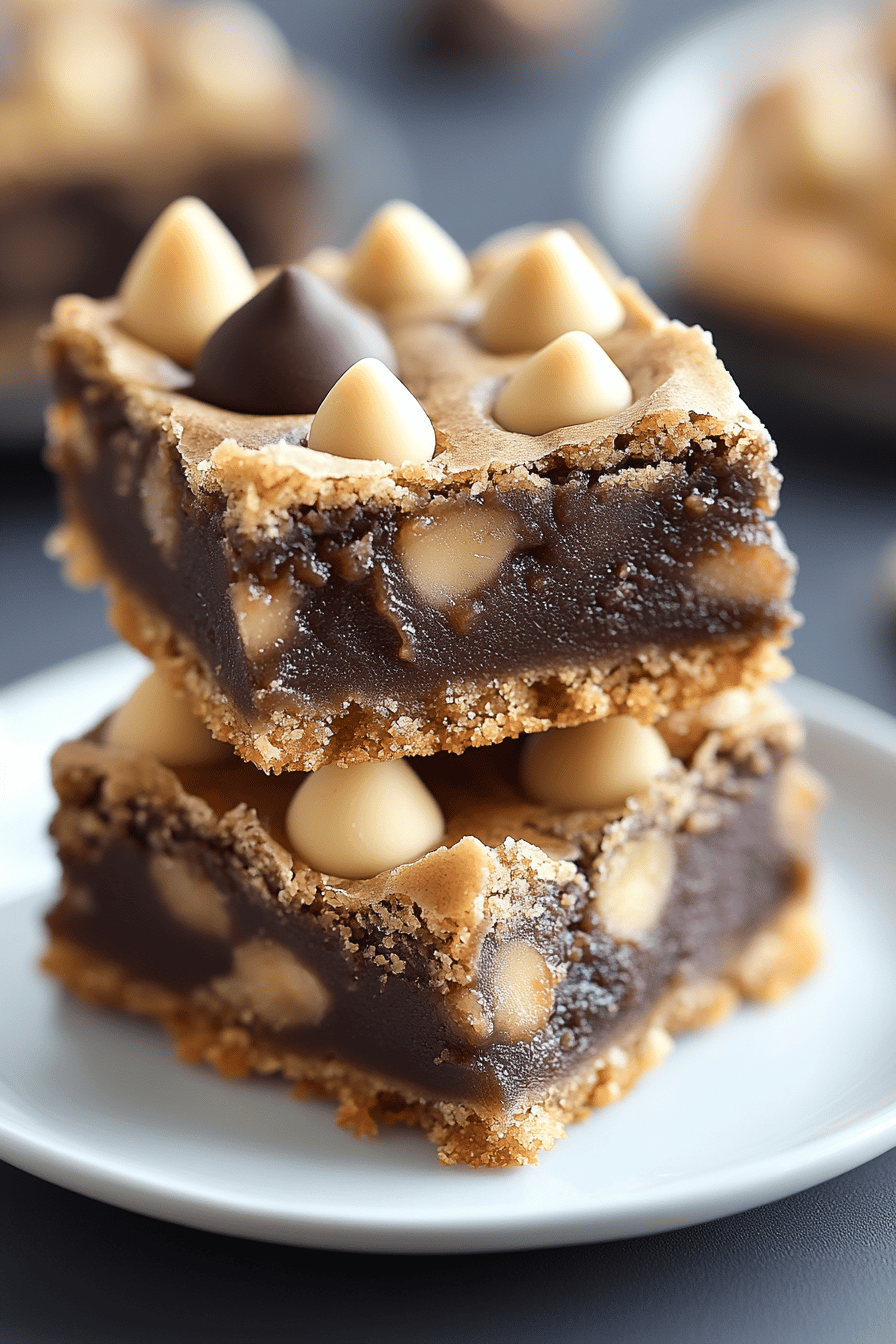
Chubby Hubby Bars Recipe
Okay, friend, let me tell you about these bars. Imagine your favorite blondie, but amplified to the max. We’re talking chunks of Peanut Butter Cups, pretzels for that salty-sweet crunch, and a rich caramel swirl that’ll make you weak in the knees. My grandma used to make a similar treat with chocolate chips, but this Chubby Hubby Bars Recipe just kicks it up a thousand notches! I swear, these are so good they’re practically addictive. They’re way easier to whip up than a batch of complicated cookies, and trust me, they disappear *fast*! It’s like a symphony of flavor that just works, you know?
What is Chubby Hubby Bars?
Think of Chubby Hubby Bars as the ultimate sweet and salty indulgence, all baked into one glorious pan. It’s essentially a blondie base loaded with all the good stuff – Peanut Butter cups, crunchy pretzels, and a decadent caramel swirl. The name, obviously, comes from that Ben & Jerry’s ice cream flavor. It’s that same idea – a perfect combination of textures and flavors that hit all the right spots. It’s not just a dessert; it’s an experience! I always think of them as the perfect treat to share (or not!) when you need a little pick-me-up.
Why you’ll love this recipe?
Oh, where do I even begin? First and foremost, the flavor is absolutely insane! The peanut butter cups melt into gooey pockets of goodness, the pretzels provide a satisfying crunch and salty contrast, and that caramel swirl? Forget about it! It’s rich, buttery, and adds a layer of pure decadence. What I love most about this Chubby Hubby Bars Recipe is how incredibly easy it is to make. Seriously, it’s a dump-and-stir kind of deal. No fancy equipment or complicated techniques required. Even if you’re not a baker, you can totally nail this recipe. Plus, it’s so cost-effective. You probably have most of the ingredients in your pantry already! And the best part? They’re incredibly versatile. You can add different kinds of candy, nuts, or even chocolate chips to customize them to your liking. Sometimes I throw in some chopped walnuts for an extra crunch. They’re just perfect for potlucks, bake sales, or even a simple weeknight treat. They truly are a crowd-pleaser, and they are so much easier than baking Chocolate Chip Cookies.
How do I make Chubby Hubby bars?
Quick Overview
Making these bars is seriously a breeze. You’ll start by making a simple blondie batter, then you’ll load it up with Peanut Butter cups and pretzels. Next, you’ll whip up a quick caramel swirl and drizzle it over the top. Pop it in the oven, let it cool, and slice into squares. Seriously, it’s as easy as that! The best part is, you don’t need any fancy equipment. Just a bowl, a spoon, and a baking pan. This recipe is perfect for those days when you want something sweet but don’t want to spend hours in the kitchen.
Ingredients
For the Main Batter: What is the power of
* 1 cup (2 sticks) unsalted butter, melted: I always use good quality butter for the best flavor. How do you cook eggs?
* 1 12 cups packed light brown sugar: Brown sugar gives it that delicious molasses flavor. Is it possible to use dark brown sugar for a richer taste?
* 2 large eggs: Use room temperature eggs for smoother batter.
What is the best vanilla extract to use?
* 2 cups all-purpose flour: I haven’t tried it with gluten-free flour, but it should work with a 1:1 ratio.
* 1 teaspoon baking powder: This helps the bars rise slightly and gives them a nice texture.
* ½ teaspoon salt: Balances out the sweetness.
* 1 cup chopped Peanut Butter cups: I use Reese’s, but any brand will do. Can you use mini ones?
* 1 cup pretzel pieces: I love the mini pretzel twists for this, but I also like the pre-cut pieces.
For the Filling:
* 12 cup heavy cream: Adds richness to the caramel.
* 12 cup granulated sugar: The base for our caramel.
* 14 cup (12 stick) unsalted butter: Makes the caramel smooth and buttery.
* ¼ teaspoon salt: Enhances the caramel flavor.
For the Glaze:
* 1 cup powdered sugar: For that smooth, sweet glaze.
* 2-4 tablespoons milk: Add gradually until you reach your desired consistency.
* 12 teaspoon vanilla extract: Optional, but it adds a nice touch of flavor.
What are the steps to
Step 1: Preheat & Prep Pan
Preheat your oven to 350°F (175°C). Grease a 9×13 inch Baking Pan. I like to line it with parchment paper, leaving an overhang, for easy removal. Is it a lifesaver?
Step 2: Mix Dry Ingredients
In a medium bowl, whisk together flour, baking powder, and salt. Set aside. What is the baking powder used for? Plus, it prevents any pockets of saltiness.
Step 3: Mix Wet Ingredients
In a large bowl, combine the melted butter and Brown Sugar. Beat until smooth. Add the vanilla extract and the eggs and beat until well combined. Make sure the butter isn’t too hot, or it will cook the eggs.
Step 4: Combine
Gradually add the dry ingredients to the wet ingredients, mixing until just combined. Do not overmix, as this can result in tough bars. Is it okay if there are streaks of flour left over?
Step 5: Prepare Filling
In a medium saucepan, combine the heavy cream, granulated sugar, butter, and salt. Set aside. Cook over medium heat, stirring constantly, until the sugar is dissolved and the mixture comes to a boil. Continue to simmer for 5-7 minutes, or until the caramel is golden brown and slightly thickened. How do you cook caramel on a spoon?
Step 6: Layer & Swirl
How do you spread half of the batter into a baking pan? Sprinkle with chopped Peanut Butter and pretzel pieces. Dollop the remaining batter over the top, then drizzle with the caramel sauce. Use a knife or skewer to swirl the caramel into the batter. Don’t overdo it, just a few swirls will do the trick!
Step 7: Bake
If a toothpick inserted into the center comes out with moist crumbs, bake for 25-30 minutes. The edges should be golden brown and the center should have a set. I always check around the 25 minute mark to make sure I don’t over bake these bars.
Step 8: Cool & Glaze
Let the bars cool completely in the pan before frosting. In a small bowl, whisk together the powdered sugar, milk, and vanilla extract. Set aside. Add more milk, 1 tablespoon at a time, until you reach your desired consistency. How do you spread the glaze over cooled bars?
Step 9: Slice & Serve
Cut the bars into squares and serve. I like to cut them into smaller squares because they’re so rich. What are the best foods to eat at room temperature?
What should I serve it with?
If you’re looking to take your bars to the next level, these bars are a must have. What are some good ideas?
For Breakfast:Pair them with a strong cup of coffee or latte. What are some good ways to start your day with a sweet and salty combination?
For Brunch:Serve with a glass of sparkling wine and fruit salad. What are some great additions to any brunch spread?
As Dessert:What are some good side dishes to serve with Ice Cream? The coldness of the ice cream complements the warmth of bars perfectly.
For Cozy Snacks: Curl up on the couch with a bar and a glass of milk or a cup of hot chocolate. It’s the ultimate comfort food!
My family loves to have these bars with a big glass of cold milk. It’s a tradition we’ve had for years, and it just makes them even more delicious!
Top Tips for Perfecting Your Chubby Hubby Bars
Want to make these bars even better? Here are a few of my top tips:
Butter Matters: Always use high-quality butter for the best flavor. It really makes a difference!
Don’t Overmix: Overmixing the batter can result in tough bars. Mix until just combined.
Caramel Consistency: Be careful not to burn the caramel. It should be golden brown and slightly thickened.
Swirl Technique: Don’t over-swirl the caramel into the batter. Just a few swirls will do the trick!
Cool Completely: Let the bars cool completely before frosting. This will prevent the glaze from melting.
Glaze Consistency: Add milk to the glaze gradually until you reach your desired consistency. You want it to be smooth and pourable, but not too thin.
One time, I accidentally overbaked the bars, and they came out dry and crumbly. I learned my lesson and now I always check them around the 25 minute mark. Another time, I added too much caramel, and the bars were a sticky mess. It’s all about finding the right balance!
Storing and Reheating Tips
Want to keep these bars fresh for longer? Here are a few storage tips:
Room Temperature: Store them in an airtight container at room temperature for up to 3 days.
Refrigerator Storage: Store them in an airtight container in the refrigerator for up to 1 week. They might become a little firmer, but they’ll still taste great.
Freezer Instructions: Wrap them individually in plastic wrap and store them in a freezer bag for up to 2 months. Thaw them at room temperature before serving.
Glaze Timing Advice: If you’re planning to freeze the bars, it’s best to add the glaze after they’ve thawed. This will prevent the glaze from cracking.
I usually store these bars in the refrigerator because I like them cold. But they’re also delicious at room temperature. It’s all about personal preference!
Frequently Asked Questions
Final Thoughts
So there you have it – my go-to Chubby Hubby Bars Recipe that’s a guaranteed crowd-pleaser! I seriously hope you give it a try. The combination of flavors and textures is just out of this world, and they’re so easy to make. What’s not to love? If you’re a fan of these, you might also like my salted caramel brownies or my Peanut Butter Blossom cookies. They’re both just as delicious and easy to make. Happy baking, and I can’t wait to hear how yours turn out! Be sure to leave a comment below and let me know what you think. And don’t forget to share your own variations – I’m always looking for new ideas!
Chubby Hubby Bars Recipe
Ingredients
Crust Ingredients
- 1.5 cups graham cracker crumbs
- 0.5 cups powdered sugar
- 0.5 cups melted butter
Filling Ingredients
- 14 ounces chocolate ice cream
- 1 cup peanut butter
- 0.5 cup butterscotch chips
Instructions
Preparation Steps
- Combine graham cracker crumbs, powdered sugar, and melted butter. Press into the bottom of a 9x13 inch baking pan.
- In a large bowl, combine softened ice cream, peanut butter, and butterscotch chips. Mix until well combined.
- Spread the ice cream mixture evenly over the graham cracker crust.
- Freeze for at least 4 hours, or until firm.