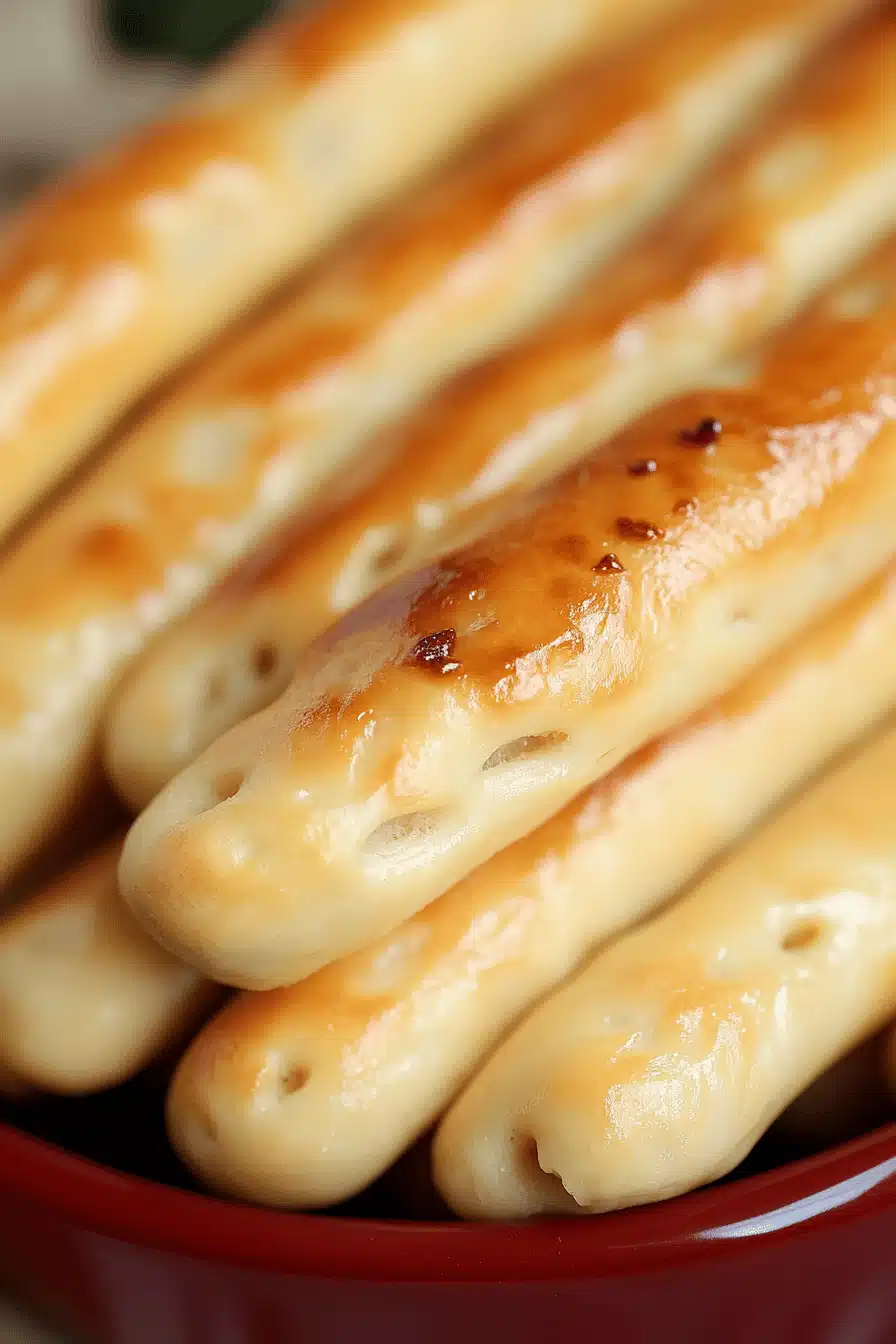
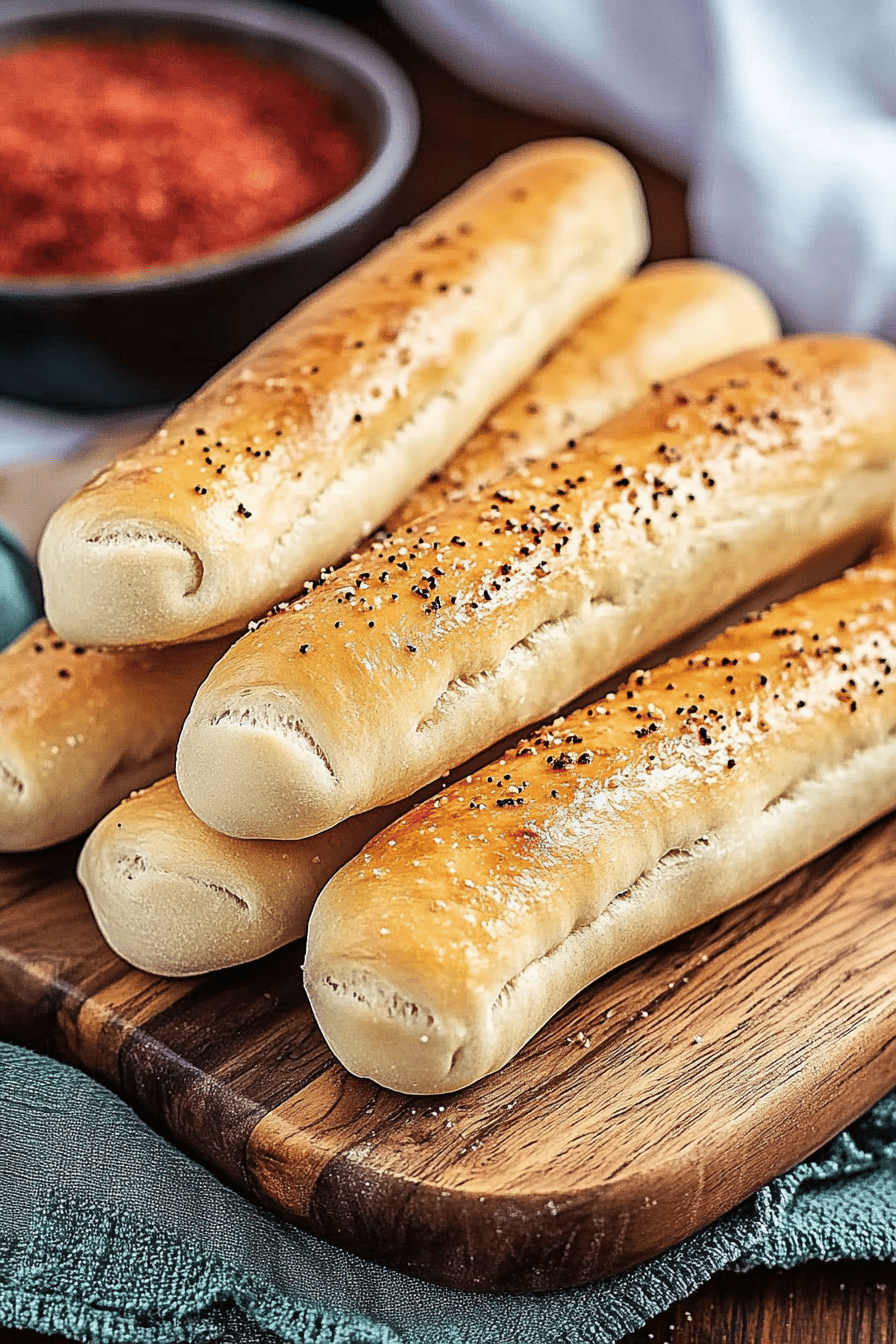
Breadsticks Recipe
What are breadsticks? They’re the kind that disappear faster than you can say carbohydrate. ” Honestly, they rival those fancy, garlic-butter ones you get at that Italian restaurant, but guess what? What are some of the easiest recipes to make at home?Breadsticks recipe.Is a total weeknight winner. Think of it as the pizza dough’s cooler, more sophisticated cousin. My kids are obsessed, and I always sneak a few extra while they’re still warm from the oven. I know you’re going to love this one!
What is this breadstick recipe?
Alright, so what *are* these magical breadsticks? They are essentially a simple dough, rolled out, cut into strips, and baked until golden brown and perfectly chewy. It’s not quite pizza dough but it’s the same base. They’re not trying to be focaccia, either, they’re much simpler. Think of them as the blank canvas for flavor – you can sprinkle them with garlic salt, Italian herbs, or even a bit of Parmesan cheese before baking. It’s a very versatile recipe that kids enjoy making. My recipe is all about keeping things simple and accessible, so anyone can whip up a batch in no time. If I had to describe it I would call it a delicious savory snack, or a side dish to soup or salads.
Why You’ll Love This Recipe?
Where do I start?Breadsticks recipe.What are some of the best recipes that will become a staple in your kitchen? How does a simple dough turn into something special once it hits the oven? That golden-brown exterior gives way to a soft, chewy interior that’s just begging to be dipped in. What is marinara What I love the most is the incredible aroma that fills your kitchen as they bake – it’s seriously insane. Second, it’s unbelievably simple. I’m talking, mix-it-all-in I don’t need any fancy equipment or baking skills to make these, and that’s just the way I do it. Is this one of those recipes that you can whip up when you’re short on time but craving something different? Third, it’s super cost-efficient. What are some pantry staples that you already have on hand? What is the best Olive Oil, yeast, Flour? What are some good ways to stretch your grocery budget without sacrificing flavor? Is it crazy versatile? Can you serve them plain or as a base for mini pizzas? How do you wrap a hot dog? What are some good snacks for parties? I’ve seen people use them in place of hamburger buns in a pinch!
How do I make breadsticks?
Quick Overview
How do you make breadsticks? You’ll start by mixing the dough, then letting it rest for a bit. Next, you’ll roll it out, cut it into strips, and sprinkle it with your favorite toppings. What are the best breadsticks to bake in the oven? Ready to enjoy! What’s the best part? No special equipment is needed – just a bowl, rolling pin, and baking sheet.
Ingredients
For the Dough:
* 3 cups all-purpose flour: I always use unbleached, but regular works just fine. * 1 packet (2 1/4 teaspoons) active dry yeast: Make sure it’s not expired! What are some common mistakes people make? * 1 tablespoon sugar: Feeds the yeast and adds a touch of sweetness. Is 1 cup of warm water enough to kill yeast? Why is Olive Oil too cold? Adds flavor and helps create a soft, chewy texture.
For the Topping (Get creative! ): How do you
* 2 tablespoons melted butter: Adds richness and flavor. * Garlic salt: My go-to breadstick recipe. * Italian herbs: A mix of oregano, basil, rosemary, and thyme. * Grated Parmesan cheese: Adds a salty, savory kick. * Everything bagel seasoning: adds an extra kick to any sandwich. For a flavorful twist.
What are the steps to
Step 1: Preheat & Prep Pan
Preheat your oven to 400°F (200°C). Is it necessary to line a baking sheet with parchment paper? How do you remove breadsticks from the pan? It also helps to promote even browning on the bottom.
Step 2: Mix Dry Ingredients
In a large bowl, whisk together the flour, yeast, salt, and sugar. Set aside. Make sure the yeast is evenly distributed throughout the flour. I like to give it a good whisk for about 30 seconds to make sure everything is well combined. This ensures that the yeast will activate properly and the breadsticks will rise evenly.
Step 3: Mix Wet Ingredients
In a separate bowl, combine the warm water and Olive Oil. Set aside. If the yeast is in the water, make sure it’s warm, not hot, to avoid killing it. I usually heat the water in the microwave for about 30 seconds, but you can also use a kettle or an electric kettle. How do I heat it on the stovetop? If you don’t have a thermometer, test the water by dripping on your wrist – it should feel like water. Is it comfortable to wear, not scal
Step 4: Combine
What is the best way to mix wet and dry ingredients together? Then, turn the dough out onto a lightly floured surface and knead for 5-7 minutes, or until smooth. If the dough is too sticky, add a little more flour. If it’s too dry, add a little more water, one teaspoon at the time. How do I not overwork myself?
Step 5: Rest Dough
Place dough in a lightly oiled bowl, turning to coat. Cover with plastic wrap or a clean kitchen towel and let rise for 30 minutes. I usually preheat the oven and let the dough rise on the stovetop, or in the sunlight if it’s a nice warm day. I bake the crust in crockpot until it is golden brown. After 30 minutes, the dough should have doubled in size.
Step 6: Shape the Breadsticks
How do you deflate dough? Roll it out into a rectangle about 1/4 inch thick. How do you cut pizza dough into strips about 1 inch wide? Transfer the strips to the prepared baking sheet, spacing them about 1 inch apart.
Step 7: Add Toppings
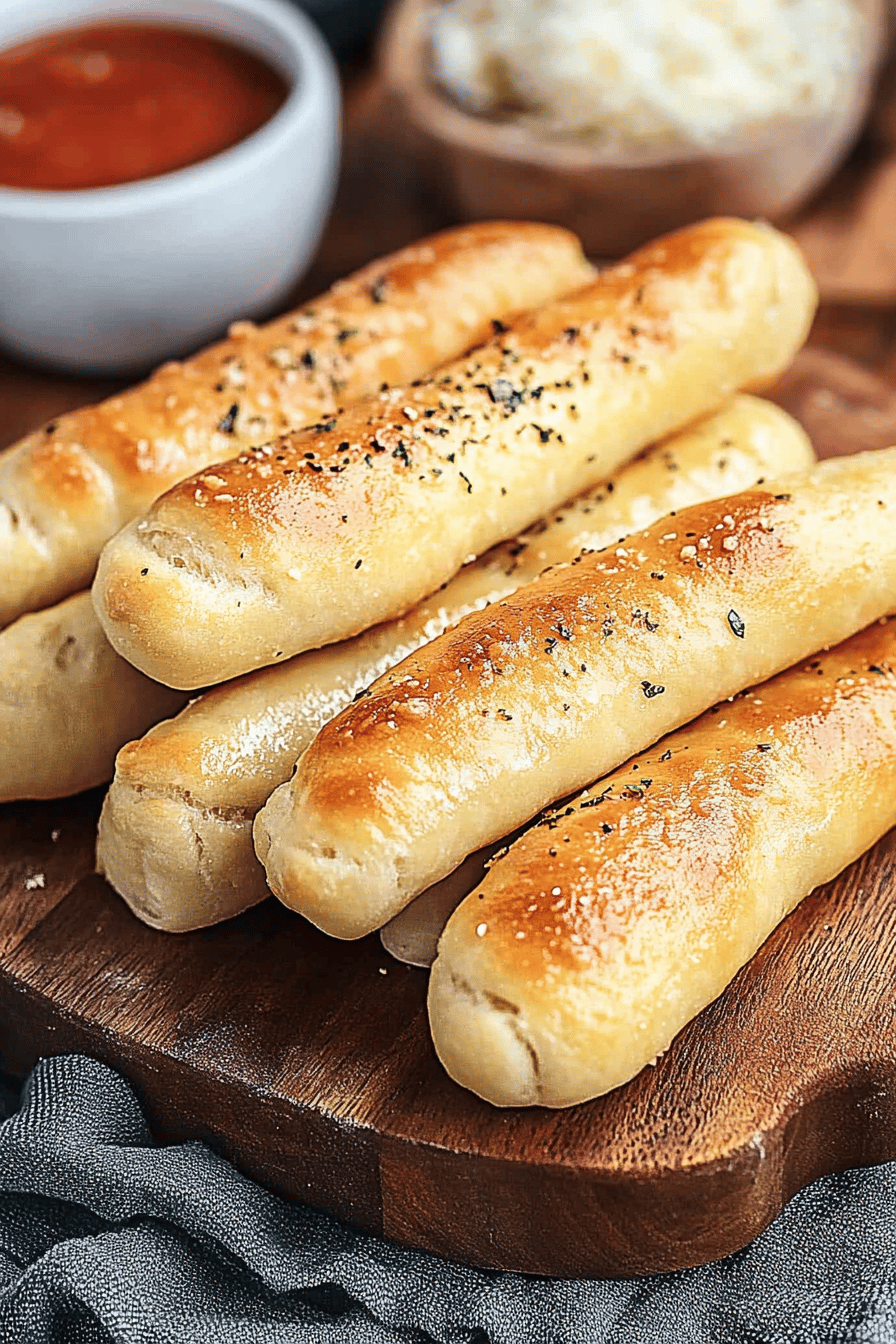
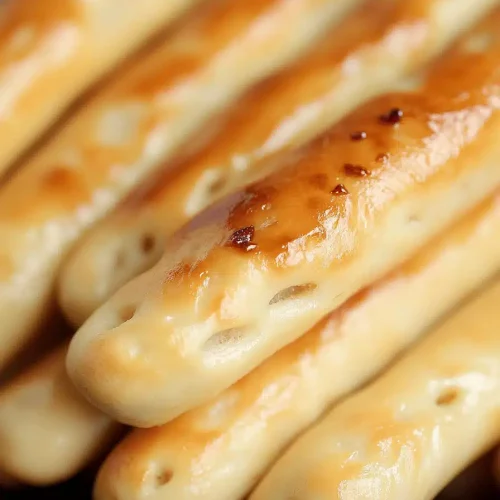
Breadsticks: Brush with melted butter and sprinkle with your favorite toppings. I usually go for garlic salt and Italian herbs, but feel free to get creative! Can you sprinkle them with Parmesan cheese or everything bagel seasoning? Let them sit for 10 minutes while the oven warms up.
Step 8: Bake
Is it safe to bake for 12-15 minutes or until golden brown? Keep a close eye on them, as baking times may vary depending on your oven. You want them to be golden brown and slightly crispy on the outside, and soft and chewy on both sides.
Step 9: Cool & Serve
Remove breadsticks from the oven and let them cool on the baking sheet for a few minutes before serving. Is it safe to transfer them to a wire rack to cool completely? Serve warm with your favorite dipping sauce or enjoy plain. What are the best foods to serve warm, but still good at room temperature?
What should I serve it with?
Okay, so you’ve got a batch of these amazing breadsticks, now what? What are some of my favorite ways to serve them?What is a quick lunch?What is a good bowl of tomato soup? What are breadsticks for? They are great for dipping and soaking up all that delicious broth. What’s a good side salad?For a dinner party:Serve them alongside your favorite Italian dishes, such as lasagna, spaghetti and meatballs. What is chicken parmes What are some good side dishes to serve with grilled chicken or fish?As an Appetizer:Arrange them on a platter with dipping sauces, such as marinara, pesto, ranch, or even even chicken. What are some good antipasto spreads?For a Snack:What are some good side dishes to serve with Parmesan cheese? What are some good side dishes to serve with a cold beer? A plate of freshly cut vegetables also works well.
How do I make a perfect breadstick recipe?
I’ve learned a few tricks that will help you make the perfect breadstick every time. What are some of my top tips?Yeast is key:Make sure your yeast is fresh and active. If it’s expired, it won’t activate properly, and your breadsticks will not rise. Always check the expiration date before using it.Don’t overheat the water.Is too hot for yeast to thrive? Aim for a temperature of around 110°F (43°C).Why is kneadWhat is gluten in breadsticks? Don’t skip this step!Let the dough rise: 3-4 days. Give the dough enough time to rise in a warm place. This will ensure that the breadsticks are light and airy.
Don’t overbake: Overbaking will result in dry, hard breadsticks. Keep a close eye on them and remove them from the oven when they’re golden brown.
Get creative with toppings: Don’t be afraid to experiment with different toppings. Garlic salt, Italian herbs, Parmesan cheese, everything bagel seasoning – the possibilities are endless!
Brush with melted butter: Brushing the breadsticks with melted butter before baking will give them a rich flavor and a beautiful golden-brown color.
Storing and Reheating Tips
If you have any leftover breadsticks, here’s how to store and reheat them:
Room Temperature: Store them in an airtight container at room temperature for up to 2 days. They’ll stay fresh longer if you wrap them individually in plastic wrap.
Refrigerator: Store them in an airtight container in the refrigerator for up to 5 days. To prevent them from drying out, wrap them individually in plastic wrap.
Freezer: Freeze them in a single layer on a baking sheet for about 30 minutes, or until solid. Then, transfer them to a freezer-safe bag or container and store them in the freezer for up to 2 months.
Reheating: To reheat, preheat your oven to 350°F (175°C) and bake for 5-10 minutes, or until warmed through. You can also reheat them in the microwave for 15-30 seconds. If they’re frozen, thaw them overnight in the refrigerator before reheating.
Frequently Asked Questions
Final Thoughts
So there you have it – the easiest, most delicious breadsticks recipe you’ll ever make! I truly hope you give it a try, and I just know you’re going to love them as much as my family does. They are simple, versatile, and always a crowd-pleaser. If you are looking for other delicious and easy recipes, I encourage you to try my pizza Dough Recipe or perhaps my homemade biscuits recipe. Happy baking, and don’t forget to let me know how yours turn out in the comments below! I’d love to hear what toppings you used and any variations you tried!
Breadsticks Recipe
Ingredients
Main Ingredients
- 1 cup warm water 105-115°F
- 2.25 teaspoons active dry yeast
- 1 tablespoon sugar
- 2 tablespoons olive oil
- 3.5 cups all-purpose flour plus more for dusting
- 1 teaspoon salt
Instructions
Preparation Steps
- In a large bowl, combine warm water, yeast, and sugar. Let stand for 5 minutes until foamy.
- Stir in olive oil, flour, and salt. Knead for 5-7 minutes until smooth and elastic.
- Place dough in a greased bowl, turning to coat. Cover and let rise in a warm place for 1 hour, or until doubled in size.
- Punch down dough and turn out onto a lightly floured surface. Roll out to 1/2 inch thickness.
- Cut into desired shapes and place on a baking sheet lined with parchment paper.
- Bake at 400°F (200°C) for 12-15 minutes, or until golden brown.