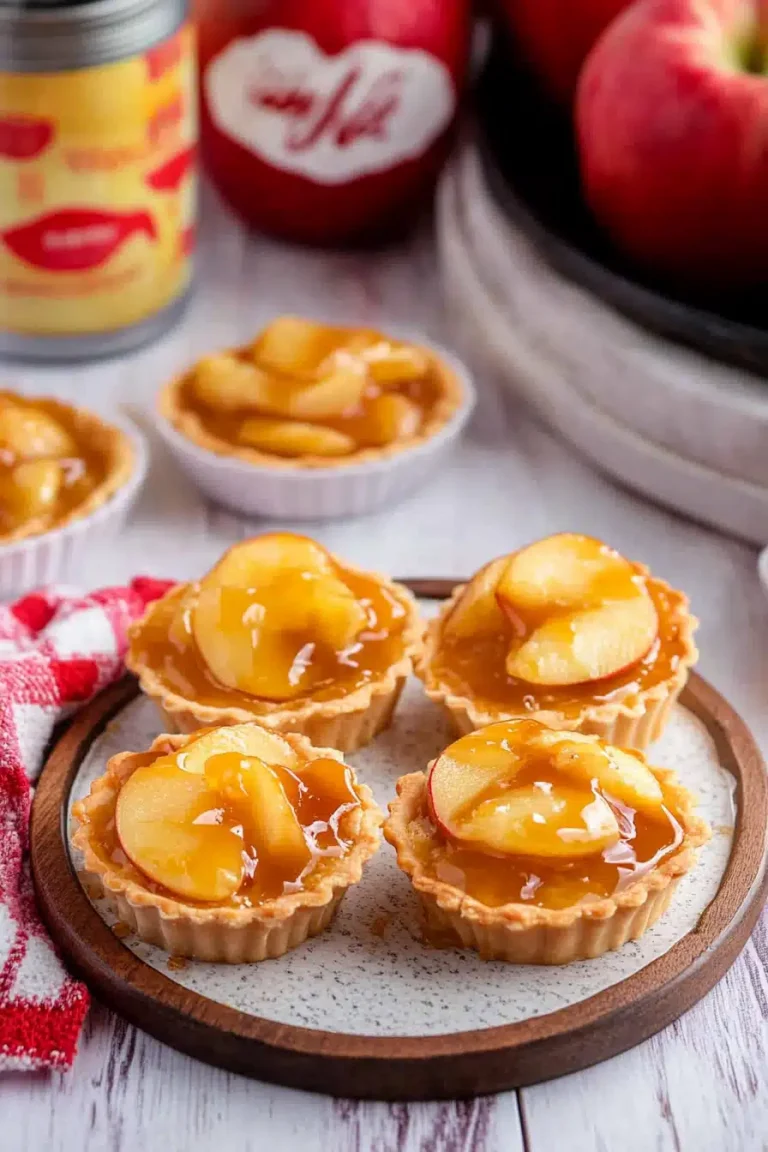
Apple Pie Bars Recipe
Okay, picture this: it’s a crisp autumn evening, the leaves are turning all sorts of gorgeous colors, and that familiar craving for Apple Pie hits. But, you’re short on time, or maybe you just don’t feel like fussing with a whole pie crust. That’s where this **Apple Pie Bars Recipe** comes in clutch! It’s seriously like biting into a slice of heaven, but in a super easy, hand-held form. I always think of these as the cooler, more relaxed cousin of traditional apple pie. They have all that warm, cinnamon-apple goodness, but without all the fuss. I swear, these bars disappear faster than I can make them!
What is Apple Pie Bars?
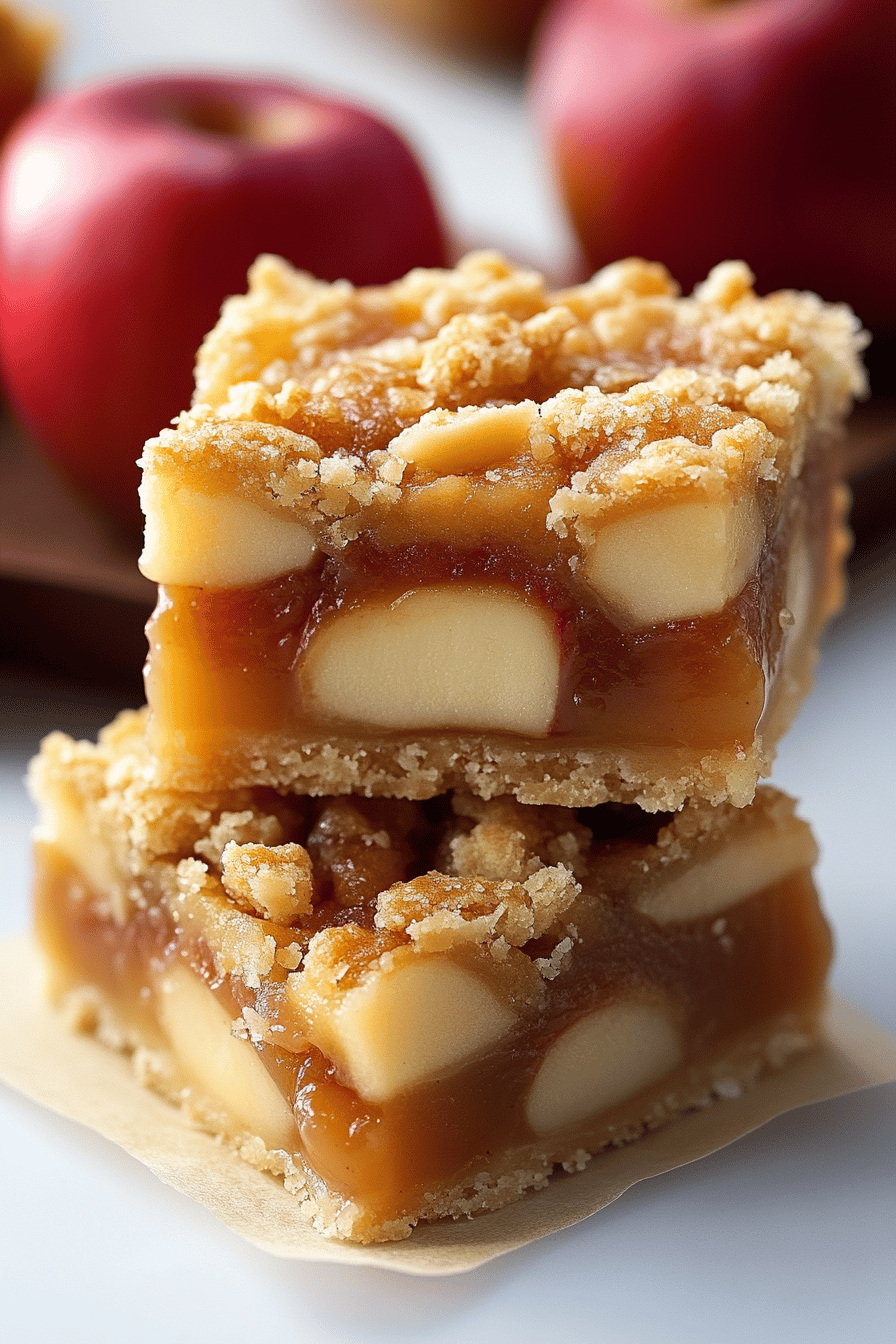
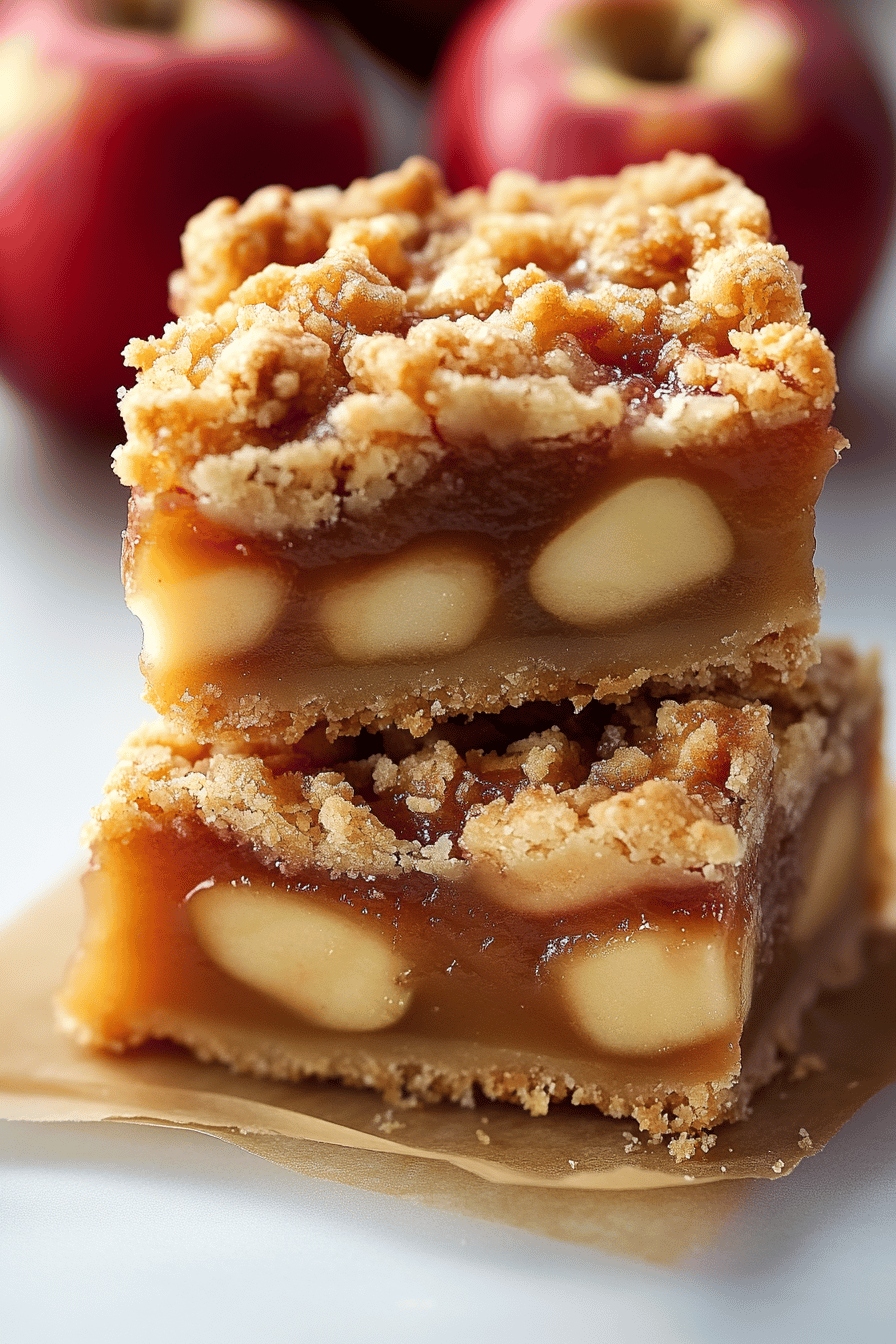
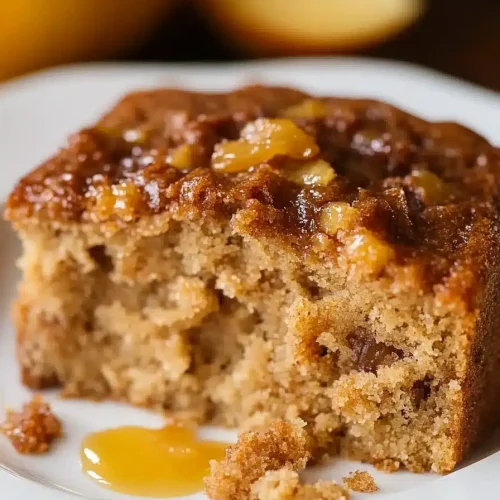
Think of Apple Pie Bars as apple pie, deconstructed, and re-assembled in the most delicious way possible. It’s essentially a buttery, crumbly crust that acts as both the base and the topping, hugging a sweet and spiced apple filling in between. The best part? You get all the warm, comforting flavors of apple pie without spending hours crimping edges or worrying about soggy bottoms. It’s a total win-win! They are also much easier to serve for a crowd – no more awkward pie slicing!
Why you’ll love this recipe?
How do I begin? I love everything about this recipe.Flavor:Imagine that classic Apple Pie flavor profile, but amplified. What are some of the best apples to eat? What is the glaze? What makes these bars so irresistible?Simplicity:Is this recipe easy to make? If you can mix a few ingredients together and make these bars, they will be delicious. No complicated pastry techniques or fussy steps involved.Cost-All the ingredients are pretty standard pantry staples, so you probably already have most of them on hand. Apple products are generally affordable, especially in the fall, so you won’t break the bank making these.Versatility: These Apple Pie Bars are perfect for any occasion. I’ve made them for potlucks, holiday gatherings, and even just a cozy night in. You can also customize the filling with different spices or types of apples to suit your taste.
What I love most about this is that my kids gobble these down so fast! It’s a sweet treat I don’t feel guilty about them having because, hey, at least there are apples involved! I’ve tried similar recipes before, but this one just nails the perfect crust-to-filling ratio. Trust me, you’ll be making these again and again!
How do I make Apple Pie bars?
Quick Overview
Making these bars is seriously a breeze. You’ll start by making a simple crust, then whip up a quick apple filling, layer everything into a pan, bake it until golden brown and bubbly, and then drizzle with a sweet glaze. The hardest part is waiting for them to cool before you can devour them! Don’t be intimidated by the steps; I promise it is easier than it looks.
Ingredients
For the Crust:
• 2 1/2 cups all-purpose flour: I always use unbleached for best flavor and texture.
• 1 cup (2 sticks) cold unsalted butter: Make sure it’s VERY cold! Cut it into small cubes for easy mixing.
• 1/2 cup granulated sugar: Adds sweetness and helps create a tender crust.
• 1/4 teaspoon salt: Enhances the flavors.
• 6-8 tablespoons ice water: Add it gradually until the dough comes together. Don’t overdo it!
For the Filling:
• 6-8 medium apples: I love using a mix of Granny Smith and Honeycrisp for the perfect balance of tart and sweet. Peel, core, and slice them thinly.
• 1/2 cup granulated sugar: Adjust to your taste, depending on the sweetness of your apples.
• 2 tablespoons all-purpose flour: Helps thicken the filling.
What are the best ways to prepare a delicious Apple Pie?
The taste of ground nutmeg is warm and nutty.
• 1 tablespoon lemon juice: Prevents apples from browning and adds a touch of acidity.
For the Glaze:
• 1 cup powdered sugar: Sift it for a smooth glaze.
• 2-3 tablespoons milk: Add it gradually until you reach the desired consistency.
• 1/2 teaspoon vanilla extract: Adds a touch of flavor.
What is the step-
Step 1: Preheat & Prep Pan
Preheat your oven to 375°F (190°C). Grease and flour a 9×13 inch Baking Pan. I always line mine with parchment paper, leaving an overhang for easy removal. Trust me, you’ll thank me later!
Step 2: Mix Dry Ingredients
In a large bowl, whisk together the flour, sugar, and salt. Set aside. How do you ensure that the salt is evenly distributed and that it doesn’t clump up in one place?
Step 3: Cut in Butter
How do you cut the butter with a pastry blender or your fingertips until the mixture resembles coarse powder? What is butter? If you don’t have a pastry blender, you can use two forks. How do you work fast so butter doesn’t melt?
Step 4: Add Ice Water
Gradually add the ice water, one tablespoon at a time, mixing until the dough just comes together. Do not overmix the dough. The dough should be slightly crumbly, but hold together when pressed. Divide dough in half. Press half of the dough into the prepared pan to form the bottom crust. I find it’s easiest to use my fingers to press it evenly into the pan.
Step 5: Prepare Filling
In a large bowl, combine the sliced apples, sugar, flour, cinnamon, nutmeg, and lemon juice. Set aside. Toss gently to coat the apples evenly. What are some good apples to give a good mix – you want those apples coated in all that flavorful goodness?
Step 6: Layer & Crumble
How do I make a crust? Pour the filling over the crust. Crumble the remaining dough over it. Don’t worry about making it perfect – rustic is beautiful!
Step 7: Bake
Bake for 35-40 minutes, or until the crust is golden brown and the filling is bubbly. Keep an eye on them – ovens can vary! If the crust starts to brown too quickly, you can tent it with foil.
Step 8: Cool & Glaze
Let the bars cool completely in the pan before glazing. This is crucial! If you glaze them while they’re still warm, the glaze will melt and run. While the bars are cooling, whisk together the powdered sugar, milk, and vanilla extract until smooth. Set aside. Drizzle the glaze over the cooled bars. I like to use a piping bag or spoon for distributing the liquid evenly.
Step 9: Slice & Serve
How do you slice a bar into squares and serve them warm or at room temperature? I love Ice Cream with a scoop of vanilla!
What should I serve it with?
What are some of my favorite ways to enjoy Apple Pie Bars?For Breakfast:What are some good ways to start the day off with a cup of coffee or tea?For Brunch:Serve them alongside a fruit salad and some mimosas for an elegant brunch spread.As Dessert: These bars are the perfect ending to any meal. Serve them with a scoop of vanilla Ice Cream or a dollop of whipped cream.
For Cozy Snacks: Enjoy them with a glass of milk or a cup of hot cocoa on a cozy night in.
My family loves these with a scoop of vanilla ice cream, no matter the time of year! I’ve also been known to sneak one (or two) with my morning coffee – don’t judge! They’re also amazing with a sprinkle of chopped walnuts or pecans on top.
Top Tips for Perfecting Your Apple Pie Bars
Want to take your Apple Pie Bars to the next level? Here are some of my top tips:
Apple Choice: Use a mix of apples for the best flavor and texture. Granny Smith apples add a tartness that balances out the sweetness, while Honeycrisp or Gala apples add sweetness and a softer texture.
Cold Butter is Key: Make sure your butter is very cold when you cut it into the flour mixture. This will create a flaky and tender crust. I sometimes even put the butter in the freezer for 15 minutes before using it.
Don’t Overmix the Dough: Overmixing the dough will result in a tough crust. Mix just until the dough comes together.
Chill the Dough: If you have time, chill the dough for 30 minutes before pressing it into the pan. This will help prevent it from shrinking during baking.
Spice it Up: Experiment with different spices in the filling. A pinch of cardamom or allspice can add a unique flavor twist.
Glaze Consistency: Adjust the amount of milk in the glaze to achieve your desired consistency. For a thinner glaze, add more milk. For a thicker glaze, add more powdered sugar.
Baking Time: Keep an eye on the bars while they’re baking and adjust the baking time as needed. Ovens can vary, so it’s important to check for doneness.
I once made these with melted butter (oops!) and the crust was a disaster. Trust me, cold butter is a must! I also learned that chilling the dough really does make a difference in the crust’s texture. And don’t be afraid to experiment with different apple varieties – it’s a fun way to customize the recipe!
Storing and Reheating Tips
These Apple Pie Bars are best enjoyed fresh, but they can be stored for later. Here’s how:
Room Temperature: Store the bars in an airtight container at room temperature for up to 2 days.
Refrigerator Storage: Store the bars in an airtight container in the refrigerator for up to 5 days.
Freezer Instructions: To freeze the bars, wrap them individually in plastic wrap and then place them in a freezer-safe bag or container. Freeze for up to 2 months. Thaw in the refrigerator overnight before serving.
Glaze Timing Advice: If you plan to freeze the bars, it’s best to glaze them after thawing. This will prevent the glaze from becoming soggy.
I usually store mine in the fridge because, honestly, they last longer that way. The cold temperature also makes them taste even better (in my opinion!). And if you’re freezing them, make sure to wrap them tightly to prevent freezer burn. No one wants freezer-burned apple pie bars!
Frequently Asked Questions
Final Thoughts
These Apple Pie Bars are truly a family favorite for a reason. They’re easy to make, incredibly delicious, and perfect for any occasion. Whether you’re craving a comforting dessert, need a treat to bring to a potluck, or just want to impress your friends and family, this recipe is a winner. If you loved this recipe, be sure to check out my other easy dessert recipes! I have a feeling you’ll love my pumpkin pie bars or my Pecan Pie Bars. Happy baking! I can’t wait to hear how yours turn out! Be sure to leave a comment below and let me know what you think. And don’t forget to share your own variations – I’m always looking for new ideas!
Apple Pie Bars Recipe
Ingredients
Crust Ingredients
- 1.5 cups all-purpose flour
- 0.5 teaspoon salt
- 1 cup cold unsalted butter cut into cubes
- 0.5 cup cold vegetable shortening cut into cubes
- 0.6 cups ice water
Filling Ingredients
- 6 medium apples peeled, cored, and sliced
- 0.75 cup granulated sugar
- 2 tablespoons brown sugar packed
- 2 teaspoons ground cinnamon
- 0.5 teaspoon ground nutmeg
- 0.25 teaspoon ground allspice
- 2 tablespoons all-purpose flour
Instructions
Preparation Steps
- Preheat oven to 350°F (175°C).
- Make the crust: Combine flour and salt. Cut in butter and shortening until mixture resembles coarse crumbs. Gradually add ice water, mixing until dough just comes together.
- Press half of the dough into a greased 9x13 inch baking pan.
- In a bowl, combine apples, sugars, cinnamon, nutmeg, allspice, and flour.
- Spread apple mixture over the crust.
- Roll out the remaining dough and place it over the apple filling.
- Bake for 30-35 minutes, or until crust is golden brown and filling is bubbly.
- Let cool completely before cutting into bars.