Pizookie baking tips
There’s something undeniably magical about merging the chewy texture of a cookie with the gooey, decadent appeal of a pizza-inspired dessert, and that’s precisely what you get with a pizookie. This delightful treat combines the best of both worlds into one irresistible dish. The journey of making a pizookie at home not only fills your kitchen with an enticing aroma but also promises to leave your taste buds dancing with joy.

I still remember the first time I made this delightful dessert with my grandmother. Every summer holiday at her quaint cottage, baking together was our cherished pastime. Her Pizookie Recipe has always been a family favorite, sparking joy and laughter among us all. Baking it today brings back a flood of warm, joyful memories that I hold dear.
Why You’ll Love This Recipe
The pizookie recipe is a game-changer for dessert enthusiasts. Firstly, it offers the perfect blend of textures – a crispy outer layer housing a deliciously gooey center. It’s incredibly versatile, satisfying sweet cravings easily, and can be tailored to individual flavor preferences. Additionally, the recipe requires minimal preparation time and ordinary pantry ingredients, making it accessible for novice and seasoned bakers alike.
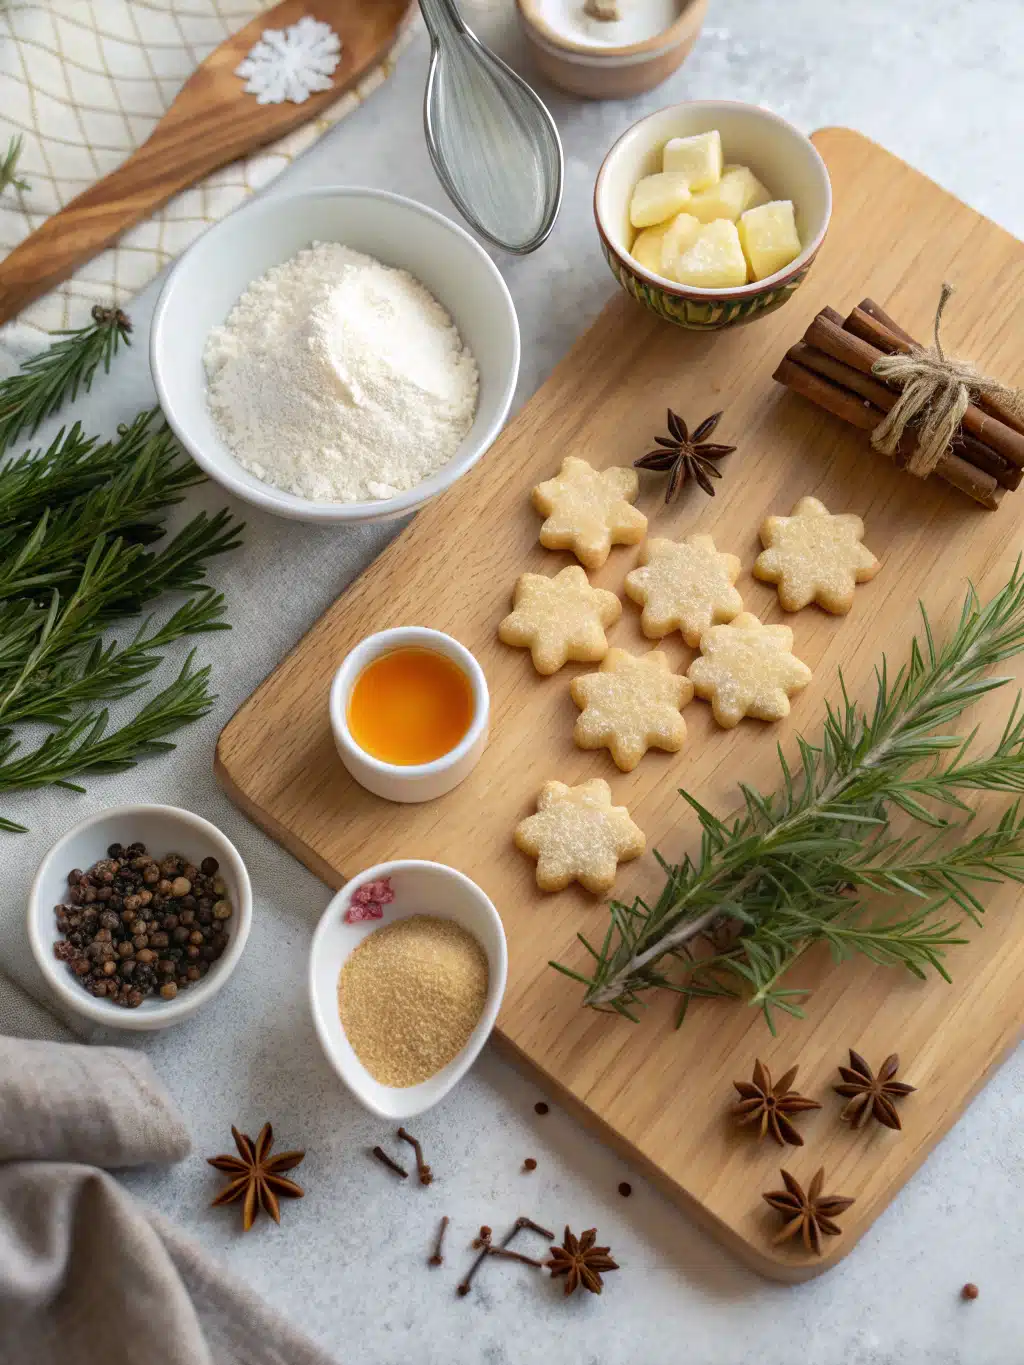
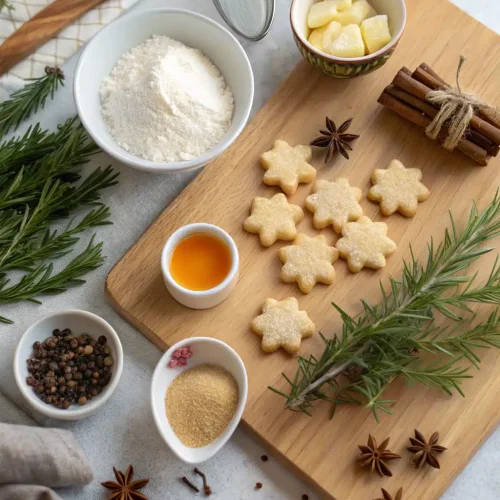
Ingredients Notes
The heart of a good pizookie lies in the quality of its ingredients. Start with rich, creamy butter; it’s vital for that melt-in-your-mouth texture. Opt for high-quality chocolate chips – dark, milk, or white depending on your taste preference. Sourcing fresh vanilla extract will provide a deeper, more aromatic flavor. If you’re venturing into healthier options, try substituting whole wheat flour for a nuttier flavor or coconut sugar for a caramel-like sweetness.
Recipe Steps
Step 1
Preheat your oven to 350°F (175°C) and grease a cast-iron skillet or baking dish. This ensures that the base of the pizookie becomes perfectly crispy.
Step 2
In a large mixing bowl, cream together butter and sugar until light and fluffy. Incorporating air in this stage is crucial for a soft cookie texture. Add in the eggs and vanilla extract, mixing well to combine.
Step 3
In another bowl, whisk together the flour, baking soda, and salt. Gradually add the dry ingredients to the wet mixture, stirring to ensure there are no lumps. Fold in the chocolate chips gently to distribute them evenly throughout the dough.
Step 4
Spread the dough evenly into the prepared skillet, pressing down lightly to pack it uniformly. This helps the pizookie bake evenly, achieving the perfect gooey center.
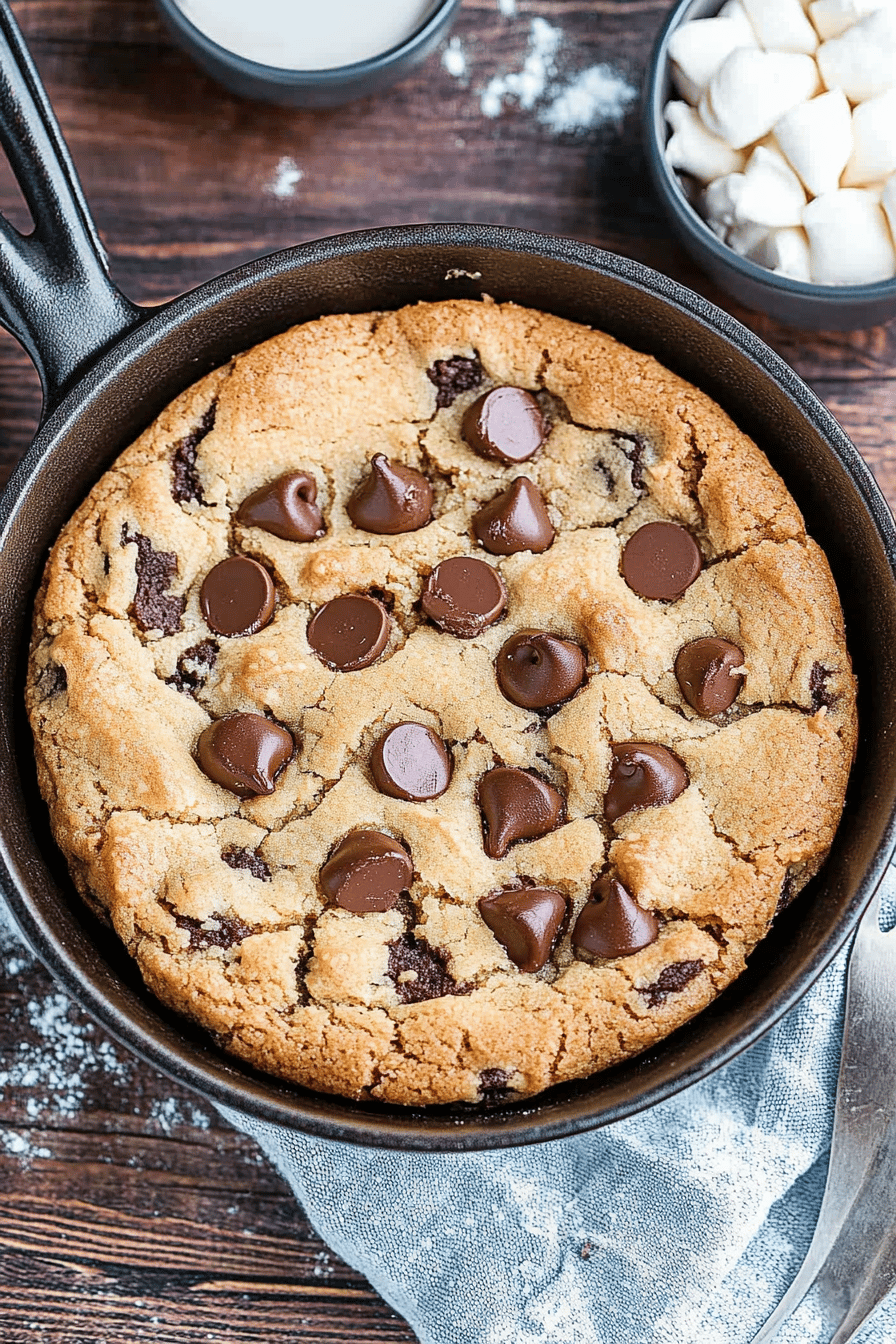
Step 5
Bake for 20-25 minutes, or until the edges are golden and crispy. Allow it to cool slightly before serving; this will help the center set a bit while retaining its gooey essence.
Storage Options
Store any leftover pizookie in an airtight container at room temperature for up to three days. For an extended shelf life, refrigerate it, but ensure you bring it to room temperature before consuming. Alternatively, you can freeze portions; just wrap them in plastic wrap and place in a freezer-safe bag. When ready to enjoy, reheat in a preheated oven for a few minutes until warm and soft.
Variations & Substitutions
For a fun flavor twist, consider adding a swirl of Peanut Butter or Nutella to the dough before baking. Alternatively, replace chocolate chips with either peanut butter or butterscotch chips for a unique taste. Gluten-free flour blends can be used to accommodate dietary preferences, just be sure to verify any rising agents for compatibility.
Serving Suggestions
Serve your pizookie warm topped with a scoop of vanilla Ice Cream for an indulgent treat. It’s perfect for a cozy family dessert night or as a spectacular finish to a dinner party. Accompany it with freshly brewed coffee or a glass of milk for that ultimate comfort food experience that wraps you in its heavenly embrace.
Frequently Asked Questions
Can I make a pizookie without a cast-iron skillet? Absolutely! While a cast-iron skillet is traditional for added crispiness, you can use any oven-safe baking dish. Ensure to adjust the baking time as different materials conduct heat differently.
Is it possible to make a vegan version of this recipe? Yes, you can substitute the butter with vegan butter and use flax eggs instead of regular eggs to make a vegan-friendly pizookie. Opt for dairy-free chocolate chips to ensure the recipe remains plant-based.
What should I do if my pizookie is too gooey? If your pizookie is too gooey, simply return it to the oven for a few more minutes. Every oven varies slightly in temperature, so keeping an eye on the pizzoki during the baking process will guide you to the right consistency.
Pizookie baking tips
Ingredients
Main Ingredients
- 1.5 cups all-purpose flour make sure to use leveled scoops
- 0.5 cup unsalted butter softened
- 1 cup brown sugar packed
- 1 tsp baking soda
- 2 cups chocolate chips preferably semi-sweet
Instructions
Preparation Steps
- Preheat your oven to 350°F (175°C).
- In a large bowl, cream the butter and brown sugar until smooth.
- Stir in the flour, baking soda, and chocolate chips until just combined.
- Spread the mixture into a greased 12-inch pizza pan.
- Bake for 20 minutes, or until the edges are golden brown.
- Allow to cool slightly before slicing and serving.