no-bake desserts
no-bake desserts have taken the culinary world by storm, particularly for those of us who crave the sweetness of a homemade treat without the hassle of turning on the oven. These delicious creations save time, energy, and the effort of traditional baking, making them a must-try for any dessert lover.
Growing up, my grandmother had a knack for whipping up tasty delicacies without any baking involved. Her kitchen always smelled of sweet fruits and creamy fillings. These no-bake recipes remind me of those afternoons spent at her table, waiting eagerly for the first bite of something fresh, sweet, and satisfying. It’s a legacy I’ve happily adopted in pursuit of delectable desserts made with love and nostalgia.
Why You’ll Love This Recipe
This recipe is perfect if you’re short on time but big on flavor. It’s easy to customize with whatever ingredients you have on hand, ensuring you’ll never get bored of the same taste. Not to mention, it’s a great way to engage kids in the kitchen since there’s no risk of burns or accidents with oven use. Each bite delivers a rich, indulgent experience that feels both familiar and novel, making it a recipe you’ll cherish.
Ingredients Notes
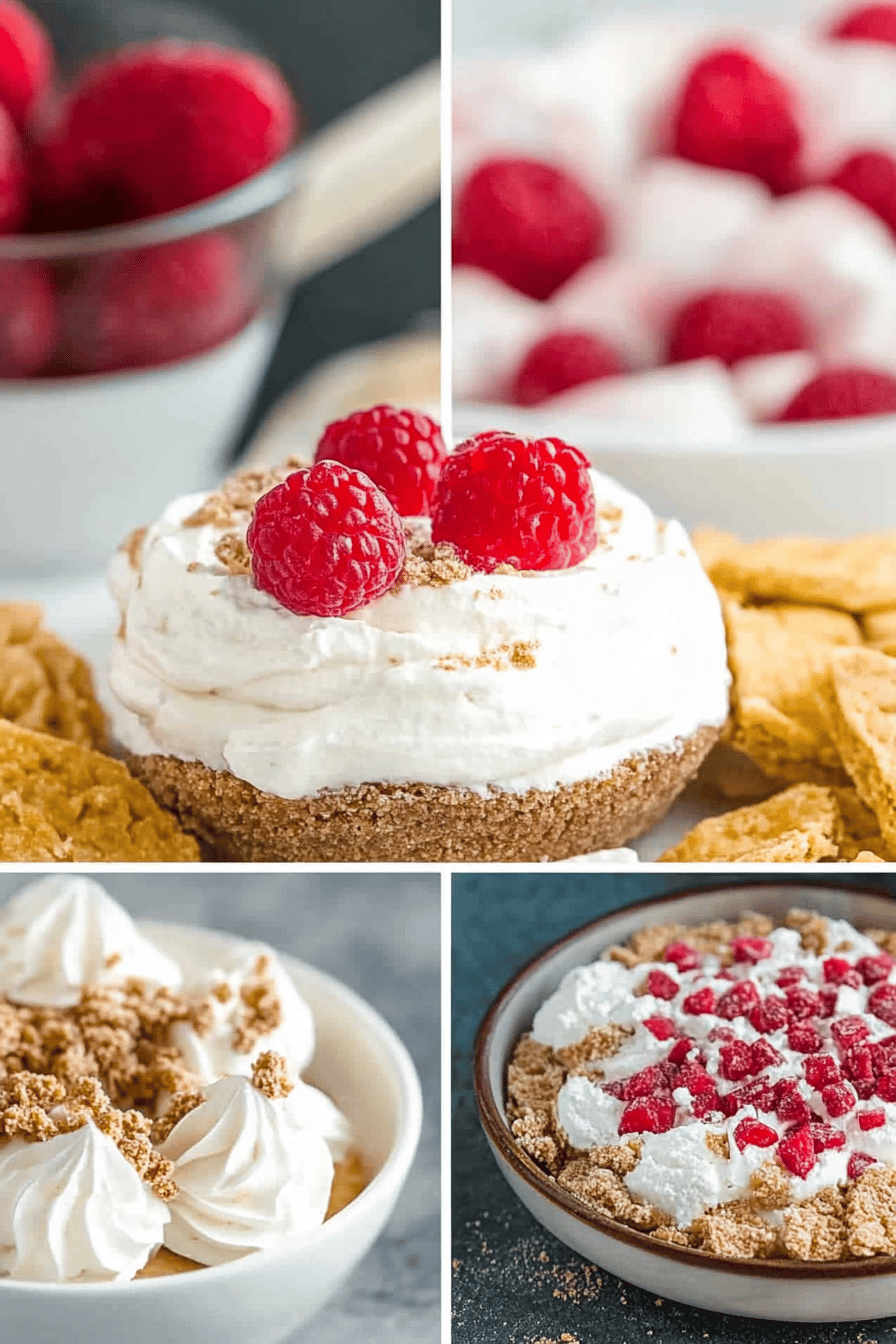
The beauty of this recipe lies in its simplicity. Use fresh ingredients where possible, ensuring maximum flavor. Swap out fruits or nuts depending on availability or taste preferences, and of course, feel free to experiment with different bases like graham crackers or even oatmeal for a wholesome twist.
Recipe Steps
Step 1
Prepare the crust by crushing your base ingredients, such as graham crackers, until finely ground. Mix with melted butter until the mixture holds together.
Step 2
Press the crust mixture evenly into the bottom of your pan. Use a flat-bottomed glass or measuring cup to ensure it’s packed tight, then refrigerate.
Step 3
Prepare your filling by mixing softened Cream Cheese, sugar, and vanilla extract until smooth. Fold in whipped cream to add a light, airy texture.
Step 4
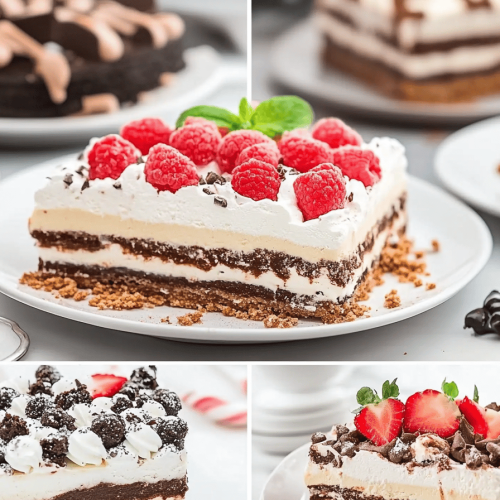
Spread the filling over the chilled crust, smoothing with a spatula to eliminate any lumps or air bubbles.
Step 5
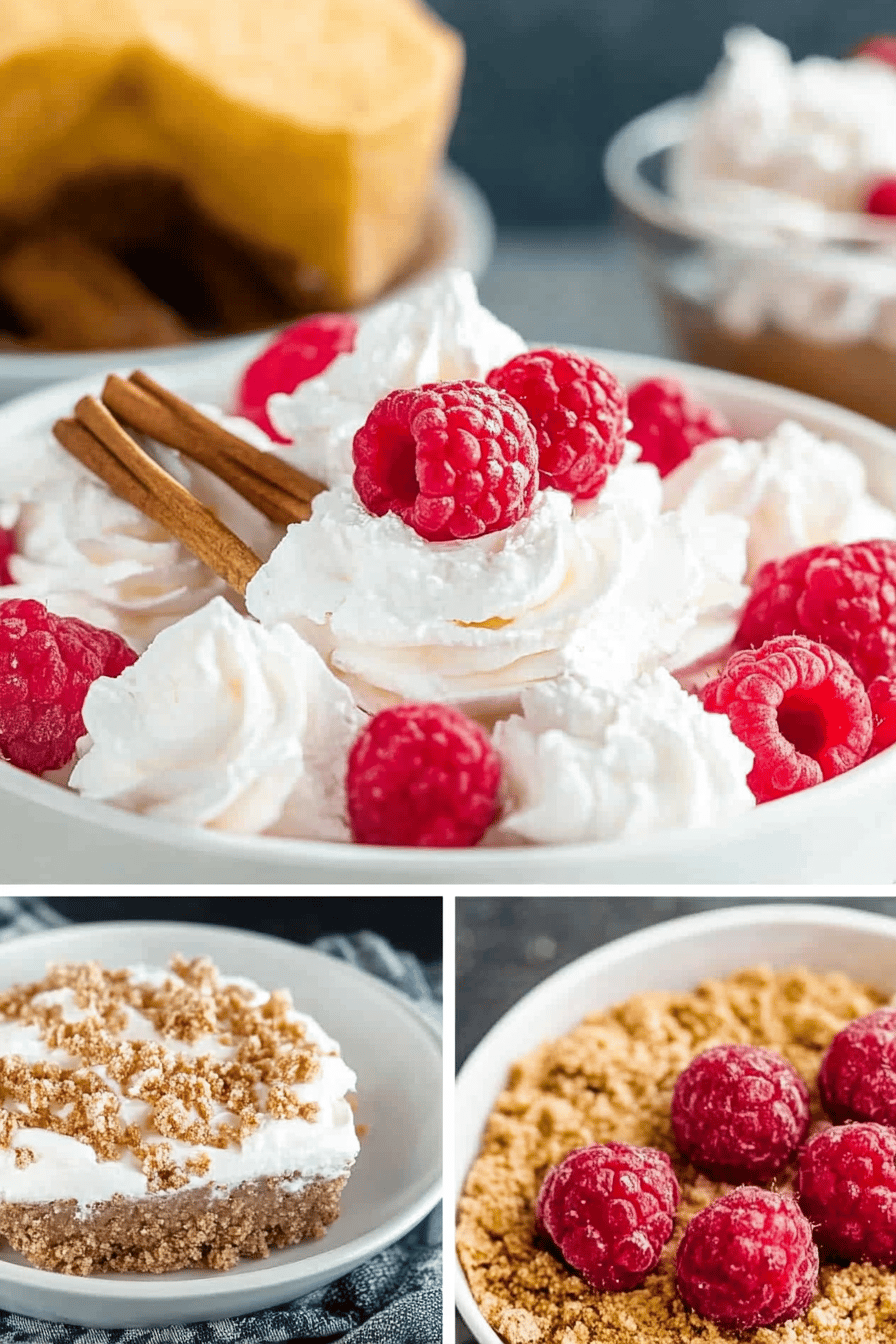
Top your dessert with fresh fruit, nuts, or a drizzle of chocolate as desired. Chill for at least 2 hours before serving to allow flavors to meld and the dessert to set.
Storage Options
No-bake desserts are best enjoyed fresh but can be stored in an airtight container in the refrigerator for up to 3 days. For longer storage, these desserts can be frozen: wrap tightly in plastic wrap and a layer of foil to prevent freezer burn. When ready to enjoy, thaw overnight in the refrigerator.
Variations & Substitutions
For a dairy-free version, replace Cream Cheese and whipped cream with coconut cream or a plant-based alternative. For added zest, consider incorporating citrus zest or a hint of spice such as cinnamon or nutmeg to match the season or your mood.
Serving Suggestions
Serve your no-bake dessert as a refreshing summer treat at picnics or barbecues. It also pairs beautifully with a warm beverage, making it a delightful conclusion to any dinner party.
Frequently Asked Questions
Can I use frozen fruit? Yes, frozen fruit works well in no-bake desserts. Thaw it first and drain any excess liquid to prevent your dessert from becoming soggy.
How can I make this dessert healthier? Opt for a nut-based crust and use low-fat or natural sweeteners as alternatives to reduce calories while maintaining deliciousness.
What if my crust doesn’t stick together? Check your butter ratio; you might need a little more if it looks dry. Refrigerating the crust before adding the filling can also help it firm up.
no-bake desserts
Ingredients
Main Ingredients
- 2 cups graham cracker crumbs fine and even
- 1 cup cream cheese softened
- 1.5 cups whipped topping thawed
- 0.5 cup powdered sugar
- 1 tsp vanilla extract
Instructions
Preparation Steps
- In a large bowl, mix together graham cracker crumbs and softened cream cheese until well combined.
- Add whipped topping, powdered sugar, and vanilla extract. Stir until smooth and creamy.
- Spoon the mixture into serving dishes and refrigerate for at least 1 hour before serving.