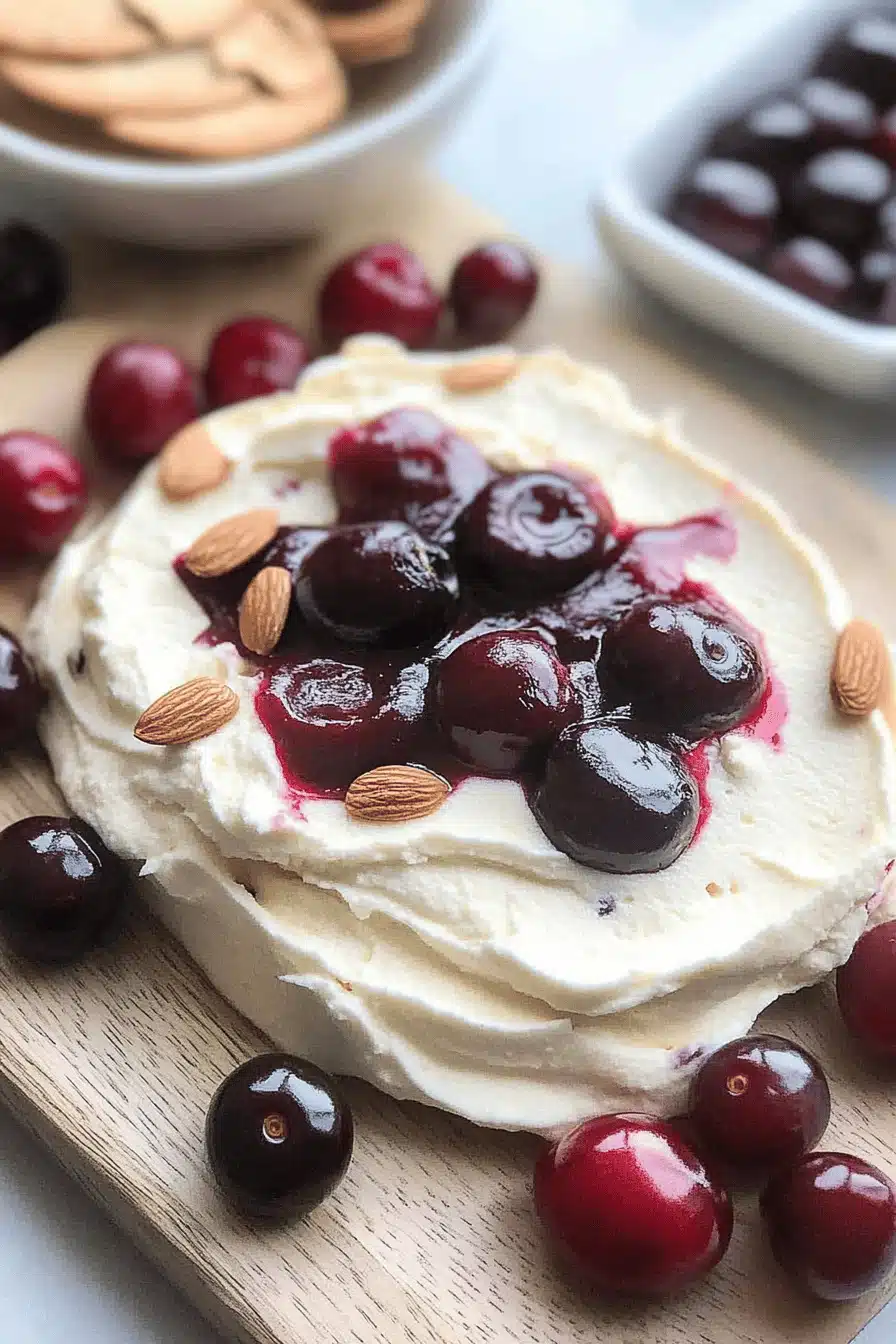
Cherry Almond Hand Pies
Bite into these delightful cherry almond Hand Pies and experience a burst of sweet, tangy flavors nestled inside a buttery, flaky crust. Perfect for any occasion, these hand pies are simple to make and the ultimate treat for cherry lovers everywhere.
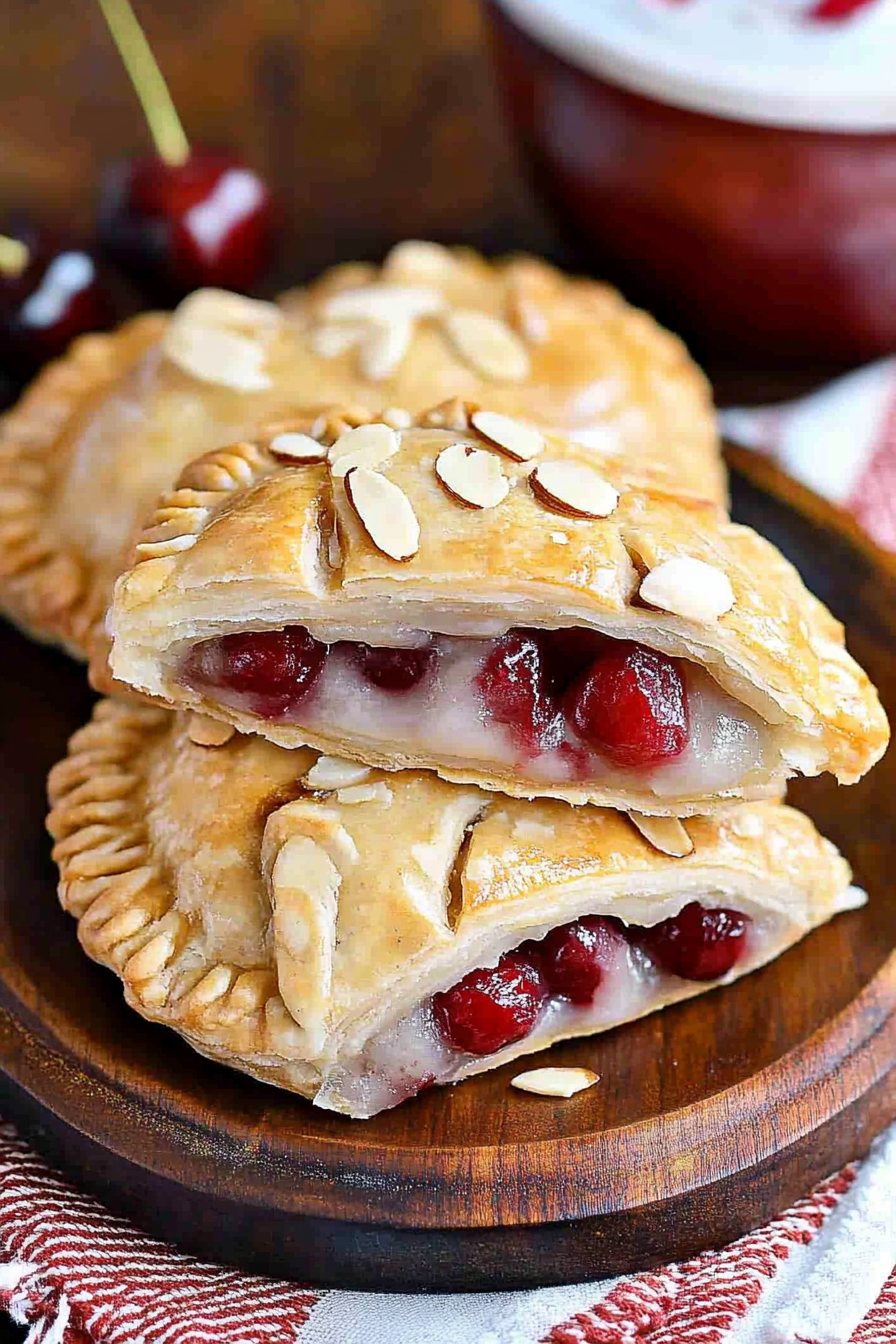
Every summer, my family gathers in the kitchen to create this cherished treat. It’s a tradition passed down from my grandmother, who always knew how to pick the juiciest cherries in the orchard. We would make a mess of the kitchen, but it was always worth it when we could savor the warm, aromatic pies fresh from the oven. It’s these moments that make recipes like this one truly special — an heirloom of flavors and memories.
Why You’ll Love This Recipe
This recipe combines the vibrant taste of cherries with a hint of almond, creating a harmonious blend that’s both sweet and nutty. These Hand Pies are ideal for picnics, lunchbox treats, or even a chic dessert option for entertaining guests. Their portable nature makes them perfect for on-the-go snacking. Additionally, they require only a handful of ingredients and take less than an hour from start to finish, proving that gourmet doesn’t have to mean complicated.
Ingredients Notes
You’ll need fresh or frozen cherries, almond extract, and pre-made or homemade pie crusts. Fresh cherries provide the best flavor, but frozen cherries can be a handy substitute when fresh aren’t in season. If you can’t find almond extract, vanilla extract will work in a pinch, though it will slightly alter the flavor profile. Ensure your pie crusts are chilled before use so they maintain their structure during baking.
Recipe Steps
Step 1
Preheat your oven to 375°F (190°C). Line a baking sheet with parchment paper to prevent the pies from sticking.
Step 2
In a bowl, combine pitted cherries, sugar, a pinch of salt, and almond extract. Mix the ingredients gently to coat the cherries evenly without crushing them.
Step 3
Roll out the pie crust on a lightly floured surface to about 1/8-inch thickness. Use a round cutter to cut out as many circles as possible. Gather leftover dough and reroll to use up all crust.
Step 4
Place a spoonful of cherry mixture onto each circle. Fold the dough over the filling to create a semi-circle and crimp the edges with a fork to seal.
Step 5
Place the pies on the prepared baking sheet, brush with egg wash for a golden finish, and bake for 20-25 minutes until golden brown. Allow them to cool slightly before serving.
Storage Options
Keep leftover pies in an airtight container at room temperature for up to 2 days, or refrigerate for up to a week. To freeze, arrange them in a single layer on a baking sheet and freeze until solid, then transfer to a freezer-safe bag. Reheat in an oven preheated to 350°F (175°C) until warmed through before serving.
Variations & Substitutions
For a gluten-free version, use your favorite gluten-free pie crust recipe. Swap cherries for blueberries or a mix of berries for a different fruit flavor. To make them vegan, choose a plant-based margarine for your crust and use a dairy-free milk for the egg wash substitute.
Serving Suggestions
These hand pies are the perfect companion for a summer picnic. Serve them warm with a scoop of vanilla Ice Cream or a dollop of whipped cream for an indulgent after-dinner treat. They’re also a hit at brunch gatherings paired with a fresh fruit salad and hot coffee.
Frequently Asked Questions
Can I use canned cherries instead of fresh or frozen? Yes, you can use canned cherries, but make sure to drain them well to avoid excess moisture in the pies, which can lead to sogginess. Adjust the sugar quantity according to the sweetness of the canned cherries.
Do I need to use almond extract in the filling? Almond extract enhances the flavor profile of the pies, complementing the cherries beautifully. However, if you’re allergic or prefer a different flavor, vanilla or even lemon zest can be substituted for a unique twist.
How can I tell when the Hand Pies are fully baked? The pies are done when the crust is golden brown, and you may see some of the filling bubbling out from the edges. Keep an eye on the bottoms to ensure they are cooked through but not overly browned.

