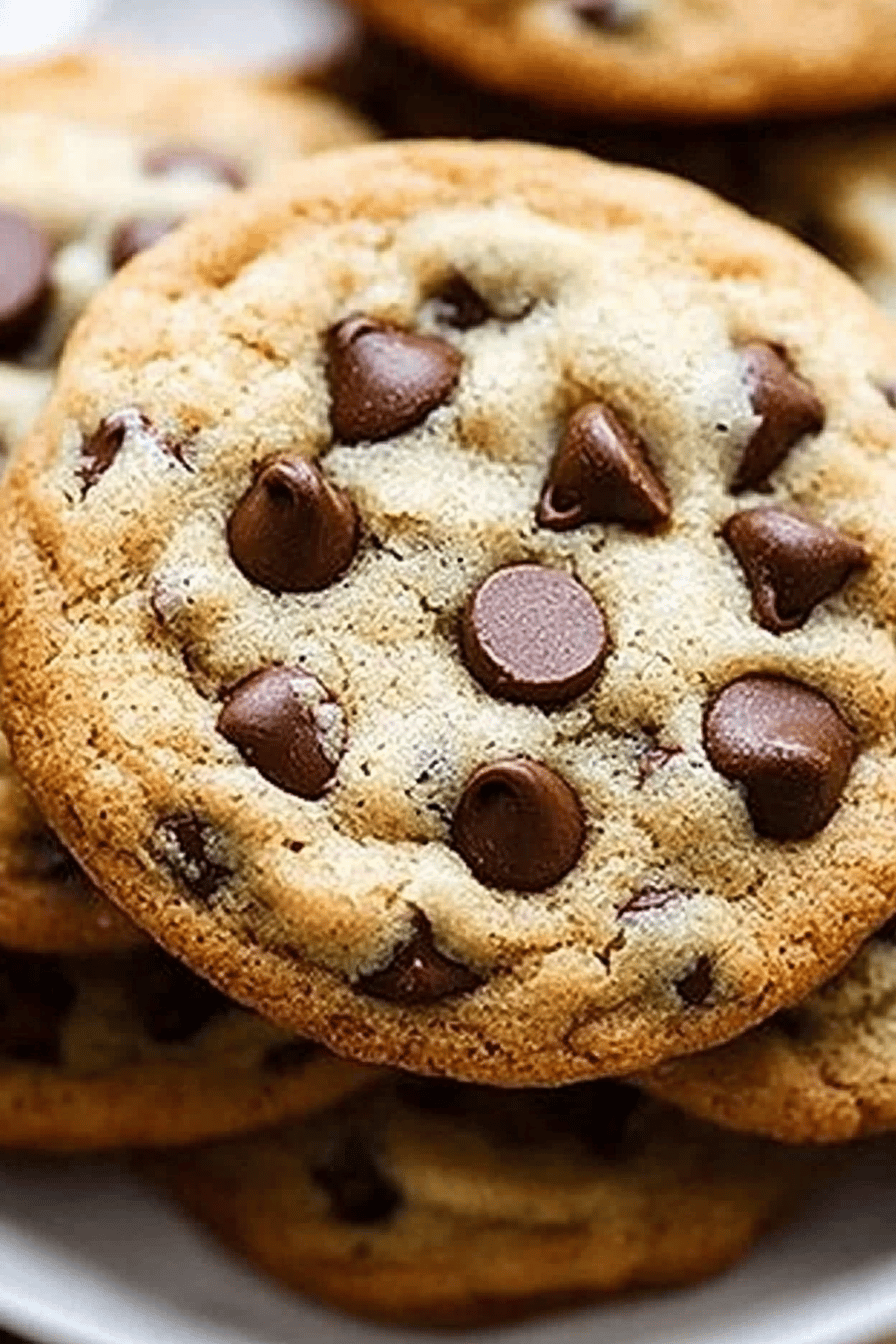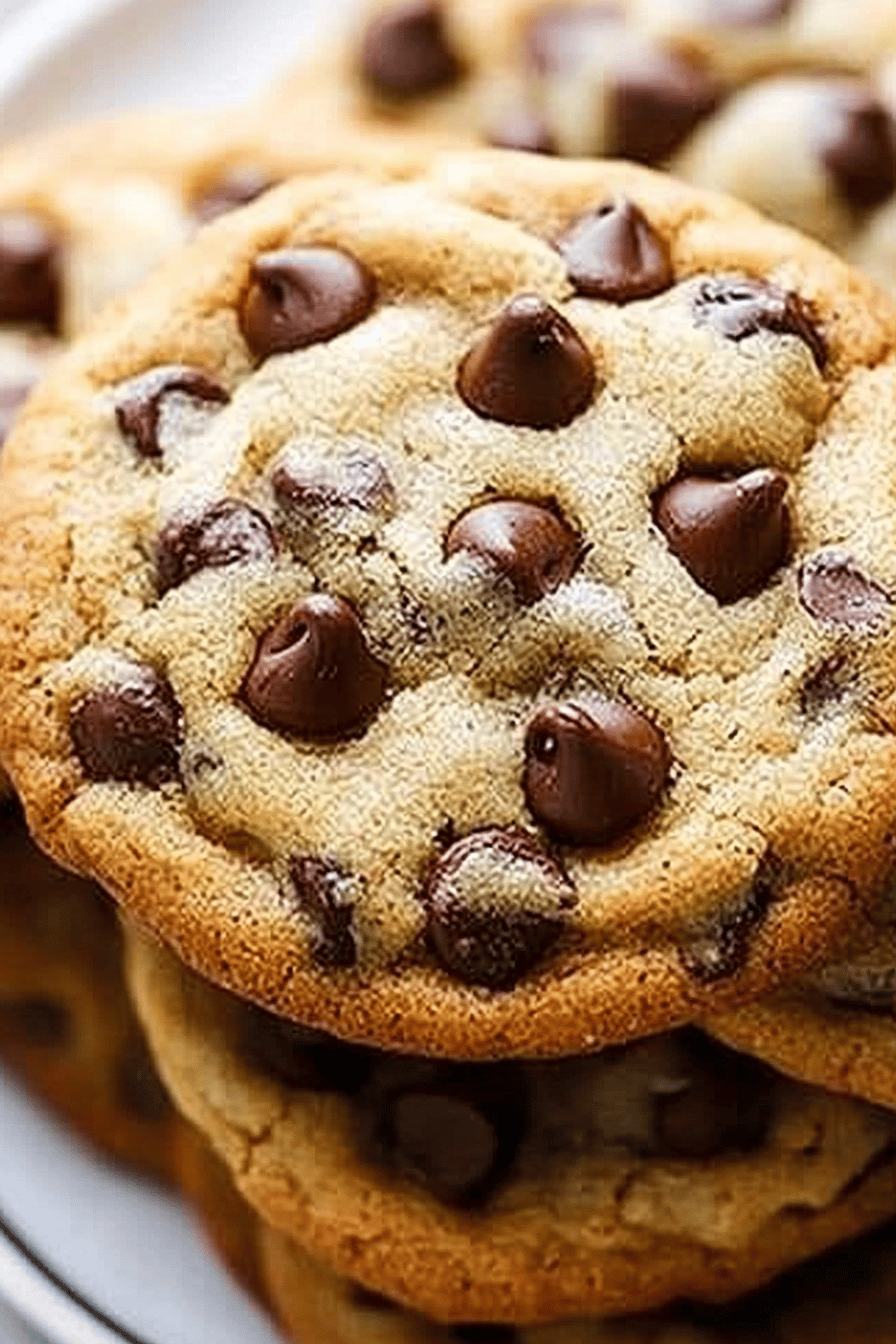


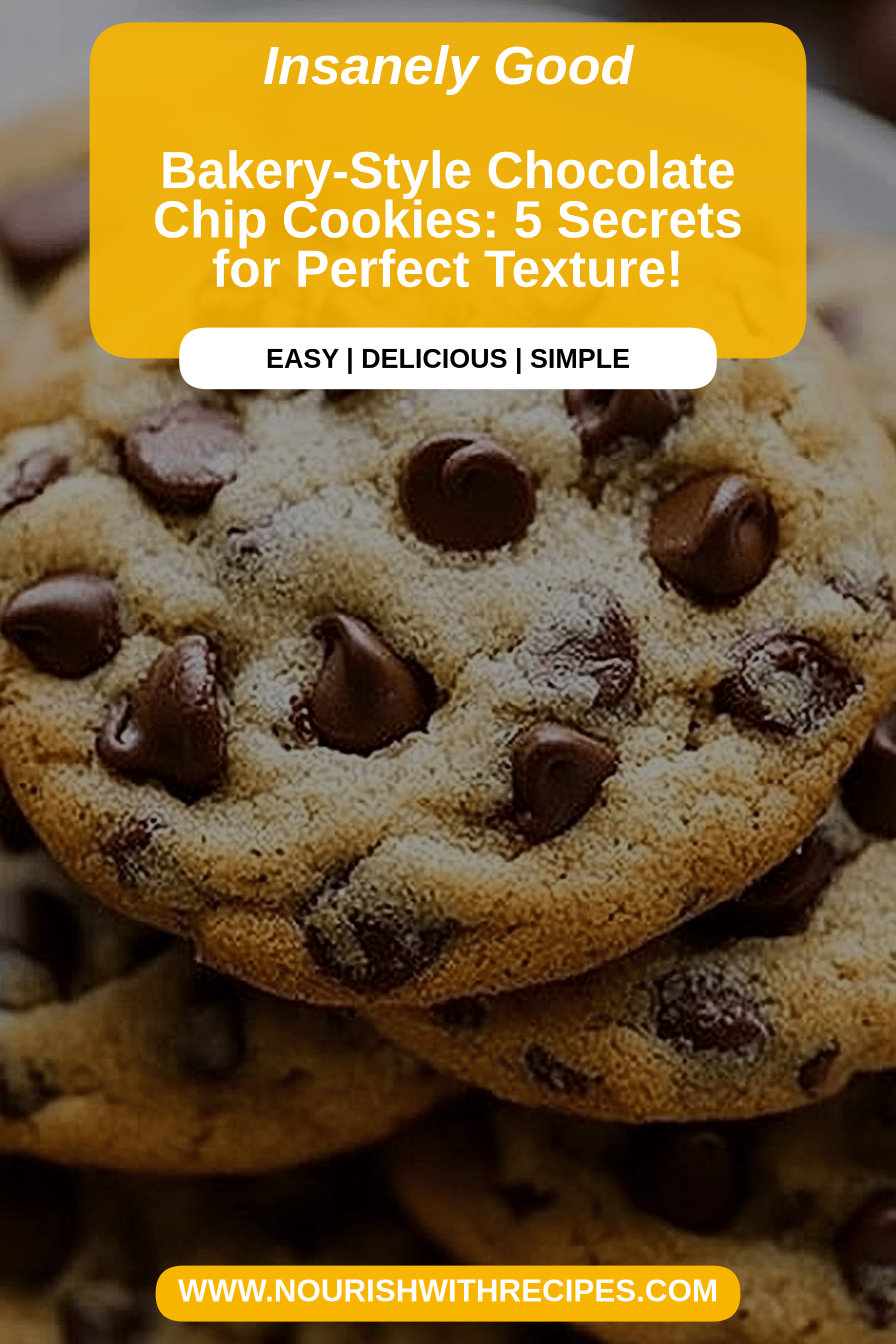
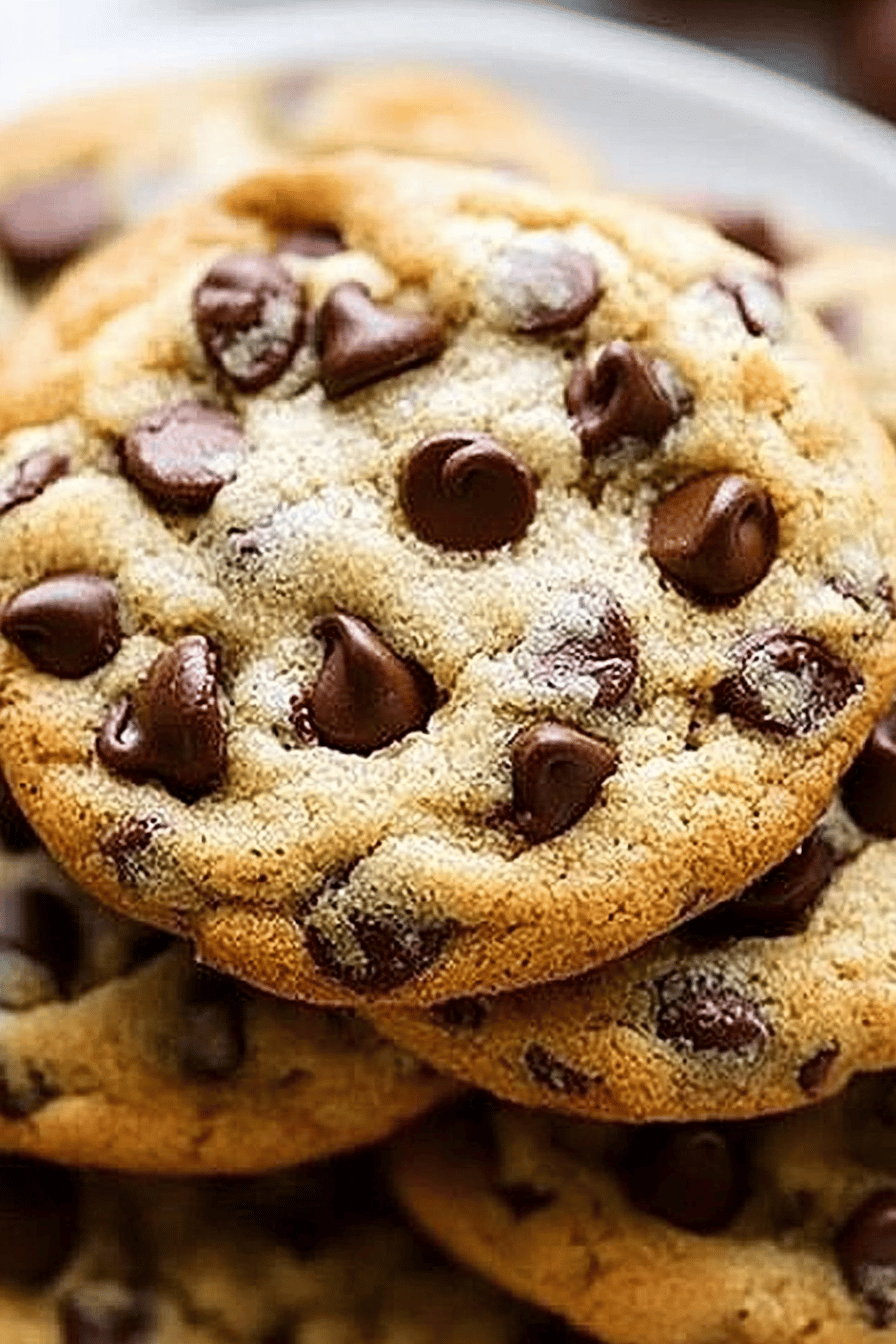
Oh, friends, if there’s one recipe that consistently brings smiles to faces in my home, it’s this one. We’re talking about the quintessential, melt-in-your-mouth, perfectly chewy-on-the-inside and slightly crisp-on-the-outside Chocolate Chip Cookies Recipe. You know the ones – the kind that fill your kitchen with the most intoxicating aroma and make everyone gather ’round, just waiting for their turn. I’ve tried so many variations over the years, from super fancy bakery-style ones with browned butter and flaky sea salt (which are lovely, don’t get me wrong!) to quick “no-bake” versions that always leave me feeling a little… unfinished. But this? This is my tried-and-true, pure comfort in cookie form. It’s the recipe I pull out when I need a little pick-me-up, when unexpected guests pop by, or honestly, just because it’s Tuesday and we deserve something wonderful. It’s the benchmark against which I measure all other chocolate chip cookies.
What is the recipe for chocolate chip cookies?
So, what exactly makes this Chocolate Chip Cookies Recipe my absolute favorite? Think of it as the Goldilocks of cookies – not too cakey, not too thin, but just right in every single way. It’s a classic chocolate chip cookie, but with a few little tweaks that elevate it from good to absolutely phenomenal. It’s essentially a testament to the power of simple, quality ingredients handled with a little bit of love and patience. This isn’t a complicated recipe by any means; you won’t need any fancy equipment or hard-to-find ingredients. It’s the kind of recipe you can whip up on a whim, and it always delivers that nostalgic, comforting cookie experience that we all crave. It’s the ultimate crowd-pleaser, the one that gets rave reviews every single time.
Why you’ll love this recipe?
Let me count the ways! First and foremost, the flavor is just *everything*. We’re talking a perfect balance of sweet and rich, with those glorious pockets of melted chocolate that ooze out with every bite. The texture is divine – wonderfully chewy in the center, with just enough golden-brown crispiness around the edges to keep things interesting. What I love most about this Chocolate Chip Cookies Recipe is its inherent simplicity. It truly is straightforward, making it perfect for beginners and seasoned bakers alike. You don’t need to be a pastry chef to achieve bakery-quality results. Plus, it’s incredibly cost-efficient! The ingredients are pantry staples for most of us, making it an affordable indulgence. And the versatility! While they’re perfect as is, you can easily customize them. Add nuts, different types of chocolate chips, or even a sprinkle of sea salt on top before baking. I’ve made these for everything from bake sales to holiday cookie platters, and they always disappear faster than I can bake them. Honestly, the smell alone as they’re baking is enough to make your day better.
How do I make chocolate chip cookies?
Quick Overview
This Chocolate Chip Cookies Recipe comes together in a few simple steps, making it a lifesaver on busy nights. We’ll cream butter and sugars, add eggs and vanilla, then whisk in our dry ingredients before folding in the star of the show: chocolate chips! The magic happens in the oven, where the cookies spread just enough to get those perfect edges and gooey centers. It’s a fuss-free process that guarantees delicious results every time. My favorite part is how forgiving it is; even if you’re a little off on timing, they still turn out wonderfully. The key is really just following the steps and not overmixing, which I’ve learned from experience!
Ingredients
For the Main Batter:
2 ¼ cups all-purpose flour (I always use unbleached, I find it gives a better texture)
1 teaspoon baking soda (make sure it’s fresh, old baking soda won’t give you that lift!)
½ teaspoon salt (just regular table salt is fine here)
1 cup (2 sticks) unsalted butter, softened (this is crucial! Softened, not melted)
¾ cup granulated sugar
¾ cup packed light brown sugar (the brown sugar is key for that chewy texture and caramel notes!)
2 large eggs
1 teaspoon pure vanilla extract (don’t skimp on the pure stuff, it makes a huge difference!)
2 cups (about 12 ounces) semi-sweet chocolate chips (you can absolutely mix in milk chocolate or dark chocolate chips too, or a combination! My kids love a mix.)
Step-by-Step Instructions
Step 1: Preheat & Prep Pan
First things first, let’s get that oven preheating to 375°F (190°C). While the oven is doing its thing, line a couple of baking sheets with parchment paper. This is a lifesaver for easy cleanup and it prevents the cookies from sticking and spreading too much. I usually have two or three baking sheets ready to go so I can bake batches back-to-back without waiting too long.
Step 2: Mix Dry Ingredients
In a medium bowl, whisk together the all-purpose flour, baking soda, and salt. Whisking them together ensures that the leavening agent (baking soda) and salt are evenly distributed throughout the flour. This step might seem small, but it’s important for consistent cookie rise and flavor. If your baking soda is old, you might not get that lovely puff, so always check the expiration date!
Step 3: Mix Wet Ingredients
In a large bowl, or the bowl of your stand mixer fitted with the paddle attachment, beat the softened butter with the granulated sugar and packed light brown sugar until it’s light and fluffy. This usually takes about 2-3 minutes on medium speed. The mixture should look pale and creamy. This creaming process is vital for incorporating air, which contributes to the cookie’s texture. Next, beat in the eggs one at a time, mixing well after each addition. Finally, stir in the pure vanilla extract. Make sure your butter is truly softened – if it’s too cold, it won’t cream properly, and if it’s melted, your cookies will spread too much and become greasy.
Step 4: Combine
Gradually add the dry ingredients to the wet ingredients, mixing on low speed just until combined. Be careful not to overmix here! Overmixing develops the gluten in the flour, which can lead to tough cookies. We’re just looking for streaks of flour to disappear. I often stop mixing when there are still a few tiny flecks of flour visible, as the residual mixing when you add the chocolate chips will take care of those.
Step 5: Prepare Filling
(Note: For this specific Chocolate Chip Cookies Recipe, there isn’t a separate “filling” in the traditional sense, as the chocolate chips are incorporated directly into the batter. However, if you wanted to add something like a dollop of caramel or peanut butter inside each cookie ball, this is where you would prepare that.)
Step 6: Layer & Swirl
Now for the best part! Gently fold in the semi-sweet chocolate chips with a spatula or wooden spoon. Again, be gentle and just fold until they are evenly distributed. I like to reserve a few chips to press onto the tops of the cookie dough balls before baking for an extra pretty finish. For this recipe, we’re making traditional drop cookies, so no swirling is needed for the batter itself. The magic happens with the ingredients and baking!
Step 7: Bake
Drop rounded tablespoons of dough onto the prepared baking sheets, leaving about 2 inches between each cookie. This gives them room to spread. I often use a cookie scoop for uniform size, but two spoons work just fine too! Bake for 9-11 minutes, or until the edges are golden brown and the centers still look slightly soft and underbaked. They will continue to cook on the baking sheet after you take them out of the oven, so resist the urge to overbake them if you want that perfect chewy center.
Step 8: Cool & Glaze
Let the cookies cool on the baking sheets for 2-3 minutes before carefully transferring them to a wire rack to cool completely. This step is important for the cookies to set up properly. Once they’re completely cooled, you can drizzle them with a simple glaze if you like (though honestly, they’re amazing as is!). For a glaze, whisk together about 1 cup of powdered sugar with 1-2 tablespoons of milk or water until smooth and pourable. You can also add a touch of vanilla or cocoa powder for extra flavor. Drizzle it over the cooled cookies using a spoon or a piping bag.
Step 9: Slice & Serve
Once the glaze is set (if you used one), these beauties are ready to be devoured! I love slicing into them while they’re still slightly warm for that ultimate gooey chocolate experience. They are perfect served with a tall glass of cold milk. If you’ve glazed them, they make a fantastic dessert, but honestly, they’re a treat any time of day. Enjoy!
What to Serve It With
These ultimate Chocolate Chip Cookies are wonderfully versatile and pair beautifully with a variety of drinks and occasions. For a cozy breakfast, they’re a delightful companion to a hot cup of coffee or a steaming mug of tea. Imagine sitting down with a freshly baked cookie and your morning brew – pure bliss! For a more elegant brunch spread, they can be arranged artfully on a platter, perhaps alongside some fresh berries or a light fruit salad. They add a touch of homemade charm that guests always appreciate. As a dessert, they are simply irresistible, especially when served warm with a scoop of vanilla bean ice cream for a classic ice cream sandwich experience. And for those moments when you just need a comforting snack, a single cookie with a glass of cold milk is pure, unadulterated happiness. My family loves them best with a big glass of whole milk, but I’ve also tried them with a rich hot chocolate, and that’s pure decadence!
Top Tips for Perfecting Your Chocolate Chip Cookies Recipe
I’ve made this Chocolate Chip Cookies Recipe more times than I can count, and over the years, I’ve picked up a few tricks that really make a difference. First, the butter is non-negotiable: it MUST be softened, not melted or cold. If it’s too cold, it won’t cream properly, and if it’s melted, your cookies will spread out like pancakes and might be greasy. Softened butter creates those lovely pockets of air that give cookies their structure and chew. When it comes to mixing the wet and dry ingredients, always err on the side of under-mixing. Seriously. Overmixing develops the gluten in the flour, resulting in tough cookies. Just mix until you no longer see streaks of dry flour. A few small lumps are perfectly fine! The residual mixing when you add the chocolate chips will usually take care of those. For the chocolate chips, I swear by using a mix of semi-sweet and milk chocolate, or even adding some dark chocolate chunks for deeper flavor. Don’t be afraid to experiment with different brands or types of chocolate – it’s your cookie, after all! If you like a little crunch on top, press a few extra chocolate chips onto the dough balls before they go into the oven. For baking, I always use parchment paper because it prevents sticking and makes cleanup a breeze. I also find that rotating my baking sheets halfway through the baking time helps ensure even cooking. And my biggest tip? Resist the urge to overbake! Pull them out when the edges are golden brown but the centers still look a little soft. They’ll continue to set up on the hot baking sheet, giving you that perfect chewy texture. If you want to swap out some of the semi-sweet chips, I’ve had success with adding chopped nuts like walnuts or pecans, or even dried cranberries for a tart contrast.
Storing and Reheating Tips
These Chocolate Chip Cookies are best enjoyed fresh, but they do store quite well! At room temperature, I like to keep them in an airtight container or a cookie tin, and they’ll stay wonderfully chewy and delicious for about 3-4 days. If you press plastic wrap directly onto the surface of the cookies before putting the lid on, it helps maintain their freshness even longer. If you find they start to get a little too dry after a couple of days, you can pop a slice of bread in the container with them overnight; the cookies will absorb moisture from the bread, bringing them back to their lovely chewy state! For longer storage, they freeze beautifully. I usually freeze them in a single layer on a baking sheet until solid, then transfer them to a freezer-safe bag or container. They can stay frozen for up to 3 months. To reheat, you can simply let them come to room temperature, or pop them in a warm oven (around 300°F or 150°C) for a few minutes to recapture that fresh-baked warmth and gooey chocolate. If you’ve glazed your cookies, it’s best to add the glaze after they’ve been stored and reheated, or after they’ve cooled completely from reheating, as the glaze can get sticky and messy if applied to warm cookies.
Frequently Asked Questions
Final Thoughts
Honestly, this Chocolate Chip Cookies Recipe is more than just a recipe to me; it’s a little piece of happiness. It’s the comfort of familiar flavors, the joy of creating something delicious with your own hands, and the satisfaction of sharing it with the people you love. It’s the perfect balance of chewy, gooey, and chocolatey goodness that just hits the spot every single time. I truly hope you’ll give this recipe a try and that it brings as much joy to your kitchen as it does to mine. If you do make them, please let me know in the comments below how they turned out, or share any of your favorite variations! I always love hearing from you. And if you enjoyed these, you might also love my Classic Sugar Cookies or my Peanut Butter Blossom Cookies. Happy baking, my friends!


Chocolate Chip Cookies Recipe
Ingredients
Main Ingredients
- 2.25 cups all-purpose flour
- 1 teaspoon baking soda
- 1 teaspoon salt
- 1 cup unsalted butter, softened
- 0.75 cup granulated sugar
- 0.75 cup packed brown sugar
- 2 large eggs
- 1 teaspoon vanilla extract
- 2 cups semisweet chocolate chips
Instructions
Preparation Steps
- Preheat oven to 375°F (190°C). Line baking sheets with parchment paper.
- In a medium bowl, whisk together the flour, baking soda, and salt.
- In a large bowl, cream together the softened butter, granulated sugar, and brown sugar until light and fluffy.
- Beat in the eggs one at a time, then stir in the vanilla extract.
- Gradually add the dry ingredients to the wet ingredients, mixing until just combined.
- Stir in the chocolate chips.
- Drop rounded tablespoons of dough onto the prepared baking sheets.
- Bake for 9-12 minutes, or until the edges are golden brown and the centers are still slightly soft.
- Let the cookies cool on the baking sheets for a few minutes before transferring them to a wire rack to cool completely.