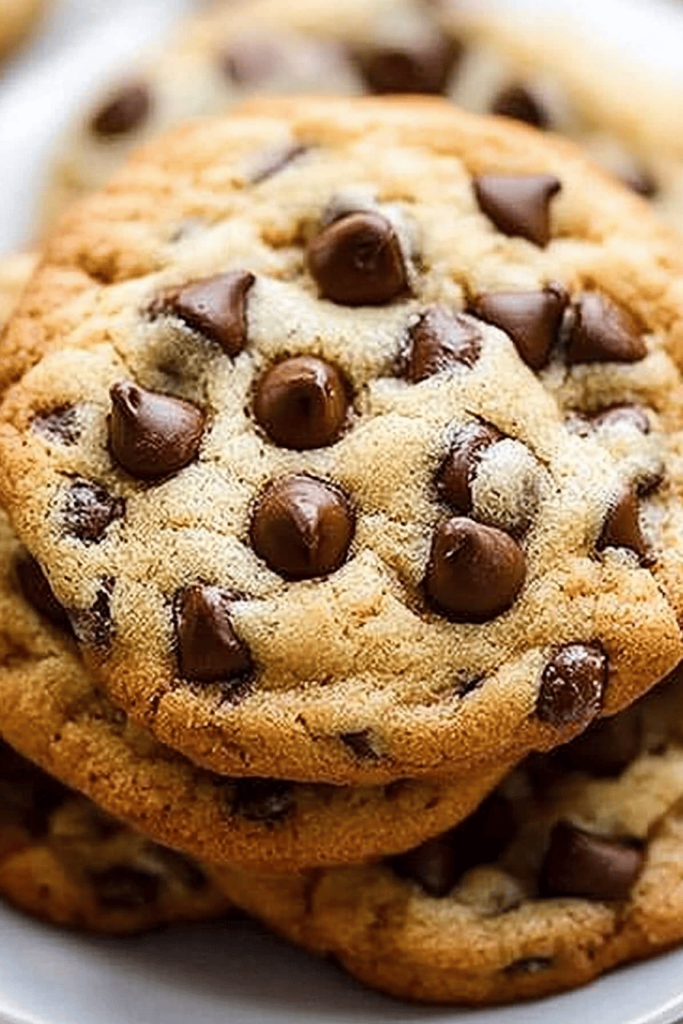
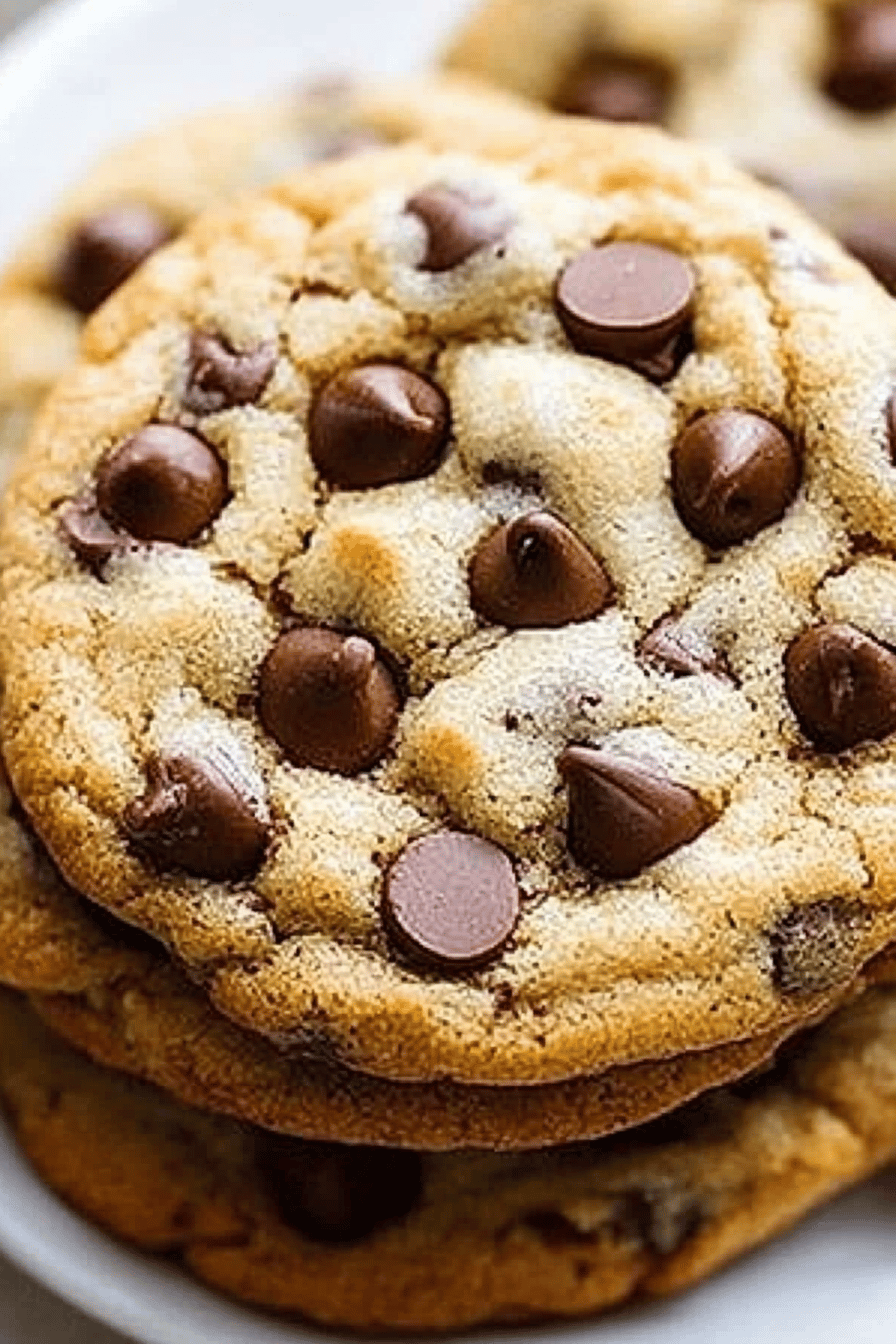
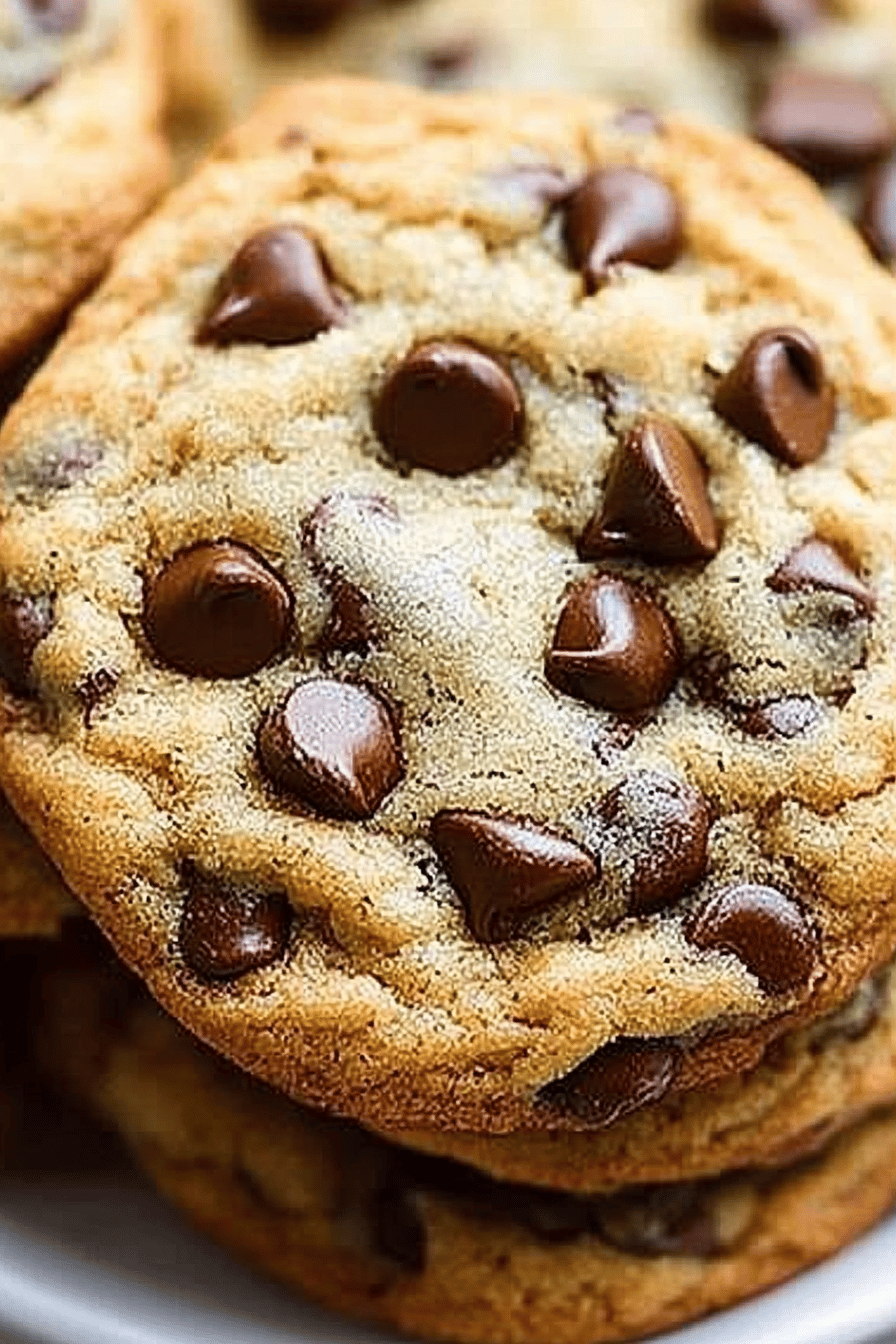
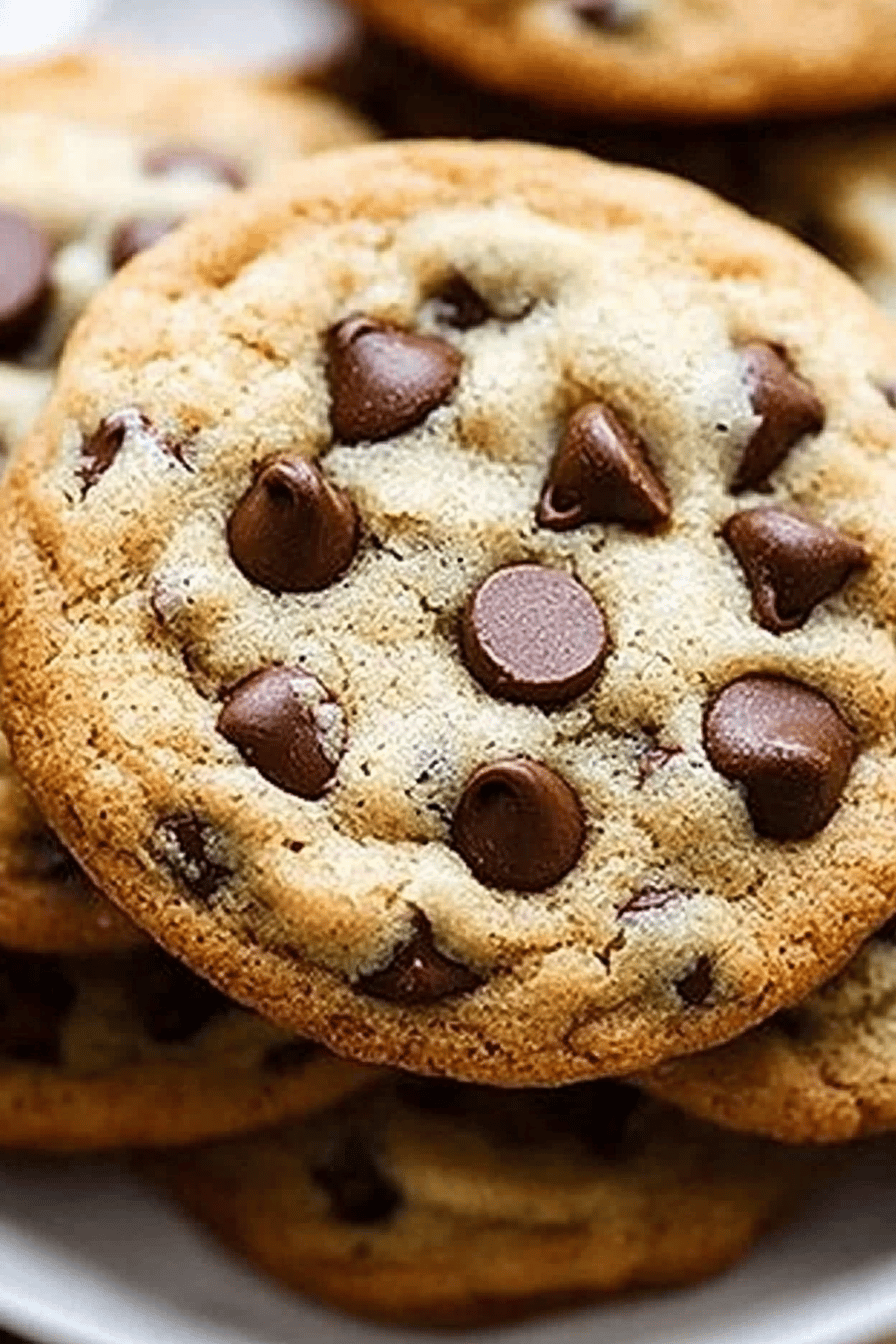
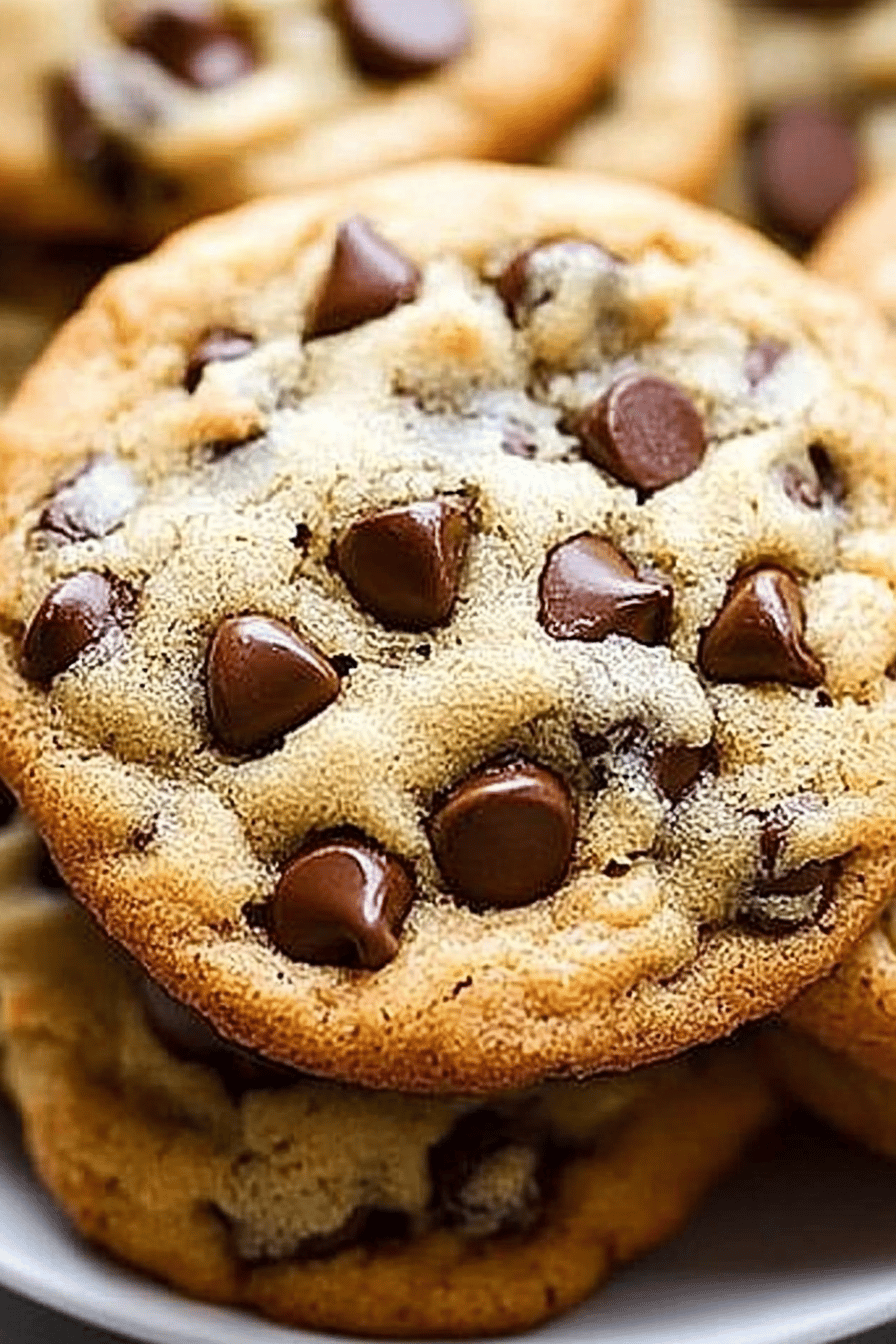
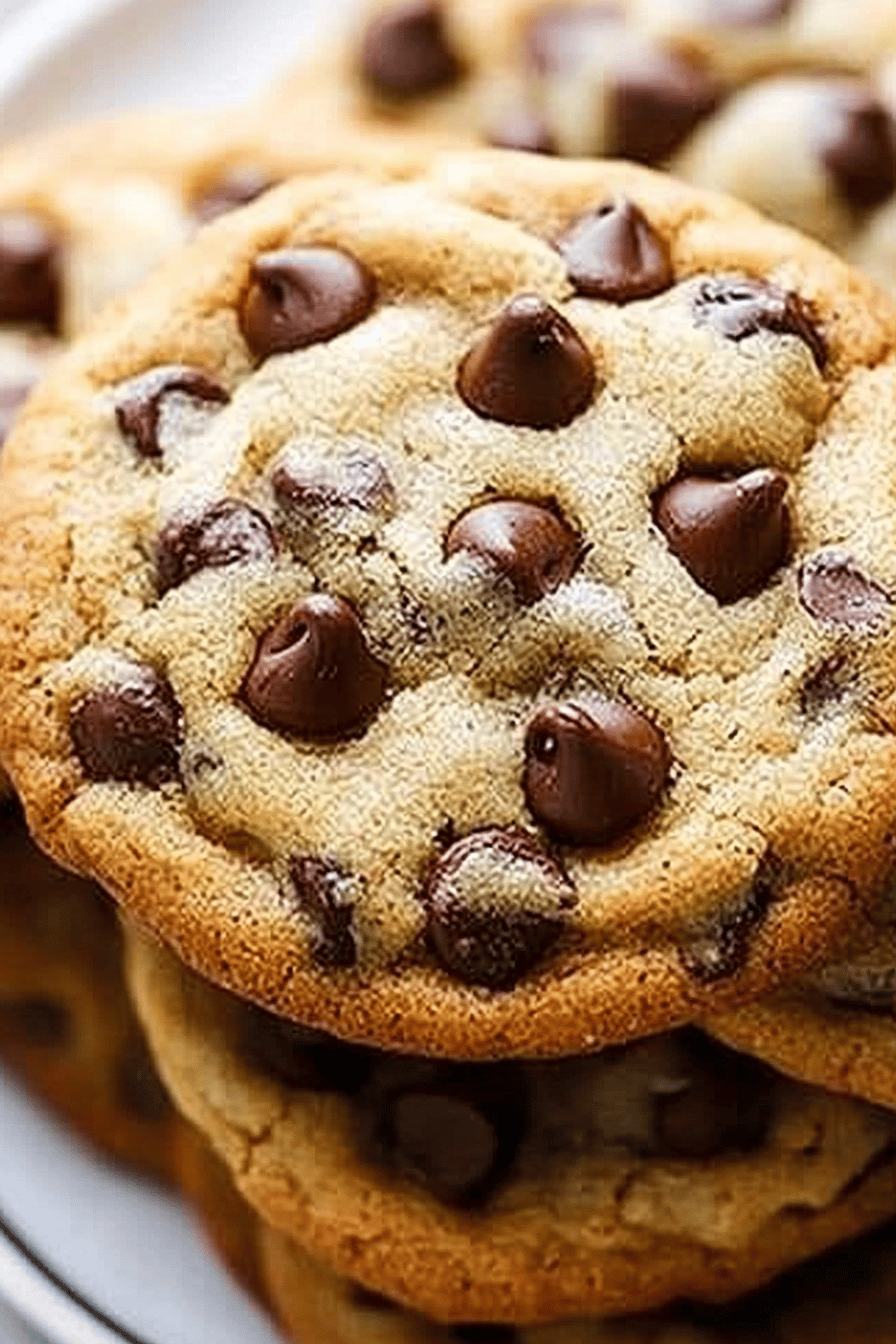
Oh, where do I even begin with chocolate chip cookies? For me, they’re more than just a treat; they’re pure comfort, bottled sunshine, and the smell of a happy childhood all rolled into one. There’s something so magical about biting into a warm, gooey cookie, the chocolate still melty, and that perfect balance of sweet and slightly salty. My family asks for these Chocolate Chip Cookies Recipe all the time, and honestly, I don’t blame them! I’ve tried a million versions over the years – some too flat, some too cakey, some that just… weren’t *it*. But this recipe? This is the one. The one I know will turn out perfectly every single time, even when I’m rushing or when the kids are hovering, demanding snacks. It’s my reliable, beloved chocolate chip cookies recipe that I’m just bursting to share with you.
What is the recipe for chocolate chip cookies?
Think of this as your new best friend in the kitchen. It’s not overly complicated, it doesn’t require a million fancy ingredients, and it yields the kind of chocolate chip cookies that make people close their eyes with delight. It’s essentially a classic chocolate chip cookie recipe, but with a few little tweaks I’ve picked up over the years that elevate it from good to absolutely spectacular. It’s the kind of cookie that has that perfect crisp edge, a wonderfully soft and chewy center, and pockets of rich, melted chocolate. It’s everything you want in a chocolate chip cookie, and then some. We’re aiming for that timeless, nostalgic flavor that just feels like home.
Why you’ll love this recipe?
Honestly, there are so many reasons why this Chocolate Chip Cookies Recipe has become my absolute favorite, and why I just know you’re going to adore it too. First off, the FLAVOR is just out of this world. The brown sugar gives it this incredible caramel-like depth, and a touch of salt really makes the chocolate sing. It’s not just sweet; it’s complex and satisfying. Then there’s the SIMPLICITY. I’ve tested this when I’ve had barely any time, and it still comes together beautifully. No fancy techniques, no waiting around for hours. You can have warm cookies on the table before you know it. And let’s talk COST-EFFICIENCY. The ingredients are all pantry staples, so you likely have most of them already. It’s a budget-friendly way to create something truly special that feels like a splurge. Plus, the VERSATILITY! These cookies are perfect on their own, but they’re also incredible served warm with a scoop of vanilla ice cream, or even crumbled over a milkshake. I also find they’re fantastic for bake sales or potlucks because they’re always a crowd-pleaser. What I love most about this recipe, though, is that it’s incredibly forgiving. Even if you’re new to baking, you’ll nail this. It’s a winner in my book, hands down.
How do you make chocolate chip cookies?
Quick Overview
This recipe is all about creating the perfect balance of textures and flavors. We’ll start by creaming butter and sugars to get that wonderful base, then add in our dry ingredients to create that signature chew. The key is not to overmix once the flour is in, and of course, the quality and type of chocolate chips you use can make a big difference! It’s a straightforward process designed to give you maximum deliciousness with minimal fuss. You’ll be amazed at how easy it is to achieve bakery-quality results right in your own kitchen.
Ingredients
For the Main Batter:
1 cup (2 sticks or 227g) unsalted butter, softened – I always use unsalted so I can control the salt. Make sure it’s properly softened, not melted! That’s crucial for creaming.
1 cup (200g) granulated sugar – This helps with crispness.
3/4 cup (150g) packed light brown sugar – This is where that lovely chewy texture and caramel flavor comes from! Don’t skimp here.
2 large eggs – Room temperature is best. If you forget, just pop them in a bowl of warm water for a few minutes.
1 teaspoon vanilla extract – Pure vanilla extract makes a world of difference.
2 1/4 cups (281g) all-purpose flour – Spooned and leveled, not scooped! This prevents dry cookies.
1 teaspoon baking soda – For that perfect lift.
1/2 teaspoon salt – Enhances all the flavors, especially the chocolate!
2 cups (340g) semi-sweet chocolate chips – My personal favorite, but feel free to mix it up! See tips below for variations.
Step-by-Step Instructions
Step 1: Preheat & Prep Pan
First things first, get your oven preheated to 375°F (190°C). While that’s heating up, line your baking sheets with parchment paper. This is a lifesaver for easy cleanup and prevents your cookies from sticking. I usually use two baking sheets so I can have a fresh one ready to go.
Step 2: Mix Dry Ingredients
In a medium bowl, whisk together the flour, baking soda, and salt. Whisking them together ensures that the leavening agent (baking soda) and salt are evenly distributed throughout the flour, which means perfectly consistent cookies every time. Set this aside for now.
Step 3: Mix Wet Ingredients
In a large bowl, or the bowl of your stand mixer fitted with the paddle attachment, cream together the softened butter, granulated sugar, and packed light brown sugar. Beat them on medium speed until light and fluffy, about 2-3 minutes. This step is called creaming, and it’s super important for getting that wonderful texture. Then, add in the eggs one at a time, beating well after each addition. Stir in the vanilla extract. You want this mixture to look smooth and well combined.
Step 4: Combine
Gradually add the dry ingredients to the wet ingredients, mixing on low speed just until combined. Be careful not to overmix! Overmixing develops the gluten in the flour too much, which can lead to tough cookies. Stop mixing as soon as you no longer see streaks of dry flour. It’s better to have a few tiny bits of flour left than to overwork the dough.
Step 5: Prepare Filling
This recipe doesn’t technically have a separate “filling” in the traditional sense, as the chocolate chips are mixed directly into the dough. However, if you wanted to get fancy, you could chop up some extra chocolate or even add a dollop of cookie butter to the center of each dough ball before baking. For this classic recipe, we’re keeping it simple and mixing the chips right in!
Step 6: Layer & Swirl
Gently fold in the chocolate chips using a spatula or wooden spoon. Again, be careful not to overmix. You just want them evenly distributed throughout the dough. I sometimes like to reserve a small handful of chocolate chips to press onto the tops of the cookies after they’re scooped onto the baking sheet – it makes them look extra enticing!
Step 7: Bake
Drop rounded tablespoons of dough onto the prepared baking sheets, spacing them about 2 inches apart. You can use a cookie scoop for uniform size, or just two spoons. Bake for 9-11 minutes, or until the edges are golden brown and the centers still look slightly soft. They’ll continue to cook a bit on the hot baking sheet after you take them out. My oven runs a little hot, so I usually check around 9 minutes. You’re looking for that perfect balance – not underbaked and doughy, but not overbaked and dry.
Step 8: Cool & Glaze
Let the cookies cool on the baking sheets for about 5 minutes before carefully transferring them to a wire rack to cool completely. This is important because they are very delicate when hot. As for a glaze, for this classic chocolate chip cookie, I find a glaze isn’t really necessary because the cookies are so perfect on their own. However, if you wanted to dress them up for a special occasion, a simple vanilla glaze or even a chocolate ganache drizzle would be lovely. I usually add glaze only if I’m making them for a party and want them to look extra fancy, and I do it once they’re completely cool so the glaze doesn’t melt off!
Step 9: Slice & Serve
Once cooled, these cookies are ready to be devoured! Serve them as is, or if you’re feeling adventurous, with a glass of cold milk or even a scoop of your favorite ice cream. They’re perfect at room temperature, but I swear they’re pure magic when they’re still slightly warm. Slice into them to reveal those gooey chocolate pockets – it’s pure bliss!
What to Serve It With
These Chocolate Chip Cookies are pretty much a standalone star, but they pair wonderfully with so many things, depending on the occasion! For a classic Breakfast treat, I love them alongside a strong cup of coffee. My kids often grab one with their milk before school. For Brunch, they can be a delightful addition to a dessert platter. I’ve served them with a light fruit salad, and they just add a touch of sweetness without being overwhelming. As Dessert, they’re sublime. I’ll often warm one up slightly and serve it with a scoop of good quality vanilla bean ice cream – it’s my ultimate indulgence! Or, crumble them over a chocolate mousse for an extra layer of texture. And for those Cozy Snacks moments, which are my favorite, they’re perfect with a warm mug of tea or hot chocolate. My family tradition is to bake a batch on Friday nights, and we all just sit around and enjoy them together. Sometimes, I’ll make little cookie sandwiches with cream cheese frosting in the middle, which is a total game-changer!
Top Tips for Perfecting Your Chocolate Chip Cookies
I’ve been making these Chocolate Chip Cookies for years, and I’ve definitely learned a few tricks along the way that I want to share with you. Let’s talk about those key elements that make all the difference. For the BUTTER, make sure it’s truly softened. If it’s too cold, your cookies will be dense. If it’s melted, they’ll spread too much. You want it to be pliable, like playdough. When it comes to MIXING, I can’t stress this enough: do NOT overmix the dough once you add the flour. Seriously, just mix until the flour disappears. Overmixing is the number one culprit for tough cookies. If you’re worried, it’s always better to slightly undermix and fold in the last bits of flour by hand. For CHOCOLATE CHIPS, while semi-sweet is my go-to, feel free to get creative! I love using a mix of semi-sweet and dark chocolate chips for a richer flavor. You can also add in some chopped nuts like walnuts or pecans for extra crunch, or even some toffee bits for a sweet, buttery note. I’ve even experimented with white chocolate chips and dried cranberries – delicious! If you want extra gooey centers, try using a combination of chocolate chunks and chips. For BAKING, pay attention to your oven. Every oven is different. I recommend baking one or two cookies as a test batch to see how long they take in your specific oven. The visual cues are more important than the timer. You want the edges to be set and lightly golden, but the centers should still look a little soft and underdone. They will continue to bake on the hot pan. And if you want that classic domed look, chilling the dough for at least 30 minutes (or even overnight!) before baking can help prevent them from spreading too much. It also intensifies the flavors!
Storing and Reheating Tips
The great thing about these Chocolate Chip Cookies is they actually store quite well, which is a lifesaver when you’ve baked a big batch! For Room Temperature storage, once the cookies are completely cool, place them in an airtight container. They’ll stay fresh and delicious for about 3-4 days. If you want to keep them extra soft and chewy, you can even pop a slice of bread into the container; it helps maintain moisture. For Refrigerator Storage, if you live in a very warm climate or want them to last a little longer, you can store them in the fridge. Again, an airtight container is key. They should be good for about a week, though they might firm up a bit. To Reheat, simply place a cookie on a microwave-safe plate and heat for 10-15 seconds. It brings back that wonderful warm, gooey texture. For Freezer Instructions, these cookies freeze beautifully! You can freeze the baked cookies or even the dough balls. For baked cookies, wrap them tightly in plastic wrap, then place them in a freezer-safe bag or container. They’ll keep for up to 3 months. To thaw, just let them sit at room temperature. If you’re freezing dough balls, place them on a baking sheet, freeze until solid, then transfer to a freezer bag. You can bake them directly from frozen, adding a minute or two to the baking time. As for Glaze Timing Advice, if you do choose to glaze your cookies, I strongly recommend doing it only when you’re ready to serve them, especially if they’re going to be stored for more than a day. Glaze tends to get sticky or gummy when stored for long periods, particularly at room temperature.
Frequently Asked Questions
Final Thoughts
So there you have it, my friends! This Chocolate Chip Cookies Recipe is more than just a list of ingredients and steps; it’s a little piece of happiness that I’m so thrilled to share with you. It’s the recipe that always brings smiles to faces, whether it’s for a cozy afternoon treat, a special occasion, or just because. I truly believe that everyone deserves a perfect chocolate chip cookie, and this recipe is my absolute favorite way to achieve that. If you love this recipe, you might also enjoy my recipe for [Link to Another Related Recipe, e.g., Soft Gingerbread Cookies] or my [Link to Another Related Recipe, e.g., Classic Brownies]. They share that same spirit of home-baked goodness. I can’t wait to hear how yours turn out! Please, leave a comment below and let me know your favorite way to enjoy them, or if you’ve tried any fun variations. Happy baking!


