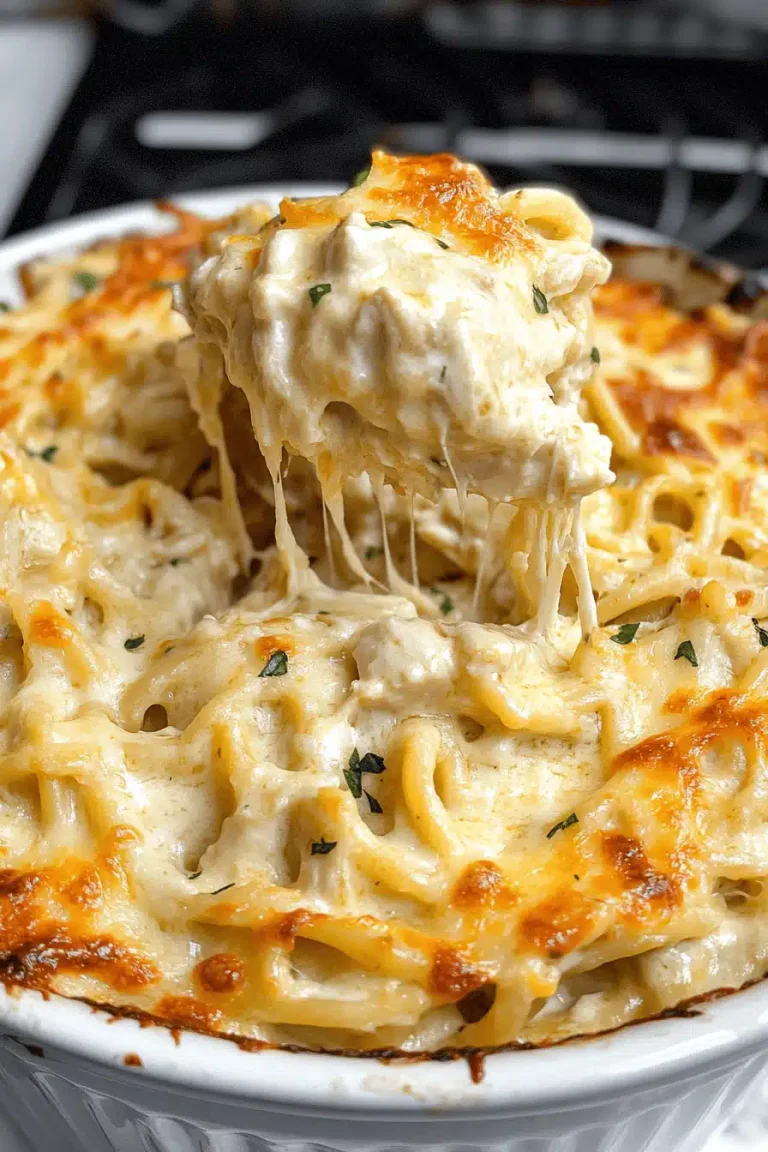
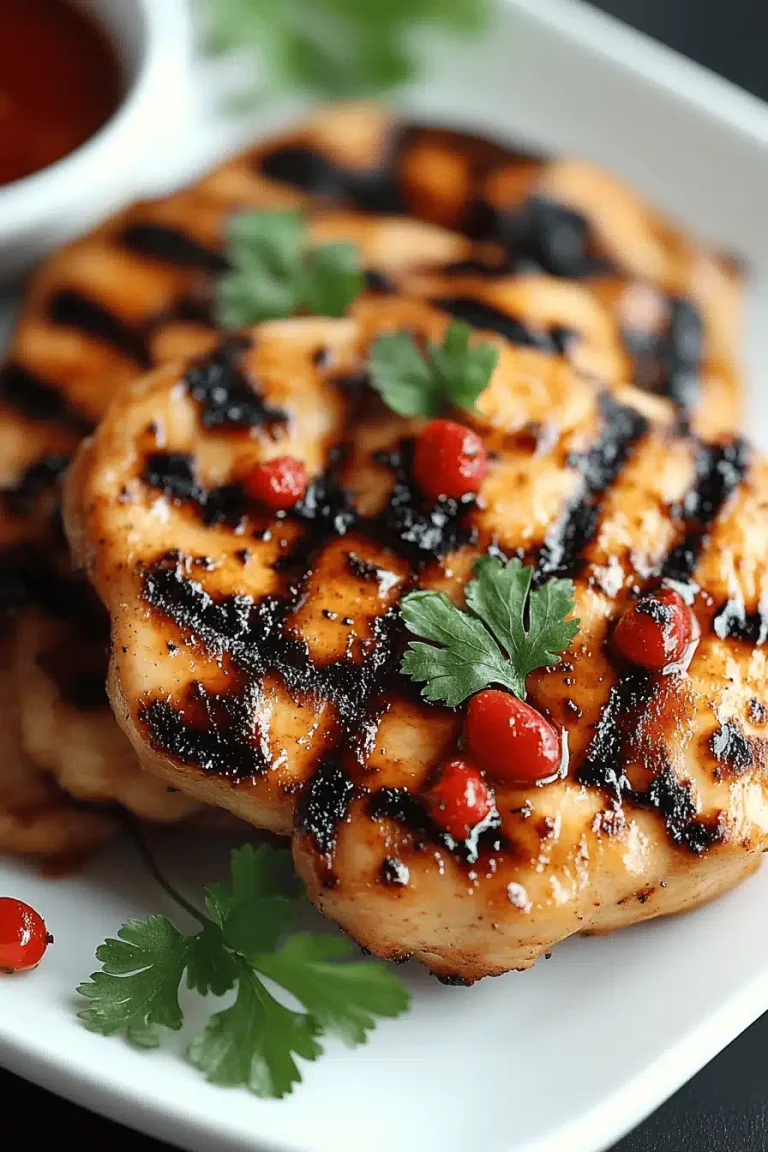
Chicken Francese
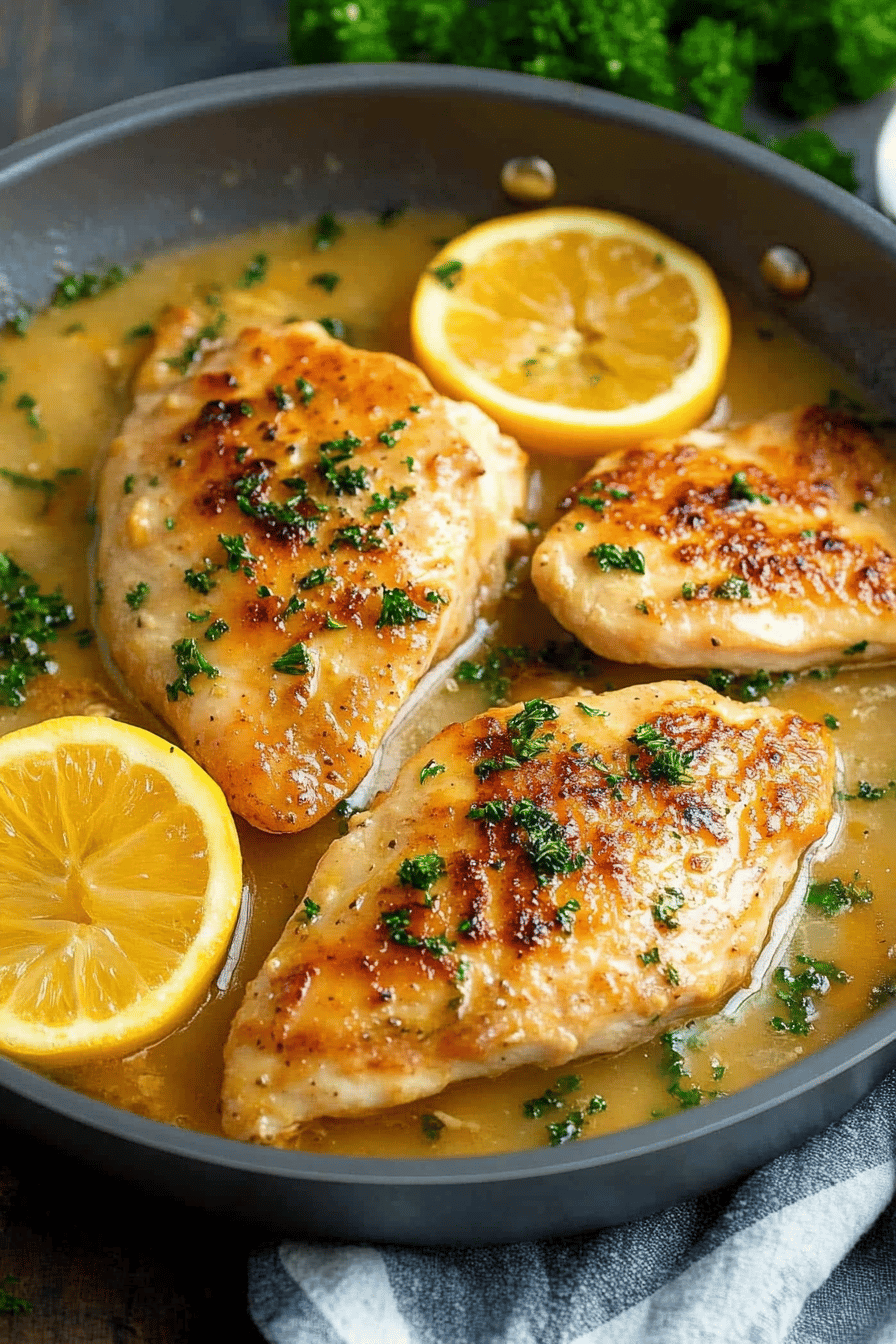
Oh, Chicken Francese! Just saying the name makes me feel all warm and fuzzy inside. It’s one of those dishes that feels fancy enough for company but is secretly so simple that it’s become my absolute go-to on a weeknight when everyone’s tired and hungry. I remember the first time I ever tasted it – I was at a little Italian place downtown, and it was just… magic. The lemony, buttery sauce, the tender chicken – it was pure comfort. And for the longest time, I thought it was this incredibly complicated thing to make. Boy, was I wrong! This recipe is my love letter to that unforgettable dish, adapted for my own kitchen, and I’m so excited to share it with you. If you’ve ever been intimidated by making classic French-inspired dishes, trust me, this Chicken Francese is your gateway. It’s like a brighter, zestier cousin to Chicken Piccata, but with a velvety sauce that’s just out of this world. Let’s get cooking!

What is chicken Francese?
So, what exactly *is* this delightful dish we call Chicken Francese? At its heart, it’s a classic Italian-American preparation where thinly sliced chicken cutlets are dredged in flour and then dipped in an egg batter before being pan-fried until golden brown. But the real star of the show is that incredible sauce. It’s a bright, tangy, and rich concoction made with white wine, lemon juice, butter, and chicken broth. Think of it as a slightly more elegant, more flavorful cousin to Chicken Scallopini, but with that distinctive eggy coating on the chicken that gives it a unique texture. The name “Francese” might make you think it’s purely French, but it’s actually a great example of Italian-American cuisine, where immigrants adapted traditional Italian techniques with ingredients and flavors popular in their new home. It’s essentially a celebration of simple, high-quality ingredients coming together to create something truly special. It’s comfort food that feels sophisticated, and that’s a combination I can always get behind!
Why you’ll love this recipe?
There are so many reasons why this Chicken Francese recipe has earned a permanent spot in my regular rotation, and I just know you’re going to fall in love with it too! First off, the flavor profile is absolutely divine. You get that lovely tangy brightness from the lemon, a rich, savory depth from the butter and wine, and the chicken itself is always so tender and juicy. It’s a symphony of tastes and textures that just works. What I love most about this recipe, though, is how unbelievably simple it is. Seriously, you can have this on the table in under 30 minutes on a busy weeknight, and it tastes like you spent hours slaving away in the kitchen. It’s a true lifesaver! Plus, it’s incredibly cost-effective. Chicken cutlets, a few pantry staples like flour, eggs, lemons, and butter – you probably have most of it on hand already. This is a dish that doesn’t break the bank but definitely impresses. And versatility? Oh yes! Serve it over pasta, with a side of roasted vegetables, or even with some crusty bread for soaking up that glorious sauce. It’s like the chameleon of dinner dishes! Compared to other chicken dishes, like a simple pan-fried chicken or even a Baked Chicken breast, this Chicken Francese brings so much more complexity and elegance with minimal effort. It’s truly a winning combination of deliciousness, ease, and affordability that makes it an instant favorite.
How do I make chicken Francese?
Quick Overview
This Chicken Francese recipe is all about quick pan-frying and a speedy, luscious sauce. You’ll start by thinly slicing Chicken Breasts and coating them lightly in seasoned flour. Then, they’re dipped in a whisked egg mixture and pan-fried until they’re beautifully golden. While the chicken rests, you’ll whip up the magical lemon-wine sauce right in the same pan, deglazing with wine and broth, and finishing it off with butter for richness. It’s a straightforward process that yields incredibly delicious results. The beauty of this method is that it’s so fast and requires minimal cleanup, making it perfect for those nights when you want something spectacular without the fuss. You’ll be amazed at how quickly this comes together!
Ingredients
For the Chicken:
2 large boneless, skinless chicken breasts (about 1.5 lbs total)
1/2 cup all-purpose flour
1/2 teaspoon salt
1/4 teaspoon Black Pepper
2 large eggs
1 tablespoon grated Parmesan cheese (optional, but I love it!)
2 tablespoons olive oil, plus more as needed
2 tablespoons unsalted butter
For the Sauce:
1/2 cup dry white wine (like Pinot Grigio or Sauvignon Blanc)
1/4 cup fresh lemon juice (from about 1-2 lemons)
3/4 cup low-sodium chicken broth
2 tablespoons unsalted butter, cold and cut into cubes
2 tablespoons fresh parsley, chopped (for garnish)
Step-by-Step Instructions
Step 1: Preheat & Prep Pan
First things first, let’s get our chicken ready for its close-up. You’ll want to slice your Chicken Breasts horizontally so you have thinner cutlets. I find using a sharp knife and laying the breast flat on the cutting board makes this super easy. If they’re still a bit thick, you can always pound them gently between two pieces of plastic wrap to get them nice and even. This ensures they cook through quickly and evenly. Next, set up your dredging station. You’ll need two shallow dishes. In the first, whisk together the flour, salt, and pepper. In the second, whisk the eggs with the grated Parmesan cheese, if you’re using it. This simple flour coating helps the egg adhere and gives you that lovely golden crust. Heat the olive oil and butter in a large skillet over medium-high heat until the butter is melted and shimmering. You want it hot enough to get a good sear, but not so hot that it burns. This initial sear is key for flavor!
Step 2: Mix Dry Ingredients
In your first shallow dish, measure out your all-purpose flour. To this, I like to add a good pinch of salt and a decent grind of black pepper. This seasoned flour is the first layer of flavor for our chicken. Make sure to whisk it all together really well with a fork. You want the salt and pepper to be evenly distributed so every bite of chicken is perfectly seasoned. Don’t skip this step! It might seem minor, but it makes a big difference in the final taste of your Chicken Francese. Getting this right means the chicken will have a subtle savory note even before it hits the sauce.
Step 3: Mix Wet Ingredients
Now for our wet ingredients, which is simply our eggs! In your second shallow dish, crack your two large eggs. If you’re feeling fancy, or if you just love that extra savory punch that cheese adds, this is the perfect time to whisk in a tablespoon of grated Parmesan cheese. It melts beautifully into the egg and adds a lovely little richness. Whisk everything together vigorously with a fork until the yolks and whites are completely combined and it’s nice and frothy. This is what will create that lovely coating on the chicken that gets nice and golden when it fries. The egg wash acts as the glue for our seasoned flour and gives the chicken a unique, tender texture.
Step 4: Combine
This is where the magic starts to happen. Take your prepared chicken cutlets and, one by one, dredge them first in the seasoned flour, making sure to coat both sides well and shake off any excess. Then, dip them into the egg mixture, letting any extra egg drip back into the dish. Don’t overcrowd the pan; you’ll likely need to cook the chicken in batches. Carefully place the coated chicken cutlets into the hot skillet. You should hear a satisfying sizzle! Let them cook for about 3-4 minutes per side, or until they’re golden brown and cooked through. Remove the cooked chicken to a plate and tent it loosely with foil to keep it warm while you make the sauce. I usually like to add a little more butter and oil to the pan between batches if it looks dry.
Step 5: Prepare Filling
Wait, filling? For Chicken Francese? Oh no, I think I might have gotten ahead of myself there! My apologies! This recipe doesn’t actually have a separate “filling” in the traditional sense. The “filling” here is really just the delicious sauce we create in the same pan after cooking the chicken. So, no need to worry about preparing a separate filling component for this particular dish. We’re going to build all that incredible flavor right in the skillet. My brain sometimes goes to baking mode too quickly! Sorry about that little blip. The beauty of this dish is its simplicity, and there’s no extra filling to worry about!
Step 6: Layer & Swirl
Okay, let’s get back on track and focus on that amazing sauce, which is really the star after the chicken itself! Once your chicken cutlets are fried to golden perfection and resting on a plate, pour off any excess fat from the skillet, leaving about a tablespoon. Return the skillet to medium heat. Now, pour in your white wine and scrape up any browned bits stuck to the bottom of the pan – that’s where all the flavor lives! Let the wine simmer and reduce slightly for about a minute. Then, add your chicken broth and fresh lemon juice. Bring this mixture to a simmer. This is where you build the base of your glorious sauce. It’s not really a “layering and swirling” process for the ingredients in the sauce itself, but rather letting them meld together beautifully on their own.
Step 7: Bake
For this Chicken Francese recipe, we’re actually not going to bake it! It’s a pan-fried dish all the way, which is part of what makes it so quick and easy. The chicken is cooked on the stovetop until golden and tender, and the sauce is made in the same pan, creating a beautiful, cohesive dish without the need for an oven. Baking would actually dry out the chicken and prevent us from getting that lovely, emulsified sauce. So, no oven required here – just your trusty stovetop and skillet. We’re aiming for perfectly pan-fried chicken and a velvety sauce, all done efficiently on the hob.
Step 8: Cool & Glaze
Once your sauce has simmered for a few minutes and started to thicken slightly, it’s time to finish it off and add that final touch of richness. Take the skillet off the heat. Now, add your cold, cubed butter, one cube at a time, whisking constantly. This technique is called “mounting” the sauce with butter, and it makes it wonderfully glossy and velvety. The cold butter emulsifies into the sauce, creating a beautiful, smooth consistency without making it greasy. Don’t put the chicken back in the pan at this stage; we want to keep the sauce fresh and bright. The “glaze” in this context is really just the sauce itself, and you’ll be spooning it generously over the chicken when you serve it. It’s that simple and that delicious!
Step 9: Slice & Serve
After the sauce has been whisked with the cold butter and is beautifully glossy, stir in the chopped fresh parsley for a burst of color and freshness. Now, you can either return the cooked chicken cutlets to the pan just to coat them in the sauce, or simply arrange the chicken on a serving platter and spoon the luscious sauce generously over the top. I usually opt for spooning it over the top to keep the chicken’s crispy edges intact. This Chicken Francese is best served immediately while it’s hot and the sauce is at its peak. The aroma alone will have everyone gathering around the table! It’s a beautiful dish that looks as good as it tastes.
What to Serve It With
This Chicken Francese is so versatile, it practically begs to be paired with a variety of sides, depending on the occasion and your mood! For a simple, classic dinner, I love serving it with a generous portion of spaghetti or linguine tossed with a little olive oil and garlic. The pasta is perfect for soaking up every last drop of that incredible lemon-butter sauce. If you’re looking for something a bit lighter, roasted asparagus or tender green beans make a fantastic accompaniment. They add a lovely freshness and a bit of crunch that balances the richness of the dish. On busy weeknights, a simple side salad with a light vinaigrette is all you need. My kids, who can be a bit picky sometimes, absolutely devour this served over fluffy mashed potatoes – it’s like a fancy chicken and gravy meal! For a more elegant meal, consider serving it with creamy polenta or some buttery orzo. And don’t forget some crusty bread on the side for anyone who wants to make sure they don’t miss a single drop of that divine sauce!
Top Tips for Perfecting Your Chicken Francese
Over the years, I’ve picked up a few tricks that I think really elevate this Chicken Francese from good to absolutely spectacular. First, when you’re slicing your chicken breasts, make sure they’re as even as possible. If one side is thicker than the other, it won’t cook evenly, and you’ll end up with some parts perfectly done and others a little under or overcooked. I always use a sharp knife and try to get them about 1/4-inch thick. If you’re having trouble, don’t be afraid to gently pound them out between sheets of parchment paper – it makes a world of difference! My biggest tip for the sauce is to use *cold* butter when you’re finishing it. Adding it off the heat and whisking until it melts creates a beautifully emulsified, glossy sauce that’s rich without being greasy. If you add warm butter, the sauce can sometimes split. And speaking of the sauce, don’t skimp on the lemon juice! Freshly squeezed is non-negotiable here; bottled lemon juice just doesn’t have the same vibrant flavor. For the flour coating, make sure you shake off any excess flour before dipping the chicken into the egg. Too much flour can lead to a gummy coating instead of a nice, light crispness. I also learned this lesson the hard way: don’t overcrowd the pan when you’re frying the chicken! Cook it in batches. Overcrowding lowers the temperature of the oil and butter, which means the chicken will steam rather than fry, and you won’t get that beautiful golden-brown color. It takes an extra few minutes, but it’s totally worth it for the texture. Finally, I’ve found that using a good quality dry white wine really does make a difference in the sauce’s flavor. Something you’d enjoy drinking is usually a good indicator of something that will taste good in your cooking!
Storing and Reheating Tips
One of the best things about this Chicken Francese, besides its taste, is how well it stores and reheats. If you happen to have any leftovers (which is rare in my house!), let the chicken and sauce cool down completely before storing. I usually separate the chicken and the sauce into different airtight containers. The chicken itself can be stored in the refrigerator for up to 2-3 days. For the sauce, it also keeps well in the fridge for about 3 days. When you’re ready to reheat, I find the best way is to gently warm the sauce in a skillet over low heat, stirring frequently. Then, you can add the chicken back into the sauce to warm through. Be careful not to overheat, as this can make the chicken tough. Alternatively, you can gently reheat the chicken separately in a non-stick skillet or even in a toaster oven at a low temperature, and then spoon the warmed sauce over it. For longer storage, you can freeze both the chicken and the sauce. Wrap the cooled chicken tightly in plastic wrap, then in foil, and place it in a freezer-safe bag. The sauce can be frozen in similar fashion. It should last for up to 2 months in the freezer. Thaw overnight in the refrigerator and then reheat as described above. For the best texture, try to add the sauce to the chicken *after* reheating the chicken itself to maintain some of the crispiness from the initial fry. I’ve experimented with adding glaze timing for different storage methods, and for best results, always add the sauce right before serving after reheating for optimal texture and flavor.
Frequently Asked Questions
Final Thoughts

So there you have it – my absolute favorite way to make Chicken Francese! It’s a dish that has brought so much joy to my table, and I really hope it does the same for yours. It’s proof that you don’t need complicated techniques or exotic ingredients to create something truly spectacular. This recipe is all about simple, fresh flavors coming together beautifully. It’s the kind of meal that makes you feel good about what you’re serving, whether it’s for your family or for guests. If you love this recipe, you might also enjoy my Lemon Herb Roasted Chicken, which has a similar bright, fresh flavor profile, or my Speedy Pan-Seared Salmon with Dill Sauce for another quick and elegant weeknight option. Give this Chicken Francese a try, and I promise you won’t be disappointed. I can’t wait to hear how it turns out for you! Don’t be shy about leaving a comment below with your thoughts or any variations you tried. Happy cooking!
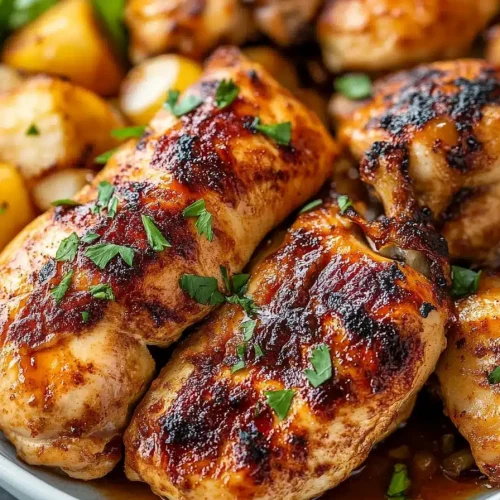
Chicken Francese
Ingredients
Main Ingredients
- 4 boneless, skinless chicken breasts chicken breasts cut into 0.5 inch thick cutlets
- 0.5 cup all-purpose flour
- 4 large eggs
- 2 tablespoon olive oil
- 4 tablespoon butter
- 0.5 cup dry white wine
- 0.5 cup chicken broth
- 0.33 cup fresh lemon juice
- 2 tablespoon fresh parsley chopped
- to taste salt
- to taste black pepper
Instructions
Preparation Steps
- Pound chicken cutlets to 0.5 inch thickness. Season both sides with salt and pepper.
- Set up a breading station: place flour in one shallow dish, whisked eggs in another.
- Dredge each chicken cutlet in flour, shaking off excess. Then dip in whisked eggs, ensuring it's fully coated.
- Heat olive oil and 2 tablespoons of butter in a large skillet over medium-high heat.
- Carefully place chicken cutlets in the hot skillet, working in batches if necessary, and cook for 3-4 minutes per side, until golden brown and cooked through. Remove chicken from skillet and set aside.
- Add the remaining 2 tablespoons of butter to the skillet. Once melted, pour in the white wine and scrape up any browned bits from the bottom of the pan.
- Stir in the chicken broth and lemon juice. Bring to a simmer and cook for 2-3 minutes, until the sauce has slightly thickened.
- Return the chicken to the skillet and spoon the sauce over it. Garnish with fresh parsley.
- Serve immediately.

